Alcohol ink does most of the work for you, which is either the appeal or the problem depending on your temperament. You put colour down, you push it around with alcohol and moving air, and it makes shapes you could not have drawn on purpose.
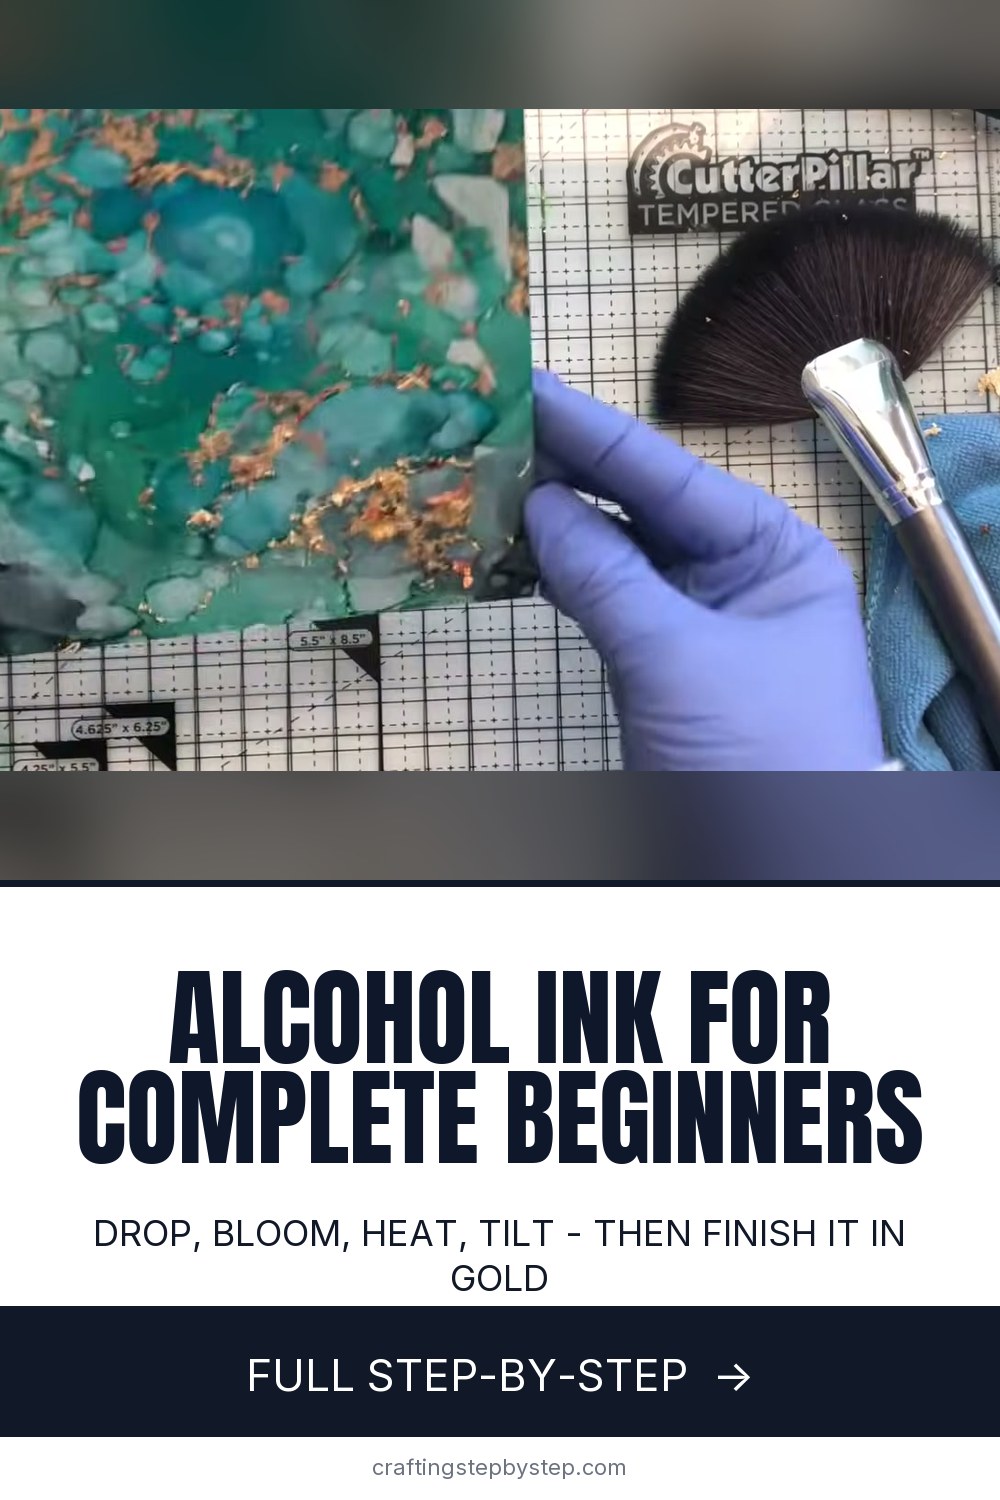
Laurel Beard makes two panels here in under nine minutes. The first is deliberately plain to show the base techniques; the second stacks everything together and finishes with gold.
It is almost impossible to ruin
This is the thing worth knowing before you start. If a panel goes wrong, wipe it with alcohol and it comes back to near-white. Nothing you do in the first ten minutes is permanent, so there is no reason to be careful with it.
You need less kit than the tutorials suggest
Three or four ink colours, a bottle of isopropyl from the supermarket, and something non-porous to work on. That is the actual list.
Beyond that, a dedicated brush you never use for anything else, and a dropper from the pharmacy. A comb, the edge of a credit card, or a torn piece of paper all make good texture. You do not need a branded tool for any of it.
Work on something that will not buckle
Alcohol ink needs a non-porous surface or the colour sinks in and goes dull. Yupo paper is the usual answer; hard panels cost more but stay flat, which matters if the piece is going on a wall rather than into a card.
Seal it, outside
A matte sealer locks the colour down and stops it lifting later. Spray it outdoors. The fumes are genuinely unpleasant in a closed room.