How to Use Watercolor Pencils
Source: In the Studio with Michele Webber • Full tutorial: www.craftingstepbystep.com/painting/how-to-use-watercolor-pencils
- Difficulty
- Easy
- Hands-on time
- About 45 minutes
- Wait time
- 20 minutes
- Cost
- About $6 to $12

Tools
- Watercolor pencils
- Round watercolour brush
- Flat watercolour brush
- Palette with wells
- Craft knife or blade
- Jar of clean water
Materials
- Watercolour paper, cold pressed
- Kitchen paper for blotting
Steps
1. Turn the Pencil into Paint on a Palette
Scribble the pencil hard into a palette well until you have a small pile of loose pigment. Wet a brush, lift the colour off, and paint with it.
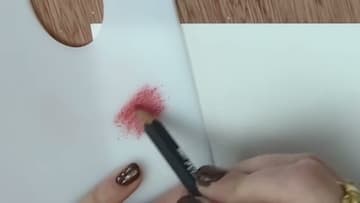
2. No Palette? Use a Scrap of Paper
A spare piece of textured watercolour paper does the same job. Scrub the pencil onto it, then lift the pigment with a wet brush.
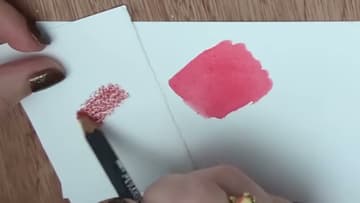
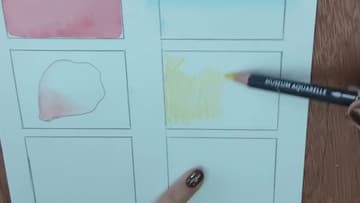
3. Shade Lightly for Flat Colour
For an even block of colour, shade gently and evenly across the whole shape first. Resist bearing down.
Tip: Keep the pencil tip blunt rather than sharp. A sharp point digs in exactly where you do not want it to.
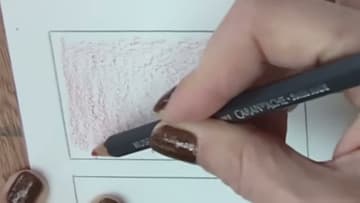
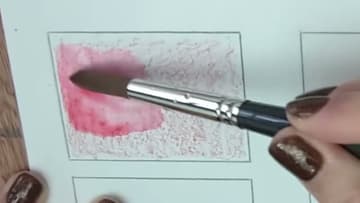
4. Move the Water in One Direction
Bring a wet brush across the shading in a single consistent direction rather than scrubbing back and forth. One clean pass pulls the pigment into an even wash.
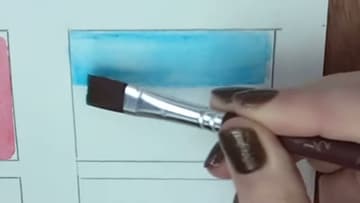
5. Use a Flat Brush for Bigger Areas
Anything larger than a thumbnail wants a flat brush. It carries far more water than a round one, and running dry halfway across a square is what leaves a streak down the middle.
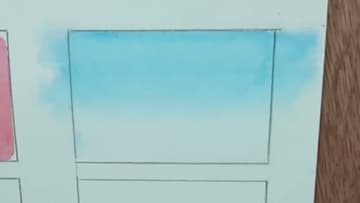
6. Work a Graduated Wash from Both Ends
For a sky that fades out, shade the colour along the top only. Wash it downward, then rinse the brush, come up from the bottom with clean water, and meet in the middle.
Tip: Blot the brush on kitchen paper between passes. A dripping brush leaves puddles, and puddles dry as hard edges.
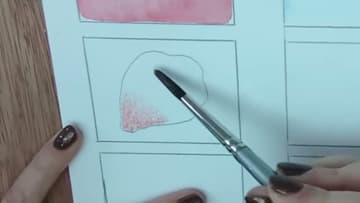
7. Soften a Single Edge into Clean Water
Sometimes you only want one edge to disappear. Shade the shape, then brush outward from that edge into clean water and keep going until the colour runs out.
8. Layer Colours Instead of Buying More
A small tin goes much further than you would expect, because watercolor pencils mix on the paper rather than in a palette. Lay one colour over another and you have made a third.
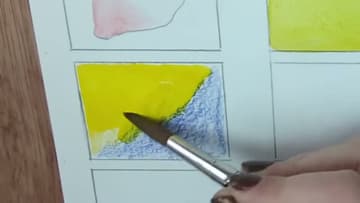
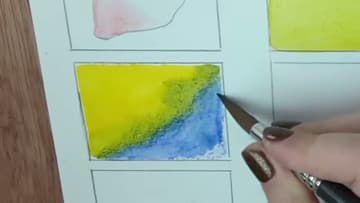
9. Mix Green from Yellow and Blue on the Paper
Shade a warm yellow into one corner and a blue in from the other, letting them overlap along a diagonal. Wet the join and a citrus green appears where the two meet.
10. Let Each Layer Dry Before the Next
Give a layer time to dry before you work over it. Go back in too soon and the wet brush lifts the colour underneath, so instead of two clean layers you get one muddy one.
Tip: Impatient? A hairdryer on a low setting is fine, held well back so it does not blow the wash around.
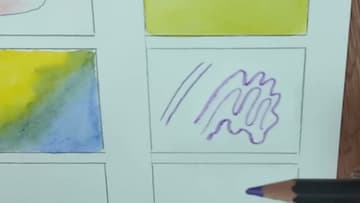
11. Draw Straight onto Wet Paper
Wet the paper first with clean water, then draw into the damp surface with the pencil tip. The marks bloom and feather out on their own.
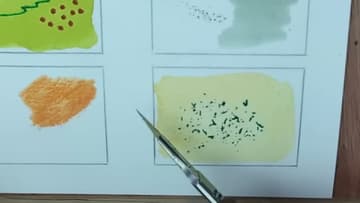
12. Scrape Shavings onto a Wet Wash
Hold a blade against the pencil tip and scrape a few shavings onto a wash while it is still wet. Each fleck bursts where it lands.