How to Paint Water and Reflections

PaintingEasy30:479 stepsBrowse more →
Also in:Crafts

By CraftingStepByStepPublished

Based on a video by Art of John Magne Lisondra (JMLisondra).

Water is easier than it looks because it is mostly copying. Whatever sits above the waterline gets repeated below it, a bit darker and a bit softer. Get that one idea and the rest is tidying up.

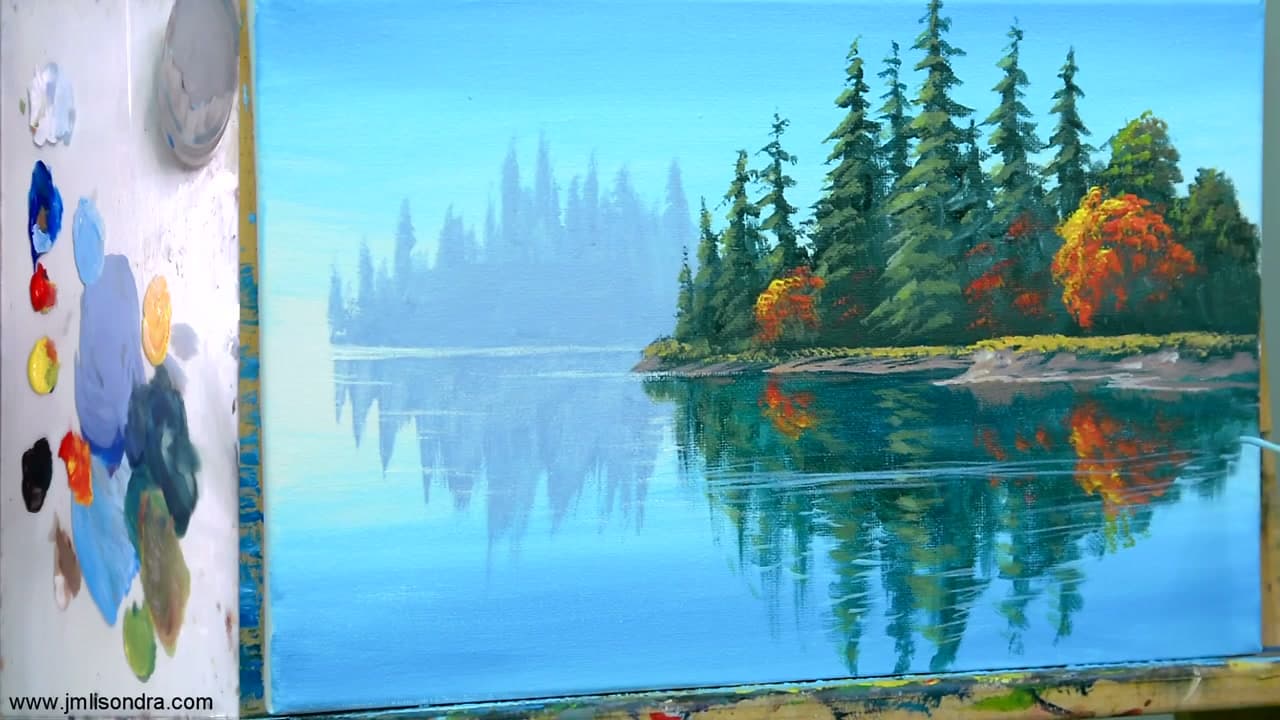
John Magne Lisondra paints a still lake with a pine treeline and its reflection, and keeps the palette to a handful of colours. It is a beginner piece, but the method scales to any water you want to paint.

Why Reflections Read as Water and Not a Second Forest

Three things. The reflection is darker than the object it mirrors. Its edges are softer. And horizontal breaks run across it where the surface moves. Miss the horizontal breaks and you get a mirror image that looks like the canvas was folded in half.

Still Water vs Moving Water

On still water the reflection sits almost directly under the object with only faint disturbance. As the surface moves, the reflection stretches downward and breaks into separate horizontal bands. More movement means more break-up and less detail.

Build the Skill First

The whole painting rests on smooth gradients in the sky and water. If yours are banding, work through how to blend acrylic paint first.

Step-by-Step Guide

9 steps · about 31 minutes.Check off each step as you go and your progress saves automatically.

1

Step 1: Learn the One Rule

0:50
Step 1: Step 1: Learn the One Rule

Whatever sits above the waterline gets repeated below it. That is the whole technique. A reflection is a mirror image of the scene, so if there is a tree on the bank, the same tree shape goes directly beneath it in the water.

Tip

Reflections mirror vertically, not horizontally. The object nearest the waterline reflects nearest the waterline.
2

Step 2: Block In the Sky and Water

1:40
Step 2: Step 2: Block In the Sky and Water

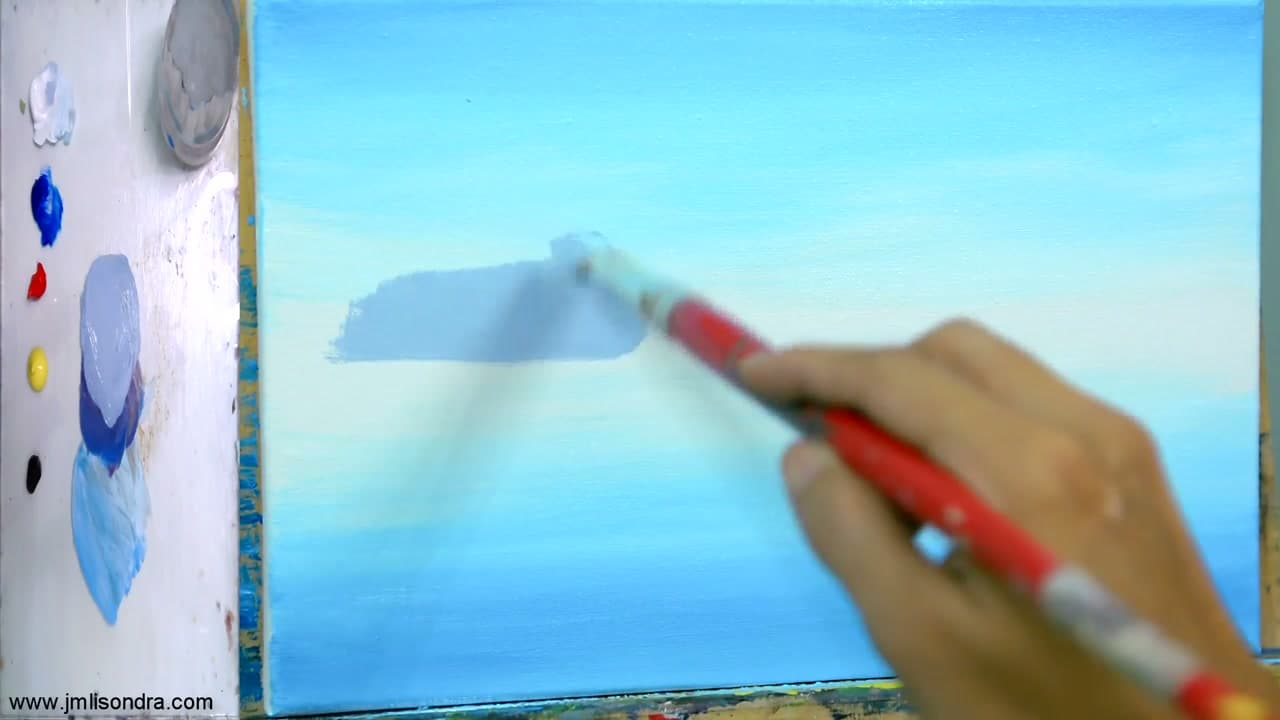
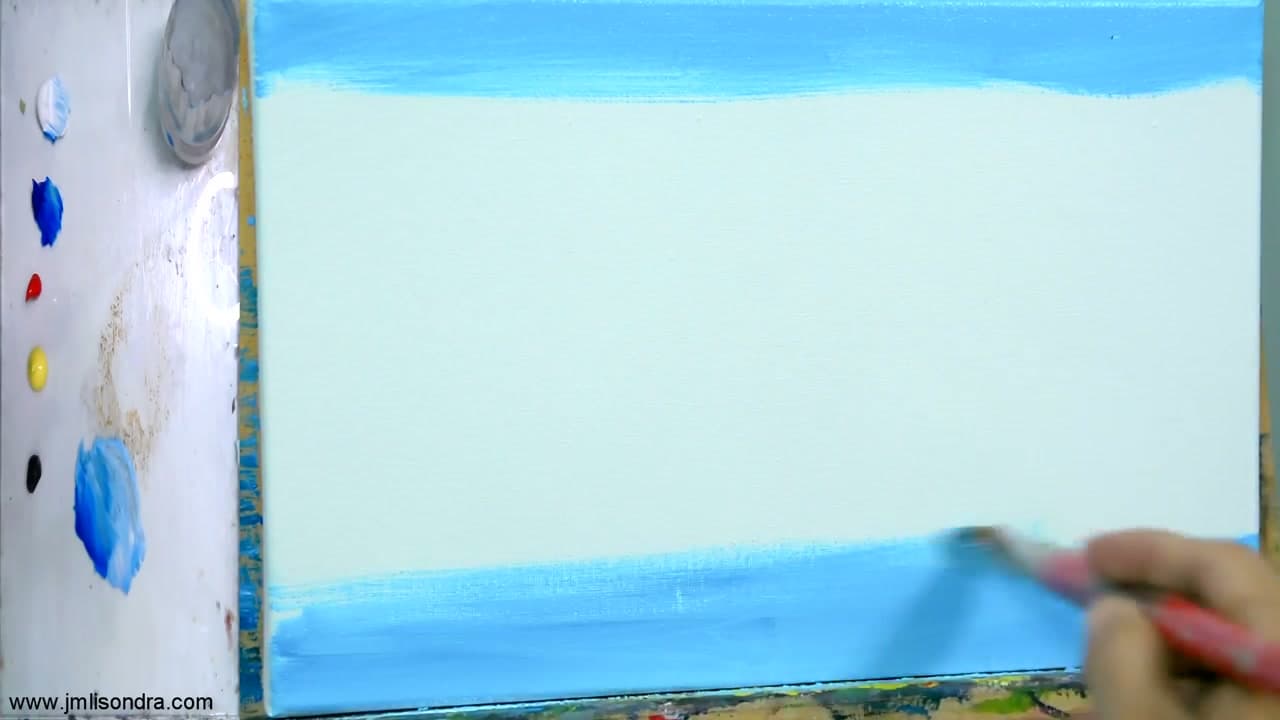
Paint the sky across the top and the water across the bottom in the same blue, but mix the water a shade or two darker. Water almost always reads darker than the sky it reflects, and setting that difference now saves correcting it later.

Products used in this step

3

Step 3: Set the Horizon and Blend

2:50
Step 3: Step 3: Set the Horizon and Blend

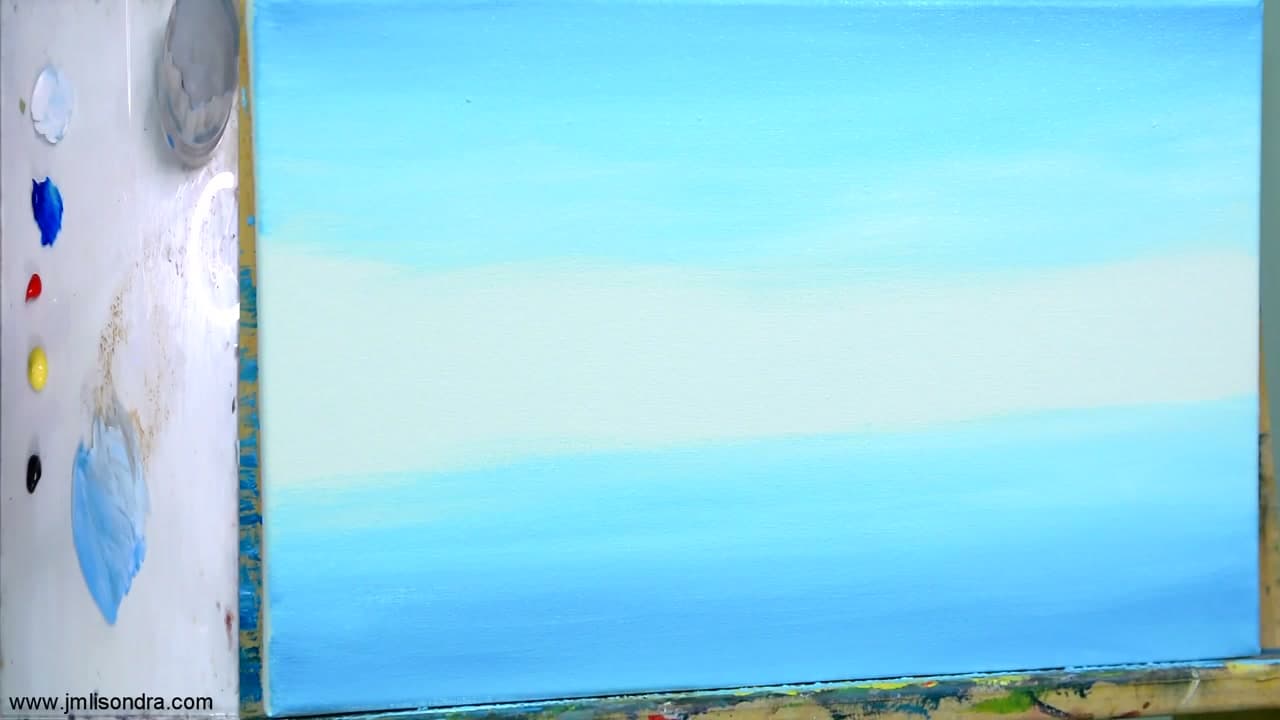
Decide where your horizon line sits and blend the sky down into it so there is no hard edge. Every reflection in the painting is measured from this line, so it is worth getting level before anything else goes on.

4

Step 4: Paint the Distant Treeline

4:30
Step 4: Step 4: Paint the Distant Treeline

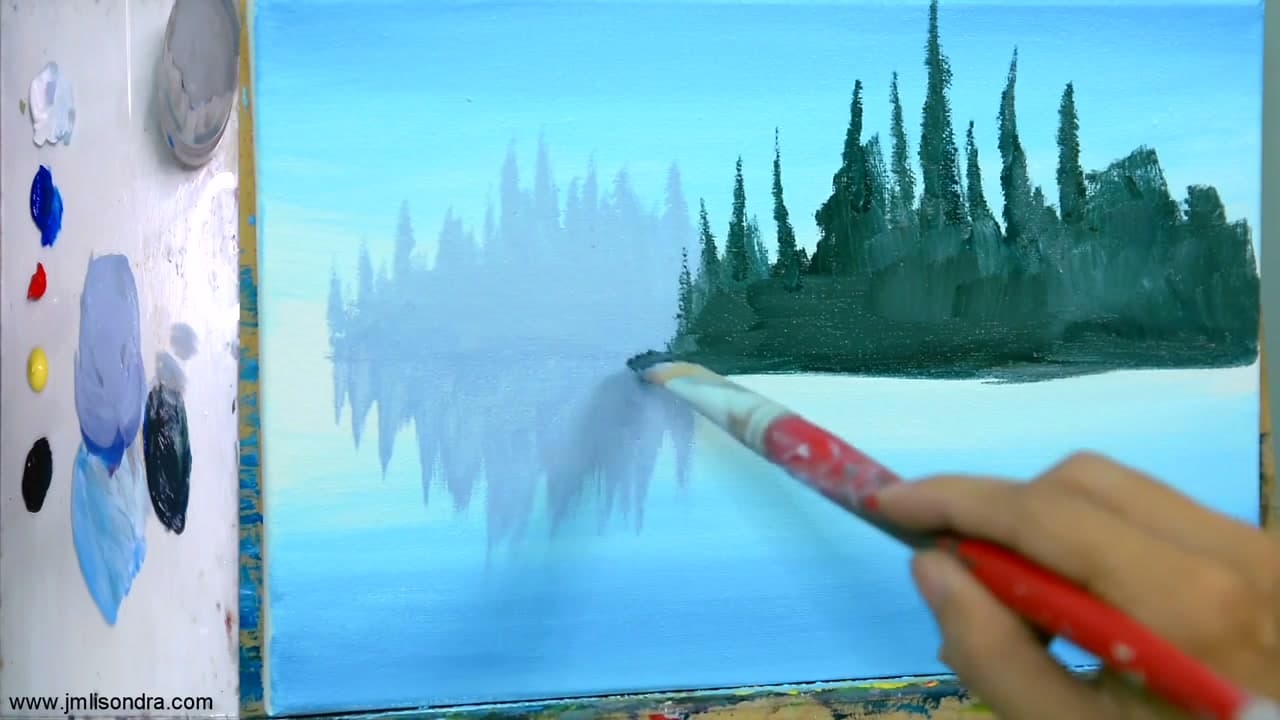
Mix blue with a touch of red and plenty of white for a pale misty purple, then scrub in the far treeline. Keeping it light and low-contrast is what pushes it into the distance and gives the scene depth.

Tip

The further away something is, the closer its colour gets to the sky. Resist the urge to add detail out here.

Products used in this step

5

Step 5: Build the Pine Trees

7:50
Step 5: Step 5: Build the Pine Trees

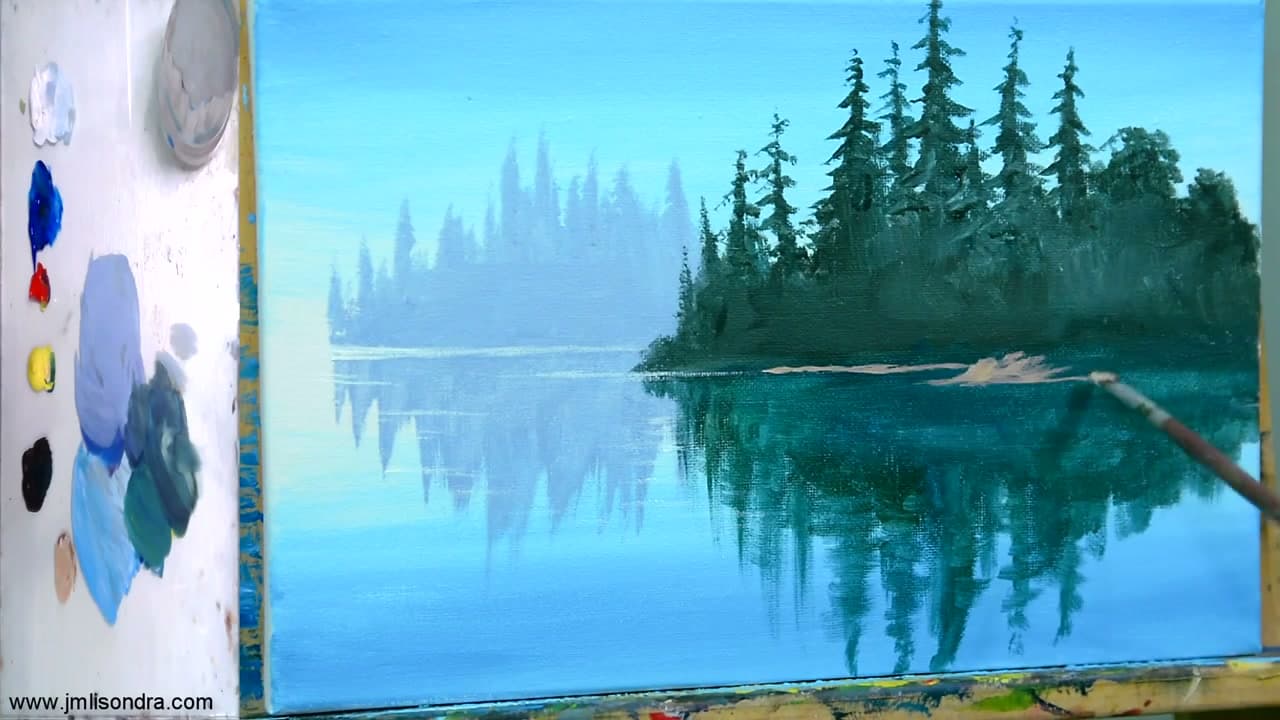
Switch to a small flat brush and work the trees along the bank. Tap in short downward strokes either side of a central trunk line, keeping the tops narrow and letting them widen toward the base.

Products used in this step

6

Step 6: Mirror the Trees Into the Water

11:00
Step 6: Step 6: Mirror the Trees Into the Water

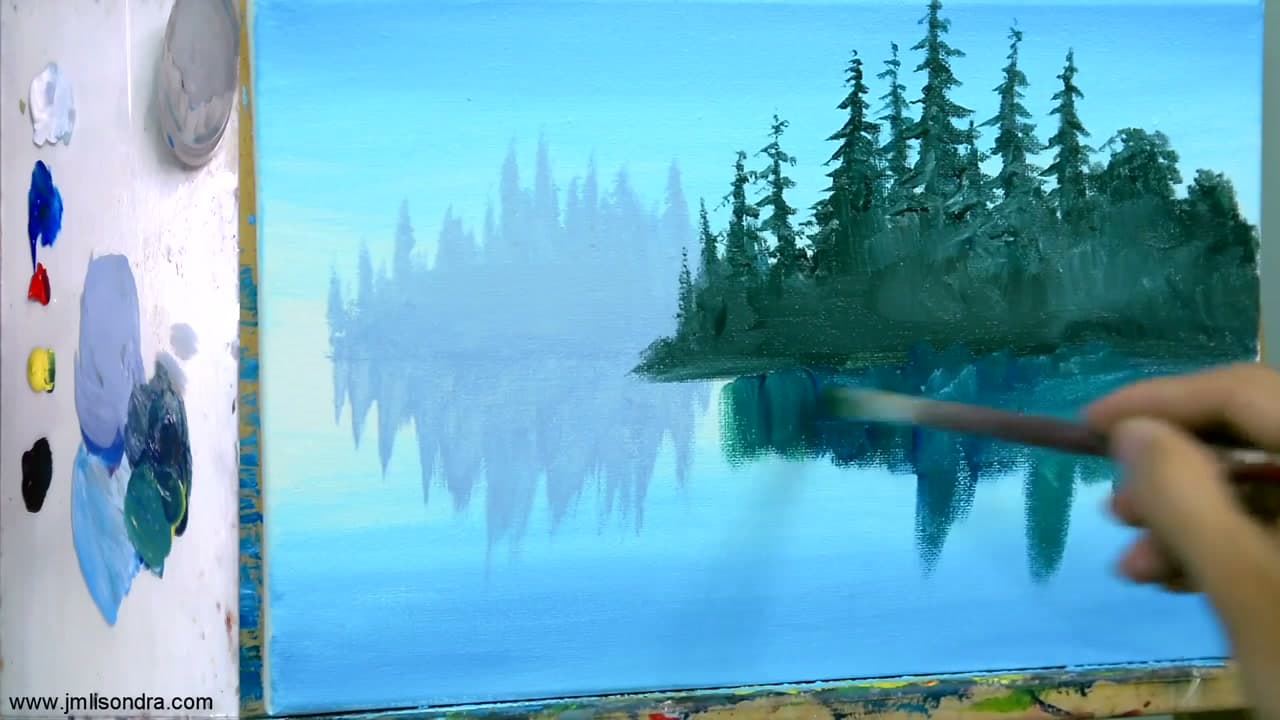
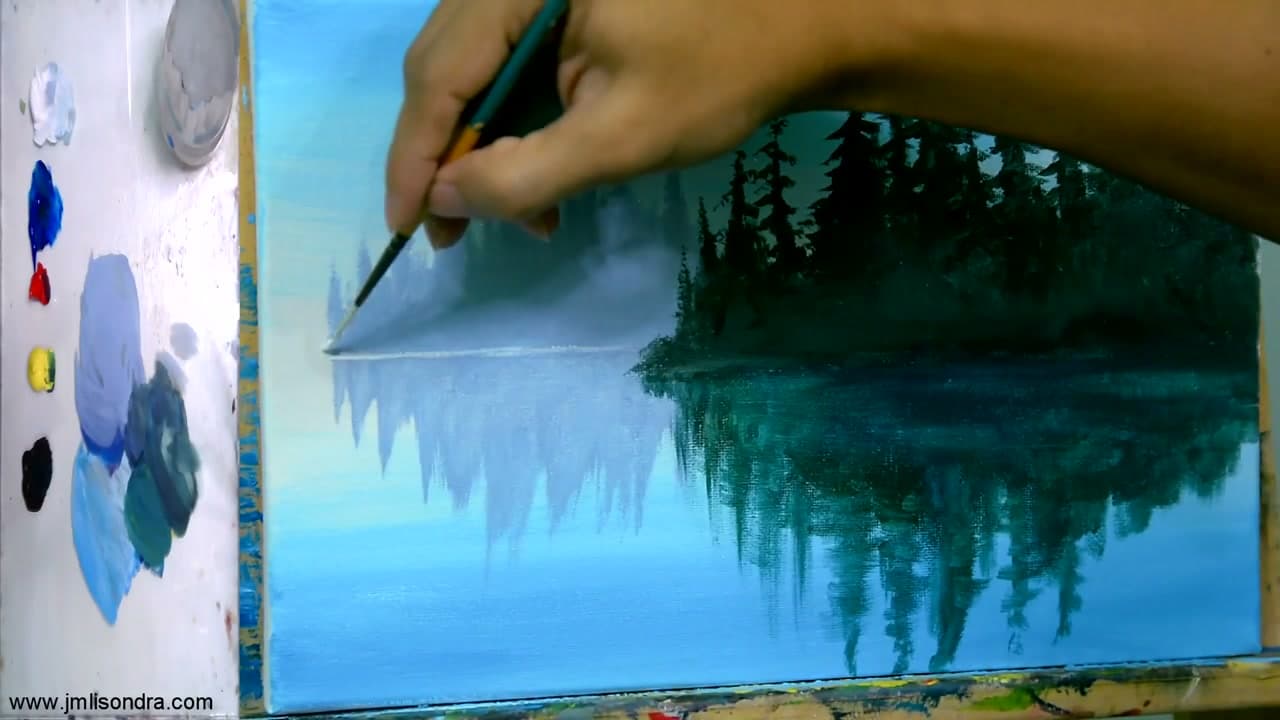
Repeat the same tree shapes below the waterline in a darker, softer blue-green. Pull the strokes downward from the bank and let the edges stay blurry. A reflection with crisp edges stops reading as water.

Tip

Work the reflection while the water underneath is still slightly wet. The two colours merge and give you the softness for free.

7

Step 7: Cut Horizontal Lines Across It

14:30
Step 7: Step 7: Cut Horizontal Lines Across It

Load a liner brush with white and draw fine horizontal lines across the reflection, especially near the waterline. These breaks are what turn a mirror image into a water surface, and they do more for realism than any amount of detail.

Products used in this step

8

Step 8: Add the Riverbank

16:40
Step 8: Step 8: Add the Riverbank

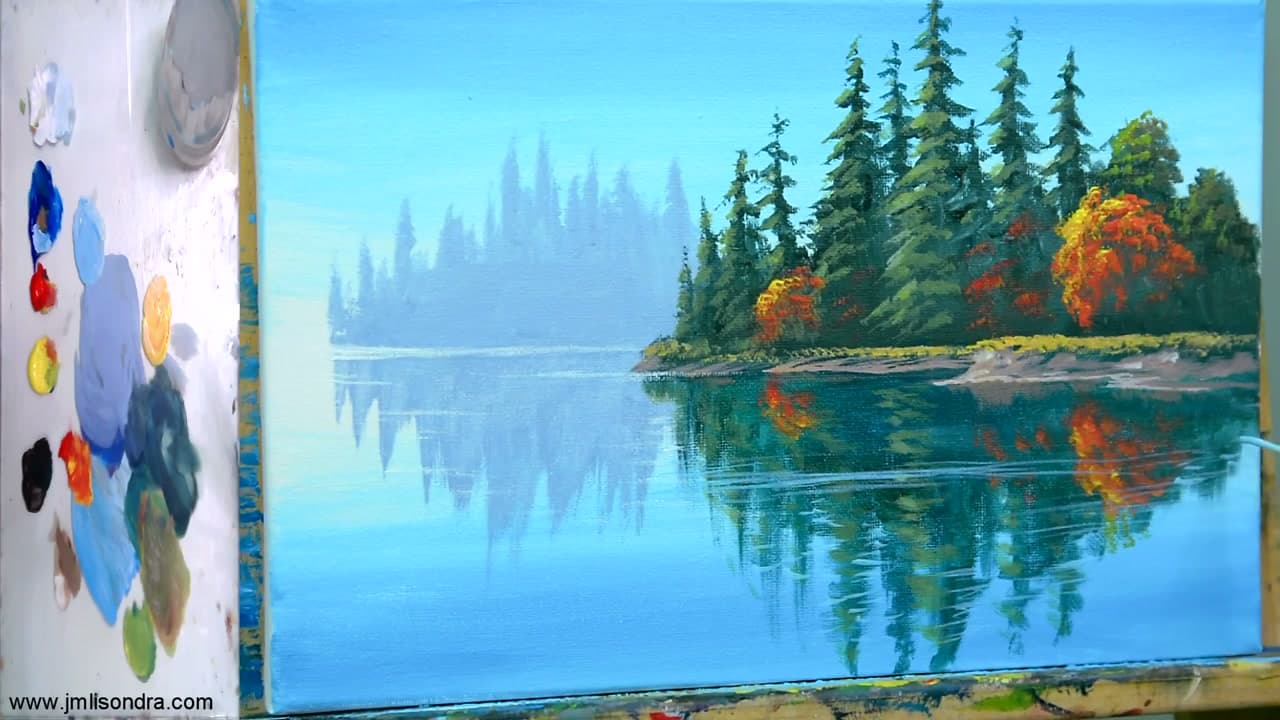
Bring in the bank with browns and a few lighter rocks, then copy its reflection straight down in a darker version of the same colours. The bank gives the eye something to measure the water against.

Products used in this step

9

Step 9: Finish With Ripples and Check It

27:30
Step 9: Step 9: Finish With Ripples and Check It

Scatter a few small light-blue waves across the foreground water and stand back. The reflection should sit darker than what it mirrors, blur toward its edges, and break horizontally where the surface moves. If all three read, the water is done.

Tip

Put the ripples nearest the viewer. Disturbance in the foreground and stillness in the distance is what makes the surface recede.

Products used in this step

Products Used

☐ The Checklist

How to Paint Water and Reflections

Tools
4
Materials
3
Steps
9
Video
31 min

Tools we recommend

Your Guide

Art of John Magne Lisondra (JMLisondra)

As an Amazon Associate we earn from qualifying purchases. Links on this page may be affiliate links - clicking them and buying doesn't change your price, but helps support ShowMeStepByStep.

Tags

Sunday How-To

New painting tutorials, every Sunday

One short email with the week's best step-by-step guides. Free, no spam, unsubscribe anytime.

Did this work for you?

What's next

Related collections

Curated theme pages that include this tutorial.

Weekly Digest

Liked this painting tutorial?

Pick the categories you want to hear about. Weekly digest of new step-by-step tutorials. No spam, easy unsubscribe.

Send me tutorials about

We only email about new tutorials. Easy unsubscribe anytime.