How to Knit Cables

KnittingMedium16:238 stepsPart of DIY Crafts for BeginnersBrowse more →
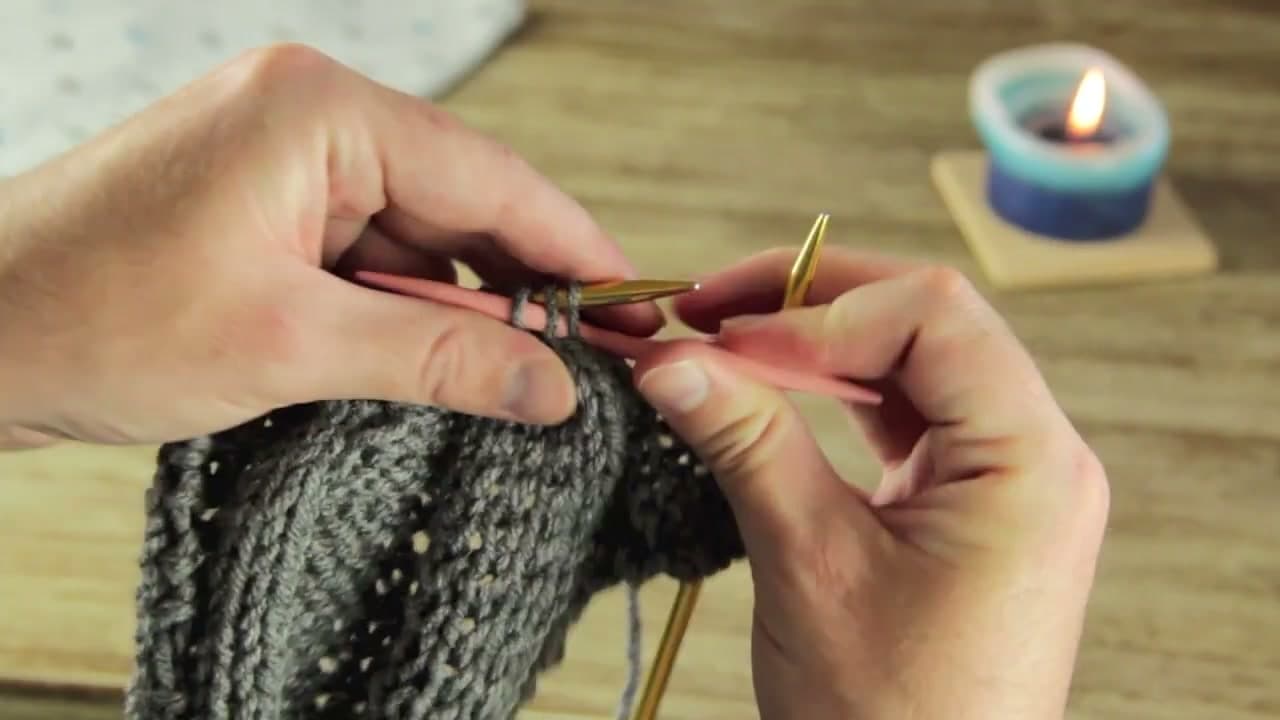
The finished result: How to Knit Cables

By CraftingStepByStepPublished

Based on a video by RJ Knits.

A cable is not a new stitch. You already know both halves of it. It is a handful of knit stitches that swap places with the stitches beside them, parked on a spare needle while you work past them. That swap is the entire trick, and it is why a rope of knitting looks like it climbs over itself.

Ryan at RJ Knits runs two cables at once on one grey swatch in this video. A narrow one he walks left and right across the fabric, and a six stitch panel he twists into a rope. He uses a hooked cable needle. If you do not own one, a double pointed needle or a pencil about the same thickness as your working needles will hold the stitches fine.

Patterns write this as C6B and C6F, and those letters carry the whole instruction. The number is how many stitches are in the cable. B means hold the spare needle behind the work, and the cable leans right. F means hold it in front, and the cable leans left. If the rest of the shorthand in your pattern still looks like code, reading a knitting pattern unpacks it line by line.

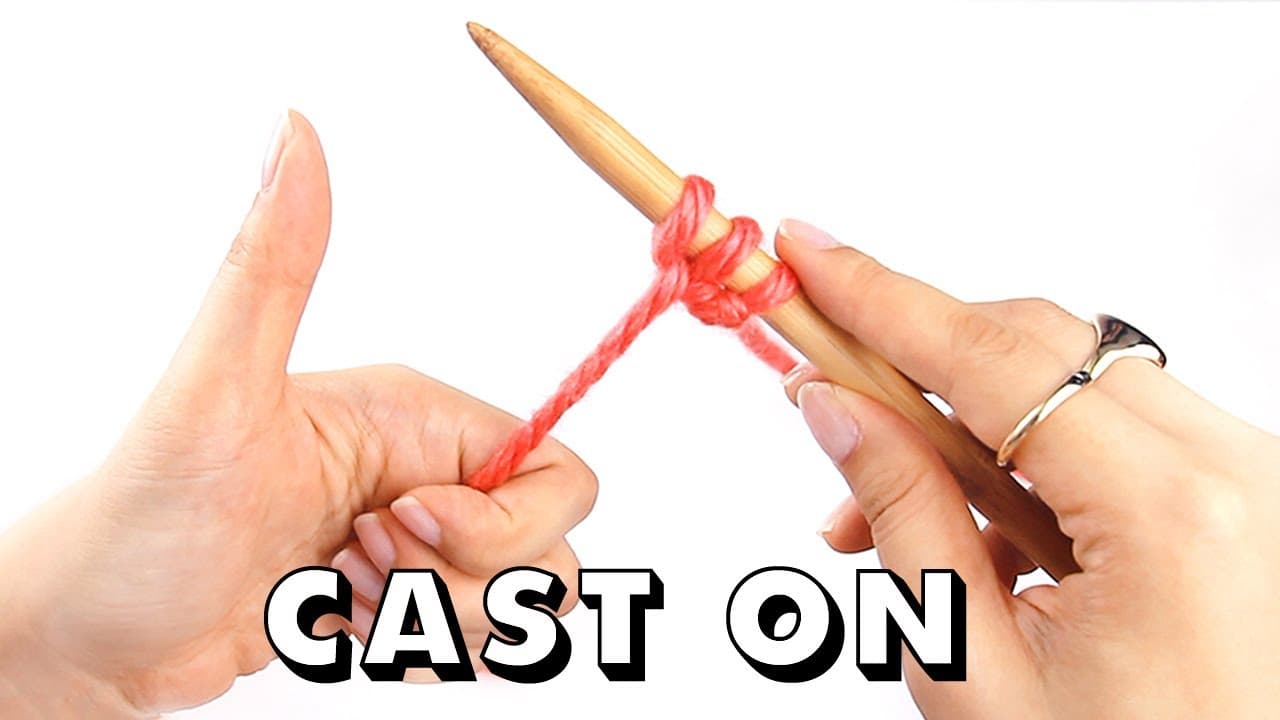
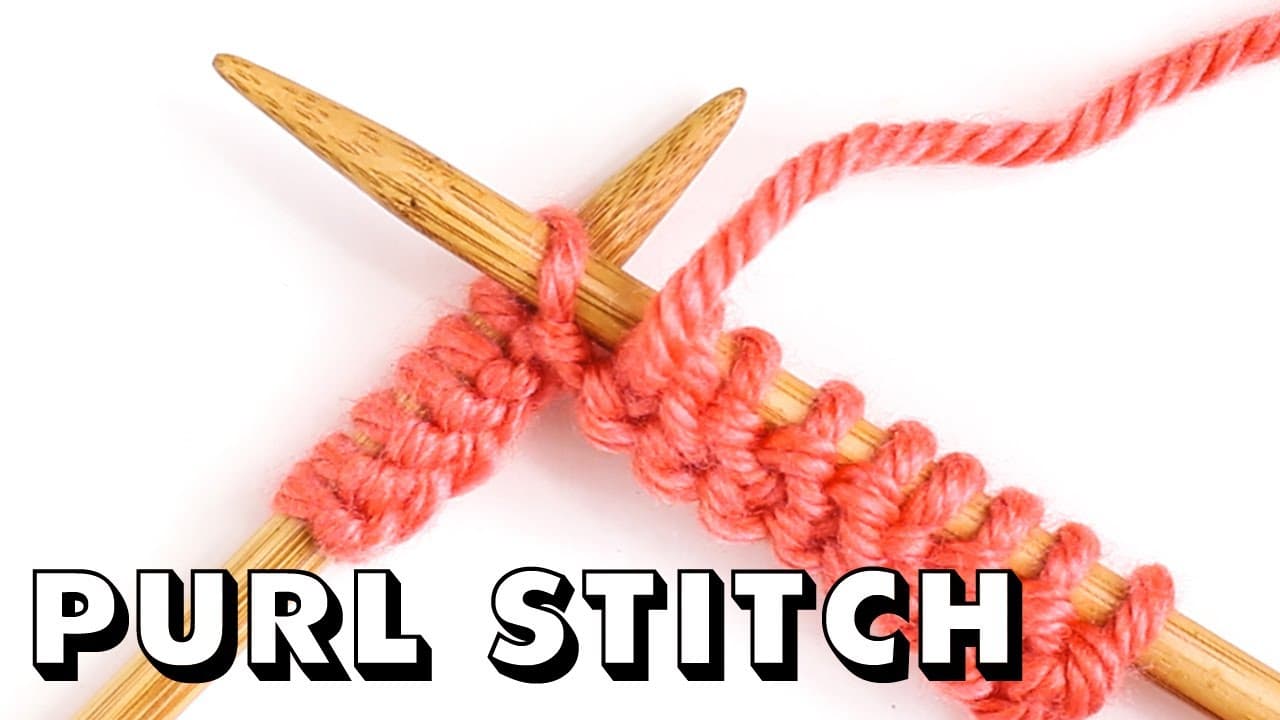
Get comfortable with knits and purls before you cross anything, because a cable column sits in stockinette with purl stitches running down both sides. If that pairing is new, start with knitting and purling together, or with casting on if you are starting from nothing at all. A cabled panel down the middle of a plain scarf is the usual first real project once the cross stops feeling awkward.

What you'll need

Step-by-Step Guide

8 steps · about 16 minutes.Check off each step as you go and your progress saves automatically.

1

Stretch the Ribbed Swatch to Find the Cable Column

1:03
Step 1: Stretch the Ribbed Swatch to Find the Cable Column - How to Knit Cables

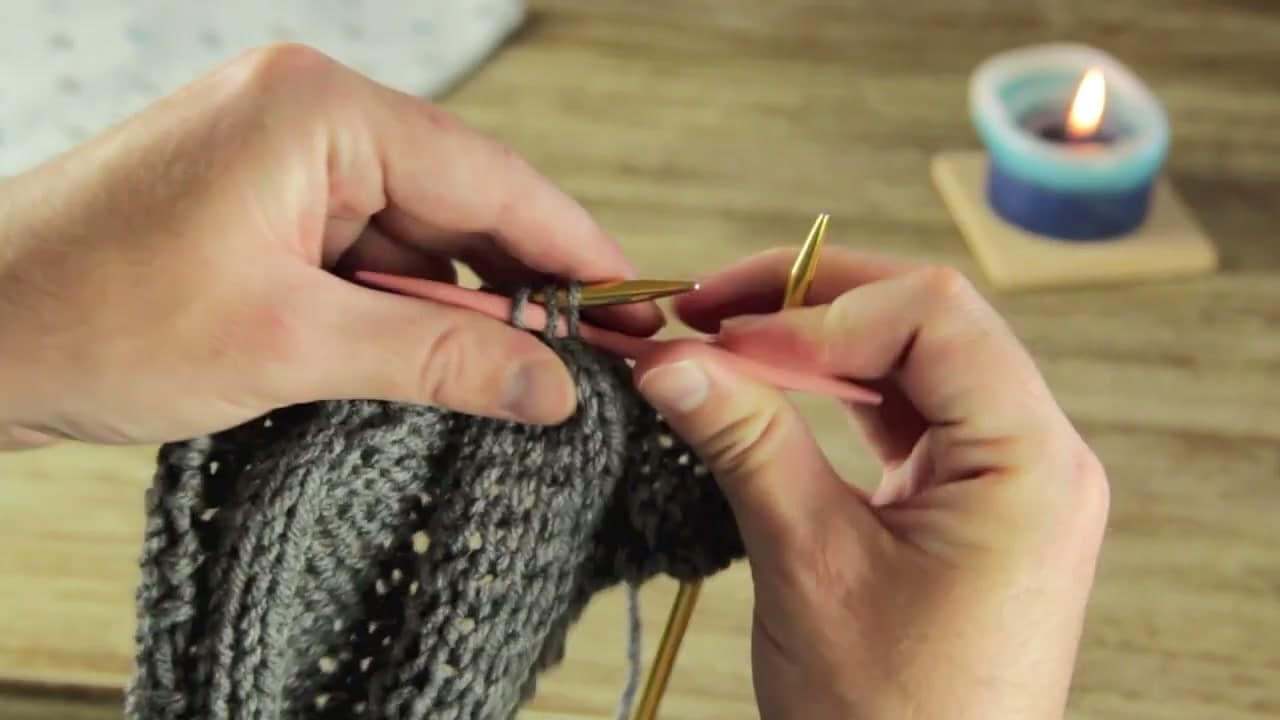
Set up a rib before you cross anything. A column of knit stitches, two or three purl stitches beside it, repeated across the row. The knit column is the cable. The purl stitches on either side are the valley it sits in, and they are the reason a finished rope stands proud of the fabric instead of vanishing into it.

Ryan runs two sizes side by side on this swatch. A narrow cable three stitches wide, and a six stitch panel. Three is a comfortable place to start. Six pulls tight and takes more wrestling.

Tip

The back of the swatch is stockinette too. On wrong side rows you knit the knits and purl the purls with no crossing at all, so all the shaping happens on the side facing you.
2

Slip Two Stitches Onto the Cable Needle

3:06
Step 2: Slip Two Stitches Onto the Cable Needle - How to Knit Cables

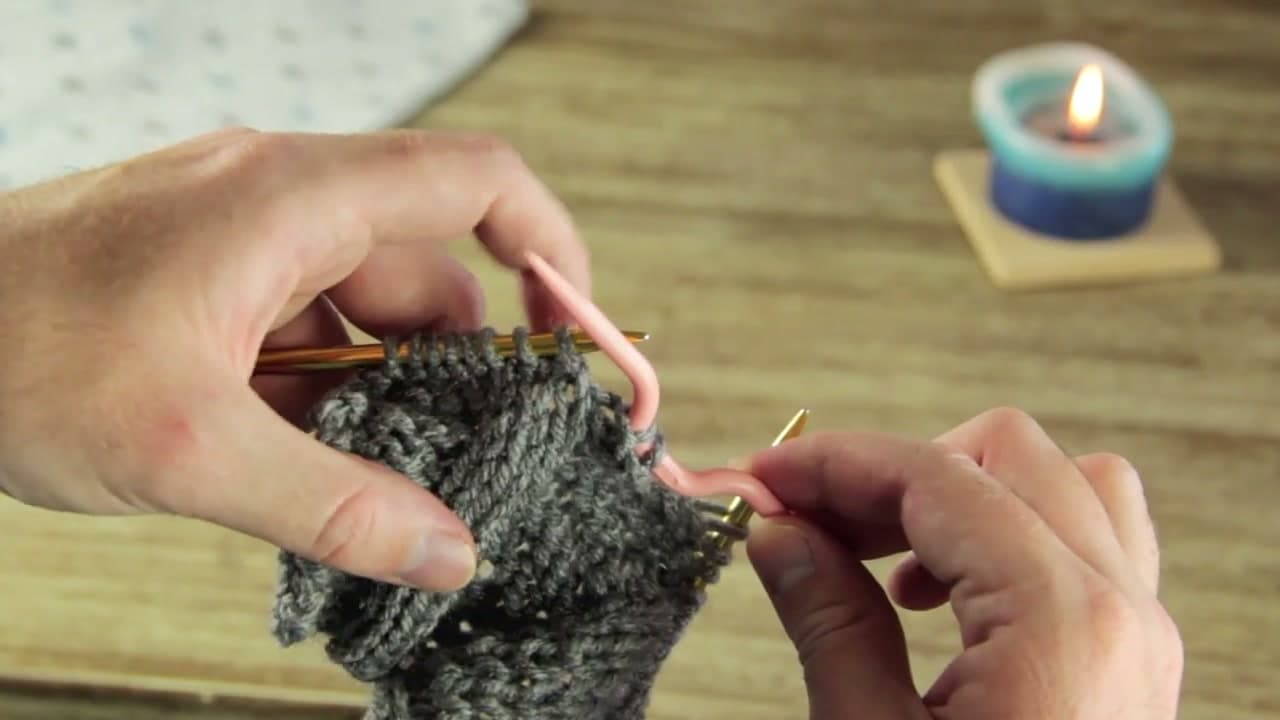
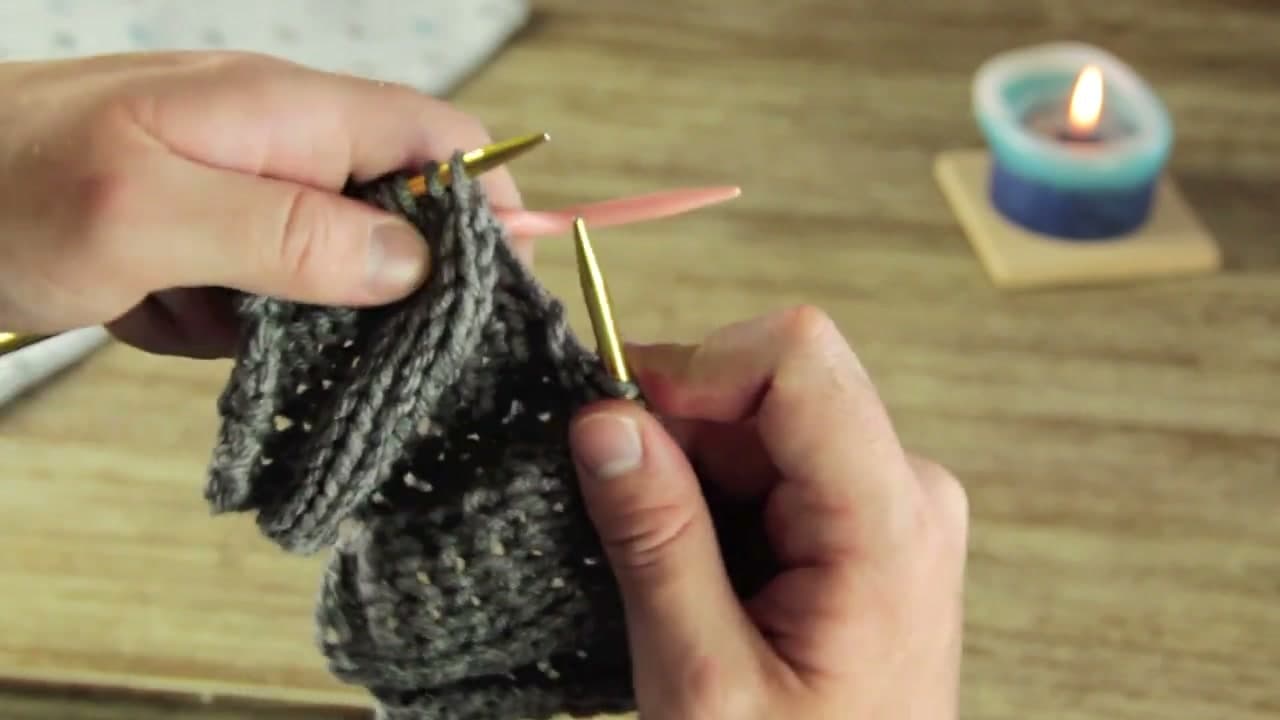
Work along the row until two stitches are left before the cable column. Those two are purl stitches, part of the background. Slide the cable needle through both of them and lift them clean off the left needle.

They stay parked there while you deal with the cable. Nothing is worked on the cable needle at this point, and nothing is twisted. You are only getting two stitches out of the way so the cable can move over the top of them.

Tip

A hooked cable needle grips better than a straight one, but any spare needle close to your working size will hold two stitches. Going much thinner stretches them out and leaves a loose row.

3

Hold the Cable Needle at the Back and Knit the Cable Stitches

3:16
Step 3: Hold the Cable Needle at the Back and Knit the Cable Stitches - How to Knit Cables

Let the cable needle drop behind the work and leave it hanging. Pinch it between two fingers if it swings around. Then knit the cable stitches straight off the left needle as you normally would.

Holding those two stitches at the back is what sends the cable to the right. The cable column has now travelled over the top of them. Everything on this row is worked with your usual needles, so the crossing takes no new hand movement at all.

Tip

It will feel tight and awkward on the first cross. That is the fabric, not a mistake. Tug the working yarn a little looser on the stitch either side of the cross and the next row will behave.

4

Bring the Cable Needle Back Up and Purl the Held Stitches

6:42
Step 4: Bring the Cable Needle Back Up and Purl the Held Stitches - How to Knit Cables

With the cable knitted, bring the cable needle back up in front of the left needle so the two waiting stitches sit in line again. Purl them straight off it.

Purl, not knit. This catches people out every time. Those two stitches were purls before the cross and they are still purls after it, and knitting them leaves two stray bumps sitting in the middle of the valley. Slide the cable needle free once both are worked, then purl the rest of the row.

Tip

If you would rather not work off the cable needle at all, slip the two stitches back onto the left needle first and purl them from there. Same result, one less thing to juggle.

5

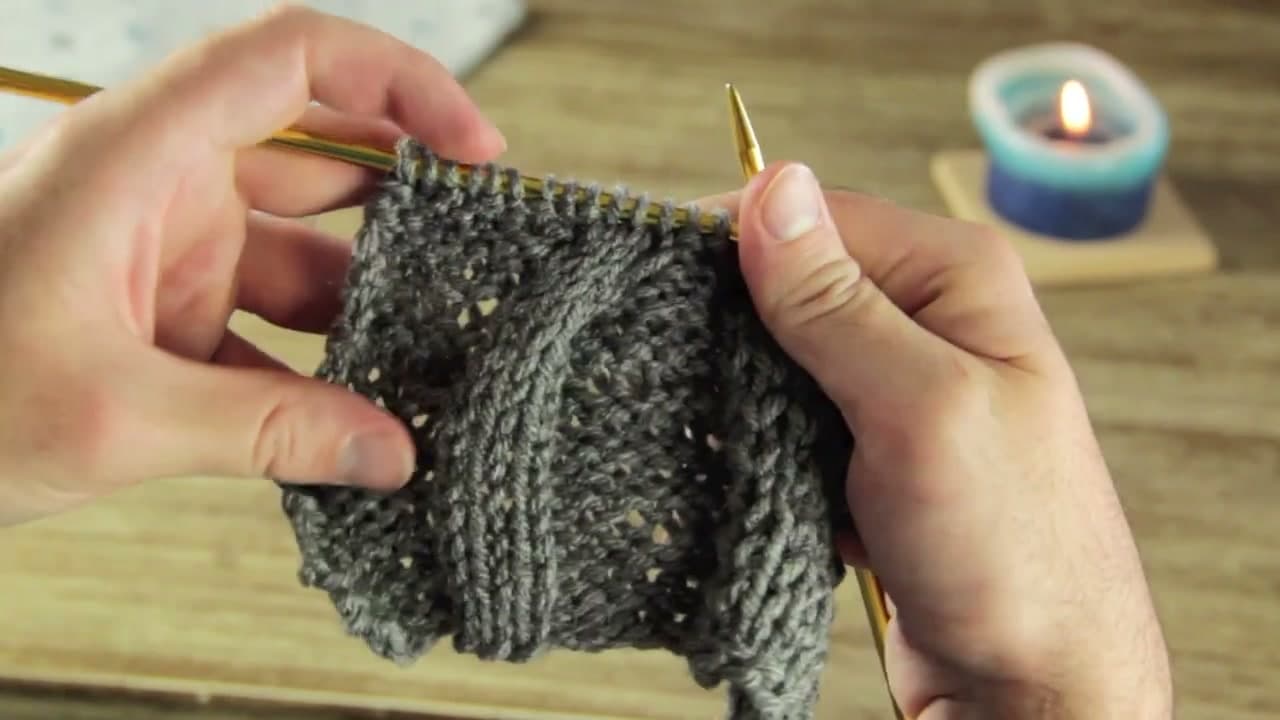
Spread the Swatch to See the Cable Lean Right

7:31
Step 5: Spread the Swatch to See the Cable Lean Right - How to Knit Cables

Cross again a few rows later, then spread the swatch out flat and look at it. The cable has shifted four stitches across and the lean is obvious now. One cross on its own barely shows. Two or three stacked up is when the line appears.

How many plain rows you leave between crosses sets the angle. Fewer rows gives a steep diagonal. More rows gives a lazy curve. Neither is wrong, and the swatch is where you find out which one you want.

Tip

Count rows between crosses and write the number down. A cable that wanders because you crossed on row 5 one time and row 7 the next reads as a mistake even when nothing is technically wrong.

6

Hold the Cable Needle in Front of the Work for a Left Cross

8:40
Step 6: Hold the Cable Needle in Front of the Work for a Left Cross - How to Knit Cables

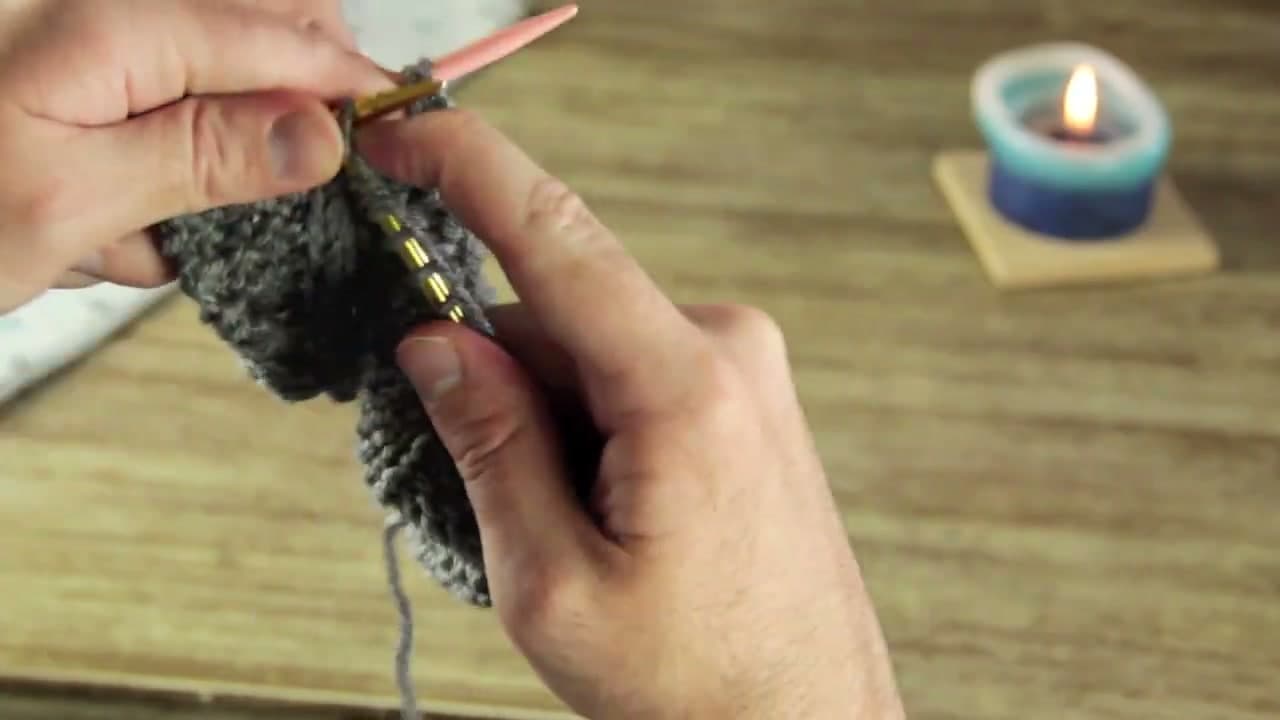
To send the cable back the other way, reverse which stitches go on the cable needle. Slip the cable stitches themselves onto it and hold it across the front of the work, flat against the fabric.

Purl the two background stitches sitting behind it. Bring the yarn to the back, then knit the cable stitches off the cable needle. The cable has moved left. Front means left, back means right, and that one sentence covers every cable you will ever knit.

Tip

The work looks like a tangle while the cable needle is sitting across the front. Keep going. It pulls itself into shape as soon as the cable stitches are knitted off.

Used in this stepcable needle set
7

Hold Up the Swatch to Read the Zigzag Cable Path

11:00
Step 7: Hold Up the Swatch to Read the Zigzag Cable Path - How to Knit Cables

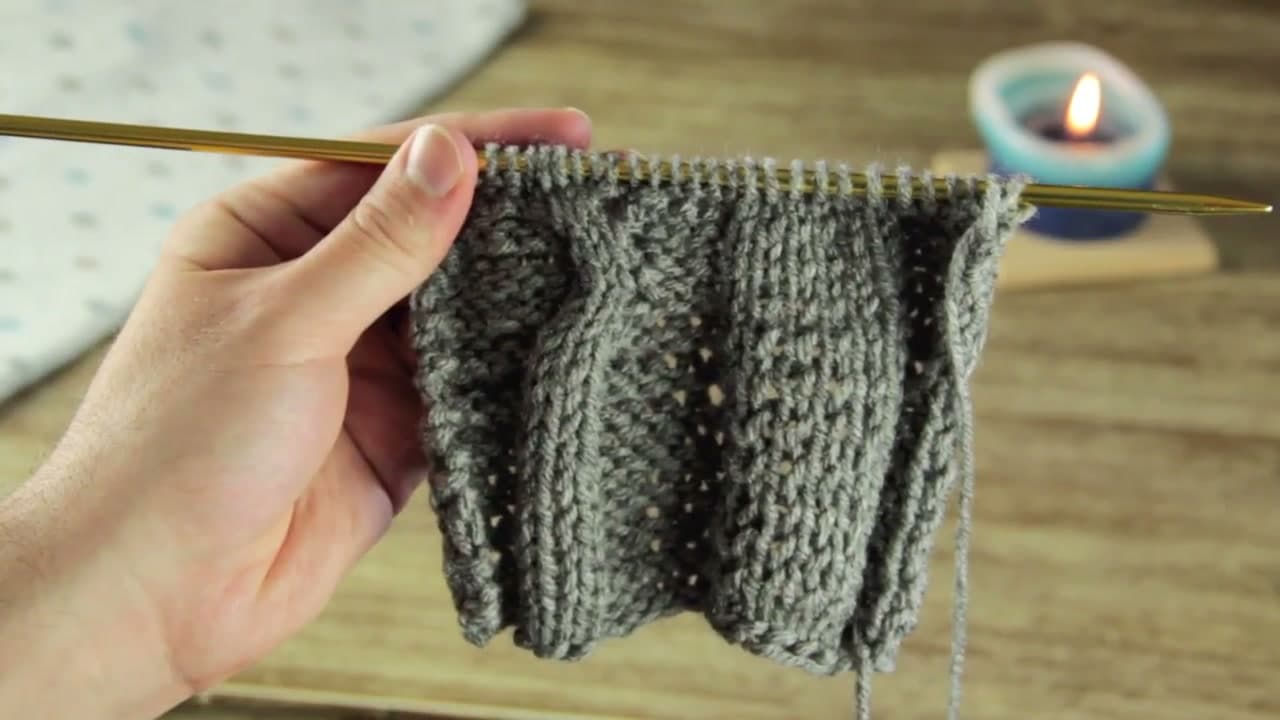
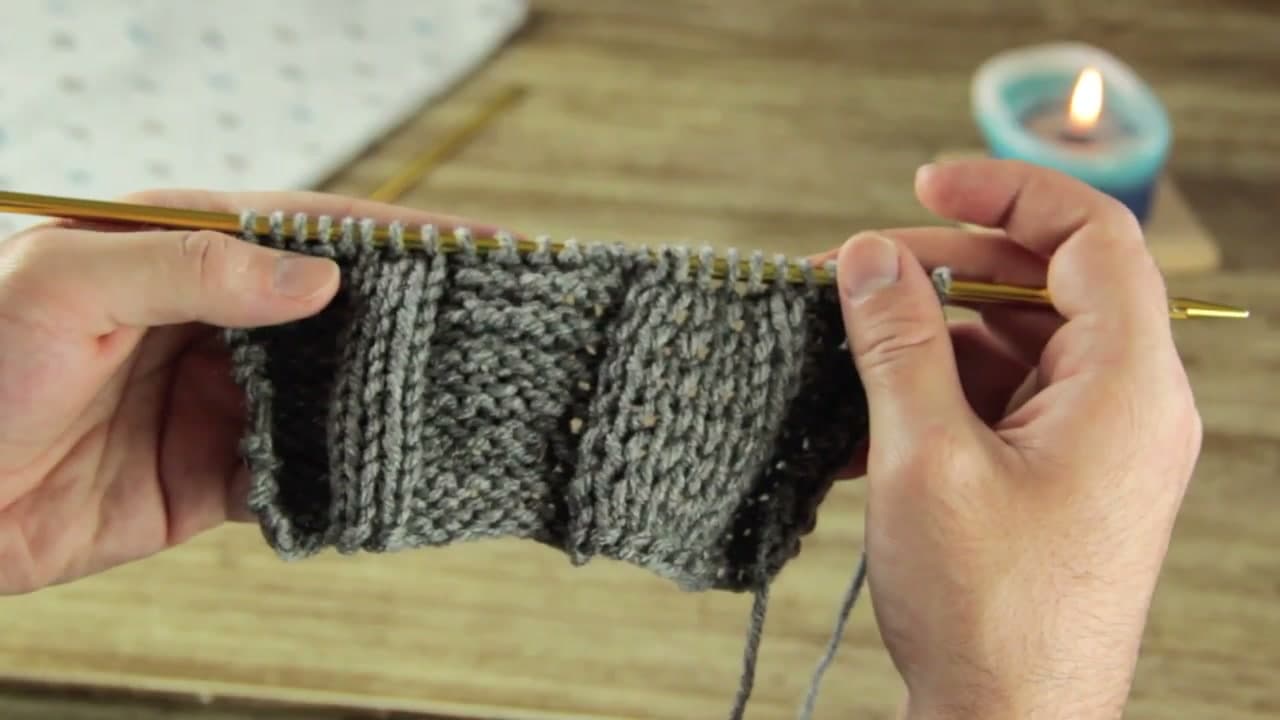
Hold the swatch up once you have crossed a few times each way. The narrow cable climbs to the right, then swings back to the left, a zigzag running up the purl ground. Keep alternating and it will travel as far in either direction as you want it to.

Two or three stitches per cross is the working limit. Push to four or five and the fabric goes rigid, the stitches fight the needle, and the row takes twice as long for no extra payoff.

Tip

Count the rows on the wrong side rather than the right side. The purl bumps on the back are far easier to count than the crossed stitches on the front, especially in a dark yarn.

Used in this steprow counter
8

Slip Three Stitches Onto the Cable Needle for the Rope Twist

12:10
Step 8: Slip Three Stitches Onto the Cable Needle for the Rope Twist - How to Knit Cables

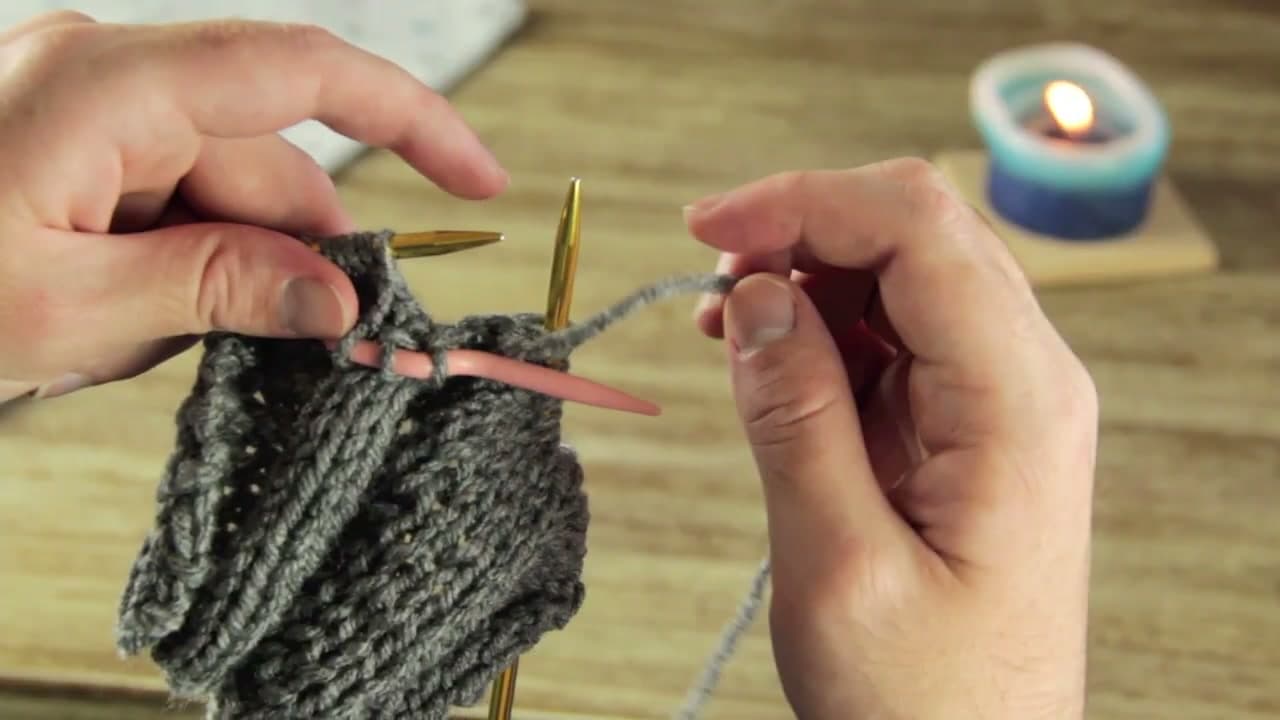
A rope cable works on one wide panel instead of travelling across the fabric. Purl up to the six stitch column, slip the first three onto the cable needle, and hold it behind the work. Knit the next three off the left needle, then knit the three waiting on the cable needle.

Six stitches crossing over six is tight, so knit two or three plain rows before you twist again. Those rows give the yarn slack. Repeat every few rows and the rope grows.

Tip

Hold the three stitches in front instead of behind and the rope twists the other way. Pick one direction and stay with it, or the rope will look like it changed its mind halfway up.

Used in this stepcable needle set

Keep going

How to Knit a Scarf for Beginners

Products Used

The Checklist

How to Knit Cables

Tools
6
Materials
1
Steps
8
Video
16 min

Tools we recommend

Your Guide

RJ Knits

As an Amazon Associate we earn from qualifying purchases. Links on this page may be affiliate links - clicking them and buying doesn't change your price, but helps support CraftingStepByStep.

Tags

Sunday How-To

New knitting tutorials, every Sunday

One short email with the week's best step-by-step guides. Free, no spam, unsubscribe anytime.

Did this work for you?

What's next

Related collections

Curated theme pages that include this tutorial.

Weekly Digest

Liked this knitting tutorial?

Pick the categories you want to hear about. Weekly digest of new step-by-step tutorials. No spam, easy unsubscribe.

Send me tutorials about

We only email about new tutorials. Easy unsubscribe anytime.