How to Knit Cables
Source: RJ Knits • Full tutorial: www.craftingstepbystep.com/knitting/how-to-knit-cables
- Difficulty
- Medium
- Hands-on time
- About 40 minutes
- Cost
- About $2 to $5

Tools
- Knitting needles
- Cable needle
- Stitch markers
- Row counter
- Tapestry needle
- Scissors
Materials
- Worsted weight yarn
Steps
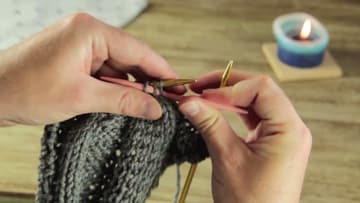
1. Stretch the Ribbed Swatch to Find the Cable Column
Set up a rib before you cross anything. A column of knit stitches, two or three purl stitches beside it, repeated across the row.
Tip: The back of the swatch is stockinette too. On wrong side rows you knit the knits and purl the purls with no crossing at all, so all the shaping happens on the side facing you.
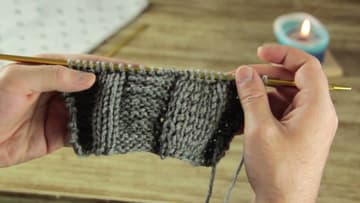
2. Slip Two Stitches Onto the Cable Needle
Work along the row until two stitches are left before the cable column. Those two are purl stitches, part of the background.
Tip: A hooked cable needle grips better than a straight one, but any spare needle close to your working size will hold two stitches.
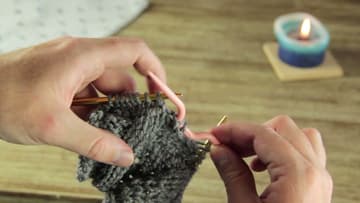
3. Hold the Cable Needle at the Back and Knit the Cable Stitches
Let the cable needle drop behind the work and leave it hanging. Pinch it between two fingers if it swings around.
Tip: It will feel tight and awkward on the first cross. That is the fabric, not a mistake.
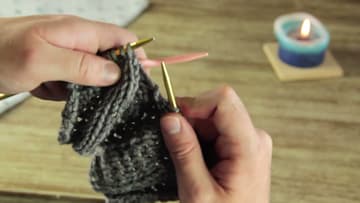
4. Bring the Cable Needle Back Up and Purl the Held Stitches
With the cable knitted, bring the cable needle back up in front of the left needle so the two waiting stitches sit in line again. Purl them straight off it.
Tip: If you would rather not work off the cable needle at all, slip the two stitches back onto the left needle first and purl them from there. Same result, one less thing to juggle.
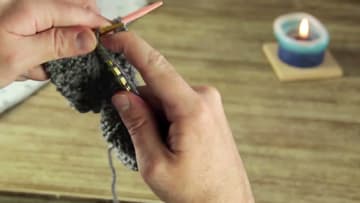
5. Spread the Swatch to See the Cable Lean Right
Cross again a few rows later, then spread the swatch out flat and look at it. The cable has shifted four stitches across and the lean is obvious now.
Tip: Count rows between crosses and write the number down.
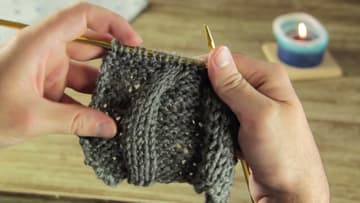
6. Hold the Cable Needle in Front of the Work for a Left Cross
To send the cable back the other way, reverse which stitches go on the cable needle. Slip the cable stitches themselves onto it and hold it across the front of the work, flat against the fabric.
Tip: The work looks like a tangle while the cable needle is sitting across the front. Keep going. It pulls itself into shape as soon as the cable stitches are knitted off.
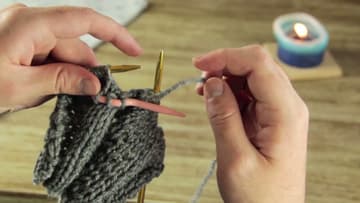
7. Hold Up the Swatch to Read the Zigzag Cable Path
Hold the swatch up once you have crossed a few times each way. The narrow cable climbs to the right, then swings back to the left, a zigzag running up the purl ground.
Tip: Count the rows on the wrong side rather than the right side. The purl bumps on the back are far easier to count than the crossed stitches on the front, especially in a dark yarn.
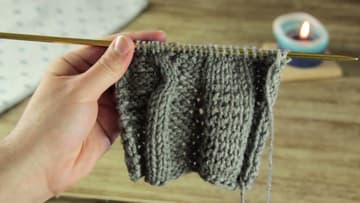
8. Slip Three Stitches Onto the Cable Needle for the Rope Twist
A rope cable works on one wide panel instead of travelling across the fabric. Purl up to the six stitch column, slip the first three onto the cable needle, and hold it behind the work.
Tip: Hold the three stitches in front instead of behind and the rope twists the other way.