How to Make a Rainbow Loom Bracelet

Jewelry MakingEasy6:1710 stepsPart of DIY Crafts for BeginnersBrowse more →
The finished result: How to Make a Rainbow Loom Bracelet

By CraftingStepByStepPublished

Based on a video by Djamila.

The fishtail is the bracelet most kids learn first on a Rainbow Loom, and it is a good one to learn alongside them. Djamila shows the whole thing up close in her video: a black band twisted onto two pins, two bands of each rainbow colour, and one move repeated until the bracelet is long enough. It takes about twenty minutes the first time and ten once your hands know it.

What you need to make a Rainbow Loom bracelet

  • A loom. The Rainbow Loom kit comes with the loom, a hook, a starter pack of bands and clips. The fishtail only uses two pins.
  • A hook. The plastic one in the kit works. A metal hook grips the bands better and lasts longer.
  • Bands. For this bracelet: four black bands and six of each colour (red, orange, yellow, green, blue, purple, pink).
  • A C-clip or S-clip. Either one closes the bracelet. S-clips are a little easier for small fingers.

Fishtail on the loom or on two fingers

You do not need a loom for a fishtail. Any two upright posts work. Hold up your index and middle finger, twist the first band into a figure-8 across them, and follow the same steps, lifting the bottom band over each finger tip. Two pencils taped to a table edge work too. The loom keeps the work steady and frees both hands, which matters more for children than for adults.

Colour pattern ideas

Rainbow order is the classic: two of each colour, repeated three times. Once you know the pattern, swap the colours freely.

  • School colours or a favourite team, alternating two and two.
  • Red and green with a white band between them for Christmas.
  • Orange and black for Halloween.
  • One solid colour with glitter bands every few rows.
  • All black ends, as in the video, which makes the rainbow pop.

Sizing a bracelet to a child's wrist

Bands stretch, so a loom bracelet is forgiving. Wrap the unfinished bracelet around the wrist before you take it off the loom. It should meet with the clip and still slide over the hand. A young child's wrist usually needs four or five fewer bands than an adult's. To lengthen it, add a few more black bands at the end or run one more set of colours.

Troubleshooting a fishtail bracelet

  • The bracelet unravels at the start. The first band was not twisted. Only that first band gets the figure-8.
  • Bands keep snapping. Cheap bands dry out. Fresh bands from a sealed pack stretch further. Store them out of the sun.
  • The pattern looks messy. You lifted a top band by mistake. Always hook the bottom band, and push the stack down after every pass.
  • The clip pops off. Catch both loops at the end in the clip, not one.

A loom, a pile of bands and a grandchild on a rainy afternoon is about as good as craft time gets. You will both have matching bracelets by teatime.

More bracelets to try

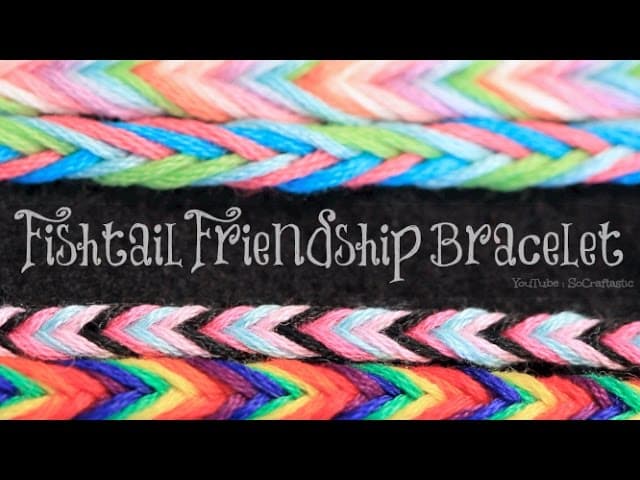
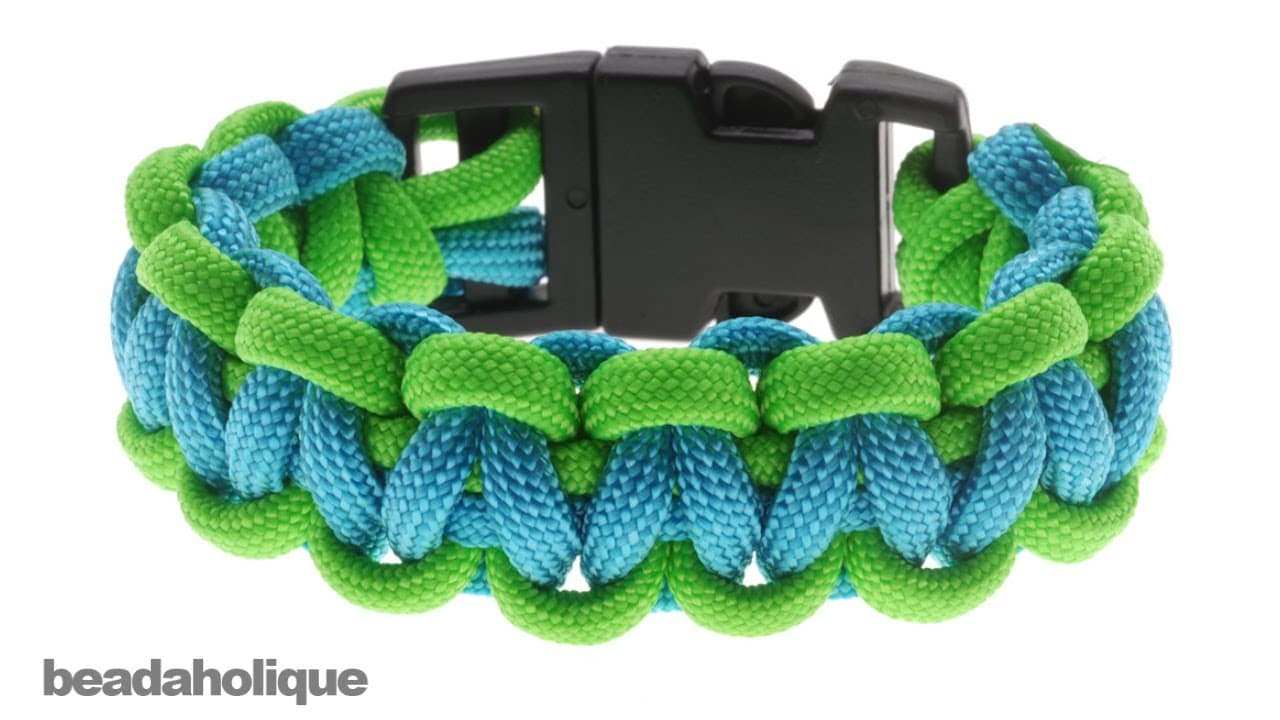
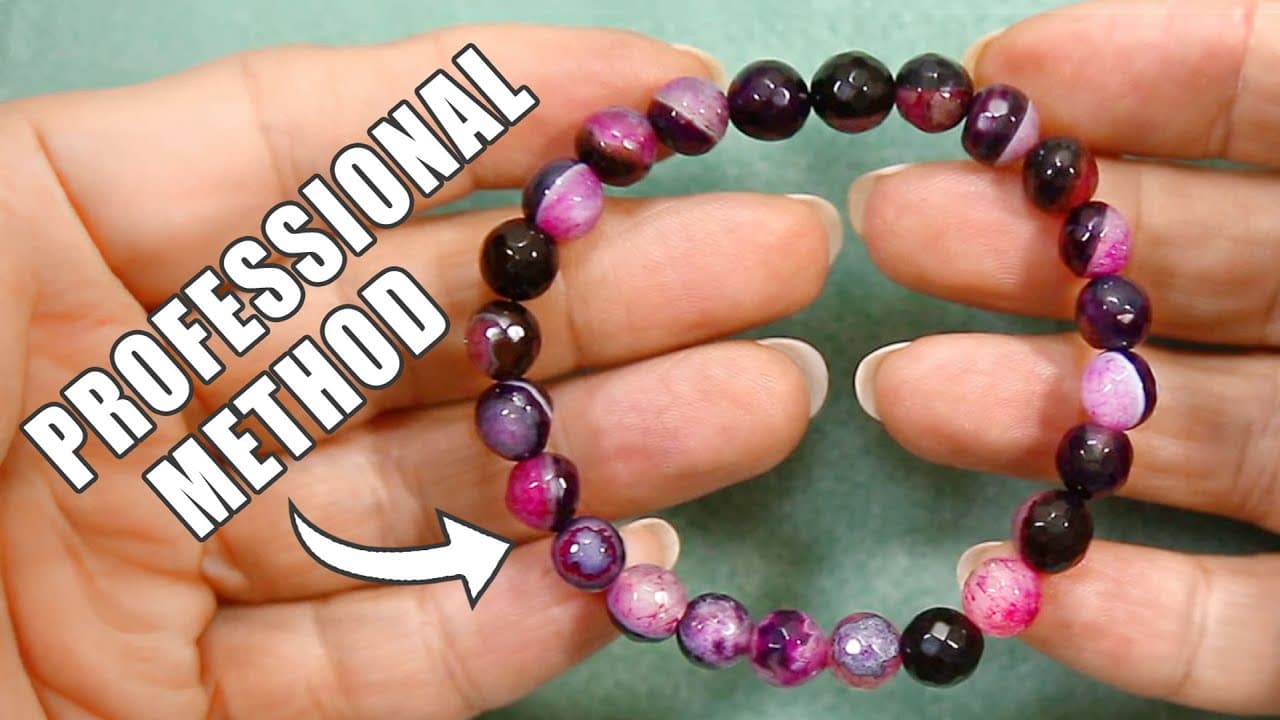
When you want a change from rubber bands, try a knotted friendship bracelet, simple string bracelets or a beaded bracelet. For an adjustable finish on any cord bracelet, learn how to tie a bracelet knot.

What you'll need

Step-by-Step Guide

10 steps · about 6 minutes.Check off each step as you go and your progress saves automatically.

1

Gather the Rainbow Loom, Hook and Rubber Bands

1:07
Step 1: Gather the Rainbow Loom, Hook and Rubber Bands - How to Make a Rainbow Loom Bracelet

Lay everything out before you start. You need the Rainbow Loom, the hook, one clip, four black bands and six bands in each rainbow colour. Sort the colours into little piles in the order you will use them. That way you are not hunting for the next orange with a half-made bracelet on the pins. The finished sample next to the loom shows where you are headed.

Tip

A small tray or an egg box keeps the band colours apart and stops them rolling off the table.

2

Twist the First Black Band Into a Figure-8 on Two Loom Pins

1:42
Step 2: Twist the First Black Band Into a Figure-8 on Two Loom Pins - How to Make a Rainbow Loom Bracelet

Pick two pins side by side on the loom. Stretch a black band over one pin, give it one twist so it crosses in the middle, and loop the other end over the second pin. You now have a figure-8. This twist is what locks the start of the bracelet. Skip it and the whole fishtail slides apart when you take it off.

Tip

Only the first band gets twisted. Every band after this one goes on flat.

3

Stack Two More Rubber Bands Flat Over the Figure-8

2:01
Step 3: Stack Two More Rubber Bands Flat Over the Figure-8 - How to Make a Rainbow Loom Bracelet

Take your first colour, red in the video, and stretch it straight across the same two pins with no twist. Add a second red the same way. Now there are three bands on the pins: the black figure-8 at the bottom and two flat reds on top. Three bands on the pins at all times is the whole rule of the fishtail.

Tip

Push each new band down the pins so there is room above it for the next one.

4

Hook the Bottom Rubber Band Up and Over the Loom Pin

2:10
Step 4: Hook the Bottom Rubber Band Up and Over the Loom Pin - How to Make a Rainbow Loom Bracelet

Slide the hook down the outside of one pin and catch the bottom band, the black one. Pull it up over the top of the pin and let it drop into the middle. Do the same on the other pin. The black band now wraps around the reds instead of the pins. Push the bands down gently afterwards.

Tip

Always go in from the outside of the pin. It keeps you from snagging the top bands by mistake.

5

Add One New Rubber Band at a Time to the Fishtail

2:28
Step 5: Add One New Rubber Band at a Time to the Fishtail - How to Make a Rainbow Loom Bracelet

With two bands left on the pins, stretch on one new band so you are back to three. In the video that is the first orange. Then repeat the hook move: bottom band up and over, both pins. Add the second orange, hook the bottom band over, and move on to two yellows. One on, one over. That is the rhythm.

Tip

Count out loud with a child: "One on, bottom over, bottom over." It sticks fast.

6

Keep Hooking Bands Over as the Rainbow Fishtail Grows

3:47
Step 6: Keep Hooking Bands Over as the Rainbow Fishtail Grows - How to Make a Rainbow Loom Bracelet

Work through the colours in order, two of each, then start back at red. The fishtail grows down from the pins in a neat V pattern. Each time you hook the bottom band over, check that three bands sit on the pins before the next pass. The pattern runs three times through the rainbow in the video.

Tip

If the chain starts to twist, nudge the bands towards the middle of the pins after each pass.

7

Finish the Rainbow Fishtail With Black End Bands

4:30
Step 7: Finish the Rainbow Fishtail With Black End Bands - How to Make a Rainbow Loom Bracelet

After the last pink, add the black bands. Two or three blacks make the bracelet a little longer and looser on the wrist, and they match the black start. Keep hooking the bottom band over as before. When you get to the end, lift the two bottom bands over the top so only one black band is left on the pins.

Tip

Wrap the bracelet around the wrist now. If it is short, add another black or two.

8

Lift the Finished Loom Bracelet Off the Pins

4:48
Step 8: Lift the Finished Loom Bracelet Off the Pins - How to Make a Rainbow Loom Bracelet

Hold the bracelet so it does not spring loose. Carefully ease the last black band off one pin and slip it onto your hook. Take it off the second pin and put that loop on the hook too. Both ends of the final band are now on the hook, and the bracelet is free of the loom.

Tip

Keep a finger on the band as it comes off. If it pings away the end can unravel.

9

Attach a Clip to the End Loops of the Loom Bracelet

5:25
Step 9: Attach a Clip to the End Loops of the Loom Bracelet - How to Make a Rainbow Loom Bracelet

With the black loops still on the hook, stretch them slightly so they open up. Push the clip onto both loops at once. Once it is on, slide the hook out. The clip now holds the end band and stops the bracelet from coming apart. Djamila uses a clear C-clip from the kit; an S-clip goes on the same way.

Tip

An S-clip has two openings. Use one for the end loops and save the other side for the start.

10

Clip the Two Ends Together to Close the Rainbow Loom Bracelet

5:36
Step 10: Clip the Two Ends Together to Close the Rainbow Loom Bracelet - How to Make a Rainbow Loom Bracelet

Find the black figure-8 at the other end of the bracelet. Hook the free side of the clip through it. The bracelet is now a closed loop. Give it a gentle stretch to check that it fits over your hand. If it feels tight, take the clip off, add more bands next time, and keep this one for a smaller wrist.

Tip

Make a second one in different colours and stack them. They look better in pairs.

Keep going

How to Make String Bracelets - Easy Fishtail Pattern

7 steps · about 8 minutes

Products Used

The Checklist

How to Make a Rainbow Loom Bracelet

Tools
2
Materials
2
Steps
10
Video
6 min

Tools we recommend

Your Guide

Djamila

As an Amazon Associate we earn from qualifying purchases. Links on this page may be affiliate links - clicking them and buying doesn't change your price, but helps support CraftingStepByStep.

Tags

Sunday How-To

New jewelry making tutorials, every Sunday

One short email with the week's best step-by-step guides. Free, no spam, unsubscribe anytime.

Did this work for you?

What's next

Related collections

Curated theme pages that include this tutorial.

Weekly Digest

Liked this jewelry making tutorial?

Pick the categories you want to hear about. Weekly digest of new step-by-step tutorials. No spam, easy unsubscribe.

Send me tutorials about

We only email about new tutorials. Easy unsubscribe anytime.