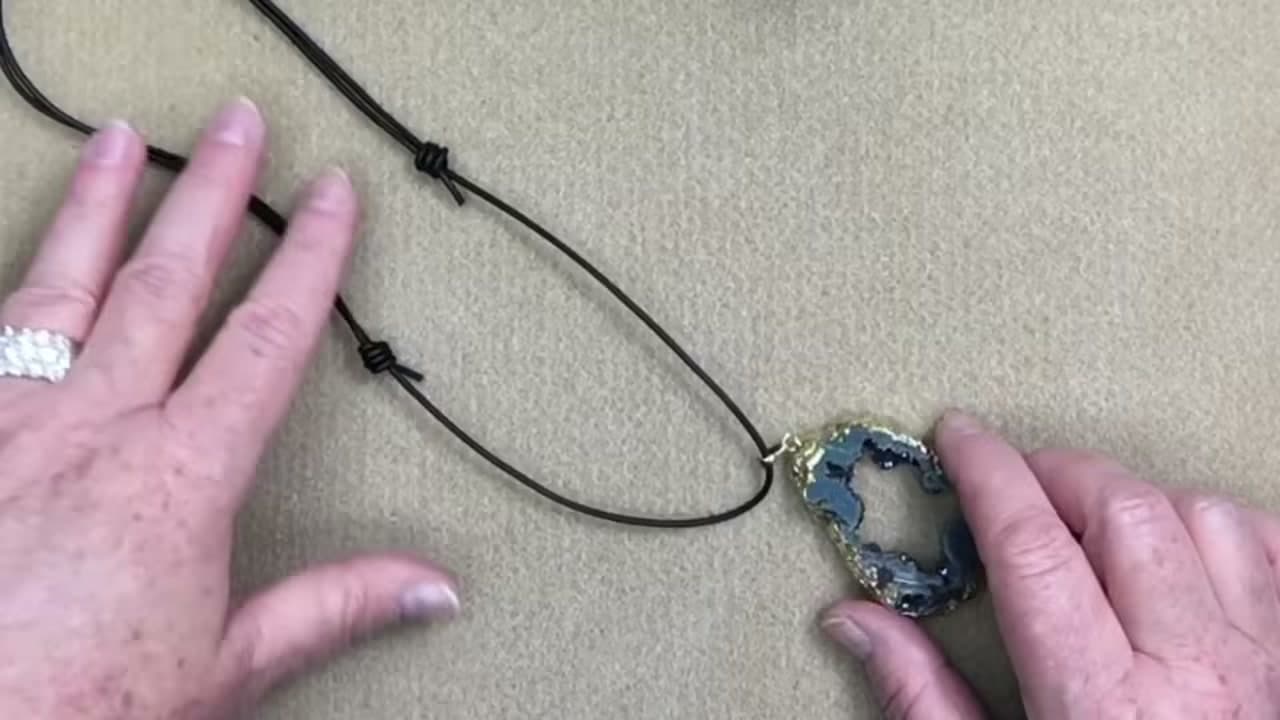
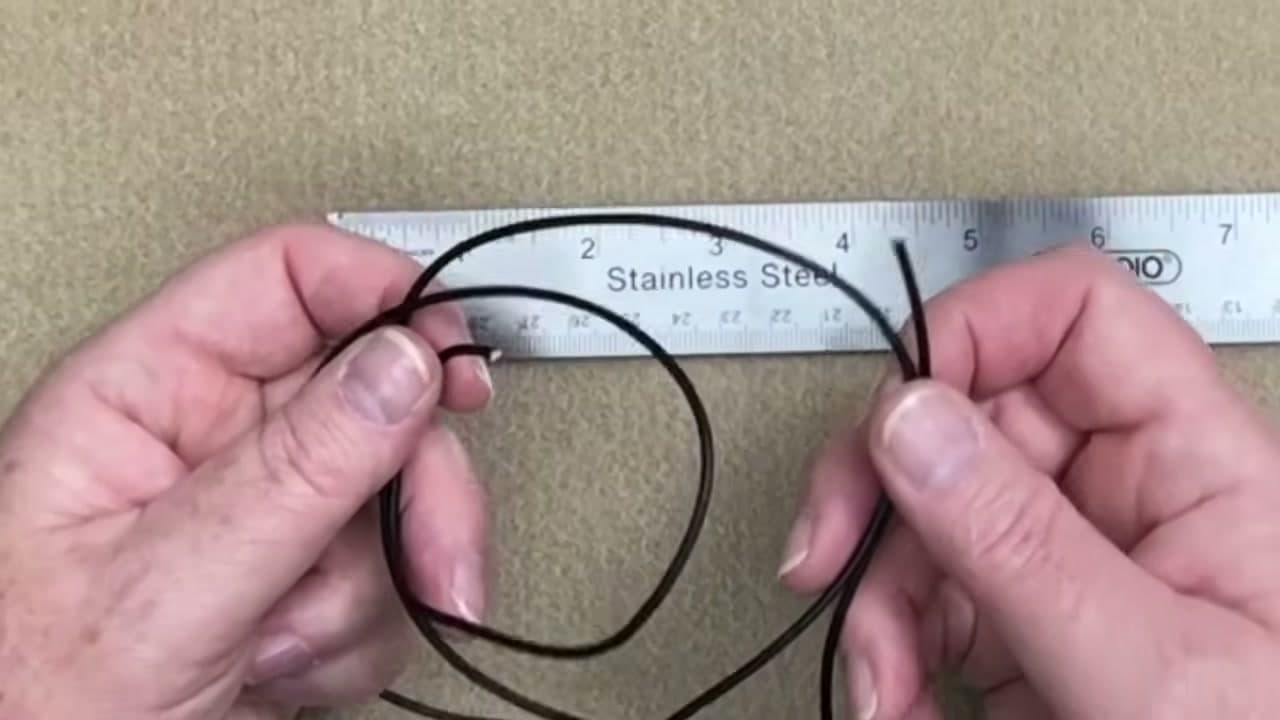
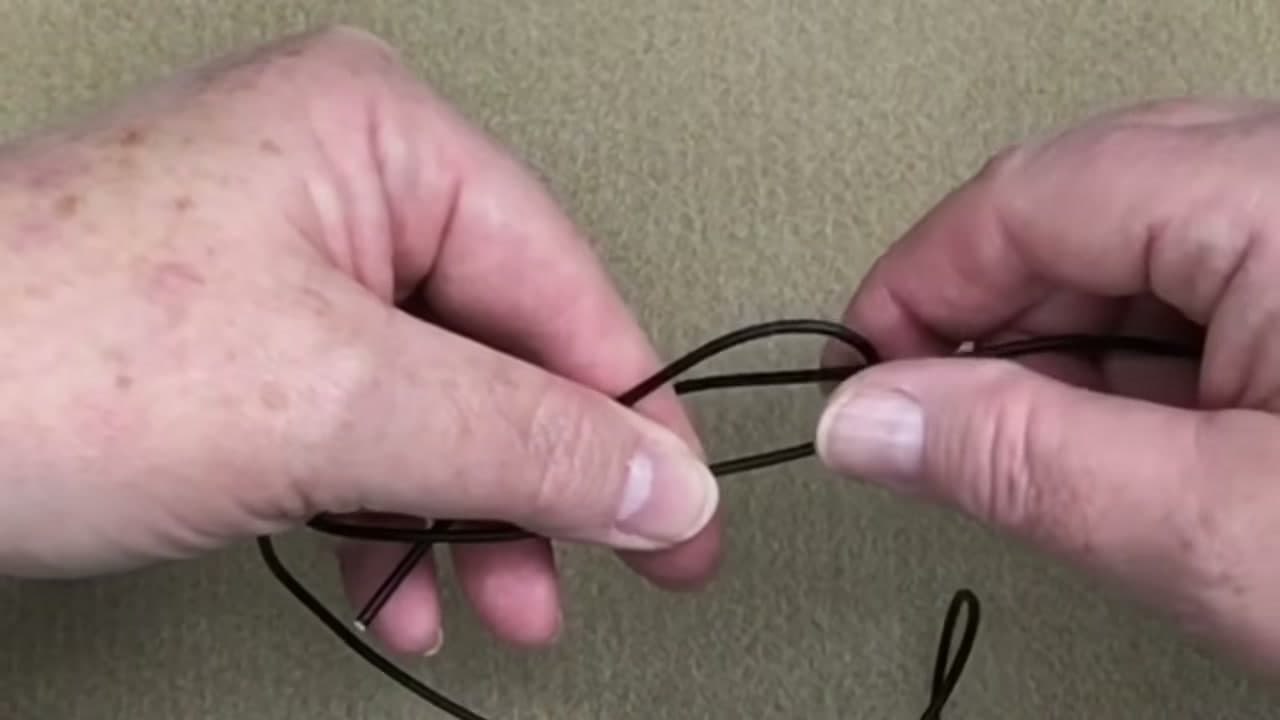
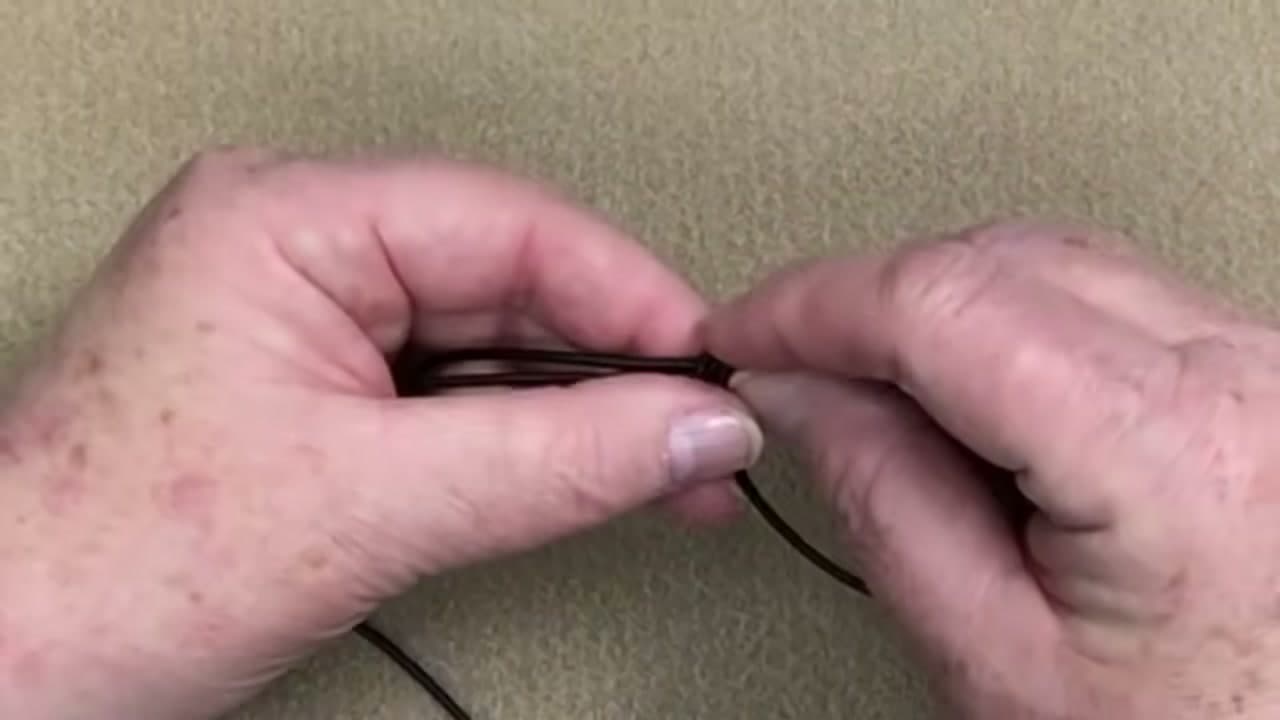
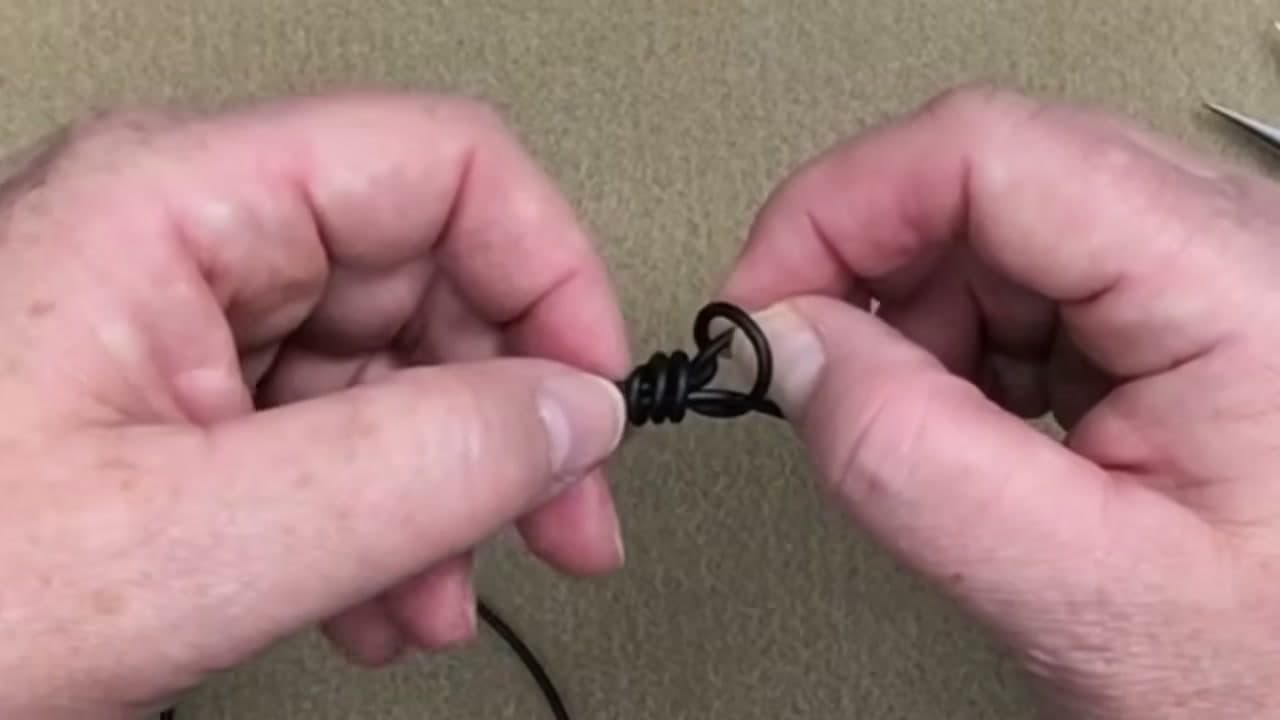
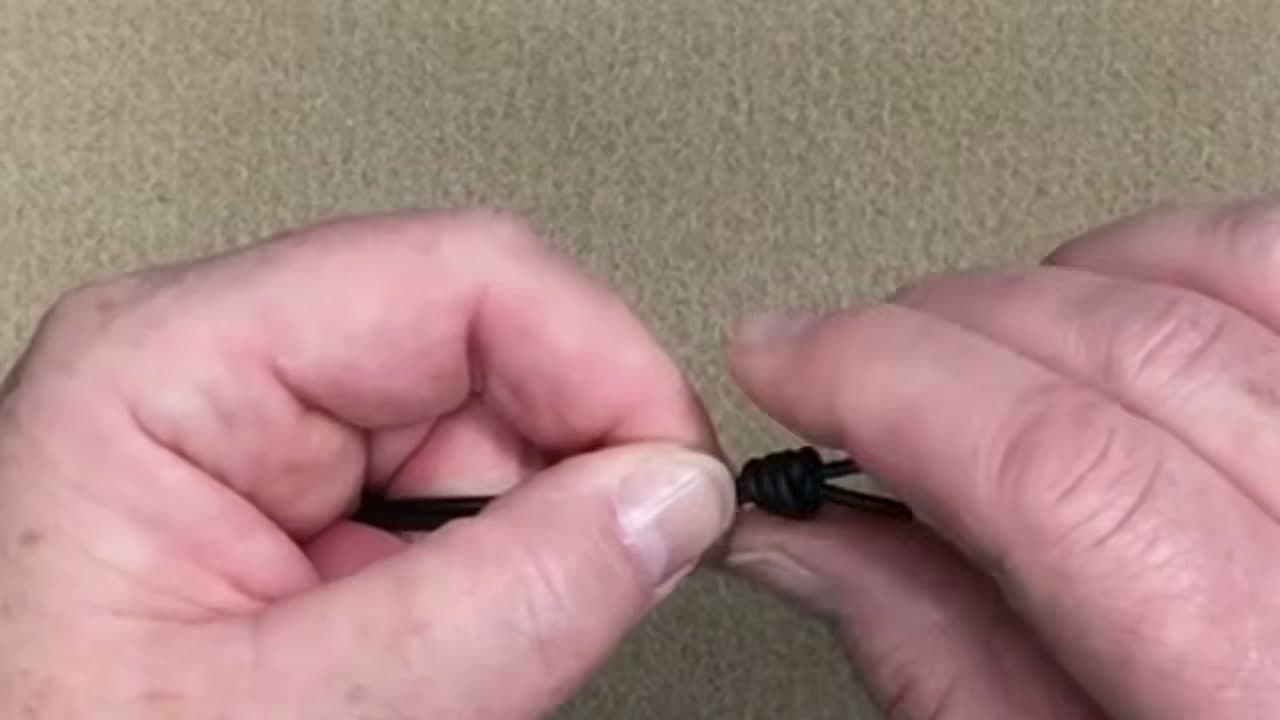
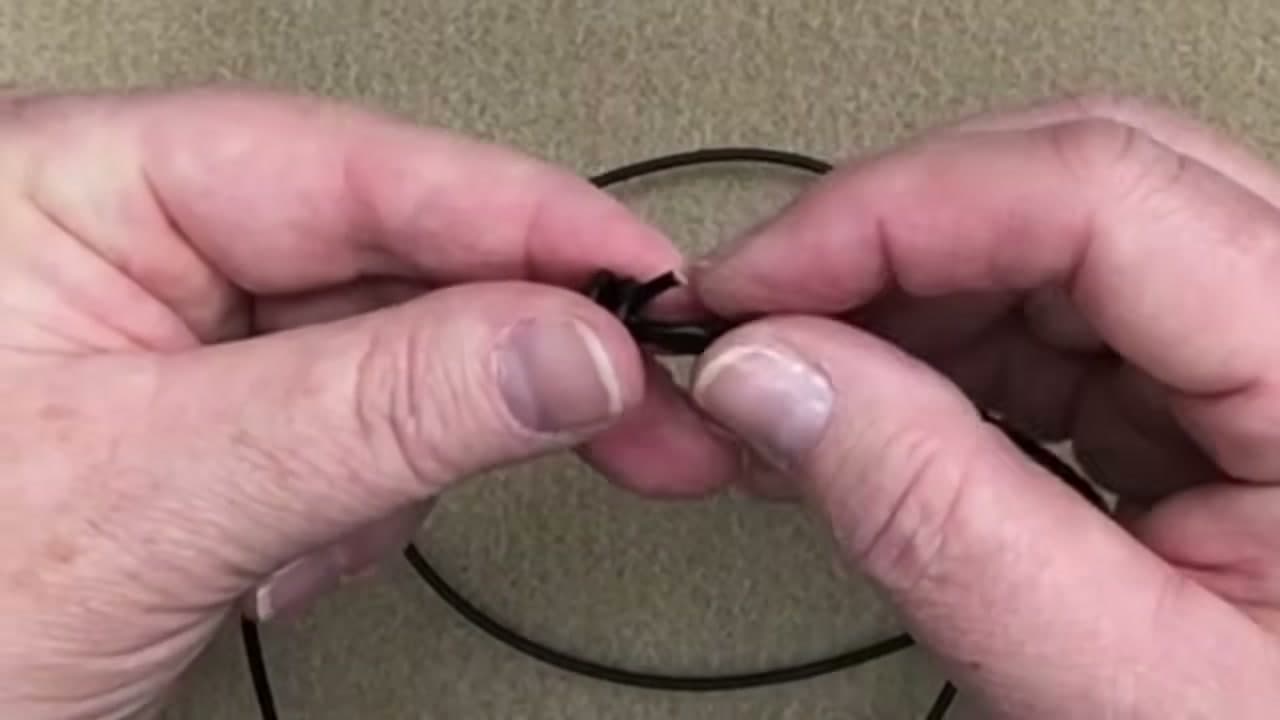
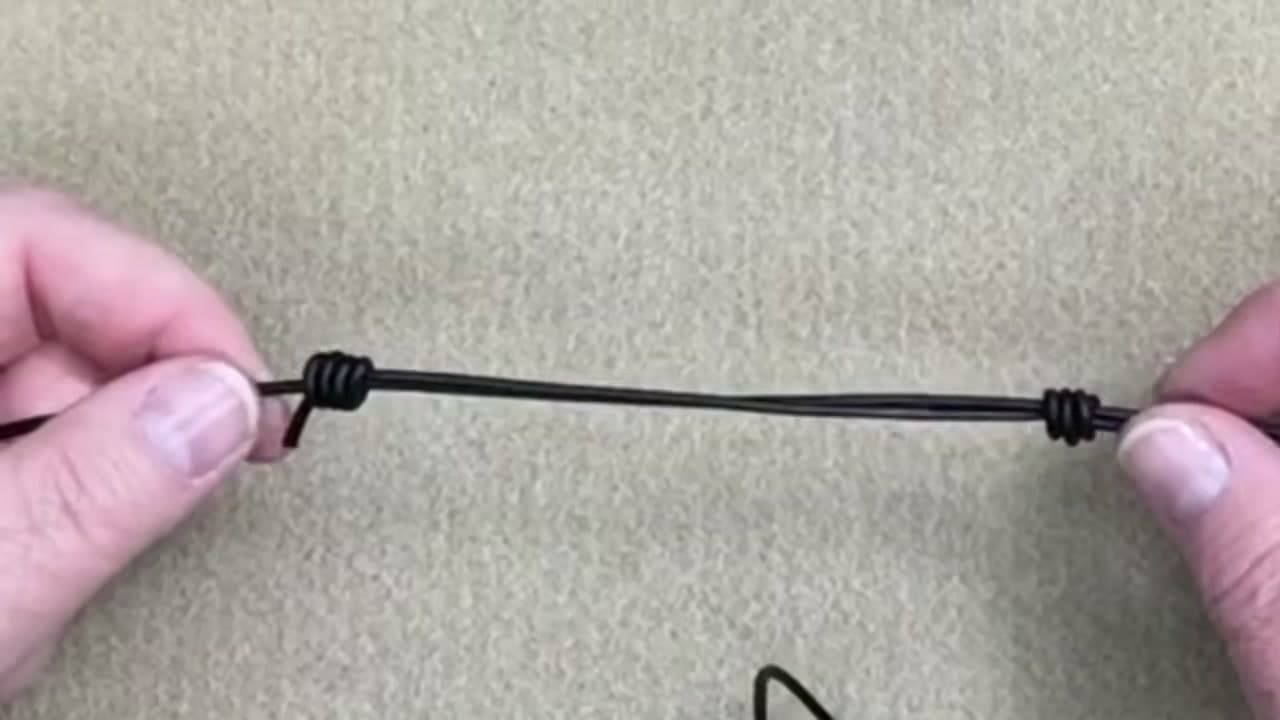
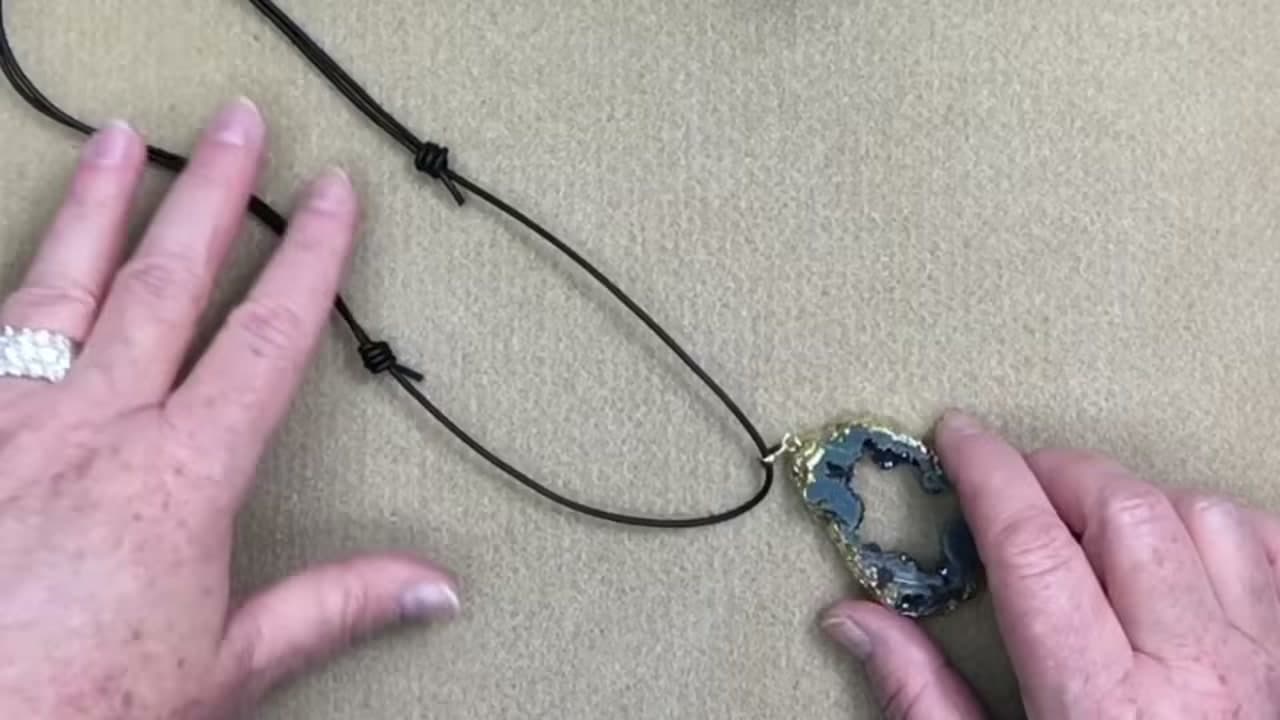
A clasp is the part of a handmade bracelet most likely to go wrong. It costs money, it needs findings you may not have, and it means fumbling one-handed to do up your own wrist. The sliding knot removes all of that. Two matching wrapped knots sit on the cord, the piece opens wide enough to slip over your hand, and you pull it down to fit.
Kellie of Kellie's Bead Boutique works with 2mm leather cord here, though the knot behaves the same on 1mm or 1.5mm, and on waxed cotton or hemp. The whole closure takes a couple of minutes once you have done it twice.
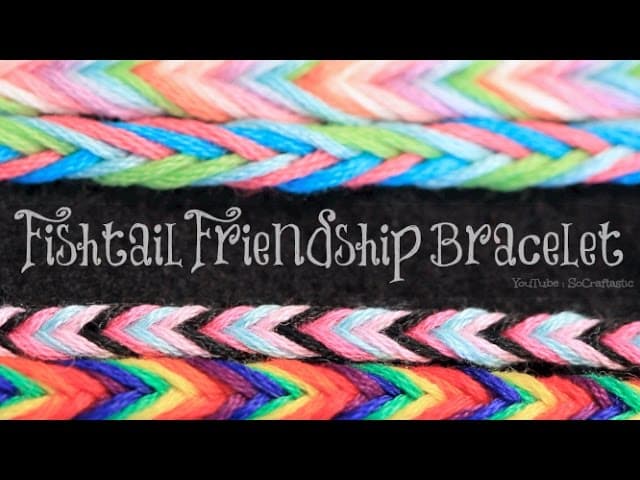
It is the same technique whether you are finishing a bracelet or a necklace. She demonstrates on a necklace with a geode pendant, but the knots are identical. If you are working with thread rather than cord, the site also covers friendship bracelets, string bracelets and the chevron pattern.
Which cords hold a sliding knot, and which ones will not
This is the part that decides whether your knot works, and almost no tutorial mentions it.
The sliding knot holds by friction. A cord with a grippy surface locks where you leave it. A
slick one creeps loose in your pocket and the bracelet ends up on the floor.
Leather, waxed cotton, hemp and cotton macrame cord all grip well. Satin rattail, silk and
smooth nylon do not, and no amount of extra wrapping fixes them. If you are set on a slippery
cord, use a different closure. Round cord also behaves better than flat, because flat cord wants
to twist as the knot travels.
How many wraps to use
Three to four wraps per knot is the working range. Kellie uses four here. Fewer than three and
the knot slides on its own; more than five and it stops sliding at all, which defeats the point.
Thicker cord needs fewer wraps, thinner cord needs more. Match both knots exactly, or the
bracelet tightens unevenly and sits crooked on the wrist.
Sizing the cord before you cut
Measure the wrist, add the length you want the bracelet to open to, then add roughly eight
inches for the two knots and their tails. For an average adult bracelet that lands near 22 to 24
inches of cord. Cut long. Trimming a tail takes a second; a cord cut two inches short is scrap.
For a necklace, the same maths applies against the finished drop, which is why the knot is
worth learning once and reusing everywhere.
When the knot slips or seizes
A knot that slides too freely is under-wrapped or sitting on cord that is too slick. Untie it,
add a wrap, and retie. A knot that will not move at all is over-tightened rather than
over-wrapped, and you can usually work it loose by rolling it between finger and thumb before you
resort to cutting.
The other common failure is tightening the wraps before the tail is fully seated. Pull the
tail through first, settle the wraps down the cord as a group, then snug them. Tighten in the
wrong order and the wraps cross over each other and lock.
Finishing the tails
Trim to about a quarter inch so the tail cannot pull back through the wraps. Leather and
cotton get trimmed and left. Nylon and polyester cord can be touched with a flame to melt the
end into a small bead, which stops fraying and adds a stopper. Do not put a flame near leather or
waxed cotton, which scorch rather than melt. A crimp bead or a small knot in the tail does the
same job without heat.
A sliding knot is not a square knot
These get confused constantly. A square knot joins two cords and stays put. A sliding knot is
tied around the opposite cord so it travels along it. Two sliding knots facing each other give
you an adjustable closure; two square knots give you a fixed loop. If your finished piece will
not adjust, check that each knot wrapped around the other cord rather than around itself.