How to Make a Paracord Bracelet (Cobra Weave)

Jewelry MakingEasy14:517 steps
Also in:Crafts

By CraftingStepByStepPublished Updated

Based on a video by Beadaholique - STORE CLOSING, Everything on Sale!.

The cobra weave is the entry-level paracord bracelet, and once you've made one you've basically learned macrame. Two cords, one plastic buckle, and a square knot repeated until you reach the buckle on the other side.

Megan from Beadaholique uses two colors of 4mm paracord (550 cord), a 0.6 inch plastic buckle, a basic disposable lighter, and either flush cutters or strong scissors. The disposable lighter is non-negotiable - a torch lighter burns straight through paracord.

Plan on about an hour for your first one. The hardest part is remembering to alternate the knot direction - left-then-right, then right-then-left. If you forget, the bracelet twists into a spiral instead of laying flat.

Step-by-Step Guide

1

Gather Supplies and Measure Your Paracord

1:40
Step 1: Gather Supplies and Measure Your Paracord

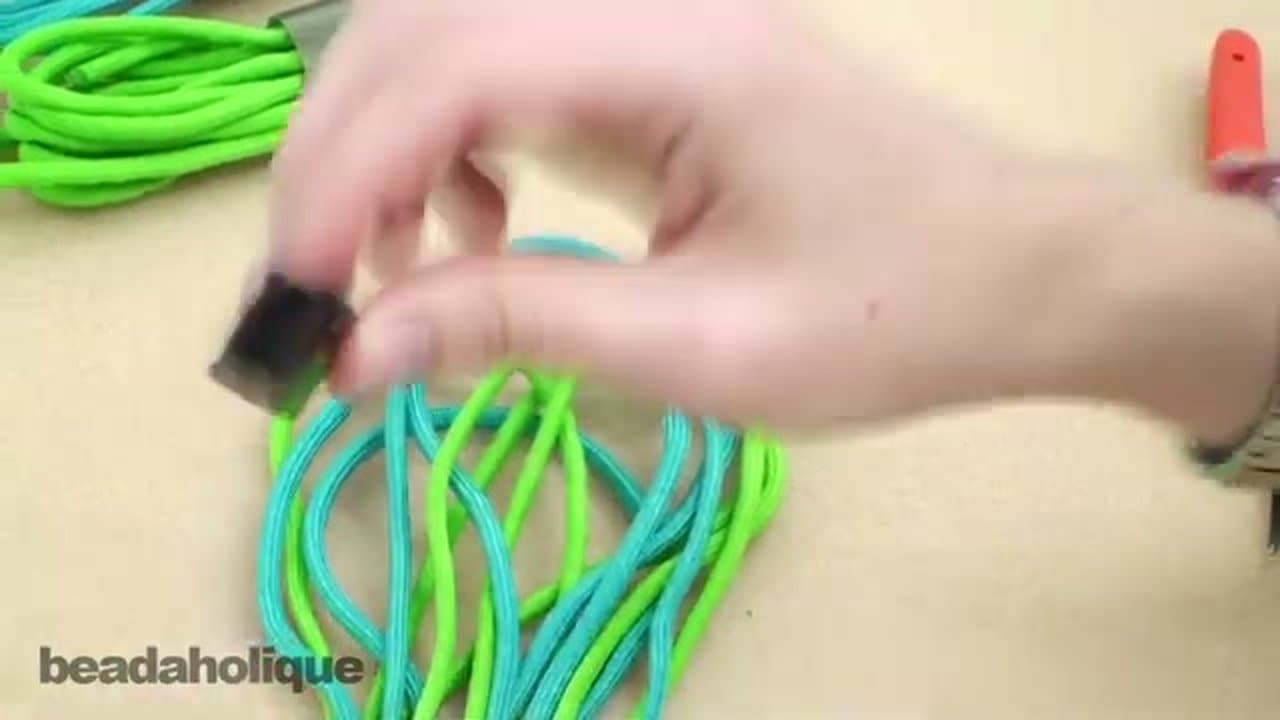
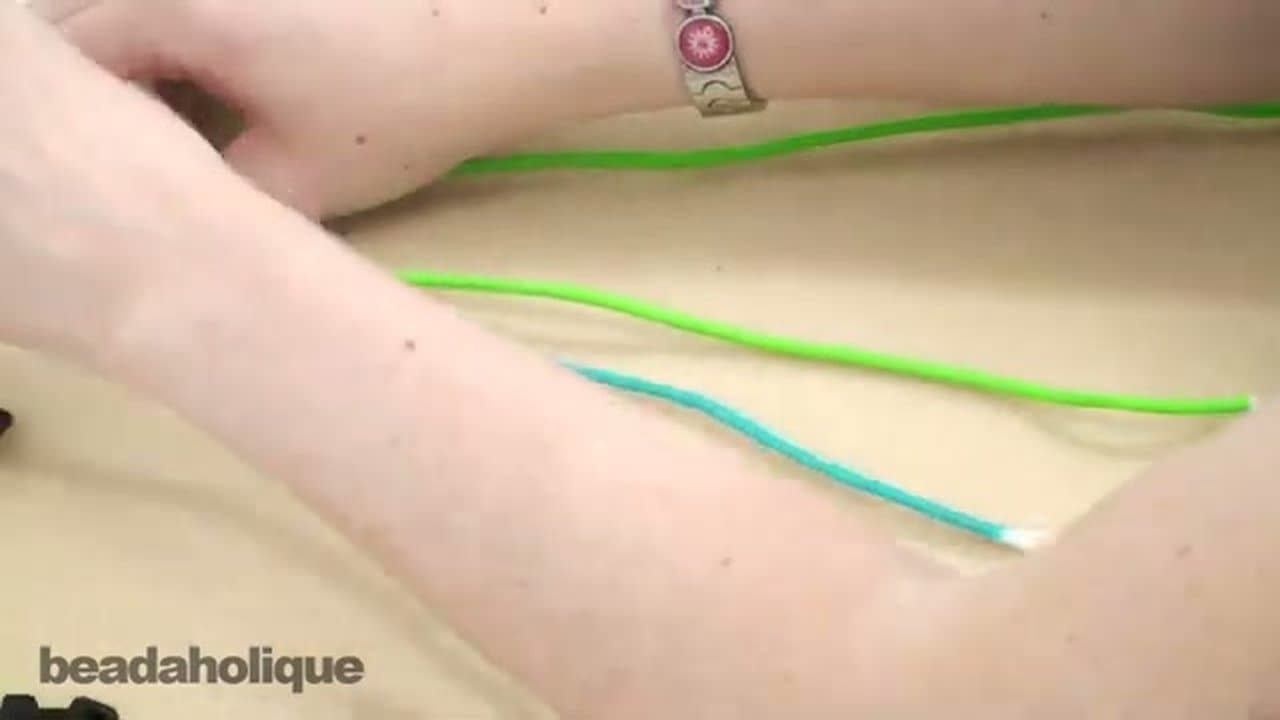
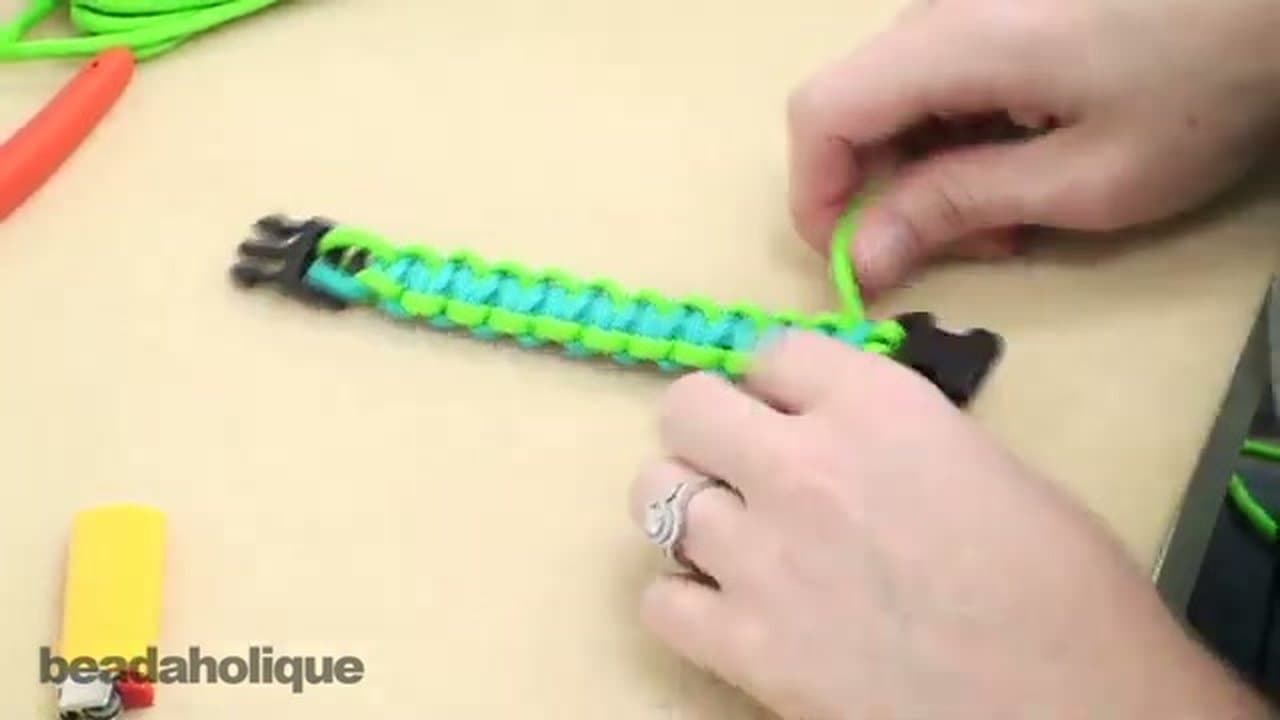
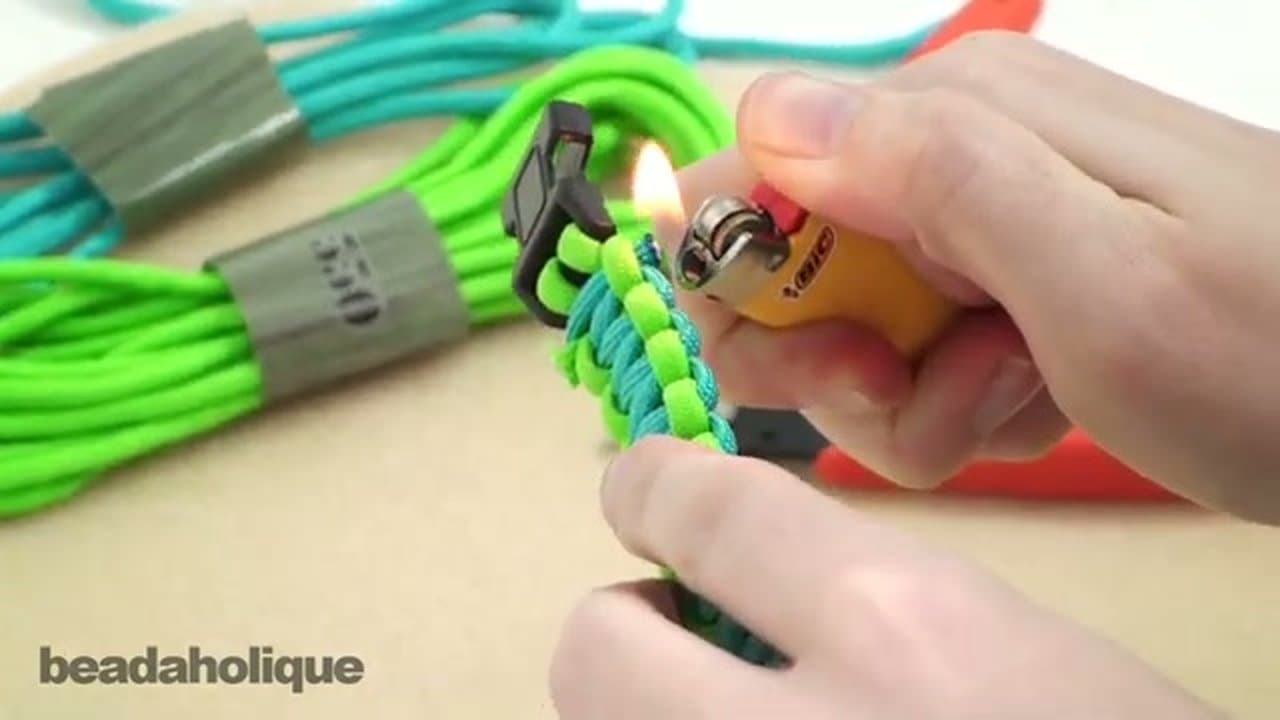
You'll need two colors of 550 paracord, a 0.6 inch plastic buckle, a basic disposable lighter, and either flush cutters or strong scissors. Don't substitute a torch lighter - it'll burn straight through nylon paracord.

Cut about a foot of paracord per inch of finished braid. For a seven-inch wrist, you want five inches of knotting (two inches gets eaten by the buckle), which means about five feet of cord, but cut six feet to give yourself slack to work with.

Tip

Measure your wrist and add an inch for comfort. The buckle adds two more inches when closed - so a six-inch wrist plus one inch comfort plus two inches buckle = seven inches total bracelet length.

2

Attach the Cord to the Buckle

3:20
Step 2: Attach the Cord to the Buckle

Separate the male and female halves of your buckle. Pick one cord, fold it so a small loop sticks up, and pass that loop through one of the slots on the female buckle.

Pull the loop out the back, then thread the two long ends of the cord through the loop and pull tight. That's a lark's head knot. The buckle is now anchored to the cord.

Tip

Pull the loop tight against the buckle slot. Any slack in the lark's head knot makes the whole bracelet wobbly later.

3

Fuse the Two Cords Into One Core

6:25
Step 3: Fuse the Two Cords Into One Core

To get a two-color bracelet you need to join the second color onto the first so the core running down the middle has both colors hidden inside. Trim a tail on the first cord, pull back the outer sheath about three-quarters of an inch, and snip out the inner threads. That gives you a hollow tube.

On the second cord, melt the cut end with the lighter until it's dark and shiny, then press it against the side of the lighter to harden it. Once cool, push the hardened end into the hollow of the first cord. Then briefly hold the join in the flame to fuse the two together.

Tip

The fuse needs to land high up inside the bracelet so the knotting hides it completely. About an inch and a quarter from the buckle is the sweet spot.

4

Tie the First Cobra Knot

10:05
Step 4: Tie the First Cobra Knot

Now you've got two long working cords on the outside and the fused core down the middle. Take the LEFT cord and lay it OVER the core, making a backward 4 shape. Take the RIGHT cord and lay it OVER the tail of the left cord, then bring it UNDER the core and UP through the loop made by the left cord.

Pull both ends out sideways and snug them down against the buckle. That's one half of a cobra knot.

Tip

Megan's mnemonic: over, over, under, through. Repeat that to yourself the first ten times you tie the knot and your hands will memorize the rhythm.

5

Reverse the Knot for the Alternating Pass

9:50
Step 5: Reverse the Knot for the Alternating Pass

Now the same knot, mirrored. Take the LEFT cord and lay it UNDER the core. Take the RIGHT cord and lay it UNDER the left cord, then bring it OVER the core and through the loop. Pull tight.

The mnemonic is: under, under, over, through. Alternating these two halves is what keeps the bracelet flat. If you accidentally do the same direction twice in a row, the braid starts spiraling - back up and redo it.

Tip

Watch the side edges of your braid. If you're alternating correctly, the same color shows on each side every other knot. If both edges are the same color non-stop, you skipped an alternation.

6

Knot to Length

12:00
Step 6: Knot to Length

Keep alternating - over-over-under-through, then under-under-over-through - all the way down. Snug each knot tight against the previous one before moving on.

Stop when the braid is the right length to meet the male half of the buckle. Pass the core through the male buckle and tie one final knot, locking the buckle in place. Now both ends of the bracelet are anchored.

Tip

Hold the work-in-progress against your wrist every few inches to check fit. Easier to stop short and undo a few knots than to discover at the end that the bracelet is too tight.

7

Trim and Seal the Ends

12:50
Step 7: Trim and Seal the Ends

Cut the loose ends down to about an eighth of an inch above the final knot. Melt the tip with the lighter until it's molten, then quickly press the side of the lighter against it to flatten and widen the end.

That mushroom of melted nylon is what keeps the cord from pulling back through the knot. Let it cool fully before touching - molten paracord burns. Repeat on the second end and you're done.

Tip

The lighter ends up gunky from the melted paracord. Let it cool, then scratch the gunk off with a fingernail. Don't use Grandpa's nice Zippo for this.

Products Used

☐ The Checklist

How to Make a Paracord Bracelet (Cobra Weave)

Tools
3
Materials
3
Steps
7
Video
15 min

Your Guide

Beadaholique - STORE CLOSING, Everything on Sale!

As an Amazon Associate we earn from qualifying purchases. Links on this page may be affiliate links - clicking them and buying doesn't change your price, but helps support ShowMeStepByStep.

Tags

Related Tutorials