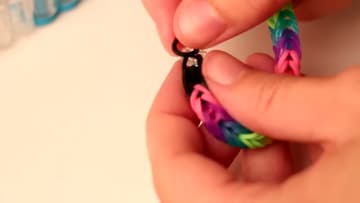
How to Make a Rainbow Loom Bracelet
Source: Djamila • Full tutorial: www.craftingstepbystep.com/jewelry-making/how-to-make-a-rainbow-loom-bracelet
- Difficulty
- Easy
- Hands-on time
- About 30 minutes
- Cost
- About $3 to $6
- Makes
- 1 rainbow loom bracelet

Tools
- Rainbow Loom
- loom hook
Materials
- loom rubber bands (4 black, 6 of each rainbow colour)
- C-clip or S-clip
Steps
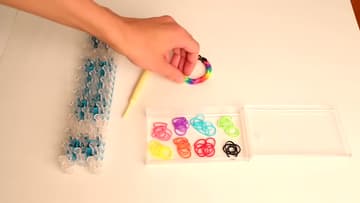
1. Gather the Rainbow Loom, Hook and Rubber Bands
Lay everything out before you start. You need the Rainbow Loom, the hook, one clip, four black bands and six bands in each rainbow colour.
Tip: A small tray or an egg box keeps the band colours apart and stops them rolling off the table.
2. Twist the First Black Band Into a Figure-8 on Two Loom Pins
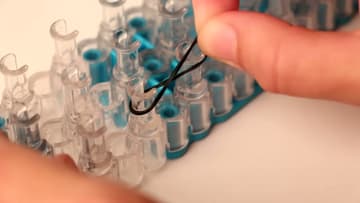
Pick two pins side by side on the loom. Stretch a black band over one pin, give it one twist so it crosses in the middle, and loop the other end over the second pin.
Tip: Only the first band gets twisted. Every band after this one goes on flat.
3. Stack Two More Rubber Bands Flat Over the Figure-8
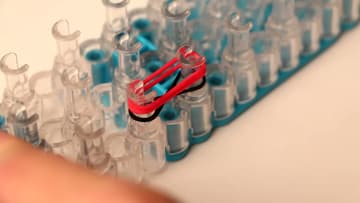
Take your first colour, red in the video, and stretch it straight across the same two pins with no twist. Add a second red the same way.
Tip: Push each new band down the pins so there is room above it for the next one.
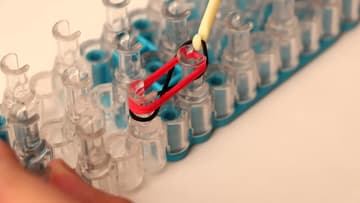
4. Hook the Bottom Rubber Band Up and Over the Loom Pin
Slide the hook down the outside of one pin and catch the bottom band, the black one. Pull it up over the top of the pin and let it drop into the middle.
Tip: Always go in from the outside of the pin. It keeps you from snagging the top bands by mistake.
5. Add One New Rubber Band at a Time to the Fishtail
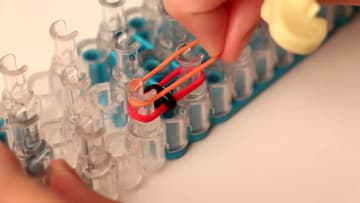
With two bands left on the pins, stretch on one new band so you are back to three. In the video that is the first orange.
Tip: Count out loud with a child: "One on, bottom over, bottom over." It sticks fast.
6. Keep Hooking Bands Over as the Rainbow Fishtail Grows
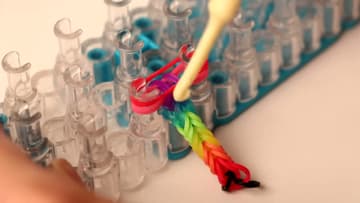
Work through the colours in order, two of each, then start back at red. The fishtail grows down from the pins in a neat V pattern.
Tip: If the chain starts to twist, nudge the bands towards the middle of the pins after each pass.
7. Finish the Rainbow Fishtail With Black End Bands
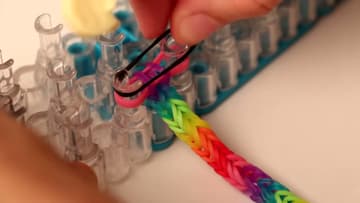
After the last pink, add the black bands. Two or three blacks make the bracelet a little longer and looser on the wrist, and they match the black start.
Tip: Wrap the bracelet around the wrist now. If it is short, add another black or two.
8. Lift the Finished Loom Bracelet Off the Pins
Hold the bracelet so it does not spring loose. Carefully ease the last black band off one pin and slip it onto your hook.
Tip: Keep a finger on the band as it comes off. If it pings away the end can unravel.
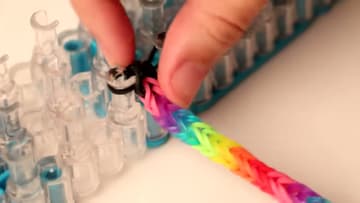
9. Attach a Clip to the End Loops of the Loom Bracelet
With the black loops still on the hook, stretch them slightly so they open up. Push the clip onto both loops at once.
Tip: An S-clip has two openings. Use one for the end loops and save the other side for the start.
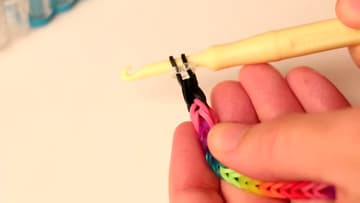
10. Clip the Two Ends Together to Close the Rainbow Loom Bracelet
Find the black figure-8 at the other end of the bracelet. Hook the free side of the clip through it.
Tip: Make a second one in different colours and stack them. They look better in pairs.