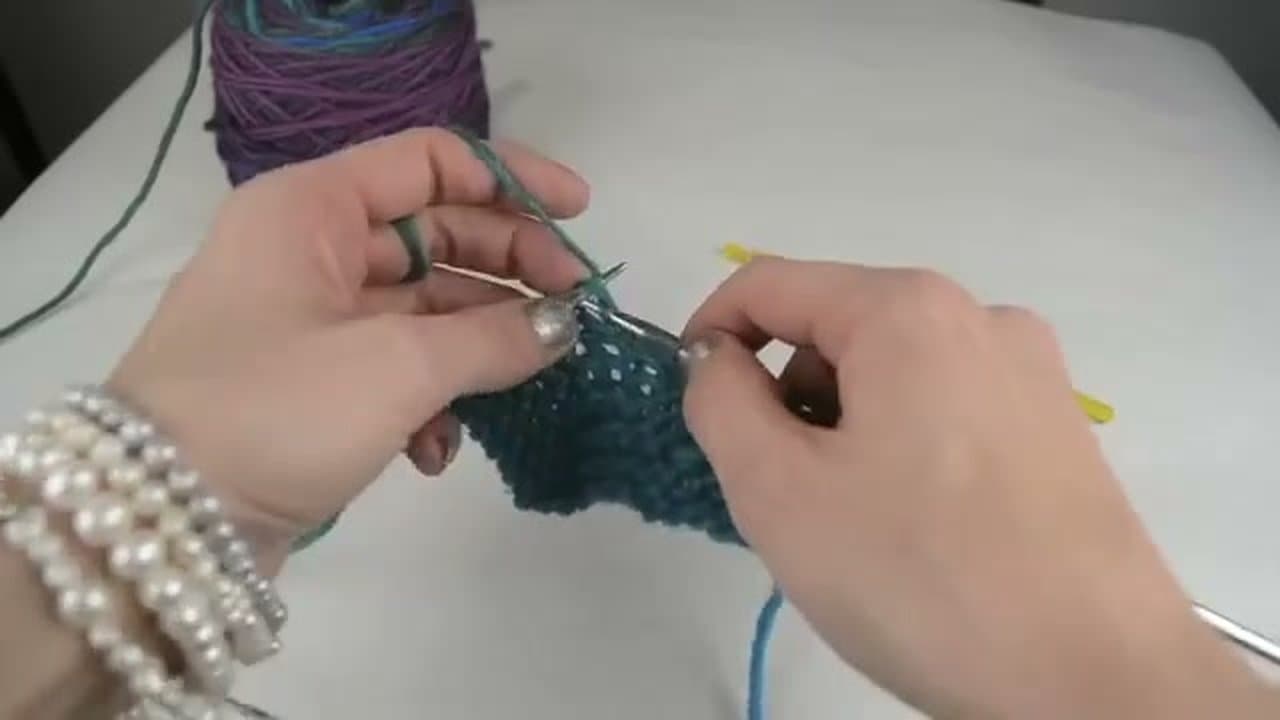
Friendship bracelets look way harder than they actually are. Every pattern in this tutorial - spiral, stripes, and chevron - is built from the same forward knot repeated over and over. Learn the knot once and you can make all three.
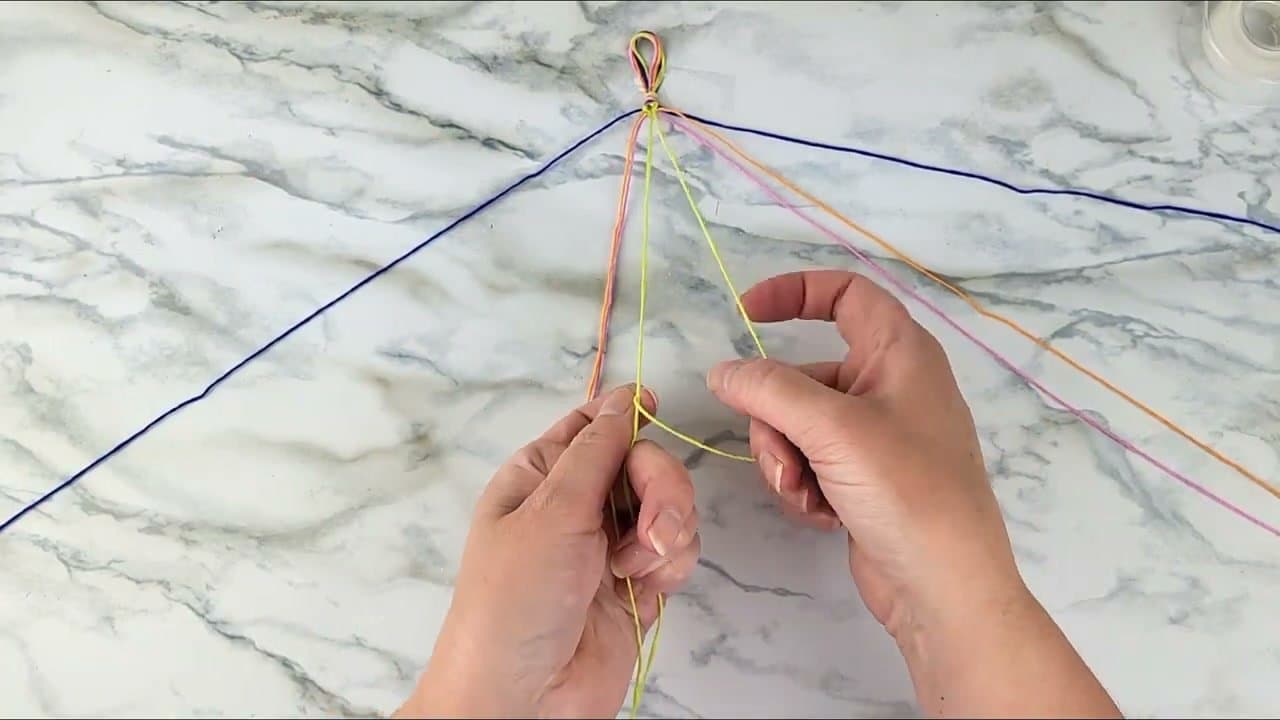
The materials list is short: six-strand embroidery floss, a pair of scissors, and something to anchor your work to (a clipboard, masking tape, or a safety pin pinned to your jeans all work). Audrey from Audrey's Jar has been making these at summer camp scale for years and her three-design walkthrough is the cleanest beginner intro on YouTube.
Budget an hour per bracelet once you've got the knot down. The first one takes longer while you're learning - after that you'll knock them out fast.
Frequently asked questions
How long should you cut the strings for a friendship bracelet?
About five feet per strand, which feels absurdly long until you start knotting. Every knot eats string fast, and running out halfway through a pattern means splicing, which always shows.
How many colors do you need?
Three to six works for all the common patterns. Stripes and spirals read well with three, while a chevron looks best with an even number so you can mirror the two halves.
Which design is easiest for a first bracelet?
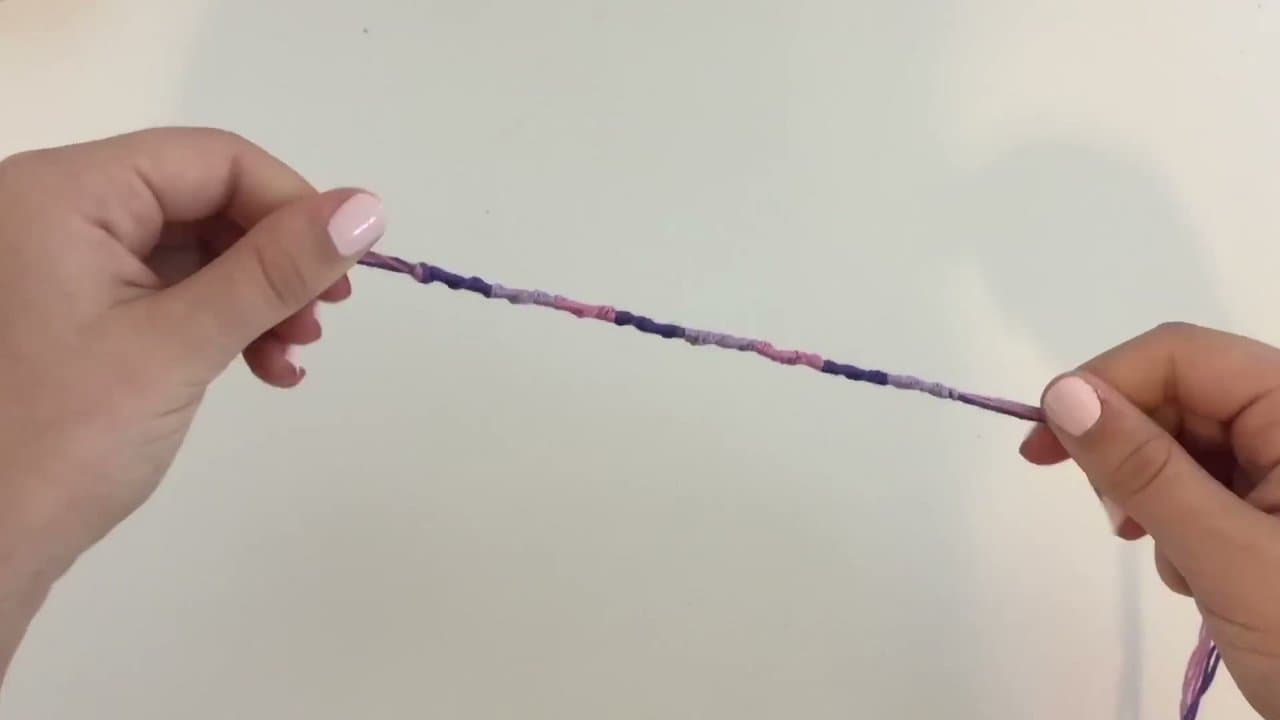
The spiral. It uses one working string and the exact same forward knot over and over, so there is only one movement to learn. The twist appears on its own after fifteen or twenty knots.
What is the difference between a forward knot and a backward knot?
A forward knot lays the working string over the fillers in the shape of a 4 and tucks the tail behind. A backward knot mirrors it, tucking in front instead. Chevron patterns need both so the two sides angle toward the middle.
How do you finish a bracelet so you can take it off?
Fold the strings in half at the start so there is a small loop at the top. At the end, braid the loose strings into a tie a couple of inches long and thread it through that loop. That gives you an adjustable closure instead of a knot you have to cut off.
Reading a friendship bracelet pattern
Every written pattern is a grid. Each row is one pass across the bracelet, and each cell tells
you which of the four knots to tie: forward, backward, forward-backward or backward-forward. The
colour shown in the cell is the colour that ends up on the front.
The part that confuses people is that the knot moves the string. After a forward knot the
working string has travelled one position to the right, so the string you pick up for the next
knot is not the one you just used. Follow the colour, not the position.
The four knots, and what each one does
A forward knot moves a string to the right and shows its colour. A backward knot moves it left.
The two combination knots, forward-backward and backward-forward, bring a string to a point and
send it back the way it came, which is exactly what makes a chevron turn at the centre.
Spiral is forward knots only. Stripes are one full row of forward knots repeated. Chevron is
forward knots on the left half meeting backward knots on the right half. Three patterns, one
technique.
When the bracelet twists or goes crooked
A spiral that corkscrews is doing what it should. Stripes that lean are a tension problem: you
are pulling harder at one edge than the other. Keep the anchored end under steady, light tension
and pull every knot to the same firmness rather than as hard as you can.
A chevron with a wandering centre means the two halves are not getting the same number of
knots. Count the knots in each half of a row before moving to the next one until the rhythm is
automatic.
Adding beads and letters
Beads thread onto the working string before a knot and sit on the surface of the bracelet. Use
beads with a hole big enough for two passes of floss, because a tight bead splits the strands.
Letters are worked on the alpha pattern, which is a different structure: one long base string
carries all the knots and the pattern colour changes rather than the string position. It is worth
knowing the spiral and chevron first, since alpha uses the same forward and backward knots.