How to Make String Bracelets - Easy Fishtail Pattern

Jewelry MakingEasy8:277 steps
Also in:Crafts

By CraftingStepByStepPublished Updated

Based on a video by SoCraftastic.

The fishtail is the easiest string bracelet pattern there is. You're not learning a knot - you're alternating left and right strings into the middle, over and over. After a couple of rotations the rhythm clicks and the rainbow stripe just builds.

Sarah from SoCraftastic walks through the whole thing with rainbow embroidery floss and a button closure. Once you've made one, the second takes about twenty minutes. Bring the kids in, do them at the pool, hand them out at camp - this is that bracelet.

You'll need at least four colors of six-strand embroidery floss, a button slightly bigger than the loop you'll tie, scissors, and tape or a safety pin to hold your work down while you braid.

Step-by-Step Guide

1

Cut Your Strings to Length

1:08
Step 1: Cut Your Strings to Length

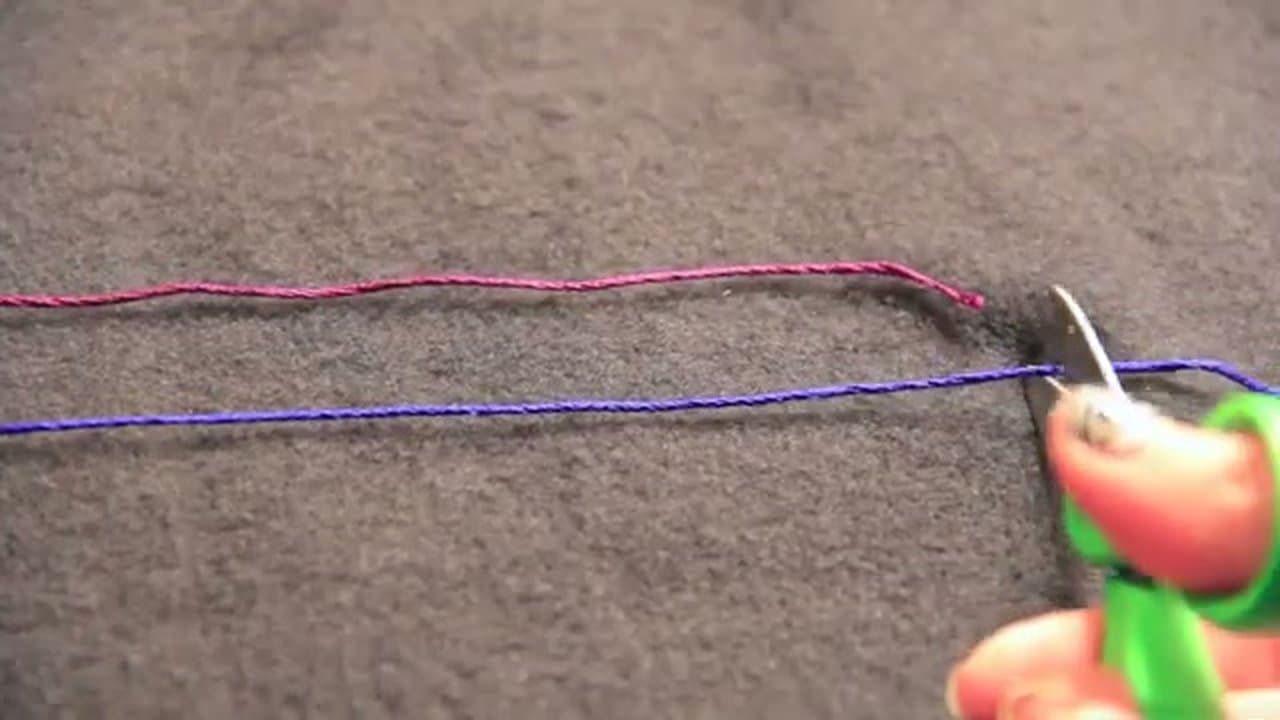
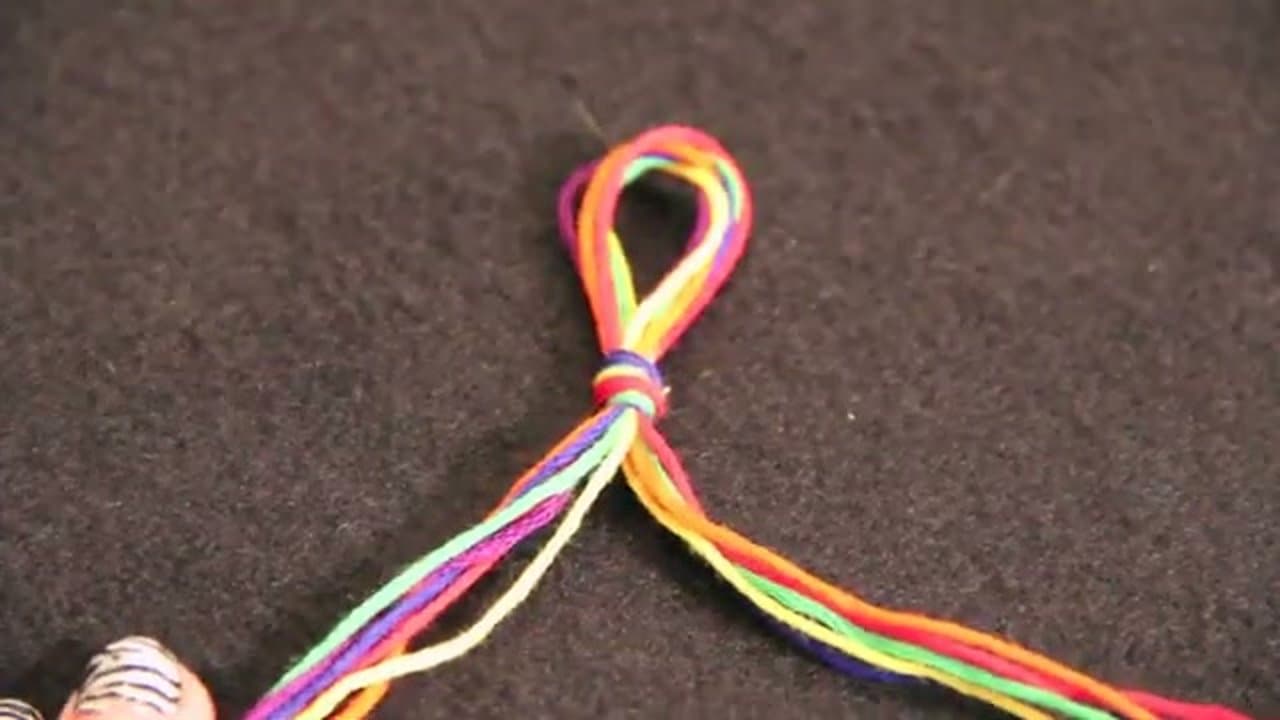
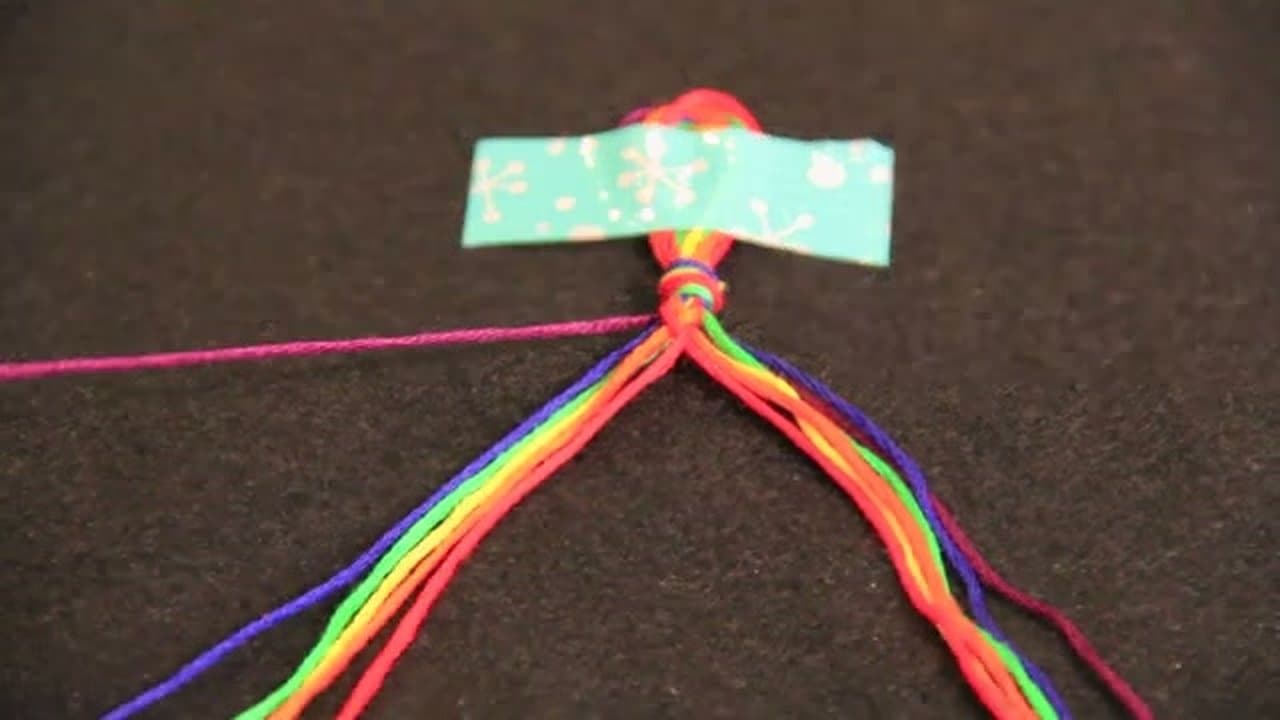
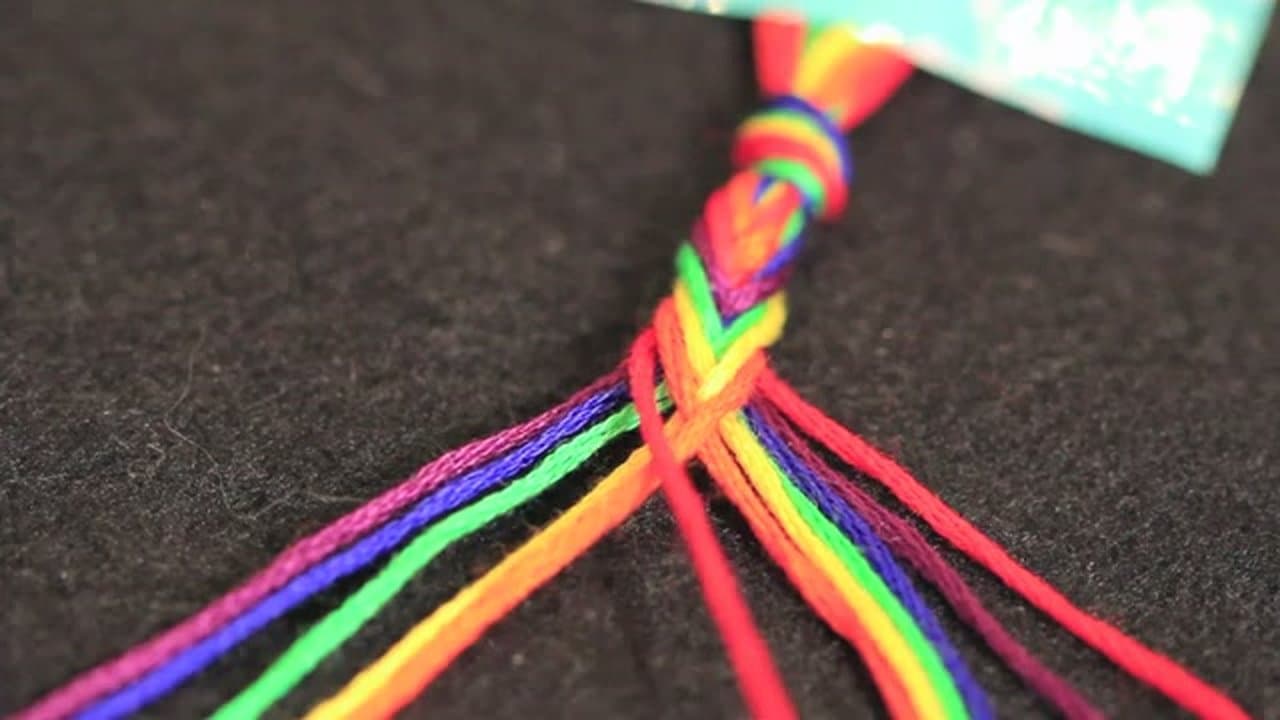
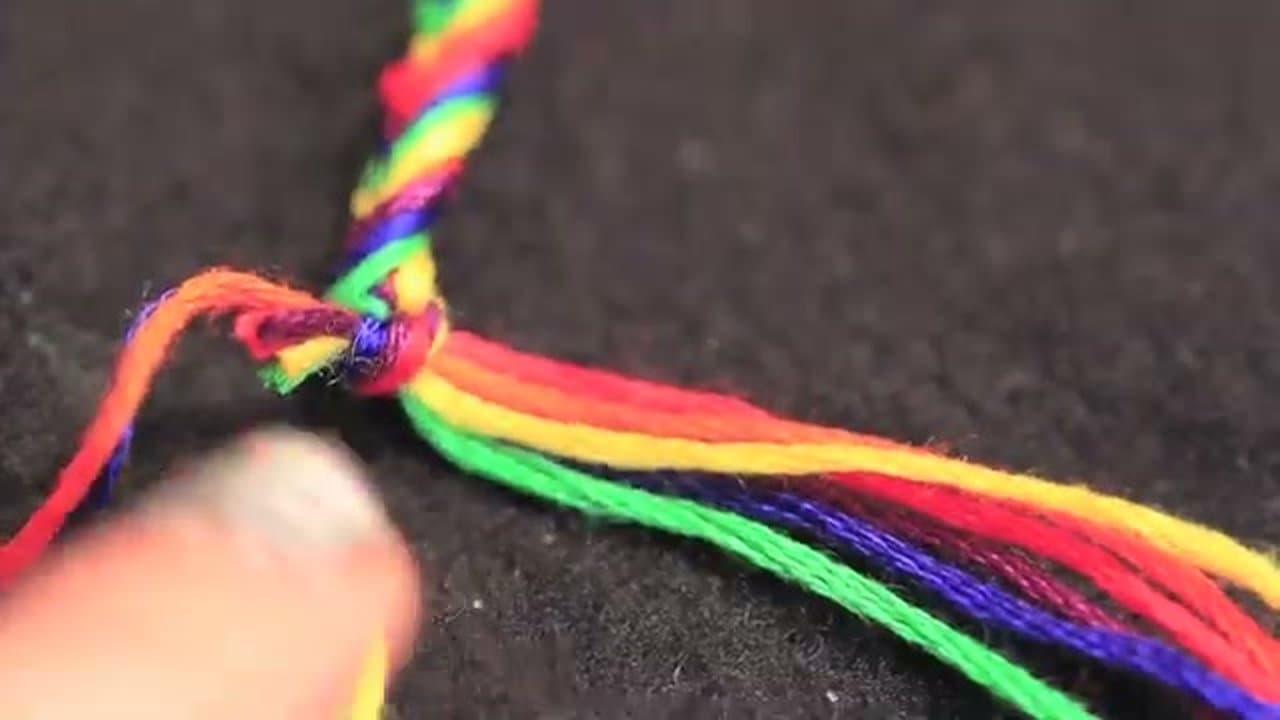
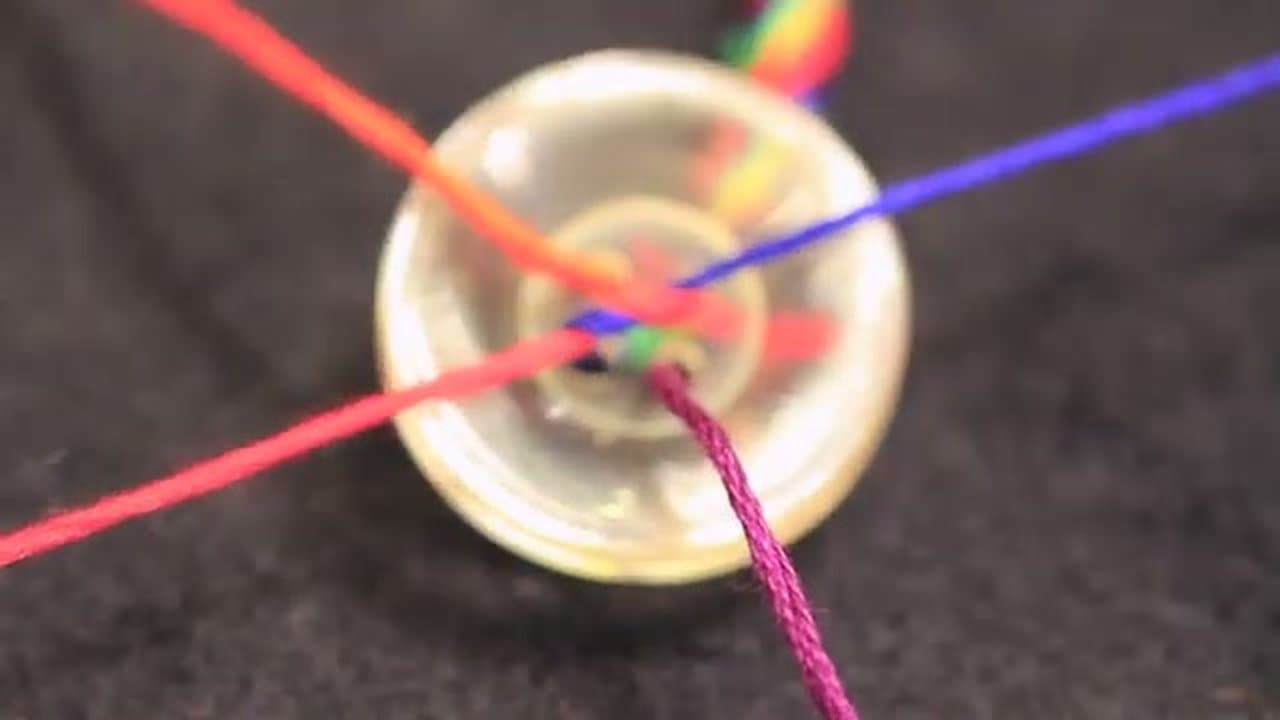
Pick at least four colors of six-strand embroidery floss - six gives you a brighter rainbow. Cut every strand to the same length. Three feet per strand is the sweet spot. Two and a half feet works but you'll be cutting it close.

Lay all the colors flat on a dark surface so the ends line up evenly. The strands have to start at exactly the same place or the loop you'll make next won't sit straight.

Tip

Six-strand floss is what comes in the little skeins at any craft store. Don't try to use yarn or thinner sewing thread - the bracelet ends up too fluffy or too thin.

2

Fold the Bundle and Tie the Loop

2:05
Step 2: Fold the Bundle and Tie the Loop

Fold all the strings in half so the cut ends meet at the bottom. The fold at the top is going to become your closure loop, so make it just a tiny bit bigger than the button you're going to use - any bigger and the bracelet slips off your wrist.

Pinch the loop and tie a tight knot just below it using the strings themselves. That single knot is what holds the loop in place while you braid the rest.

Tip

Test the loop size against your button before you commit to the knot. Pull the button through - it should pop through with a little resistance, not slide free.

3

Anchor the Loop and Split the Strings

2:10
Step 3: Anchor the Loop and Split the Strings

Tape the loop to a pillow, a piece of fabric, or your jeans - anywhere you can pin it flat so both your hands stay free. A safety pin works just as well.

Now split the strings into two even halves. Lay them out on either side of the knot in the color order you want repeating. The order on the left mirrors itself on the right - that's what gives the fishtail its rainbow stripe.

Tip

Write the color order down on a sticky note next to your work. Sounds extra, but if a string slips out of place mid-braid you'll wish you had it.

4

Start the Fishtail - Outer to Middle

3:00
Step 4: Start the Fishtail - Outer to Middle

Take the outermost string on the left side. Bring it across all the other strings on the left and lay it down the middle, between the two halves. Then take the outermost string on the right side and do the same - bring it across everything on the right and lay it down the middle next to the first one.

That's one full pass. Two strings have moved from the outside to the inside. The braid hasn't started looking like anything yet - keep going.

Tip

The strings stay in their order on each side - you're not weaving in and out, just pulling the outermost one toward the center each time.

5

Repeat the Pattern Until the Stripe Builds

3:35
Step 5: Repeat the Pattern Until the Stripe Builds

Now there's a new outermost string on each side. Grab it and bring it to the middle, same as before. Left first, then right. Pull each string snug against the braid as you lay it down so the colors stack tight.

After three or four passes the rainbow stripe down the center starts showing up. From here it's just rhythm - left, right, left, right - until the bracelet wraps around your wrist with about an inch to spare.

Tip

If the stripe looks loose or sloppy, you're not pulling tight enough. Each string should snap into place against the previous one with a small tug.

6

Tie the End and Add the Button

4:28
Step 6: Tie the End and Add the Button

Once the bracelet is long enough, gather all the loose strings at the bottom and tie them in one tight knot. Add a second knot on top of the first to lock it.

Now pick four strings to trim - two from each side - leaving four threads to thread through the button. Push the button against the knot and feed two strings through one buttonhole and two through the other. Pull tight.

Tip

Tie the final knot on the BACK of the button if you want it to look clean. Sarah does this on her second attempt - it hides the knot completely.

Products used in this step

7

Trim and Seal the Knot

4:50
Step 7: Trim and Seal the Knot

Knot the four button strings tight against the back of the button. Trim every loose end down close to the knot - any string longer than a quarter inch will fray over time.

For extra security, dab a tiny drop of clear nail polish or super glue right on the final knot. Let it dry before you wear it. That's it - thread the button through the loop at the top and the bracelet is ready to wear.

Tip

Make a matching pair - one for you and one for a friend. That's where the name comes from.

Products used in this step

Products Used

☐ The Checklist

How to Make String Bracelets - Easy Fishtail Pattern

Tools
2
Materials
3
Steps
7
Video
8 min

Your Guide

SoCraftastic

As an Amazon Associate we earn from qualifying purchases. Links on this page may be affiliate links - clicking them and buying doesn't change your price, but helps support ShowMeStepByStep.

Tags

Related Tutorials