How to Make a Heart Friendship Bracelet

Also in:Crafts

By CraftingStepByStepPublished Updated

Based on a video by SaraBeautyCorner - DIY, Comedy, Makeup, Nail Art.

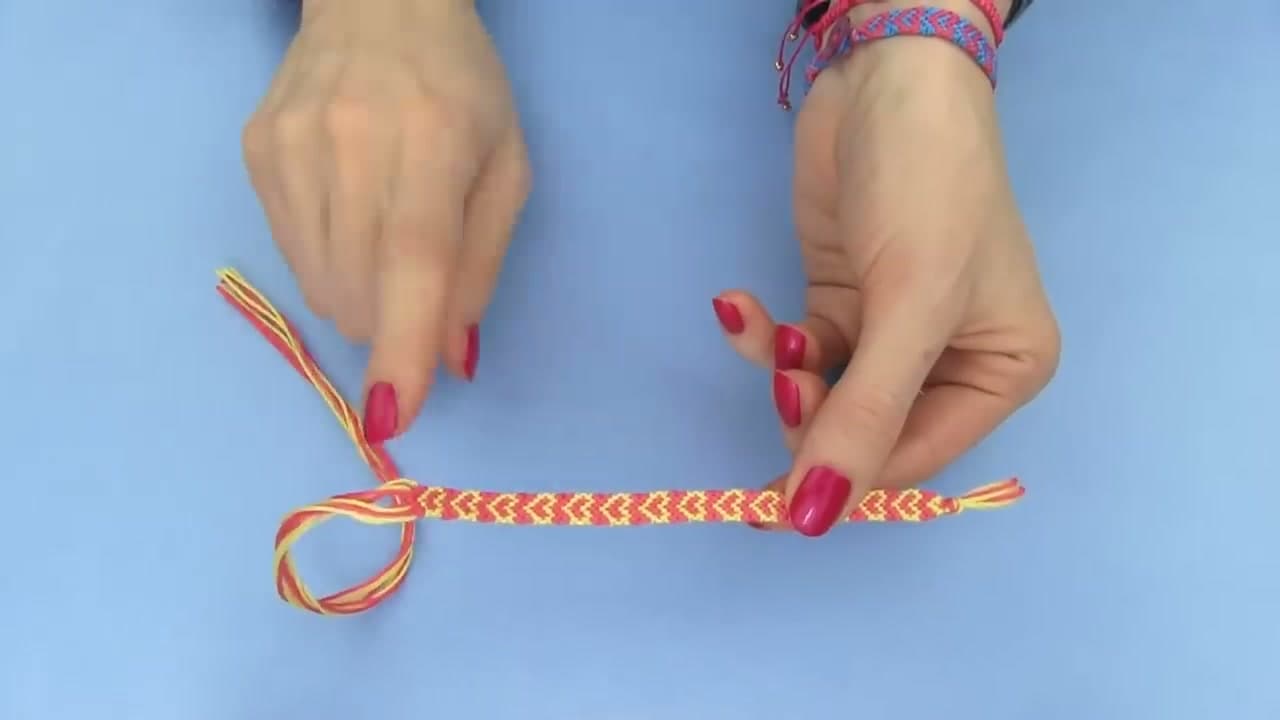
Heart friendship bracelets look a lot harder than they actually are. The trick is that every heart is just two normal chevron rows stacked under two special rows. Learn the rhythm once and you can make a whole stack.

Sara from SaraBeautyCorner walks through the pattern slowly enough that a first-timer can follow along. You'll use four strands of embroidery floss in two colors (one for the hearts, one for the background), a small button for the closure, and a piece of tape to hold the bracelet down while you knot.

You only need to learn two knots - a forward knot and a backward knot. Everything else is just where you place them and which strand you pick up. Most bracelets take about three hours start to finish, and the second one always goes faster than the first.

Step-by-Step Guide

1

Gather Your Supplies

0:36
Step 1: Gather Your Supplies

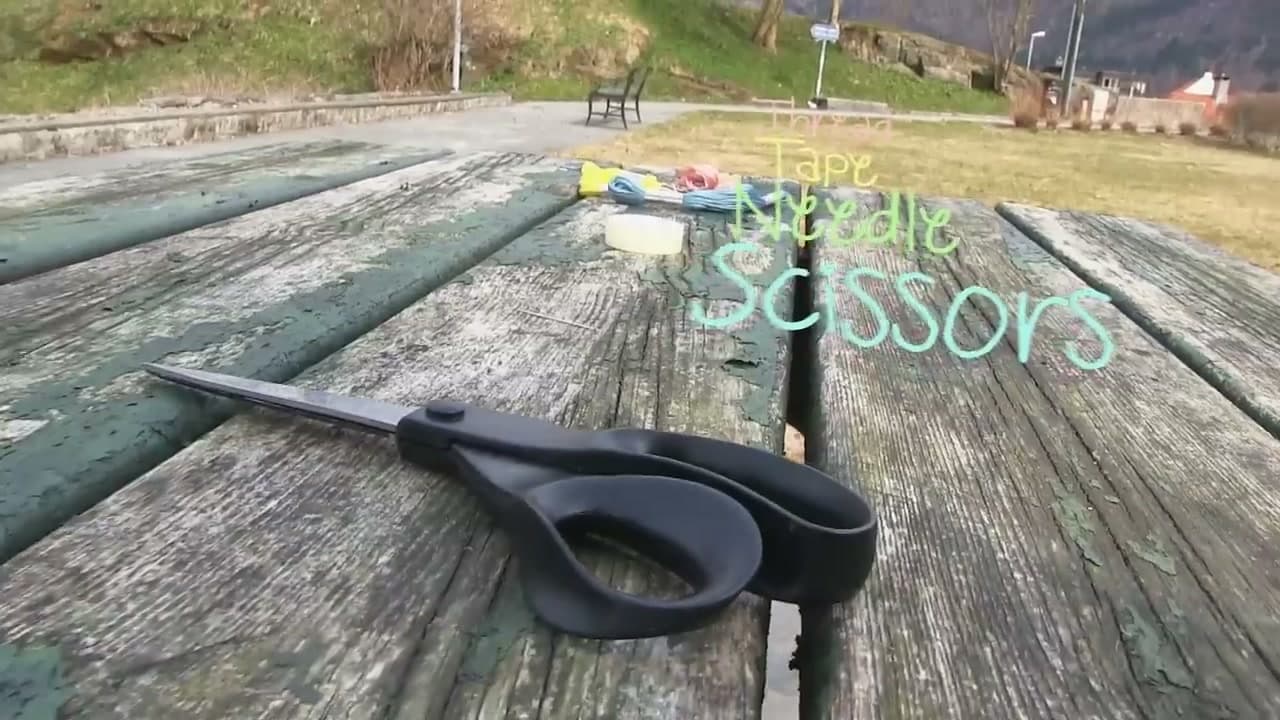
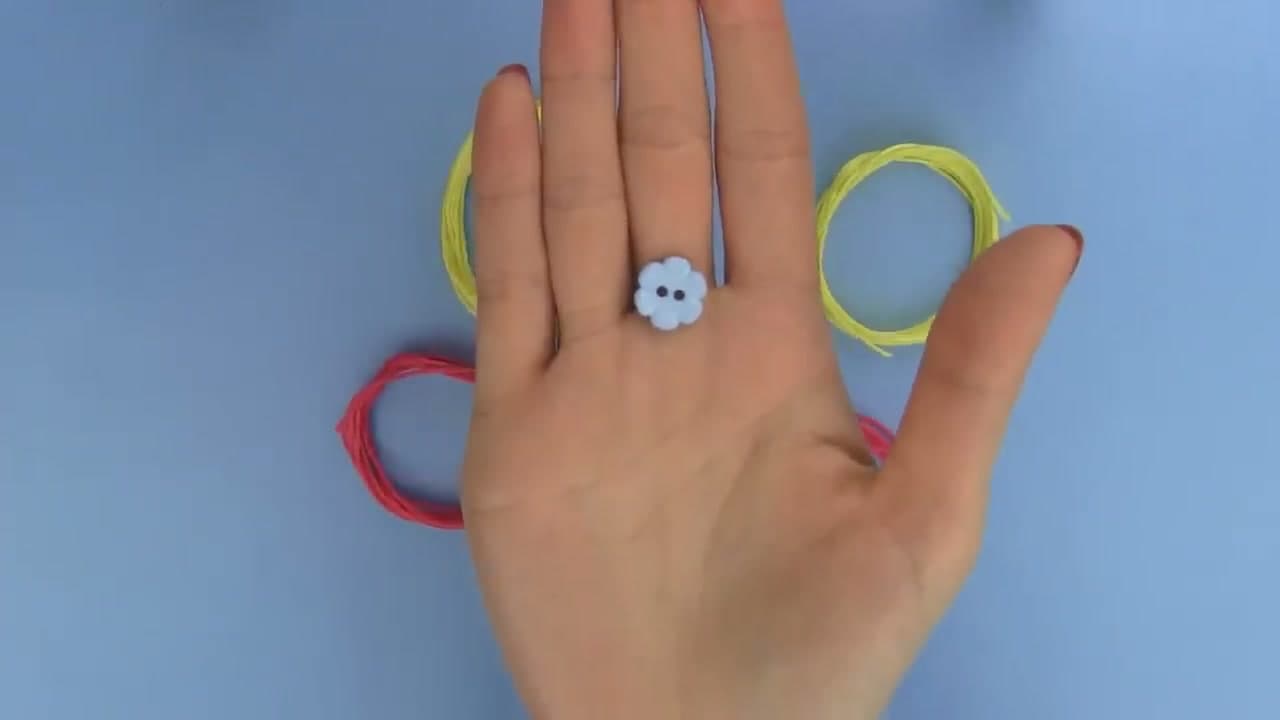
You only need a handful of things to make a heart bracelet. Pick two colors of six-strand embroidery floss - one for the hearts and one for the background. Bright colors against white show the hearts off best, but any two contrasting shades work.

Grab a small button (slightly bigger than the loop you'll tie at the top), a piece of masking tape, scissors, and an embroidery needle. The needle is for fishing out a tight knot if you slip up midway. You won't need it most of the time, but it saves a bracelet when you do.

Tip

For your first heart bracelet, pick two colors with strong contrast (red and yellow, navy and white, black and pink). Subtle color pairs make the heart pattern hard to read.
2

Cut and Fold Your Floss

0:42
Step 2: Cut and Fold Your Floss

Cut two strands of each color at about 50 inches (1.2 meters) long. That gives you four strands total - two heart-color, two background-color.

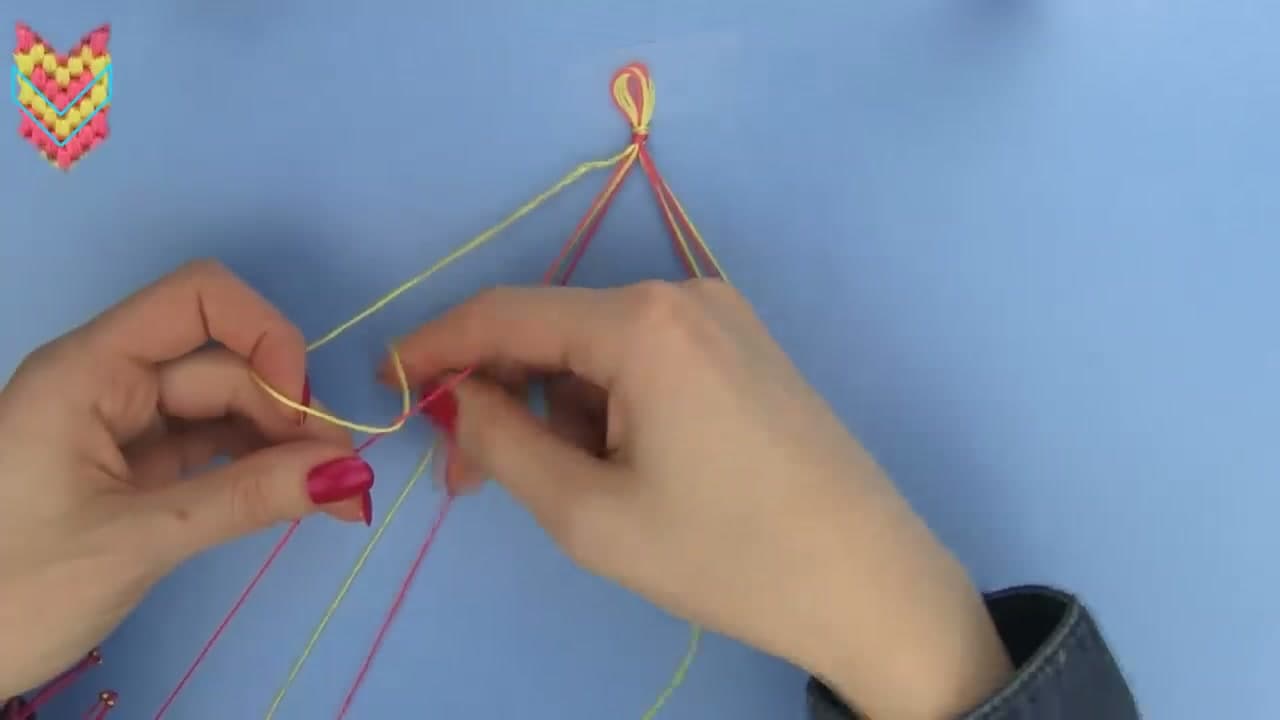
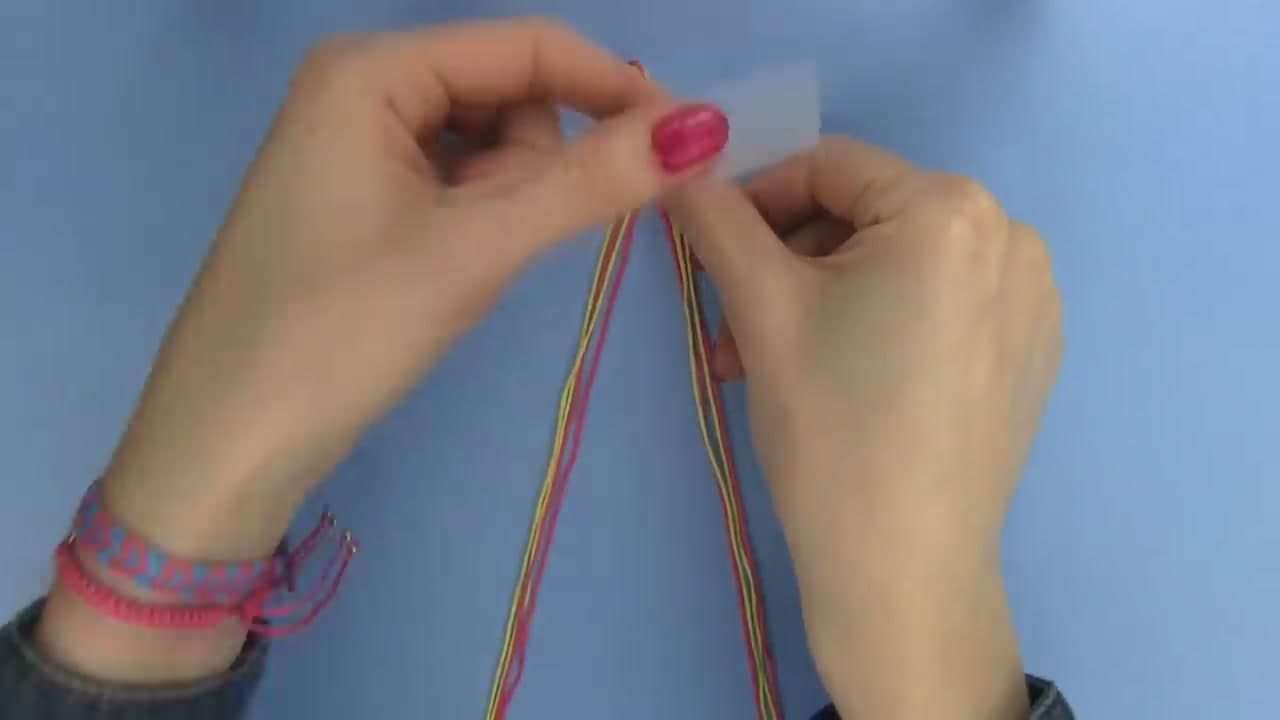
Stack the four strands so the ends line up, then fold the whole bundle in half. The fold creates a small loop at the top - that loop is your button closure. Tie a single overhand knot right below the fold to lock the loop in place. The loop should be just barely bigger than your button.

Tip

50 inches sounds long but knotting eats up a lot of length. Don't cut shorter or you'll run out before the bracelet wraps your wrist.

Products used in this step

3

Tape It Down and Arrange the Threads

1:00
Step 3: Tape It Down and Arrange the Threads

Stick the knot to a flat surface with the masking tape - a table, a clipboard, even a hardcover book. Anything that holds the top still so both your hands stay free.

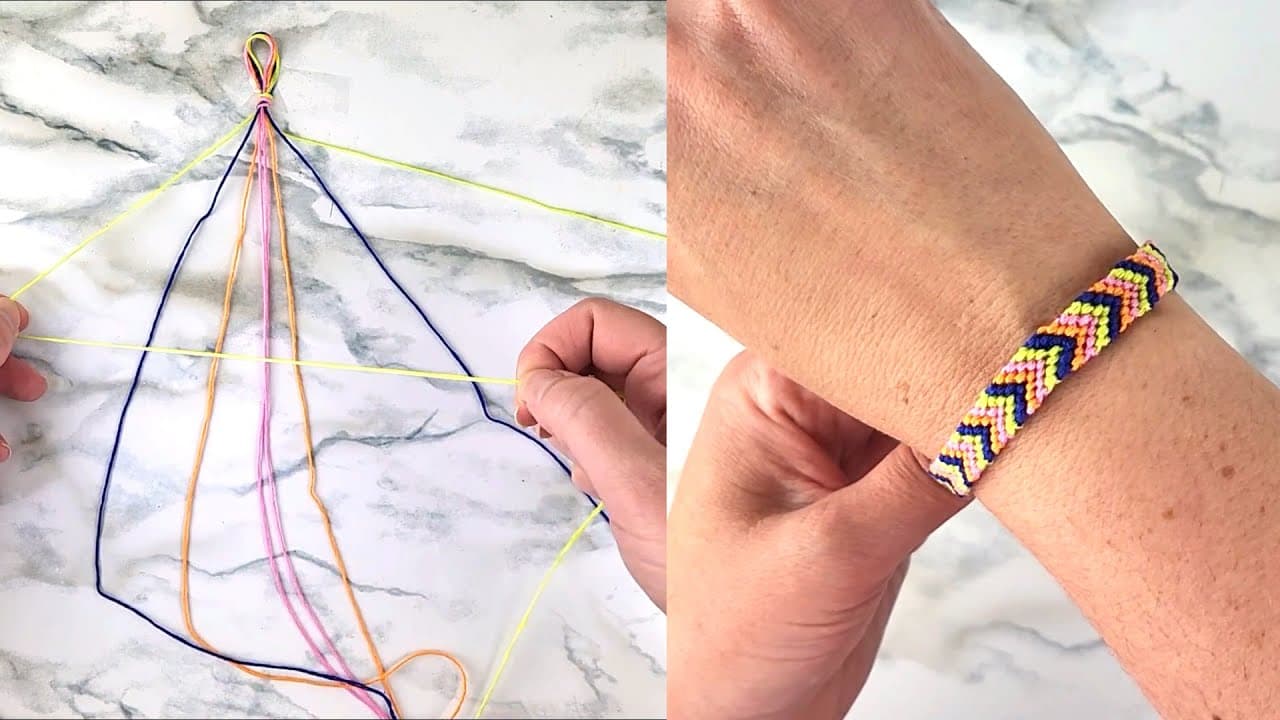
Now spread the eight strand ends out below the knot in a fan. Divide them into two sets of four. Here's the important part: the colors have to mirror each other. The outermost strand on each side should be the heart color, and the two innermost strands on each side should be the background color. Left side and right side should look like reflections.

Tip

If the colors aren't mirrored, the hearts will come out lopsided or won't form at all. Take an extra ten seconds to double-check before you start knotting.

4

Make Two Normal Chevron Rows

1:40
Step 4: Make Two Normal Chevron Rows

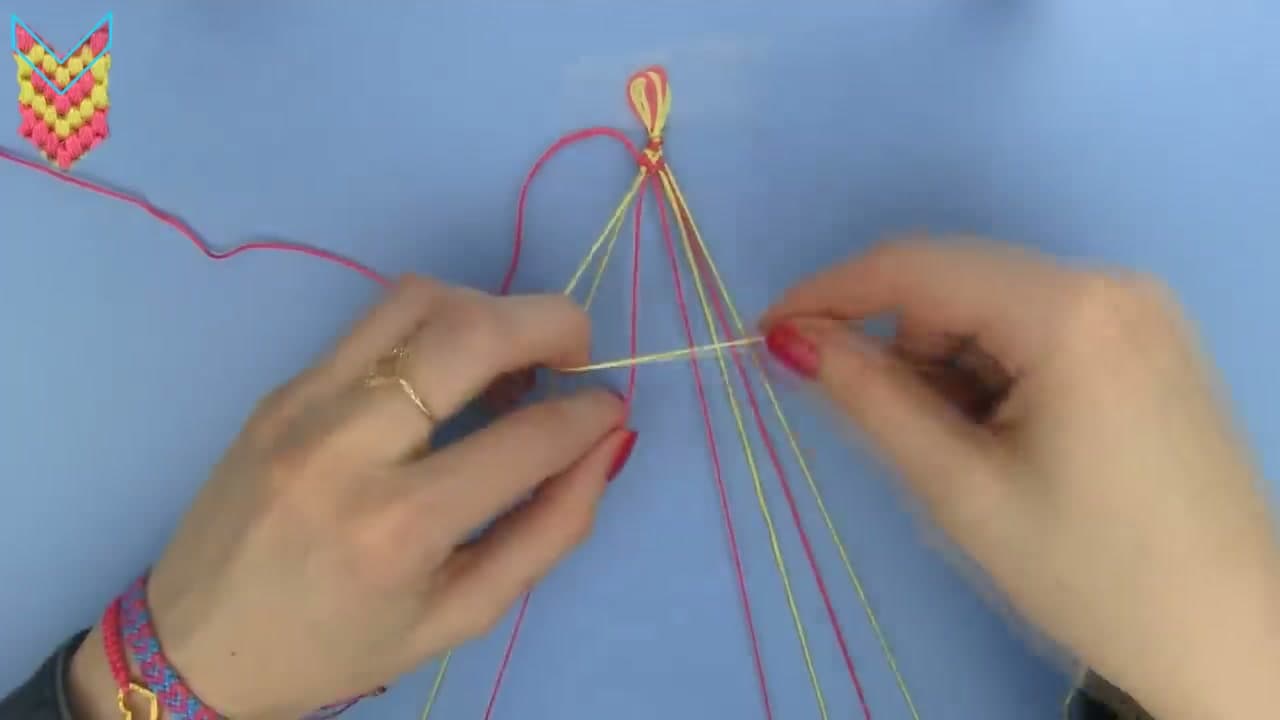
Start with the outermost strand on the LEFT. Lay it across the next strand to make a 4-shape, loop the end under and back through the opening, then pull tight. That's one forward knot. Always knot twice on the same strand before moving on. Repeat across the remaining two left-side strands until the working strand reaches the middle.

Now switch to the right side. Take the outermost strand on the RIGHT and do the same thing in reverse - a backward knot (mirror 4-shape, loop under, through, twice). Work toward the middle. Tie two final backward knots in the center to join the halves. That's one chevron row. Do it again exactly the same way for row two.

Tip

Always knot twice. A single knot will slip loose and the chevron will pull out of shape after a few more rows.

5

Make Two Special Rows for the Heart Shape

4:50
Step 5: Make Two Special Rows for the Heart Shape

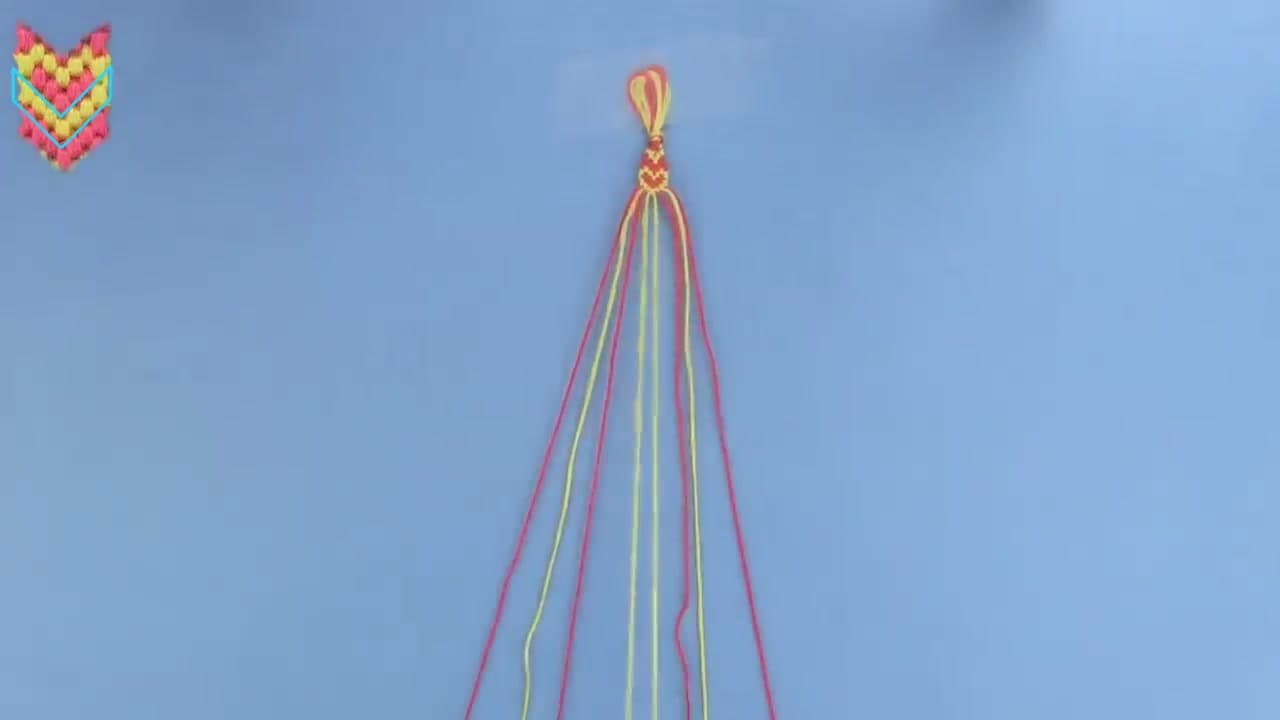
The special rows are what carve the heart shape into the pattern. On the LEFT, take the second-outermost strand (background color) and make a backward knot over the outermost strand (heart color). Knot twice, then leave that outer heart strand sitting in place - don't touch it again this row.

Switch to the second strand and forward-knot it toward the middle, over the remaining two strands. Now mirror it all on the right side: second-outermost makes a forward knot over the outermost, leave the outer alone, then backward-knot the second strand toward the middle. Join the halves in the center. Do this twice. After the second special row, you'll see the first heart appear.

Tip

Don't panic if the first heart looks wonky - the pattern locks in once you start the next set of normal rows. Keep going.

6

Repeat Until the Bracelet Fits Your Wrist

7:12
Step 6: Repeat Until the Bracelet Fits Your Wrist

From here, the pattern is just a loop: two normal rows, then two special rows, then two normal, then two special. Every set of four rows produces one heart. The rhythm clicks after the second or third repeat and your hands take over.

Keep going until the bracelet wraps around your wrist with about half an inch to spare. Sara mentions hers takes about three hours total - that's normal. Put on a show, settle in, and don't rush. Even, snug knots beat fast and messy.

Tip

Measure your wrist before you start so you know the target length. Most adult wrists need 6 to 7 inches of bracelet plus the loop and button.

7

Finish With a Button Closure

7:37
Step 7: Finish With a Button Closure

When the bracelet is the right length, tie a tight overhand knot with all eight strands to lock the work in place. That single knot keeps your hours of knotting from unraveling.

Now pick one strand of embroidery floss and thread it through both holes of the button. Push the button up against the end of the bracelet and tie two or three knots to anchor it tight. Trim every loose end. The button slips through the starting loop at the top to close the bracelet on your wrist.

Tip

A dab of clear nail polish on the final knot stops the floss from fraying long-term. Let it dry before you wear it.

Products Used

☐ The Checklist

How to Make a Heart Friendship Bracelet

Tools
3
Materials
2
Steps
7
Video
9 min

Your Guide

SaraBeautyCorner - DIY, Comedy, Makeup, Nail Art

As an Amazon Associate we earn from qualifying purchases. Links on this page may be affiliate links - clicking them and buying doesn't change your price, but helps support ShowMeStepByStep.

Tags

What's next

Related collections

Curated theme pages that include this tutorial.

Weekly Digest

Liked this jewelry making tutorial?

Pick the categories you want to hear about. Weekly digest of new step-by-step tutorials. No spam, easy unsubscribe.

Send me tutorials about

We only email about new tutorials. Easy unsubscribe anytime.