How to Crochet an Easter Egg

The finished result: How to Crochet an Easter Egg
  • Difficulty: Easy
  • 10 steps

You tapped Save

Save this project for later

We'll email you a link, no password.

How to Crochet an Easter Egg

  • Your saved projects in one list
  • Your ticked steps on any device

Check your inbox for an email from us. Not there? Look in your spam folder.

Print

Steps written out by Crafting Step by Step from Keep Calm and Crochet 's video (opens YouTube) (18:49). Published .

Also in:Crafts

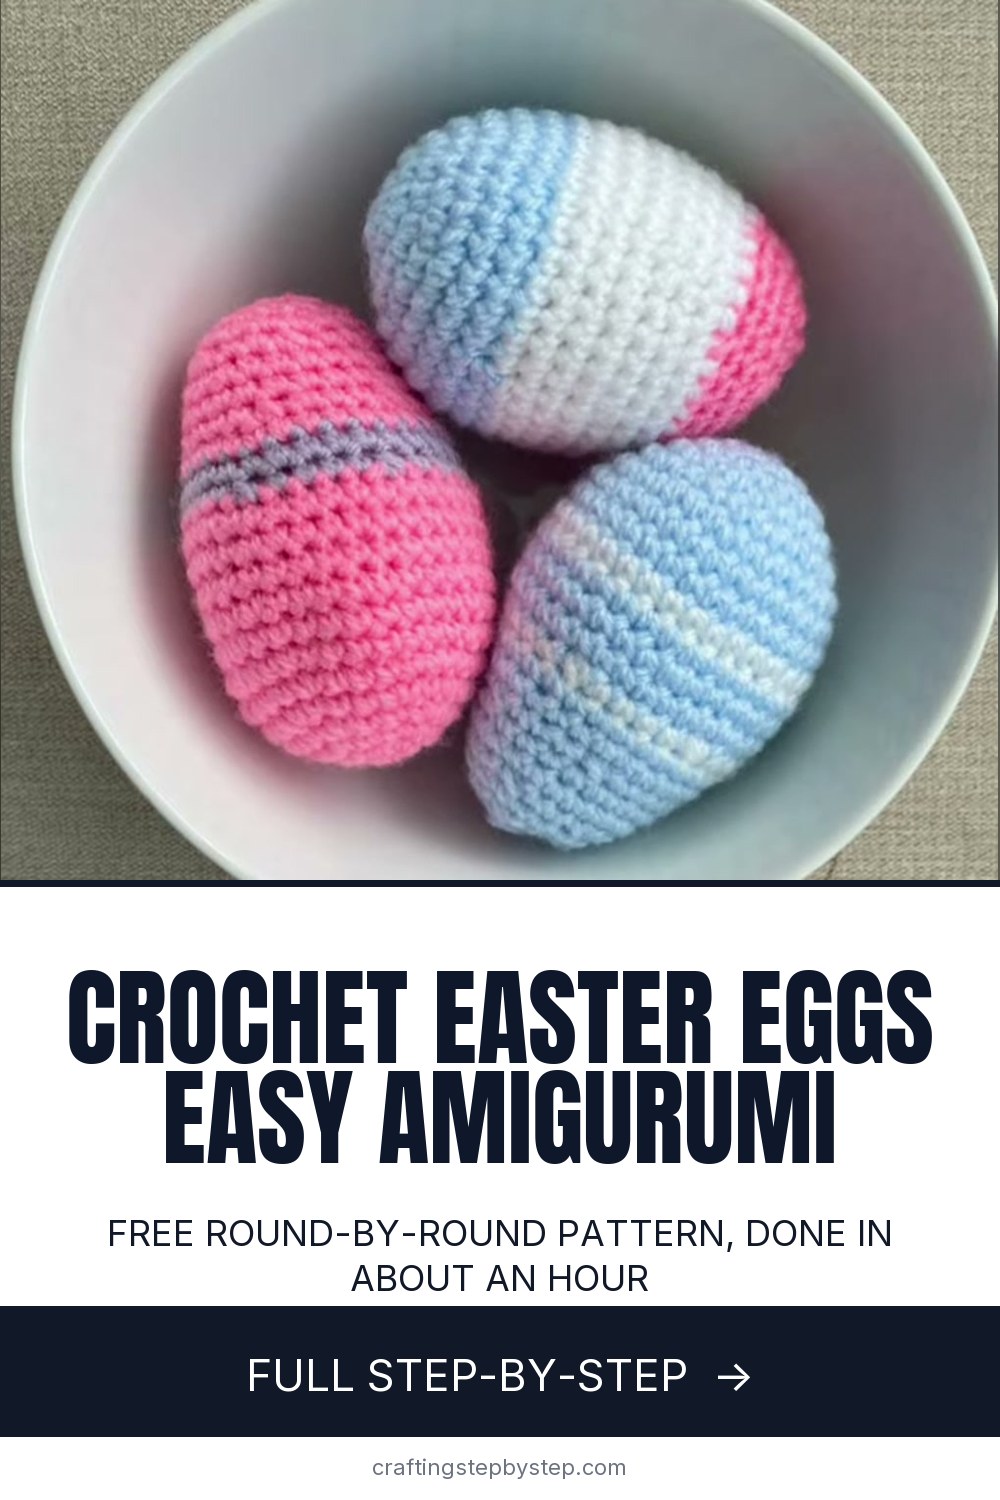
This little striped egg is a quick first amigurumi. You crochet it in one piece, in spirals of single crochet, with a blue base, a white middle and a pink top. The pattern comes from Rashmi of the Keep Calm and Crochet channel. She starts with a chain of two instead of a magic ring, which makes it friendlier for a beginner. Make a few for an Easter basket, an egg hunt or a bowl on the table.

Materials and swaps from home

  • Yarn. Rashmi uses Stylecraft Special DK in blue, white and pink. Any light worsted or DK acrylic works. Scraps are fine, since each stripe takes only a few yards.
  • Hook. 3.5 mm (size E). Go down a size if your stitches look loose.
  • Stuffing. Polyester fiberfill. Yarn scraps work in a pinch but feel lumpy.
  • Extras. A stitch marker, scissors and a yarn needle.

How to crochet an Easter egg: the full pattern

US terms. sc = single crochet, inc = 2 sc in one stitch, dec = single crochet two together. Work in a spiral and move the marker up each round. The stitch count is in brackets.

  1. Blue. Chain 2. Round 1: 6 sc in the 2nd chain from the hook (6).
  2. Round 2: inc in every stitch (12).
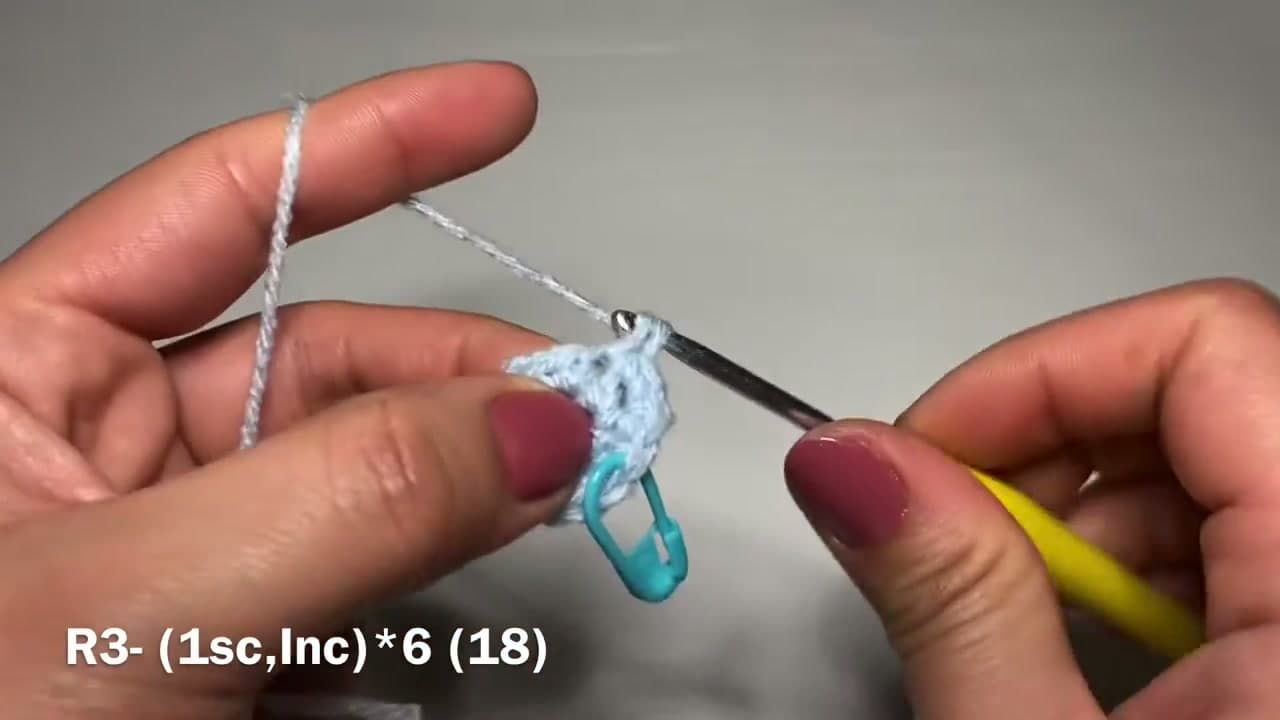
  3. Round 3: (1 sc, inc) 6 times (18).
  4. Round 4: (1 sc, inc, 1 sc) 6 times (24).
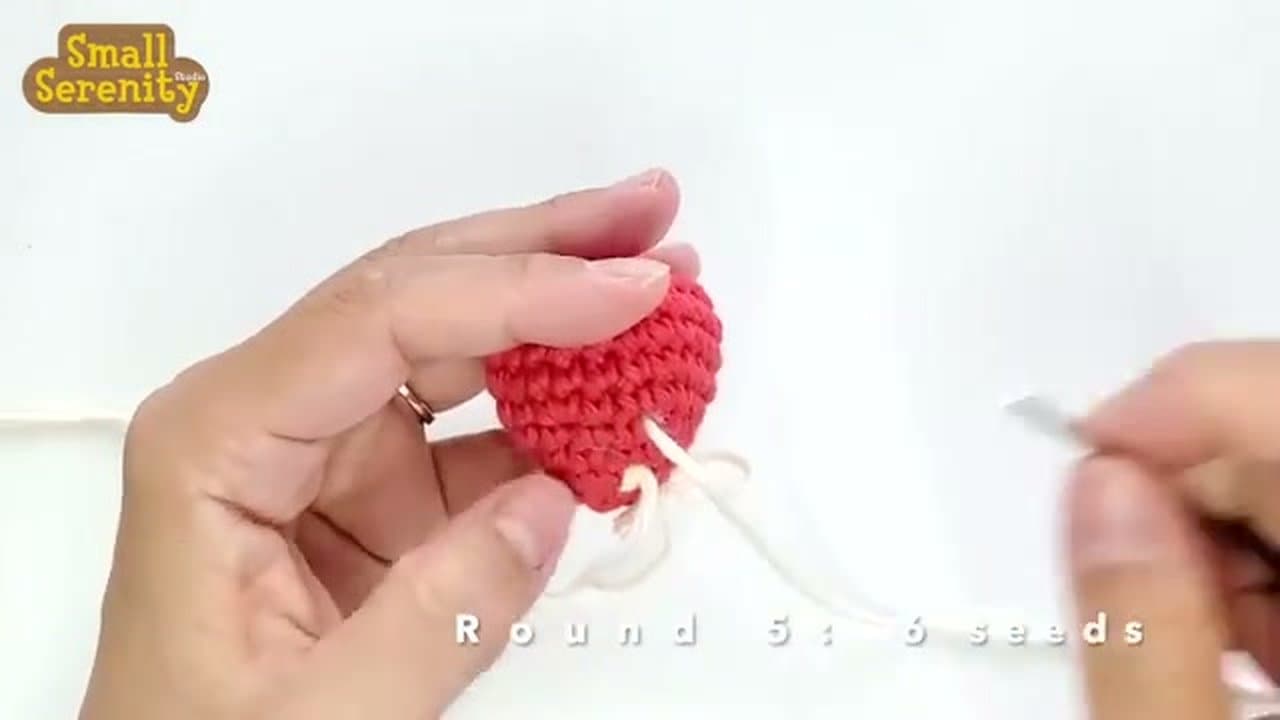
  5. Round 5: (3 sc, inc) 6 times (30).
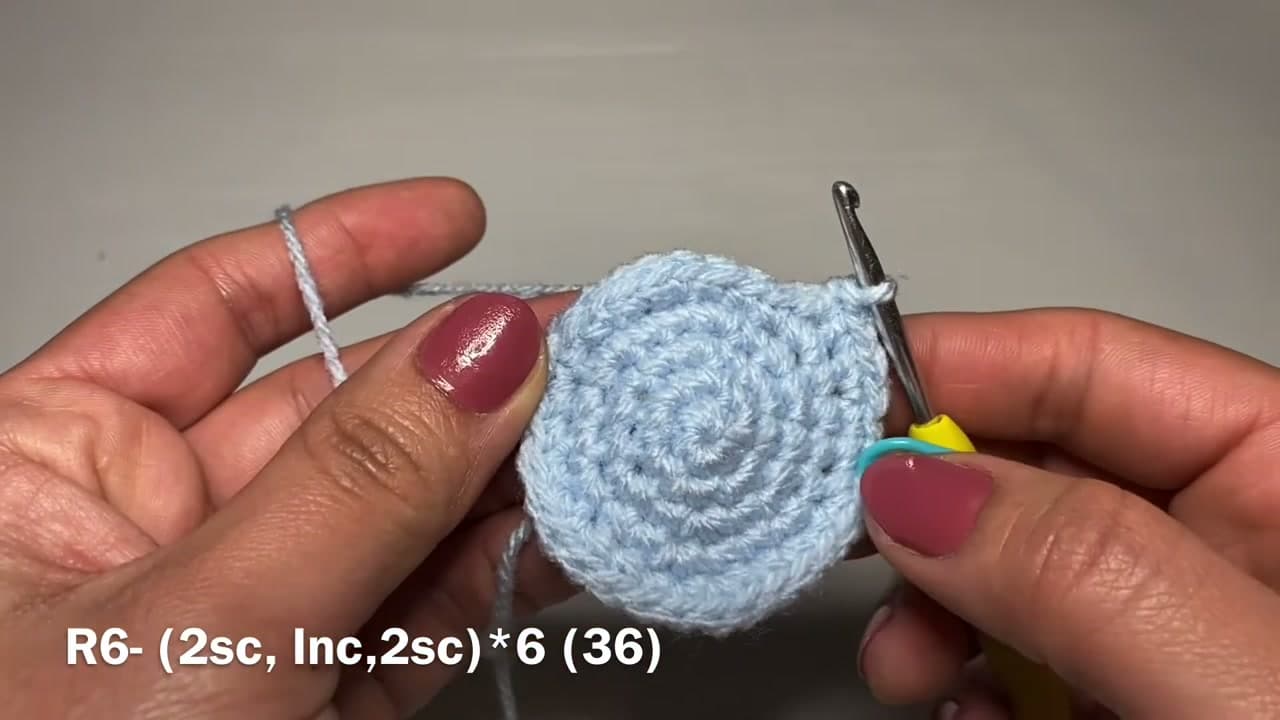
  6. Round 6: (2 sc, inc, 2 sc) 6 times (36).
  7. Rounds 7 and 8: sc in every stitch (36). Slip stitch, cut the blue.
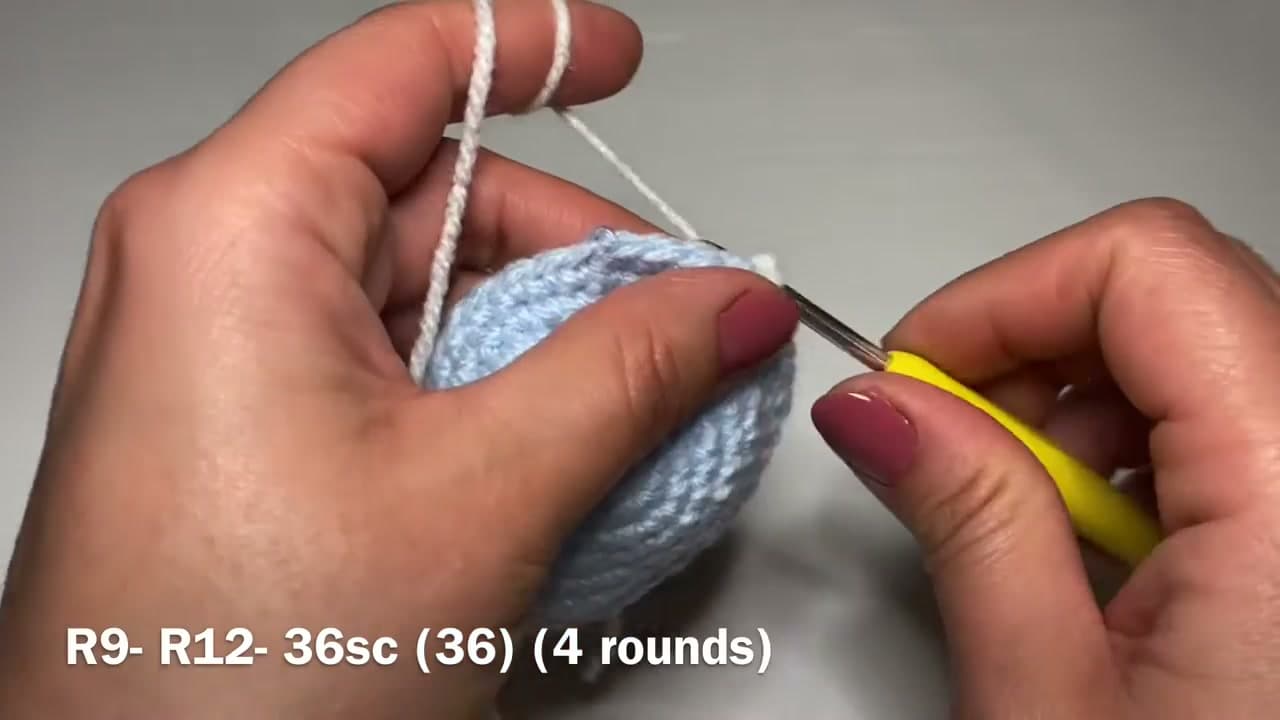
  8. White. Rounds 9 to 12: sc in every stitch (36).
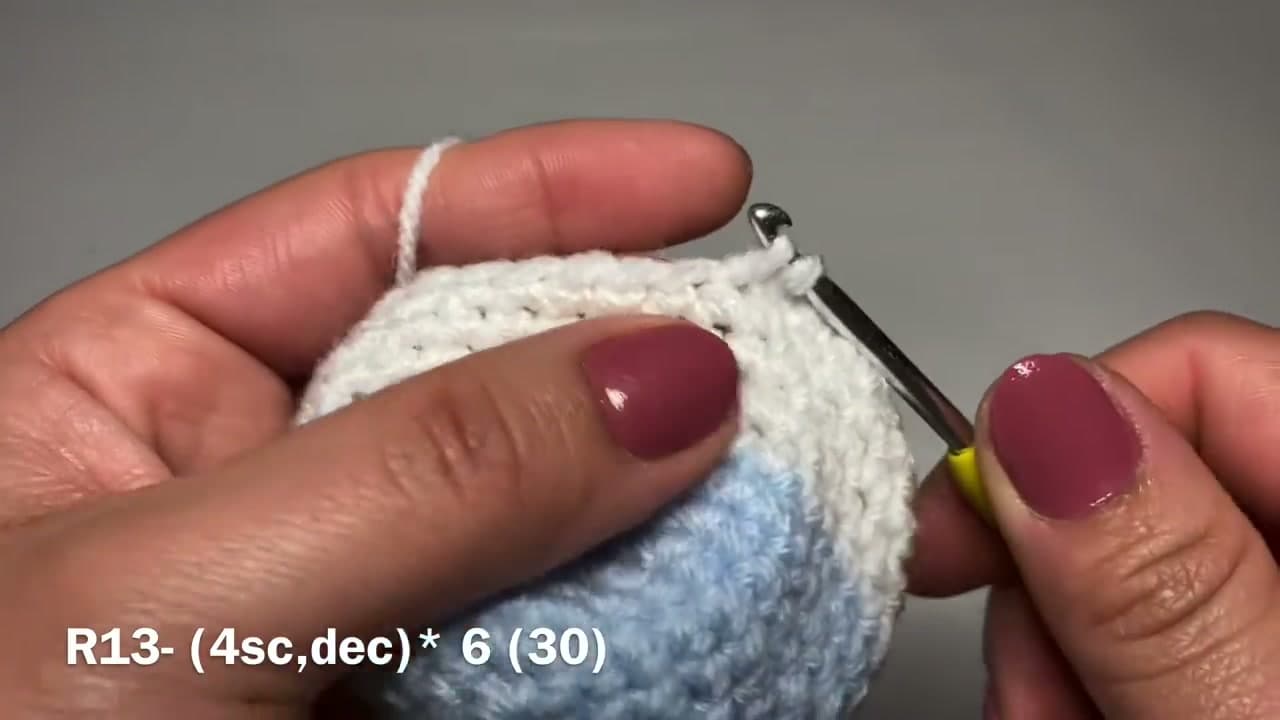
  9. Round 13: (4 sc, dec) 6 times (30).
  10. Rounds 14 and 15: sc in every stitch (30). Slip stitch, cut the white.
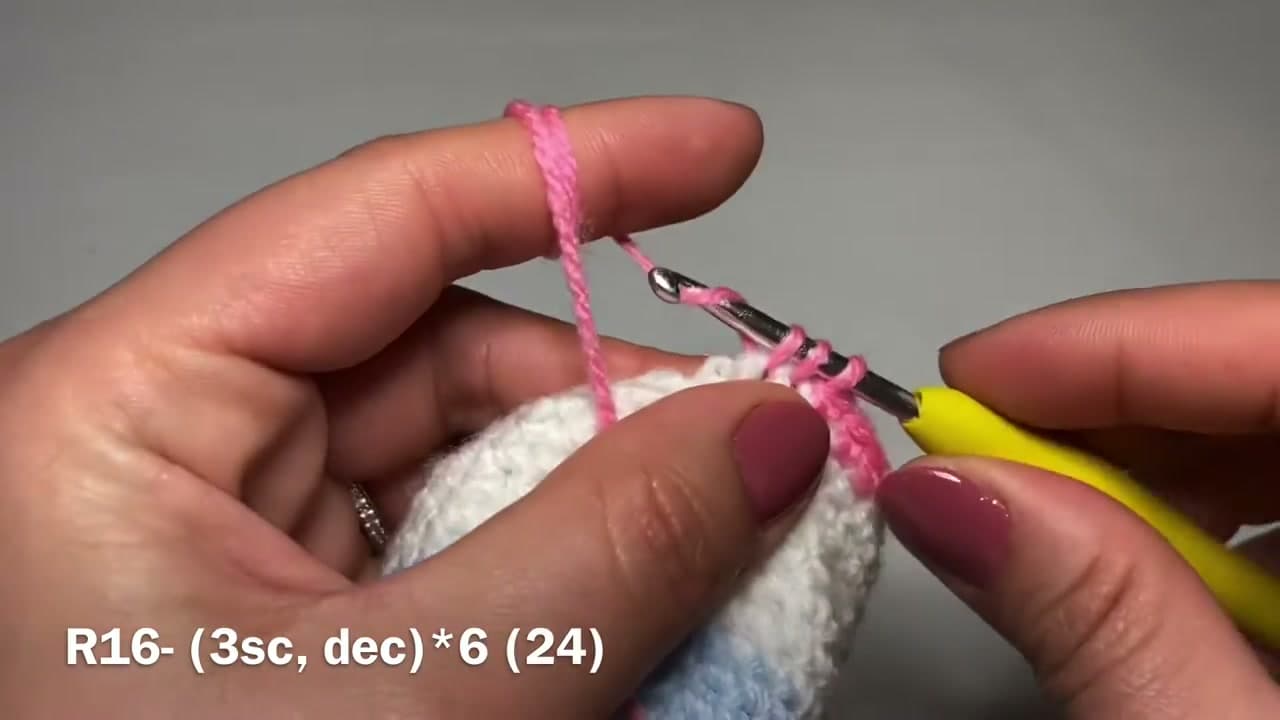
  11. Pink. Round 16: (3 sc, dec) 6 times (24).
  12. Rounds 17 and 18: sc in every stitch (24).
  13. Round 19: (2 sc, dec) 6 times (18).
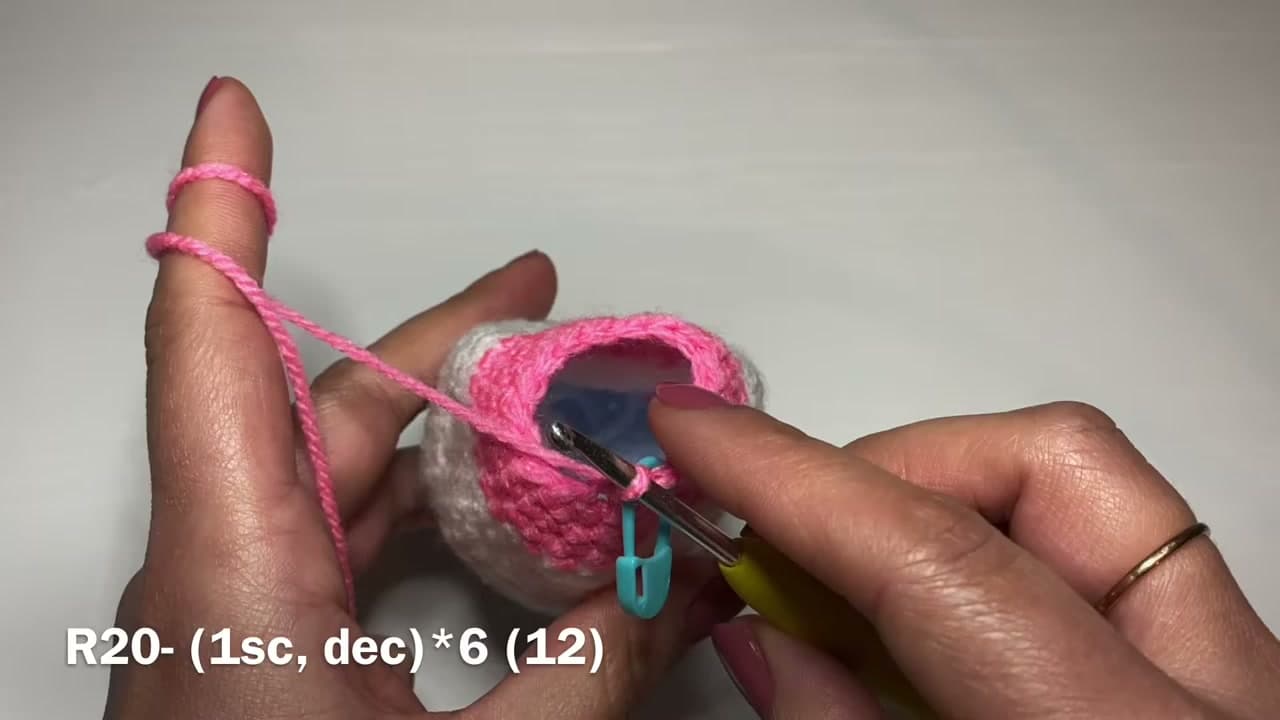
  14. Round 20: (1 sc, dec) 6 times (12). Stuff the egg.
  15. Round 21: dec 6 times (6). Fasten off and weave in the end.

Size and how long it takes

In DK yarn the egg comes out about 3 inches tall, close to a large hen's egg. Allow about an hour for your first one. Once the rounds feel familiar, a second egg goes faster.

Who it suits

If you can chain and single crochet, you can make this. It is a good project for a grandchild's Easter basket, a soft egg for a toddler's egg hunt, or a set of table favors for a church or class party. Tuck a few into a crochet basket next to a crochet bunny and the gift is done.

Easter egg variations

  • Colors. Try yellow, mint and lilac, or one solid color with a thin stripe.
  • Kid-safe. For small children, skip beads and buttons and stitch any faces on with yarn.
  • Spring version. Work it in greens and soft yellows so the bowl can stay out past Easter.

Troubleshooting

  • The egg looks lumpy. Stuff in small tufts and keep adding until it is firm.
  • Gaps near the top. Tug the yarn after each of the last decreases, the way Rashmi does. Our guide to decreasing in crochet shows the stitch up close.
  • Color jogs at the stripes. That small step is normal in a spiral. See how to change colors in crochet for a neater join.

Storing it for next year

Crochet eggs keep for years. Store them in a zip bag with your Easter things, away from damp. If one gets grubby, hand wash it in cool water and let it air dry.

Free printable

Print the steps and supply list for this project

One page you can take to the table. Free with a free account, no password.

Get the free printable

What you'll need

Free, for this project

Get this checklist by email

  • All 8 tools and materials, with tick boxes
  • A link to print all 10 steps on paper, to keep by you while you craft

No password. The whole tutorial stays free on this page.

Quick answer

Crochet an Easter egg in three colors with a free round-by-round amigurumi pattern. An easy project. You need 8 things, including DK yarn in blue, DK yarn in white and DK yarn in pink. The 10 steps start with chain 2 and Work 6 Single Crochet to Start the Crochet Easter Egg, work the Increase Rounds and Place the Stitch Marker on the Egg Base and grow the Blue Crochet Circle to 36 Stitches.

Step-by-step guide

10 steps, about 19 minutes. Tap a picture to jump to that step. Your progress saves automatically.

Tick each step off as you go.

  1. Step 1: Chain 2 and Work 6 Single Crochet to Start the Crochet Easter Egg

    Watch this step · 1:25
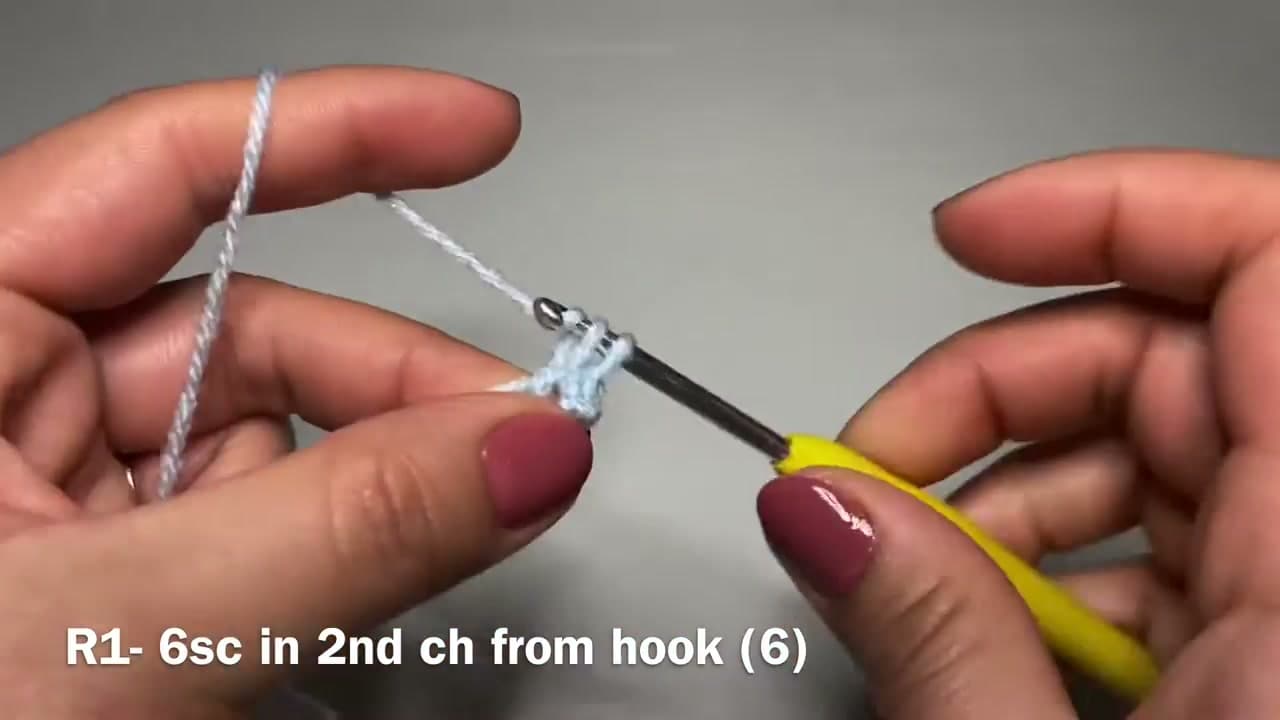
    Start with the blue yarn. Make a slip knot, put it on your hook and chain 2. Skip the first chain and work 6 single crochet into the second chain from the hook, all in that one spot. That is Round 1. Pull the yarn tail to close the gap in the middle. A little bump may stick out on one side. Leave it, the next rounds hide it.

    Tip:

    This start replaces a magic ring. If you know the magic ring, use it instead.

    Back to all steps

  2. Step 2: Work the Increase Rounds and Place the Stitch Marker on the Egg Base

    Watch this step · 3:45

    From here you work in a spiral, with no slip stitch at the end of each round. Round 2 is an increase in every stitch, so two single crochet in each one, for 12 stitches. For Round 3, work one single crochet and then an increase, all the way around, for 18. Put a stitch marker in the first stitch of the round and move it up each time you come back to it.

    Tip:

    Count your stitches at the end of each round. Fixing a mistake early is much easier.

    Back to all steps

  3. Step 3: Grow the Blue Crochet Circle to 36 Stitches

    Watch this step · 5:55

    Keep increasing six times a round. Round 4 is one single crochet, an increase, then one more single crochet, repeated, for 24. Round 5 is three single crochet and an increase, for 30. Round 6 is two single crochet, an increase, two single crochet, for 36. Staggering the increases keeps the base round instead of turning it into a hexagon. You now have a flat blue circle.

    Tip:

    If the circle starts to ripple, your tension is loose. Try a smaller hook.

    Back to all steps

  4. Step 4: Work Two Even Rounds and Join the White Yarn to the Egg

    Watch this step · 7:28

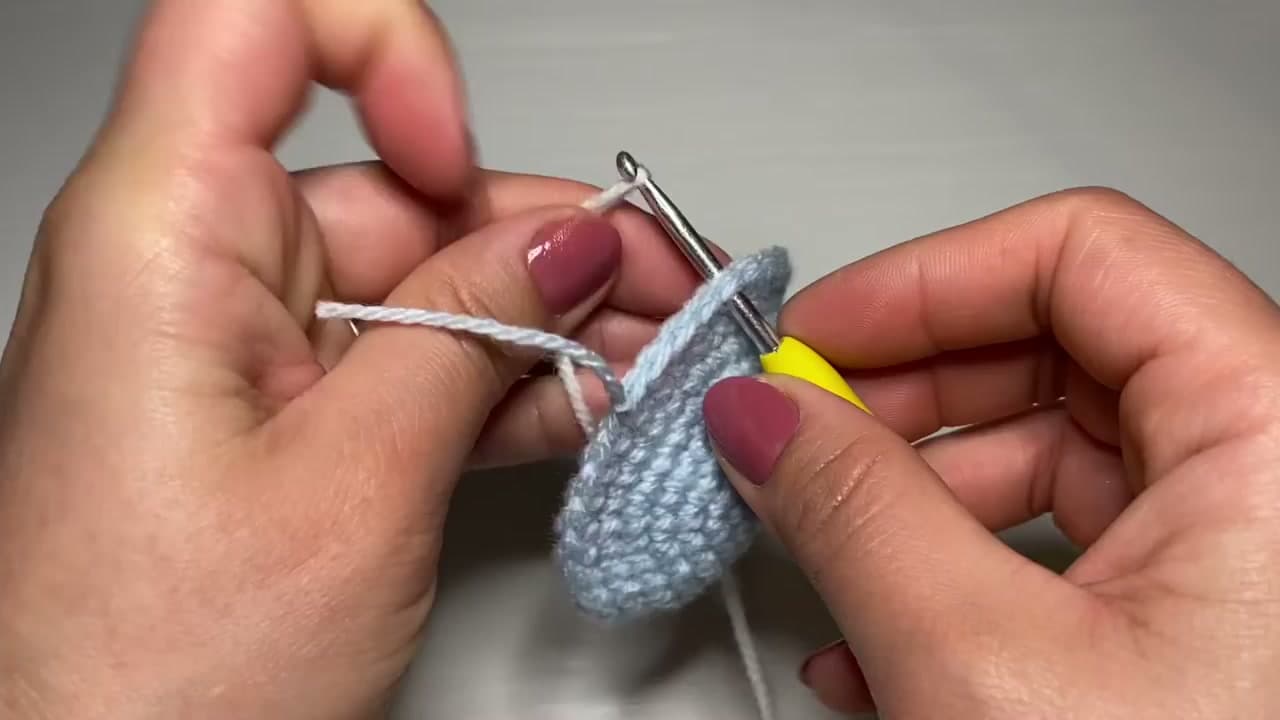
    Work Rounds 7 and 8 with one single crochet in every stitch. The edges start to curl up into a cup. At the end of Round 8, slip stitch into the next stitch, cut the blue and pull the end through. Pull a loop of white yarn through the edge, tie a small knot and tuck both tails to the inside. Chain 1 and single crochet into the same stitch to begin.

    Tip:

    Join the new color near where the blue ended so the color change lines up.

    Back to all steps

  5. Step 5: Crochet the White Middle Stripe of the Easter Egg

    Watch this step · 7:55

    Work single crochet in every stitch around for four rounds, Rounds 9 to 12. You keep 36 stitches the whole way. The sides grow straight up from the blue base and the piece starts to look like the bottom of an egg. Keep moving your stitch marker up at the start of each round so you do not lose count. These plain rounds are relaxing work.

    Tip:

    Keep the yarn tails inside the cup. They get hidden by the stuffing later.

    Back to all steps

  6. Step 6: Decrease the White Rounds to Shape the Egg

    Watch this step · 9:35

    Round 13 begins the narrowing. Work four single crochet, then a decrease. To decrease, pull up a loop in the next stitch and a loop in the stitch after it, then yarn over and pull through all three loops. Repeat around for 30 stitches. Work Rounds 14 and 15 with one single crochet in every stitch. Slip stitch, cut the white and pull the end through.

    Tip:

    Slow, gentle decreases give the egg its taller, rounded top.

    Back to all steps

  7. Step 7: Join the Pink Yarn and Decrease the Top of the Egg

    Watch this step · 12:05

    Join the pink the same way you joined the white. Chain 1 and start Round 16: three single crochet and a decrease, around, for 24. Work Rounds 17 and 18 even, with 24 single crochet each. Round 19 is two single crochet and a decrease, repeated, for 18. The opening at the top keeps getting smaller and the egg shape is easy to see now.

    Tip:

    Bright pink shows up well against white. Any pastel works for the top.

    Back to all steps

  8. Step 8: Work Round 20 and Stuff the Crochet Egg With Fiberfill

    Watch this step · 14:40

    Round 20 is one single crochet and a decrease, all the way around, for 12 stitches. The hole is now small, so stuff the egg before it closes. Push in fiberfill a little at a time. Fill the blue base first, then the middle, and shape it with your fingers as you go. Stop when it feels firm and holds an egg shape.

    Tip:

    Pull the stuffing into thin tufts before you push it in. It stays smooth that way.

    Back to all steps

  9. Step 9: Close the Top of the Easter Egg With Six Decreases

    Watch this step · 16:05

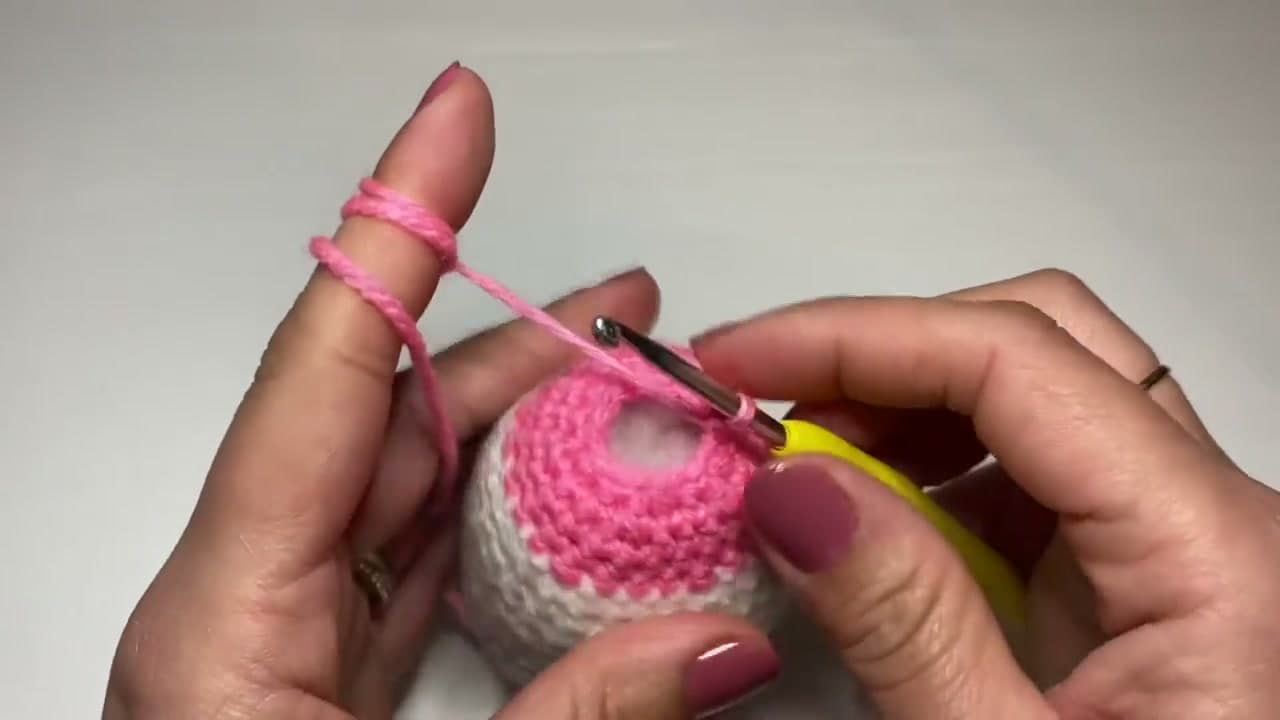
    Round 21 is six decreases, which leaves 6 stitches. The stuffing gets in the way here, so slide a finger inside to push it back while you work. After each decrease, give the yarn a small tug to tighten it. That keeps the gaps small. When you finish, slip stitch into the stitch across the hole to pull it shut, then chain 1 and cut the yarn.

    Tip:

    Top up the stuffing now if the egg feels soft. You cannot add more after this.

    Back to all steps

  10. Step 10: Weave the Yarn Tail Into the Crochet Easter Egg

    Watch this step · 18:00

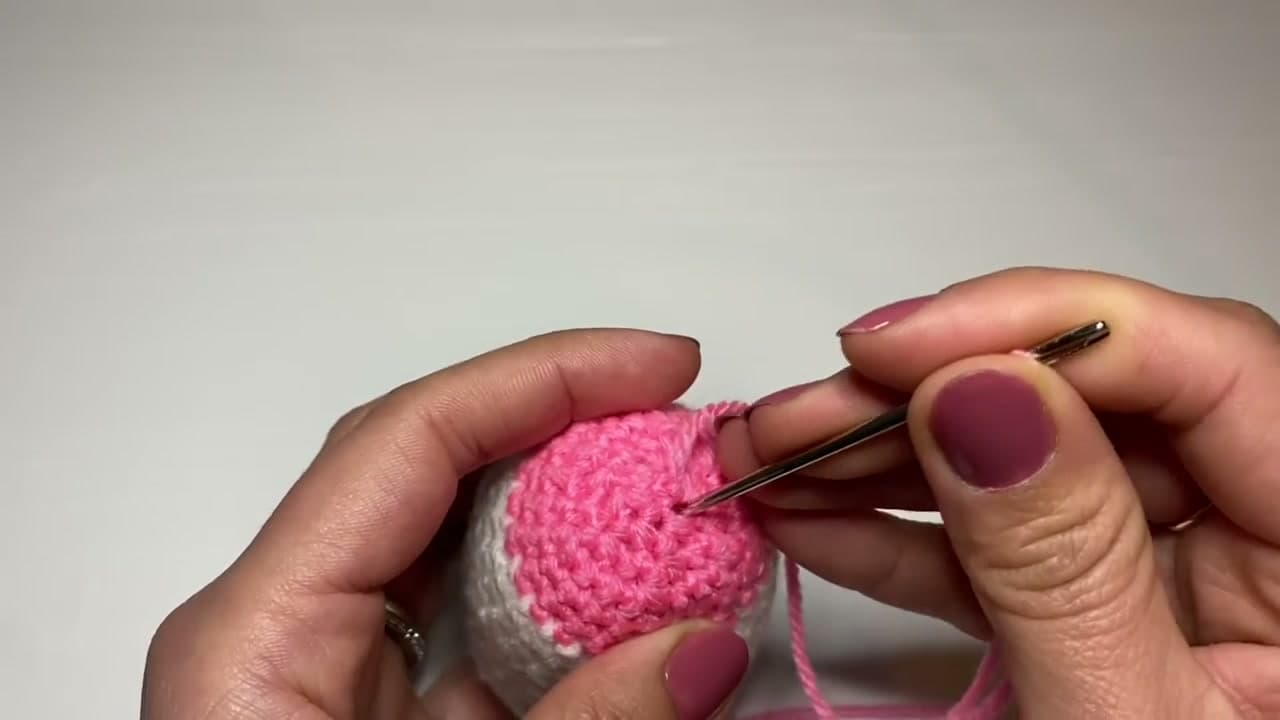
    Thread the pink tail onto a yarn needle. Push the needle in right beside where the tail comes out, run it through the stuffing and bring it out on the far side of the egg. Pull it through, then snip the yarn close to the surface. Give the egg a squeeze and the end slips inside out of sight. Squeeze it into shape and your egg is done.

    Tip:

    Make a whole set in different colors and fill a bowl or a basket.

    Back to all steps

How to Crochet a Cowl

Keep going

How to Crochet a Cowl

Keep going with crochet

More on this topic, picked for this easter egg.

You reached the last step

Save this project to come back to it

Your ticked steps, the free printable and your other saved makes, together in My Projects. Free, no password.

You tapped Save

Save this project for later

We'll email you a link, no password.

How to Crochet an Easter Egg

  • Your saved projects in one list
  • Your ticked steps on any device

Check your inbox for an email from us. Not there? Look in your spam folder.

Free printable

Printable sheet and shopping list for this project

The bonus is hidden until you sign up.

Free with a free account, no password. Every step above stays open to everyone.

Products Used

The Checklist

How to Crochet an Easter Egg

Tools
4
Materials
4
Steps
10
Video
19 min

Tools we recommend

As an Amazon Associate we earn from qualifying purchases. Links on this page may be affiliate links - clicking them and buying doesn't change your price, but helps support Crafting Step by Step.

Tags

The Crafter's Weekly

New crochet tutorials, every Sunday

One short email with the week's best step-by-step guides. Free, no spam, unsubscribe anytime.

Did this work for you?

What's next

Related collections

Curated theme pages that include this tutorial.

Similar tutorials

Hand-picked next reads based on the one you just finished.

Liked this crochet tutorial?

Pick the crafts you want to hear about. One email every Sunday with new step-by-step tutorials. No spam, easy to unsubscribe.

Get more like this in your inbox

Weekly digest. Pick the categories you want. Unsubscribe anytime.

Send me tutorials about

We only email about new tutorials. Easy unsubscribe anytime.