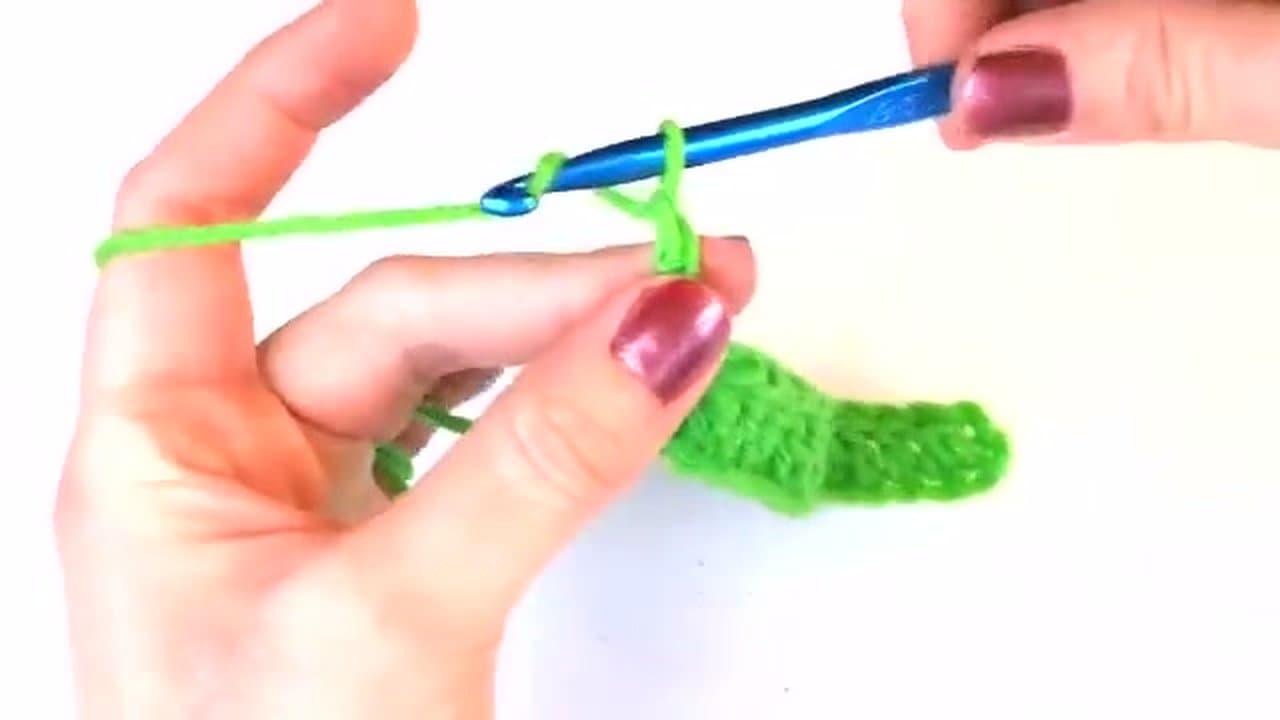
How to Crochet a Sphere (Beginner Amigurumi Ball)

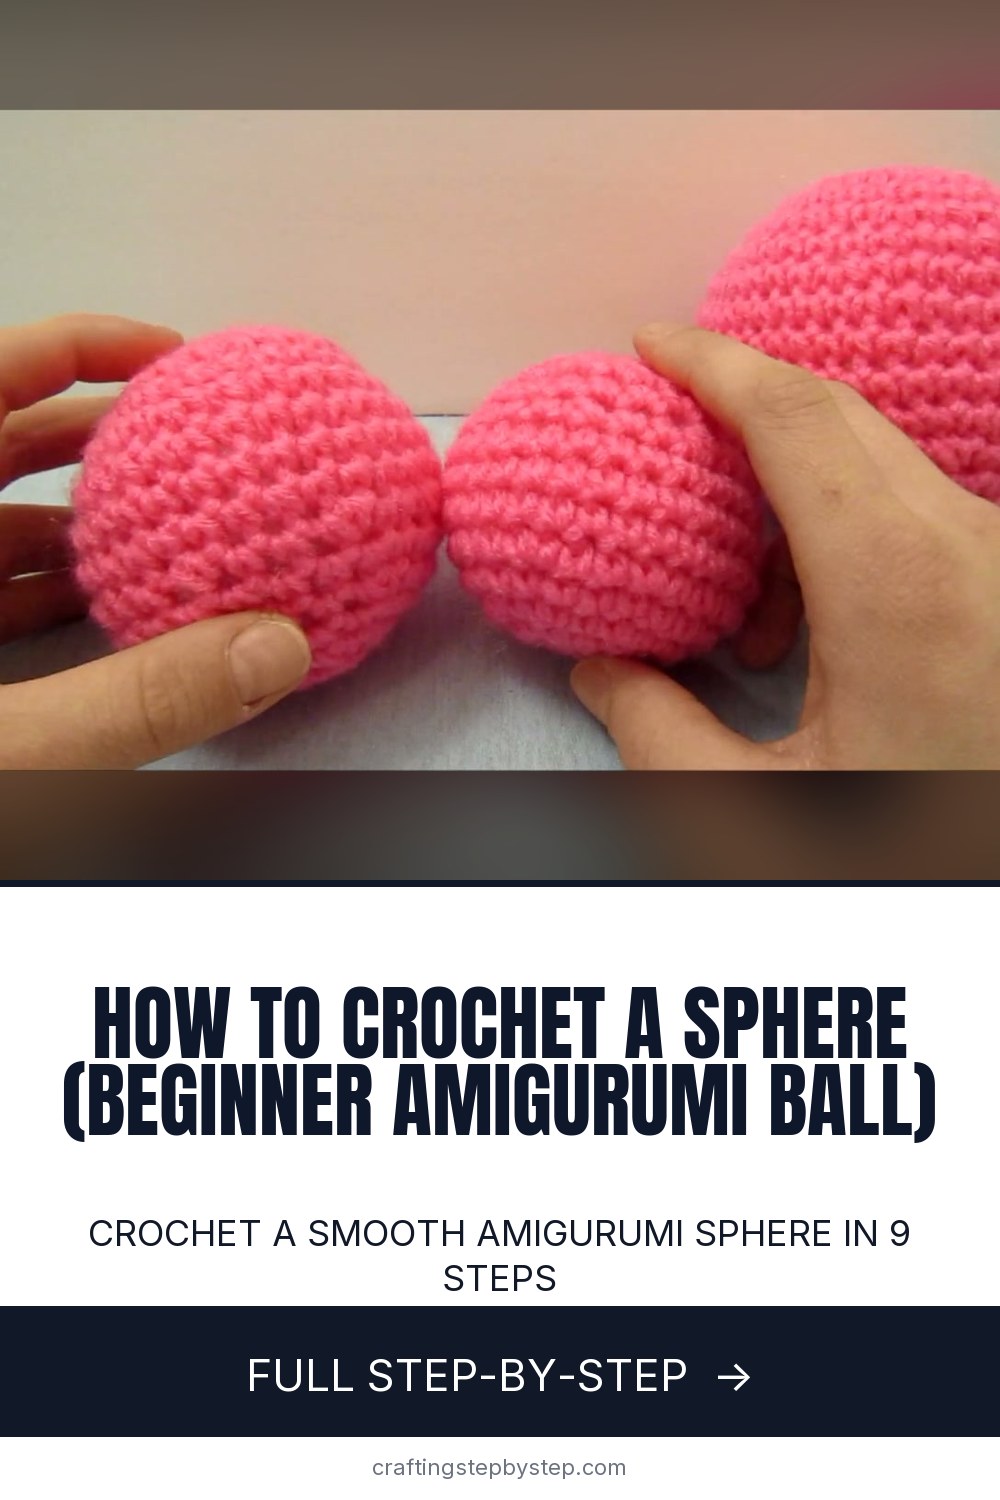
The finished result: How to Crochet a Sphere (Beginner Amigurumi Ball)
  • Difficulty: Easy
  • About 1 hour
  • 9 steps

You tapped Save

Save this project for later

We'll email you a link, no password.

How to Crochet a Sphere (Beginner Amigurumi Ball)

  • Your saved projects in one list
  • Your ticked steps on any device

Check your inbox for an email from us. Not there? Look in your spam folder.

Print

Steps written out by Crafting Step by Step from The Craft Nut's video (opens YouTube) (10:45). Published .

Also in:Crafts

The sphere is the most useful shape in all of amigurumi. Heads, bodies, snouts, hands, feet, tails, eyes - they all start as a sphere or a half-sphere. If you can crochet one clean ball, you can crochet a bee, a cat, a mushroom, a dinosaur, an octopus. The shape doesn't change. The color and the face do.

This tutorial walks through the universal amigurumi sphere from The Craft Nut. You'll start with a magic ring, work eight single crochet into it, then alternate increase rounds with plain straight rounds until you've built the bottom hemisphere. The middle straight rounds are the equator. Then you mirror the increases in reverse as decreases to close the top hemisphere, stuff with fiberfill while the hole is still open, and cinch the rest closed with a yarn needle.

The pattern in this video uses eight starting stitches and slip-stitches each round closed (instead of working in a continuous spiral). That's a great approach for a beginner because you can clearly see where each round ends. Once you're comfortable, the same logic works in the more common six-stitch continuous spiral - same increases, same decreases, just no slip-stitch joins.

Once you finish your first sphere, every amigurumi project on the site is unlocked. Try a chunky bee, a sleepy cat, or a little mushroom next - they all start with the same sphere you're about to make.

Free printable

Print the steps and supply list for this project

One page you can take to the table. Free with a free account, no password.

Get the free printable

What you'll need

Free, for this project

Get this checklist by email

  • All 6 tools and materials, with tick boxes
  • A link to print all 9 steps on paper, to keep by you while you craft

No password. The whole tutorial stays free on this page.

Quick answer

Crochet a smooth amigurumi sphere in 9 steps. An easy project: about 1 hour. Materials cost about $5 to $10. You need 6 things, including Worsted-weight yarn, Polyester fiberfill stuffing and 5.0 mm crochet hook. The 9 steps start with start with a Magic Ring, work 8 Single Crochet into the Ring, double the Stitch Count (16 Stitches), add a Double-Crochet Increase Round, work Straight Rounds (the Equator), start Decreasing to Close the Top and keep Decreasing Until the Hole is Small.

Step-by-step guide

9 steps, about 11 minutes. Tap a picture to jump to that step. Your progress saves automatically.

Tick each step off as you go.

  1. Step 1: Start with a Magic Ring

    Watch this step · 0:34
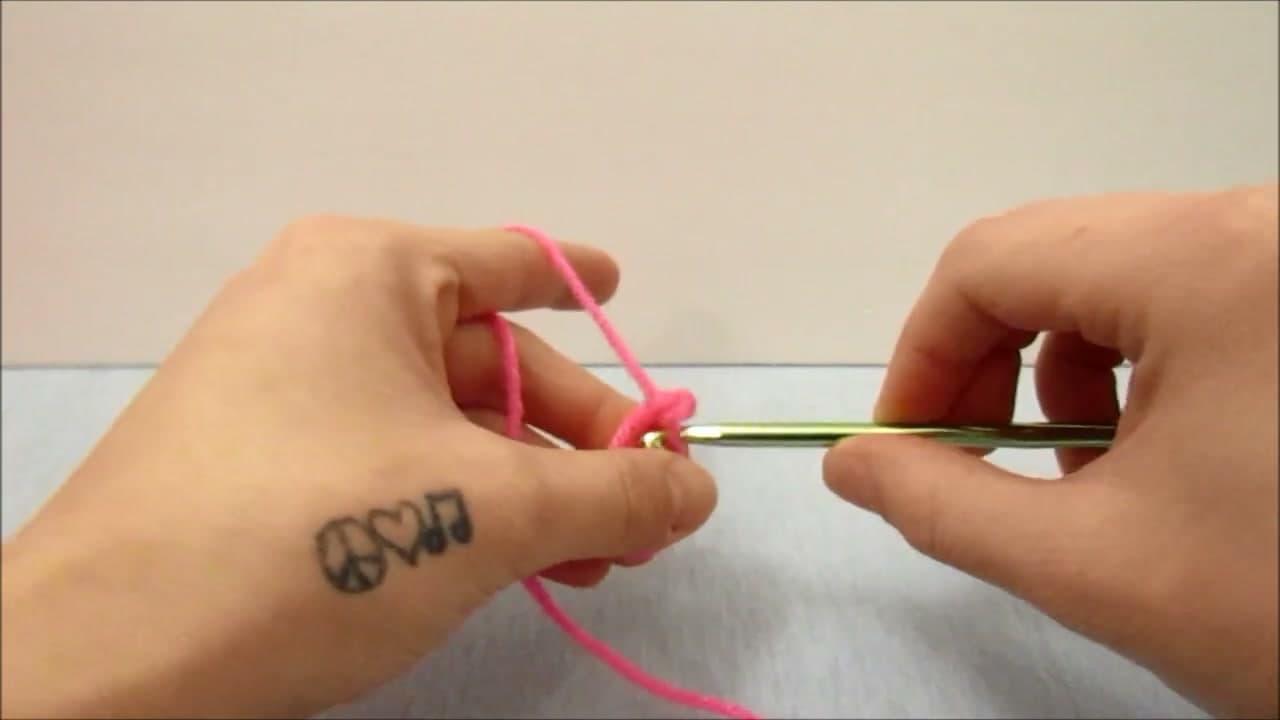
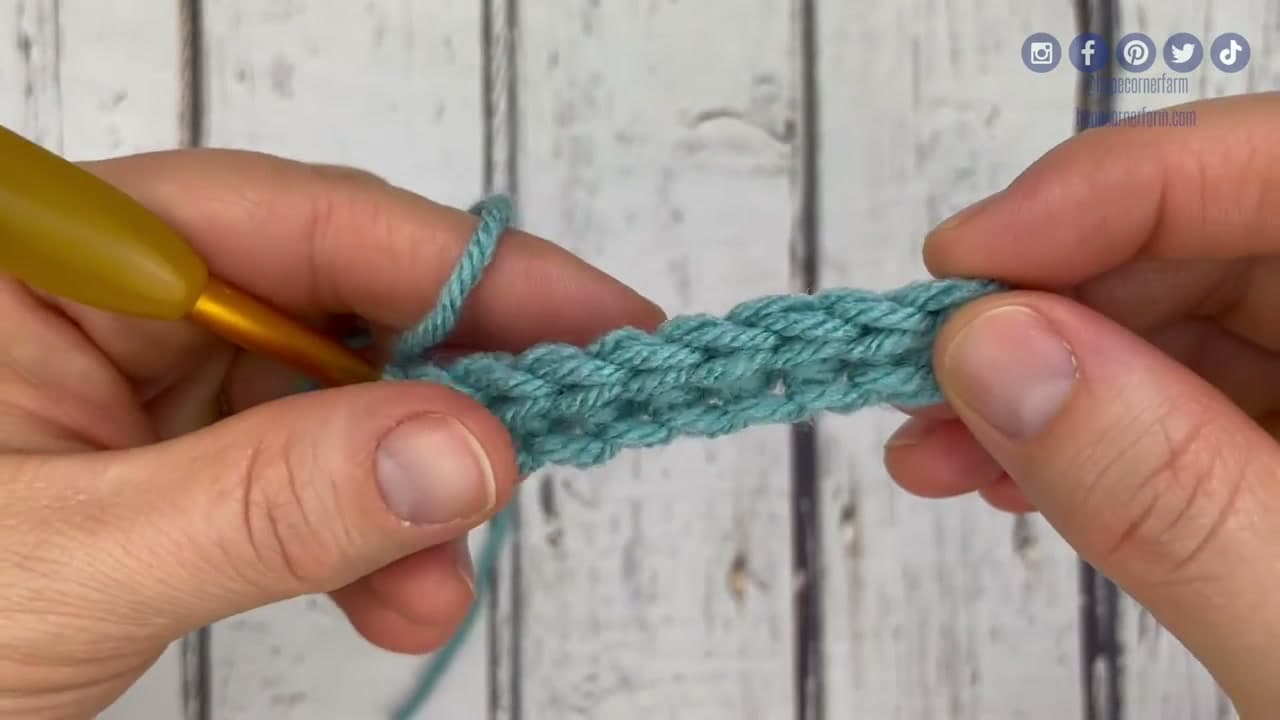
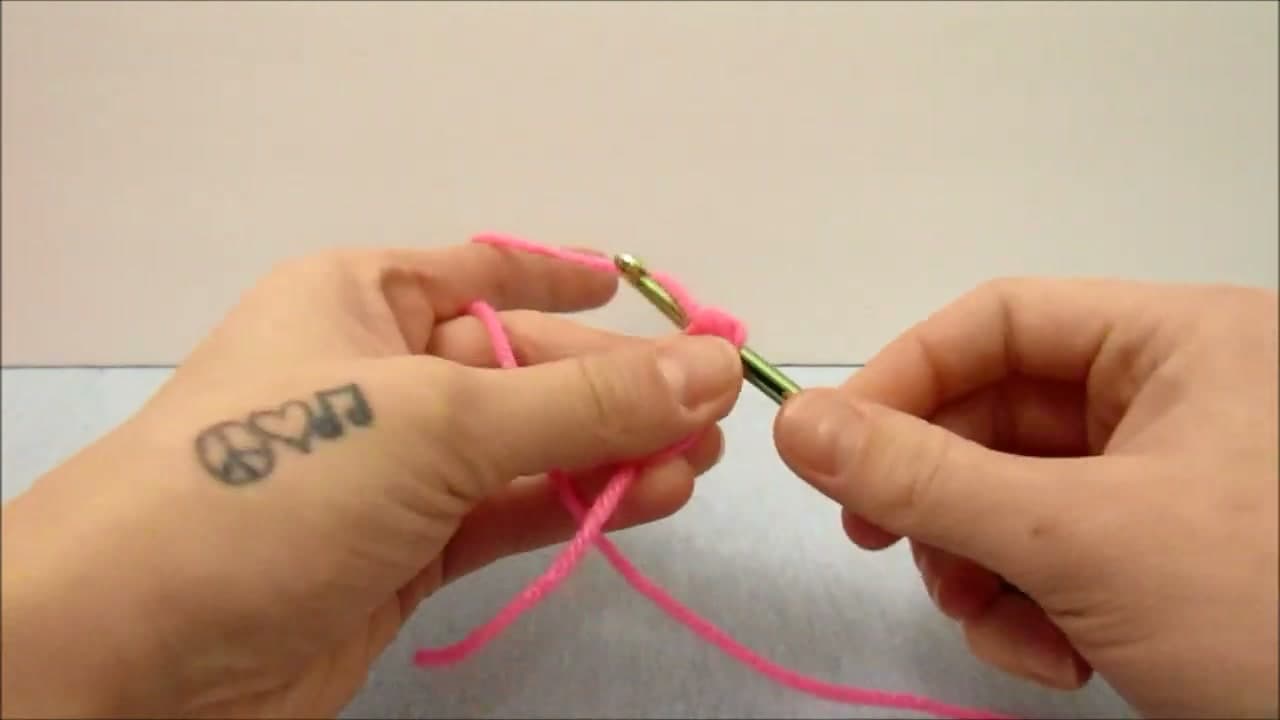
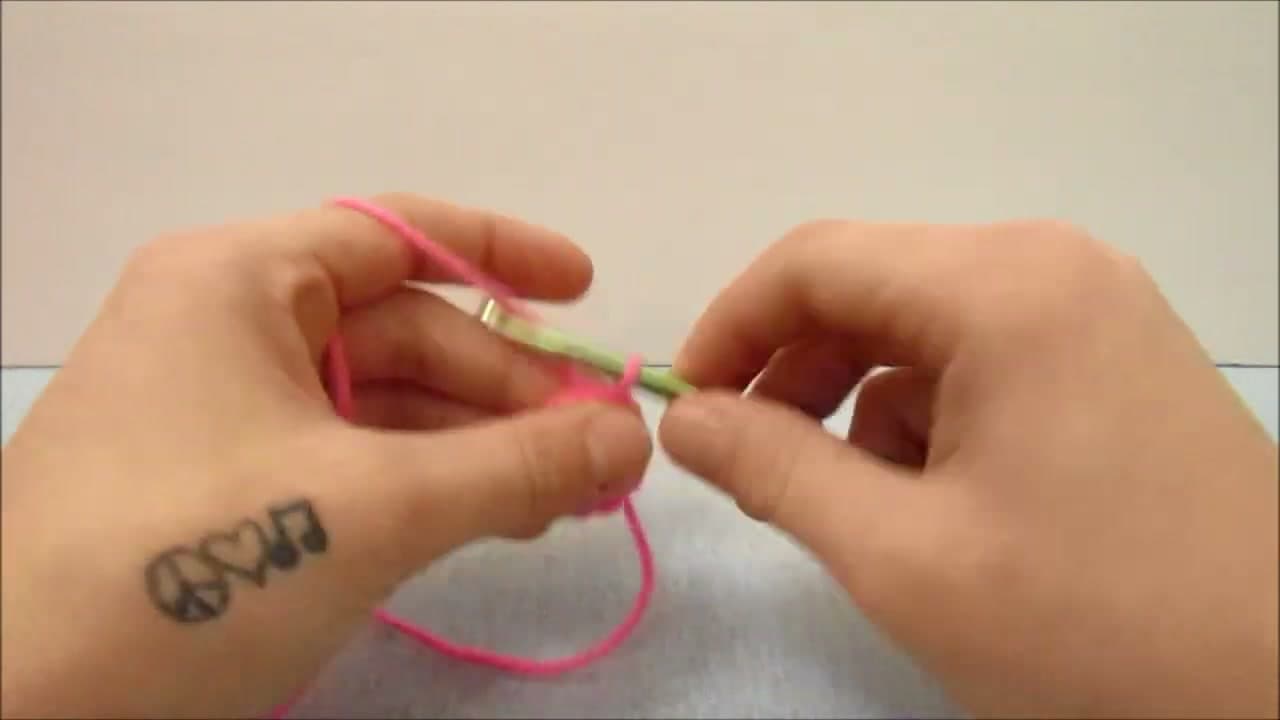
    Every amigurumi piece starts with a magic ring (also called a magic circle). If you've never made one, work through that tutorial first - it's the single most important crochet skill for amigurumi, and you'll use it on every project from here on. Wrap the yarn around your finger twice, slide your hook under the strands, pull a loop through, and chain one to lock the ring.

    Once your ring is sitting on the hook with the loose tail dangling, you're ready for the first round.

    Tip:

    If the magic ring won't hold together, try wrapping the yarn around your finger three times instead of two. Cotton yarn slips more than acrylic and needs the extra grip.
    Back to all steps

  2. Step 2: Work 8 Single Crochet into the Ring

    Watch this step · 0:47

    Single crochet eight times into the magic ring. Hook into the center of the ring, yarn over, pull through, yarn over, pull through both loops on the hook. That's one single crochet. Repeat seven more times so all eight stitches share the same starting hole.

    After the eighth stitch, pull the loose tail of yarn to cinch the ring closed and lock the stitches into a tight little circle. Slip stitch into the top of the first single crochet to join the round.

    Tip:

    Count the stitches before you cinch. It's much easier to add a missing stitch now than to figure out two rounds later why your circle has a flat side.

    Back to all steps

  3. Step 3: Double the Stitch Count (16 Stitches)

    Watch this step · 1:19

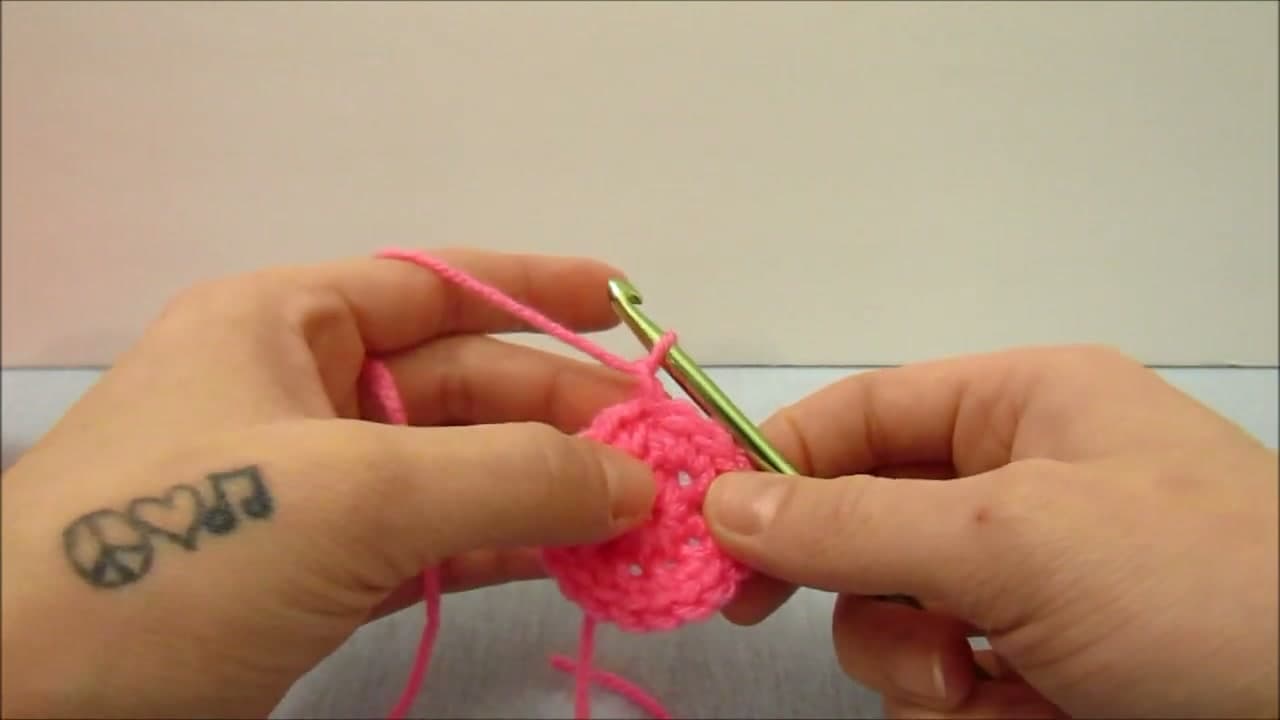
    Chain one, then work two single crochet into every stitch around. You started with eight stitches and you'll end this round with sixteen. The flat circle on your hook is the start of the bottom of your sphere.

    When you get back around, slip stitch into the top of the first single crochet to close the round. The disk should still be small and flat at this stage.

    Tip:

    If your disk starts cupping upward, your increases were too tight. Loosen your tension slightly on the next round and the circle will flatten back out.

    Back to all steps

  4. Step 4: Add a Double-Crochet Increase Round

    Watch this step · 2:38

    The Craft Nut adds one more increase round using double crochet instead of single crochet to push the diameter out faster. Chain one, then alternate one double crochet and two double crochet around the ring.

    This is what makes the ball wider in the middle than at the top. If you want a smaller, tighter sphere, you can skip this round and stay with single crochet increases - the math still works, you'll just end up with a smaller ball.

    Tip:

    The double-crochet round gives the sphere more volume but also makes the stitches a bit longer than the rest. If you want completely uniform texture, swap this round for another single crochet increase round (1 sc, 2 sc) and your sphere will be slightly smaller but with even stitches throughout.

    Back to all steps

  5. Step 5: Work Straight Rounds (the Equator)

    Watch this step · 3:08

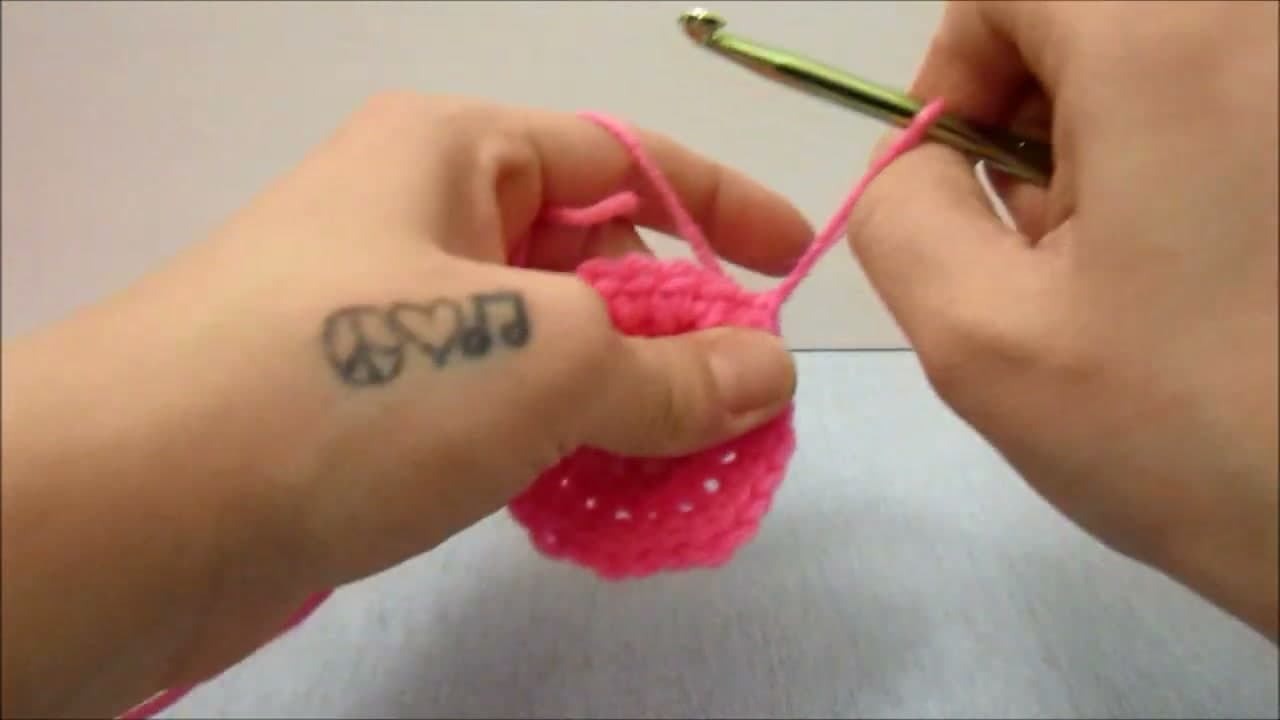
    Now switch to plain single crochet rounds with no increases. Chain one, work one single crochet into every stitch around, slip stitch to join. Repeat for three or four rounds.

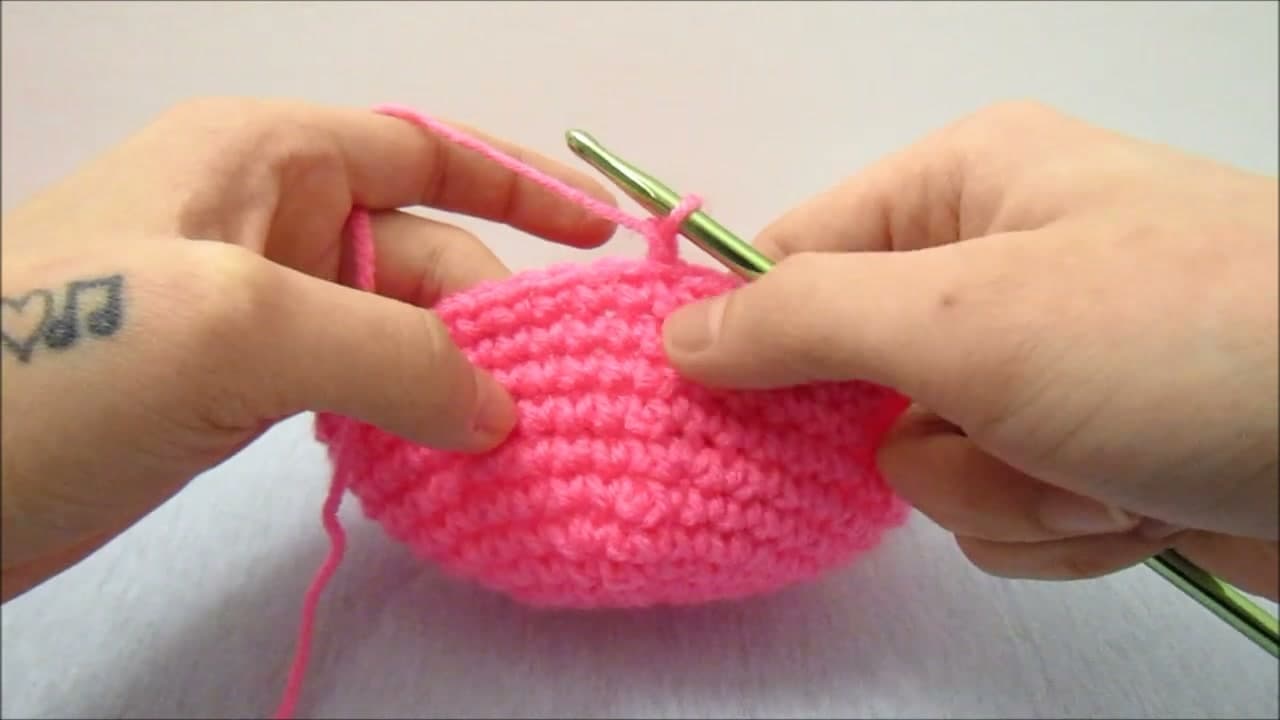
    These straight rounds are the equator of your sphere. After the first one, you'll see the flat disk start to bowl upward at the edges. That's exactly what should happen - the lack of increases pulls the fabric inward and gives the sphere its rounded shape. Work more straight rounds for a longer, more egg-shaped ball, or fewer rounds for something closer to a perfect circle.

    Tip:

    This is where you decide how big your sphere will be. Three straight rounds gives a small ball; five or six gives a much bigger one. Stop and squish it occasionally to see the shape forming.

    Back to all steps

  6. Step 6: Start Decreasing to Close the Top

    Watch this step · 6:06

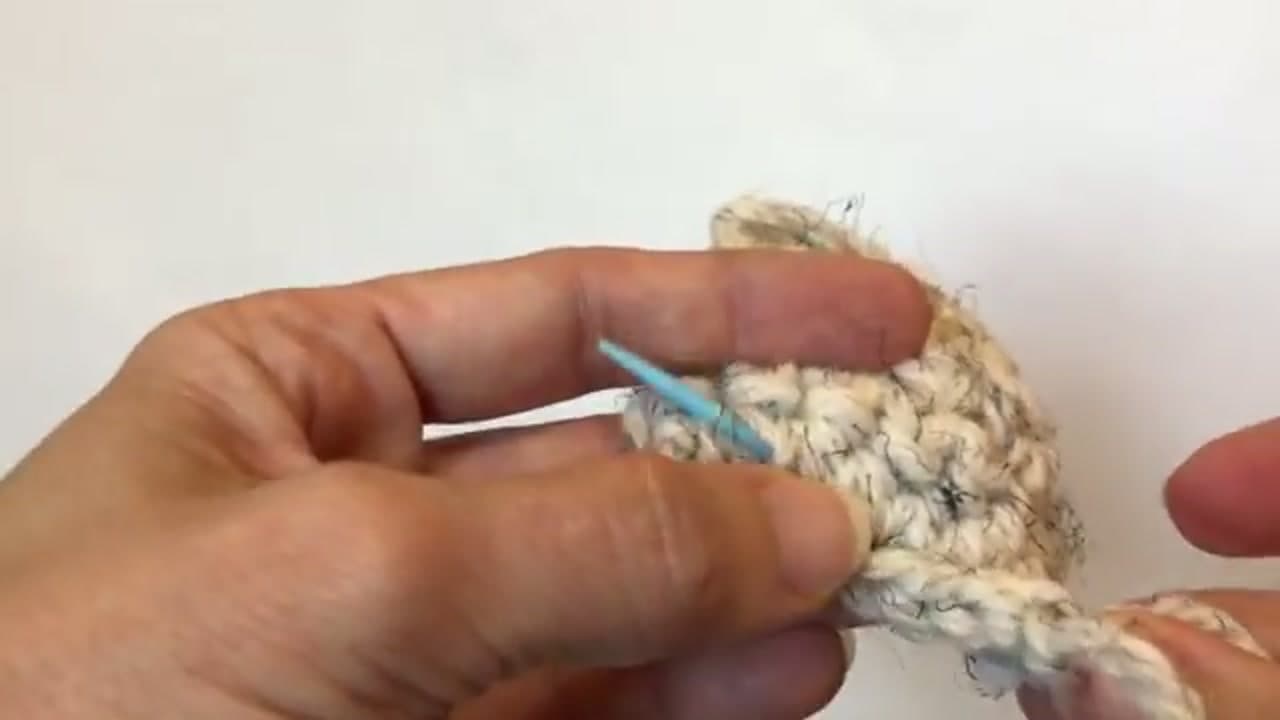
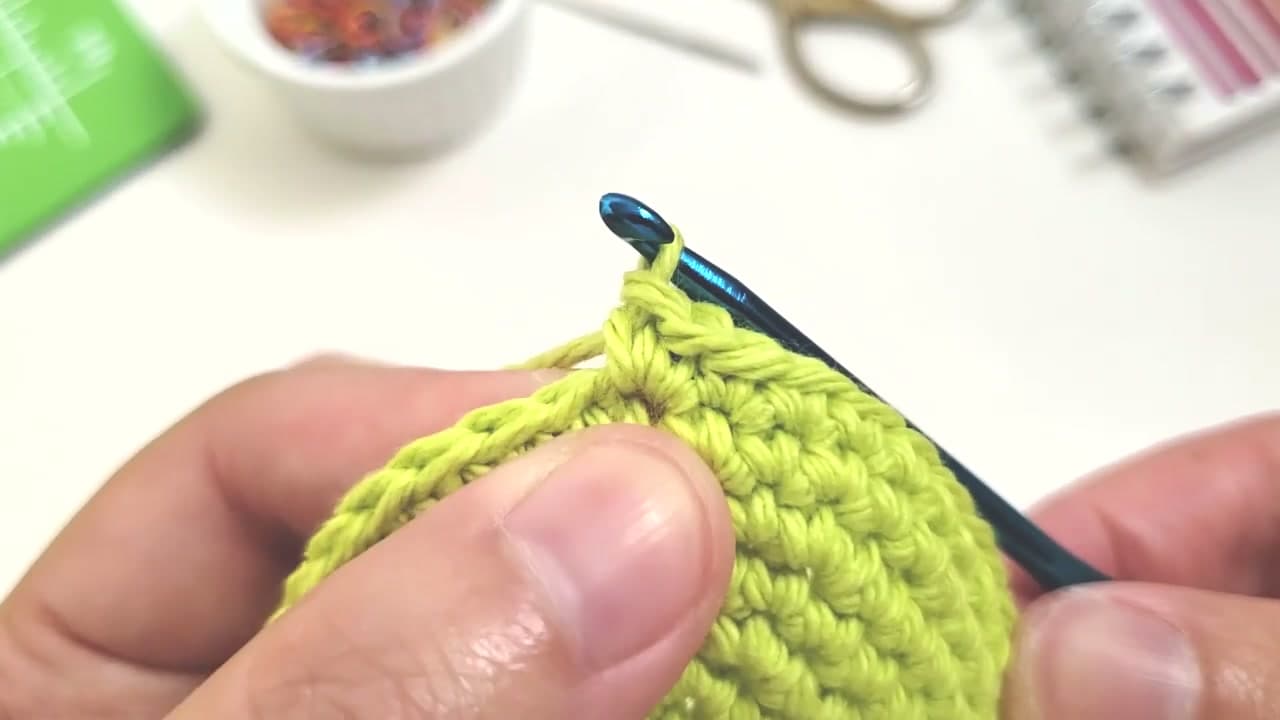
    Now reverse what you did at the start. Work one single crochet into the next three stitches, then bring two stitches together (sc2tog) as a decrease - hook into the first stitch, pull up a loop, hook into the second stitch, pull up a loop, yarn over, pull through all three loops on the hook. Repeat around the round.

    The goal here is to mirror your increase rounds in reverse. If you increased every-other-stitch on the way up, you'll decrease every-other-stitch on the way down. That symmetry is what makes the finished ball look like a true sphere instead of an egg.

    Tip:

    The sc2tog decrease leaves a visible bump on the front of the fabric. For a smoother sphere, look up the invisible decrease (insert hook into the front loop of the next two stitches only, then yarn over and pull through). Both work; invisible decrease just looks cleaner.

    Back to all steps

  7. Step 7: Keep Decreasing Until the Hole is Small

    Watch this step · 8:20

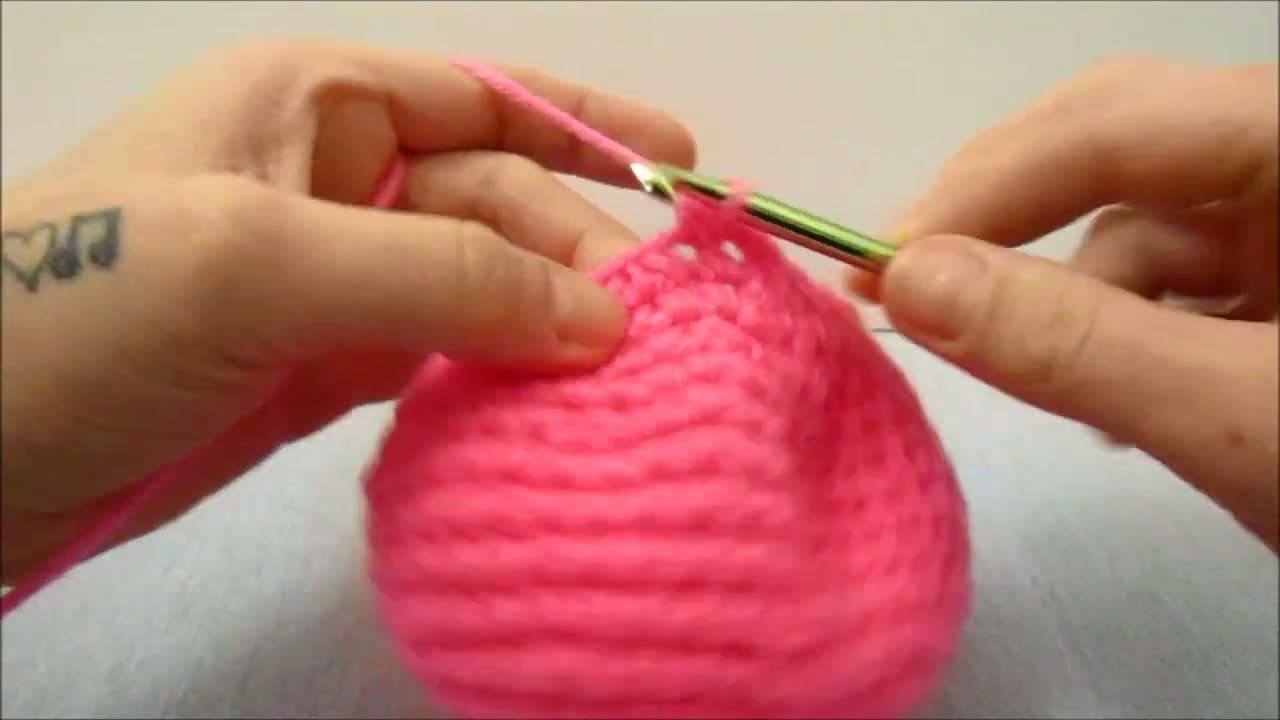
    Keep decreasing each round, tightening the pattern as you go. Round seven: one sc in the next two stitches then sc2tog, around. Round eight: one sc then sc2tog, around. The hole at the top of your sphere is closing fast now.

    Watch the ball in your hands - you'll feel it starting to round itself off and pull into a closed shape. Stop decreasing when the opening is small enough that you can still fit your fingers in to push stuffing through, but tight enough that the stuffing won't pop back out.

    Tip:

    Don't close all the way before stuffing. If you keep decreasing past the point where you can get stuffing in, you'll either have to undo a round or end up with a sad, deflated sphere.

    Back to all steps

  8. Step 8: Stuff with Polyester Fiberfill

    Watch this step · 8:43

    Push polyester fiberfill stuffing into the small opening at the top of the ball. Use the blunt back end of your crochet hook or a chopstick to pack it in. Keep adding stuffing in small pinches and pushing it down toward the bottom of the sphere until the whole thing feels firm but still has a little give when you squeeze it.

    Once you're happy with the firmness, work one more round of single crochet around the opening to start sealing the hole shut.

    Tip:

    Under-stuff slightly rather than over-stuff. An under-stuffed amigurumi reshapes itself in your hands; an over-stuffed one shows every individual stitch and feels rock-hard.

    Back to all steps

  9. Step 9: Close the Top with a Yarn Needle

    Watch this step · 9:50

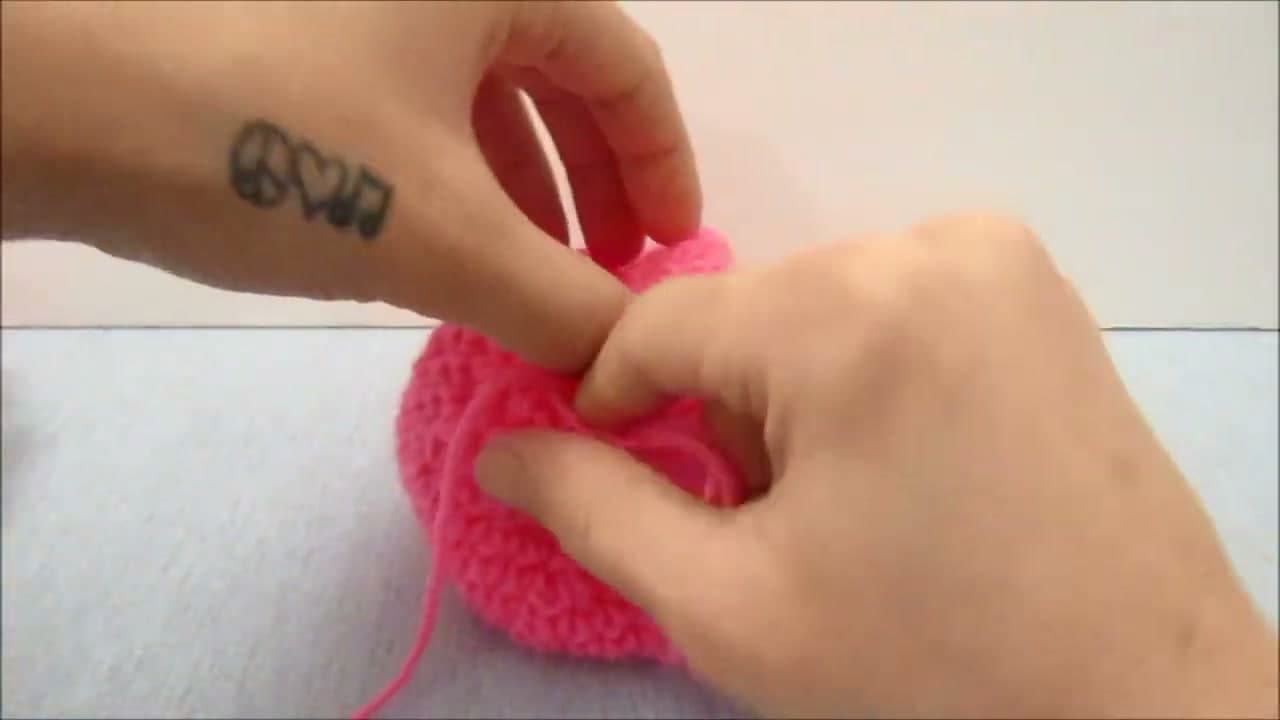
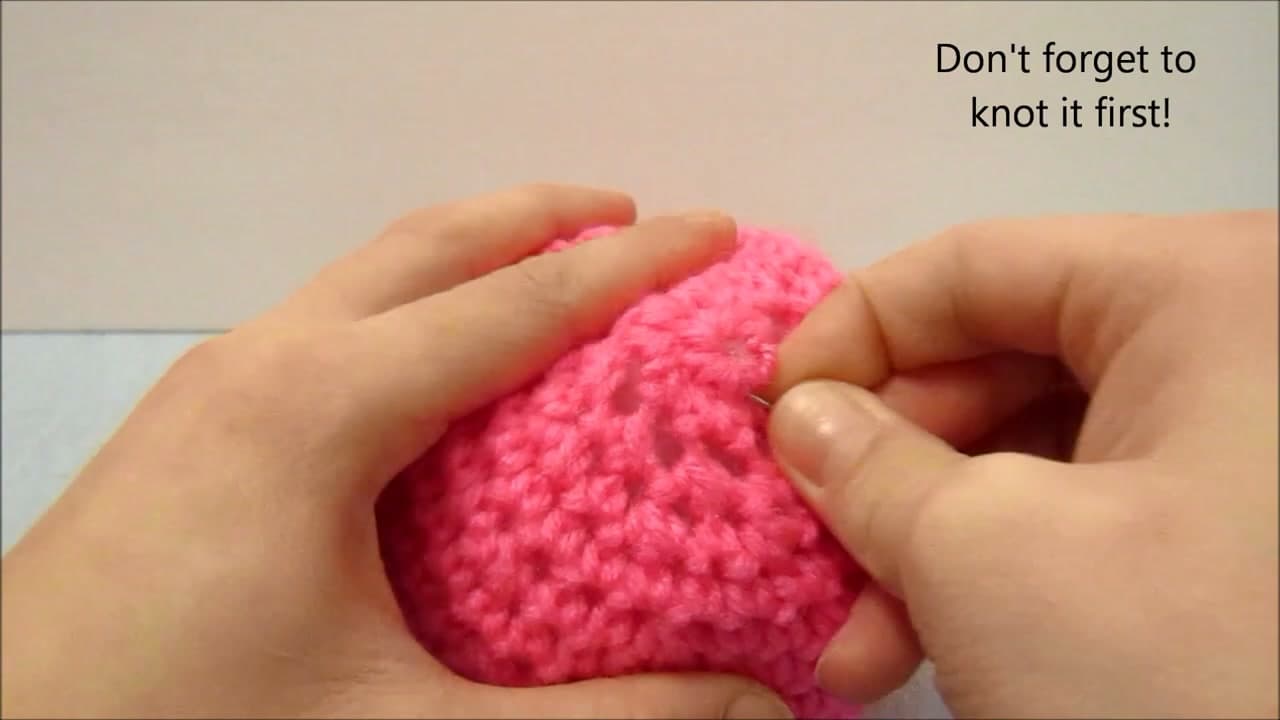
    Cut the yarn leaving a six to eight inch tail. Thread the tail onto a yarn (tapestry) needle. Run the needle through the front loop of every remaining stitch around the opening, working your way around the rim like you're closing a drawstring bag.

    When you've gone all the way around, pull the tail tight. The opening will cinch closed and disappear. Push the needle down through the body of the sphere to bring the tail out the bottom side, snip it close to the surface, and your sphere is done.

    Tip:

    Don't tie a knot before pulling tight - the tension on the cinch is enough to hold everything in place. Knots create a visible lump at the top of the sphere; the drawstring cinch leaves a flat finish.

    Back to all steps

How to Crochet a Frog (Beginner Amigurumi Pattern)

Keep going

How to Crochet a Frog (Beginner Amigurumi Pattern)

Keep going with crochet

More on this topic, picked for this sphere.

You reached the last step

Save this project to come back to it

Your ticked steps, the free printable and your other saved makes, together in My Projects. Free, no password.

You tapped Save

Save this project for later

We'll email you a link, no password.

How to Crochet a Sphere (Beginner Amigurumi Ball)

  • Your saved projects in one list
  • Your ticked steps on any device

Check your inbox for an email from us. Not there? Look in your spam folder.

Free printable

Printable sheet and shopping list for this project

The bonus is hidden until you sign up.

Free with a free account, no password. Every step above stays open to everyone.

Products Used

The Checklist

How to Crochet a Sphere (Beginner Amigurumi Ball)

Tools
4
Materials
2
Steps
9
Video
11 min

Tools we recommend

As an Amazon Associate we earn from qualifying purchases. Links on this page may be affiliate links - clicking them and buying doesn't change your price, but helps support Crafting Step by Step.

Tags

The Crafter's Weekly

New crochet tutorials, every Sunday

One short email with the week's best step-by-step guides. Free, no spam, unsubscribe anytime.

Test your knowledge

Did the lesson stick? Start with this one.

5 questions covering what you just read. No signup, no score saved, and you can stop after this one.

Question 1 of 5

What does every amigurumi piece start with?

Quick reference

Key takeaways from How to Crochet a Sphere (Beginner Amigurumi Ball)

5 questions, answers, and one-line explanations. Tap to expand.

  1. 1.What does every amigurumi piece start with?

    Answer: A magic ring

    Heads, bodies, snouts, hands, feet, tails — every amigurumi piece starts from a magic ring (also called a magic circle).

  2. 2.How many single crochets go into the magic ring on round 1?

    Answer: Eight stitches

    Eight single crochets share the same starting point in the magic ring before you cinch the ring tight.

  3. 3.What does The Craft Nut use to push the diameter out faster after 16 stitches?

    Answer: A double-crochet increase round

    An alternating 1-dc, 2-dc round widens the sphere faster than single crochet would and gives the ball its volume.

  4. 4.When do you stop increasing and switch to straight rounds?

    Answer: At the equator of the sphere

    Straight rounds form the equator. Chain one, single crochet around, no increases, three to five rounds depending on size.

  5. 5.How do you close the top opening at the end?

    Answer: Cinch with a yarn-needle drawstring

    Thread the tail onto a yarn needle, run through the front loop of every remaining stitch, pull tight like a drawstring bag.

Did this work for you?

What's next

Similar tutorials

Hand-picked next reads based on the one you just finished.

Liked this crochet tutorial?

Pick the crafts you want to hear about. One email every Sunday with new step-by-step tutorials. No spam, easy to unsubscribe.

Get more like this in your inbox

Weekly digest. Pick the categories you want. Unsubscribe anytime.

Send me tutorials about

We only email about new tutorials. Easy unsubscribe anytime.