1
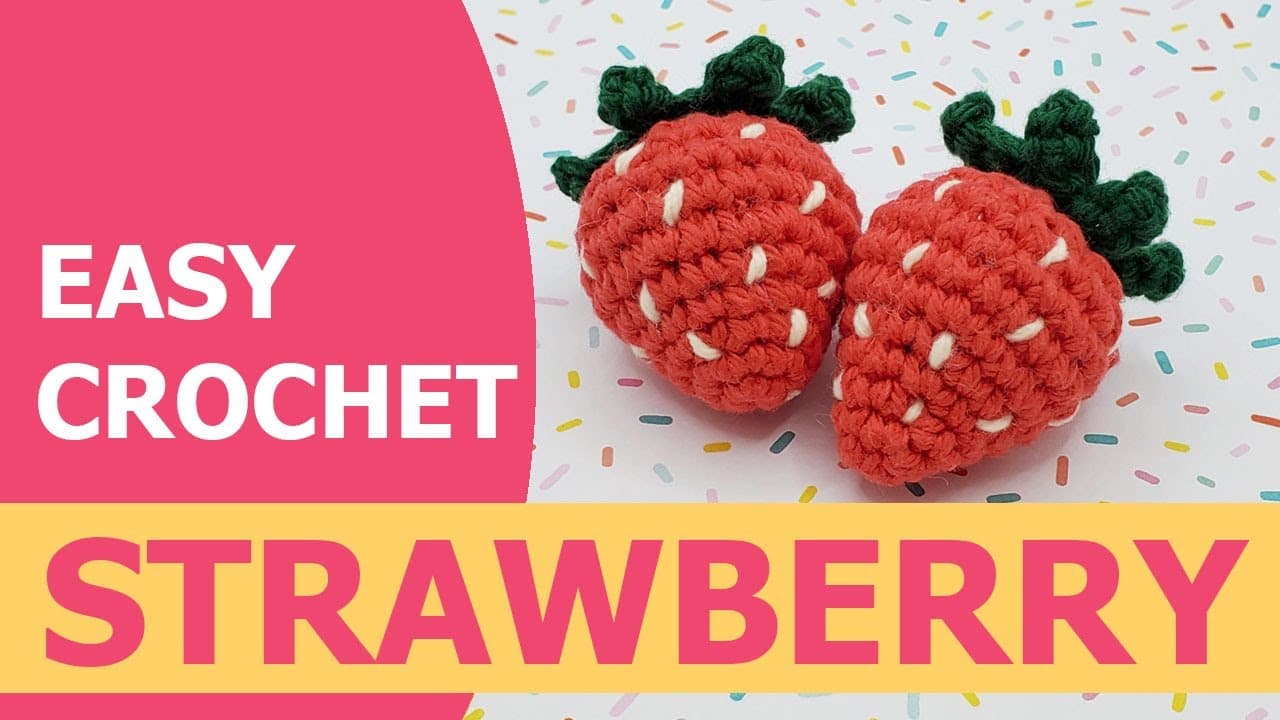
Step 1: Gather Supplies and Start the Stem
1:25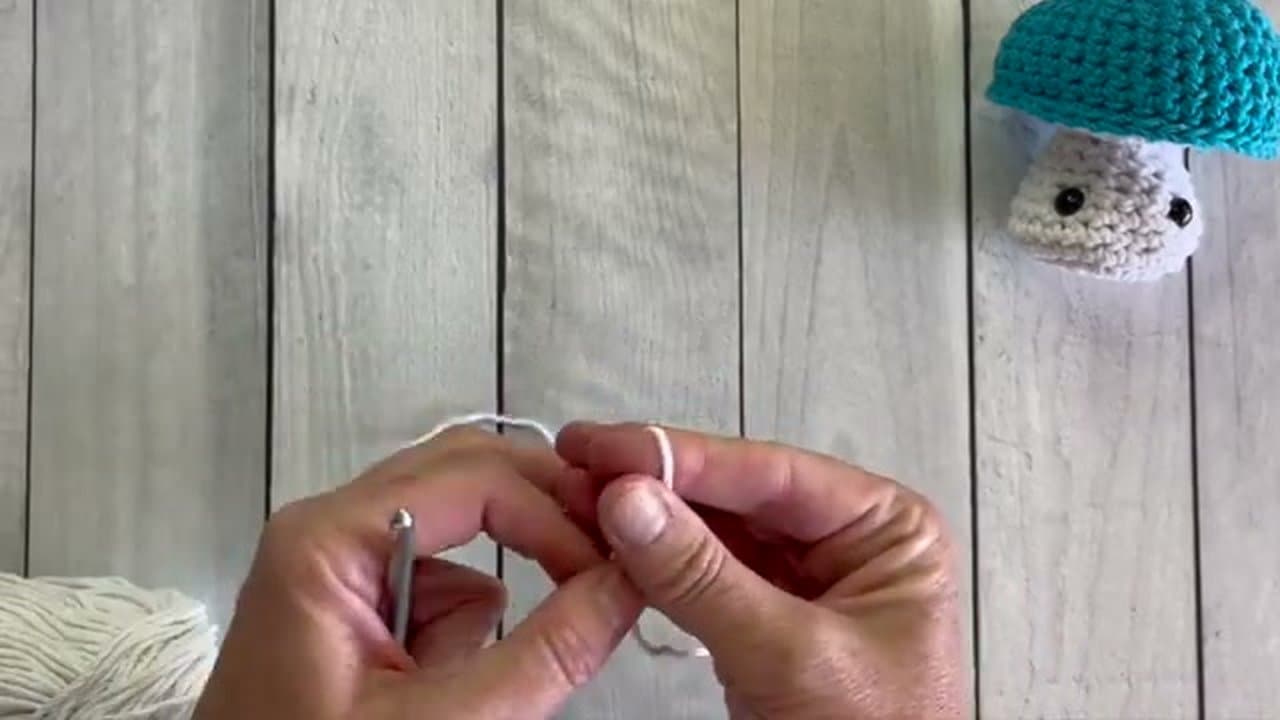
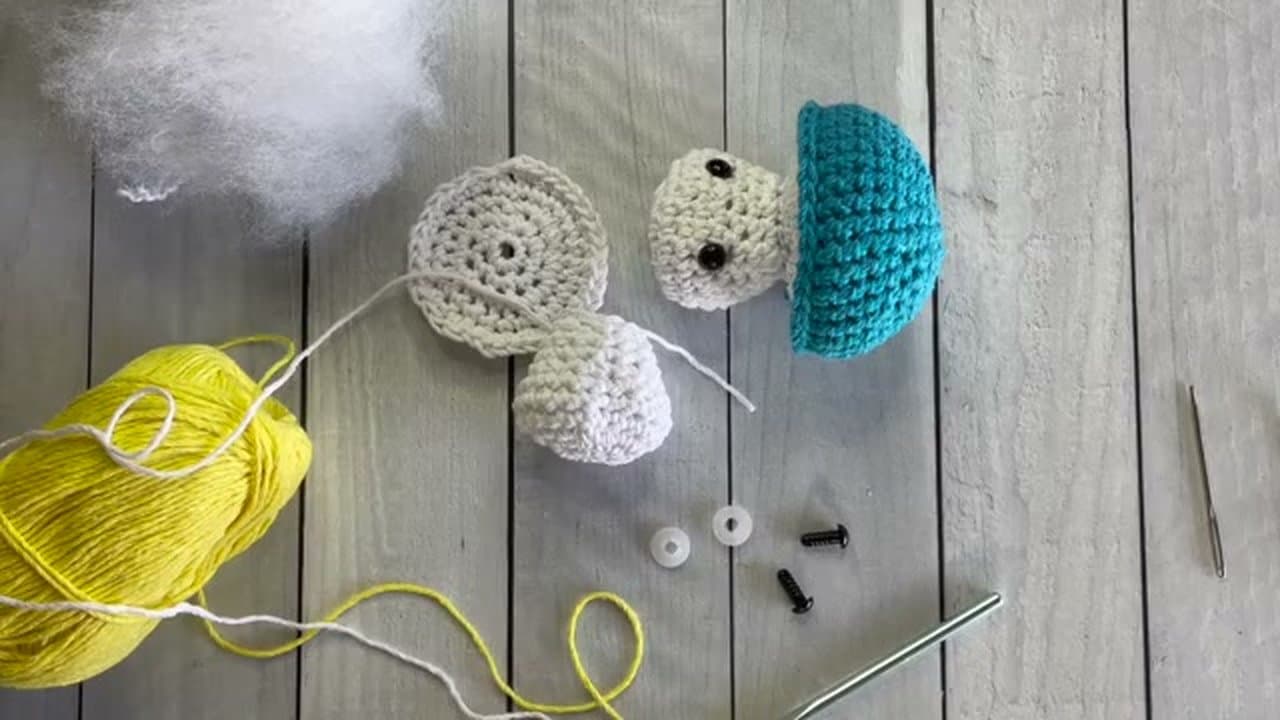
Lay out a 5.5 mm crochet hook, a skein of cream or white worsted-weight cotton, a contrasting cap-color skein (teal, red, yellow - your pick), a yarn needle, polyester fiberfill, and two 6 mm safety eyes.
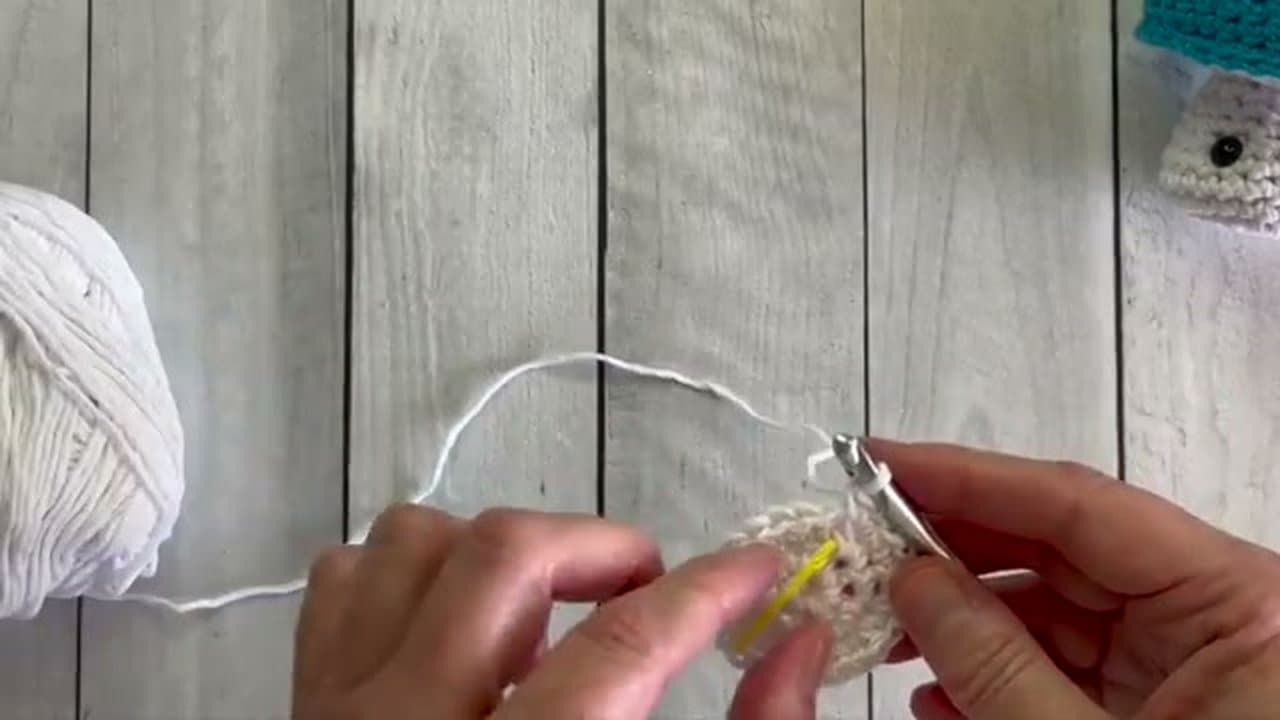
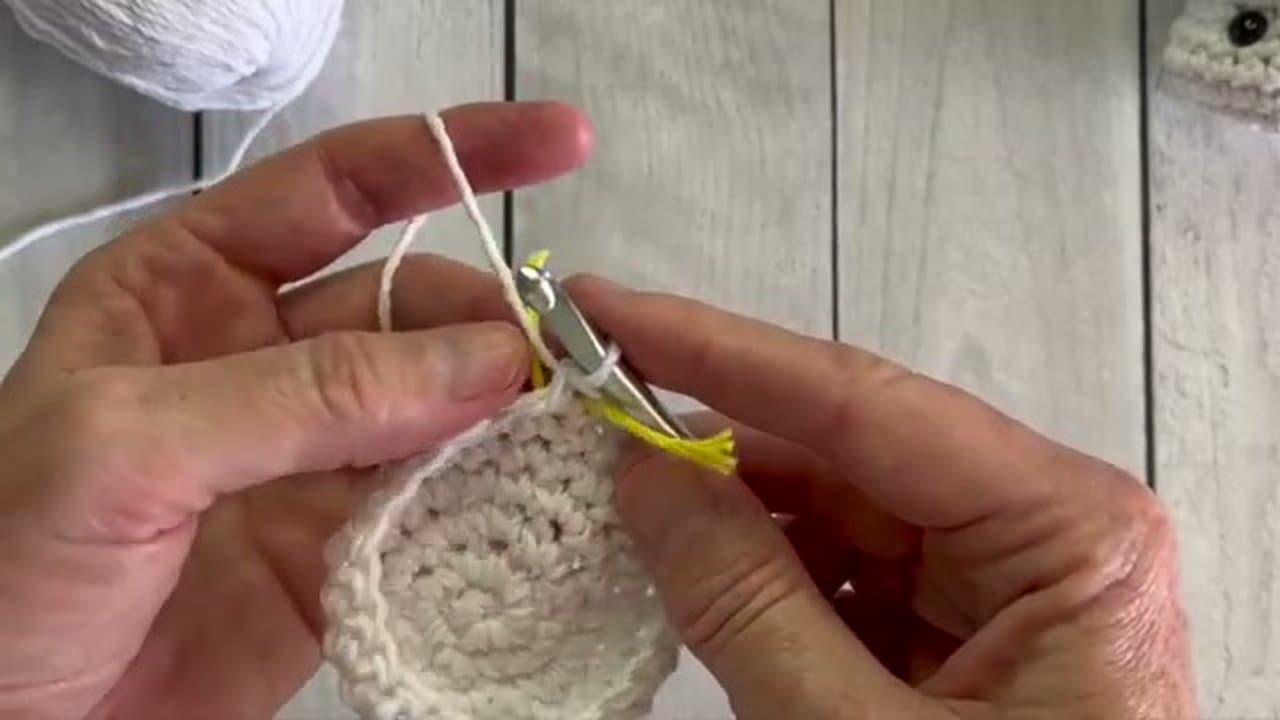
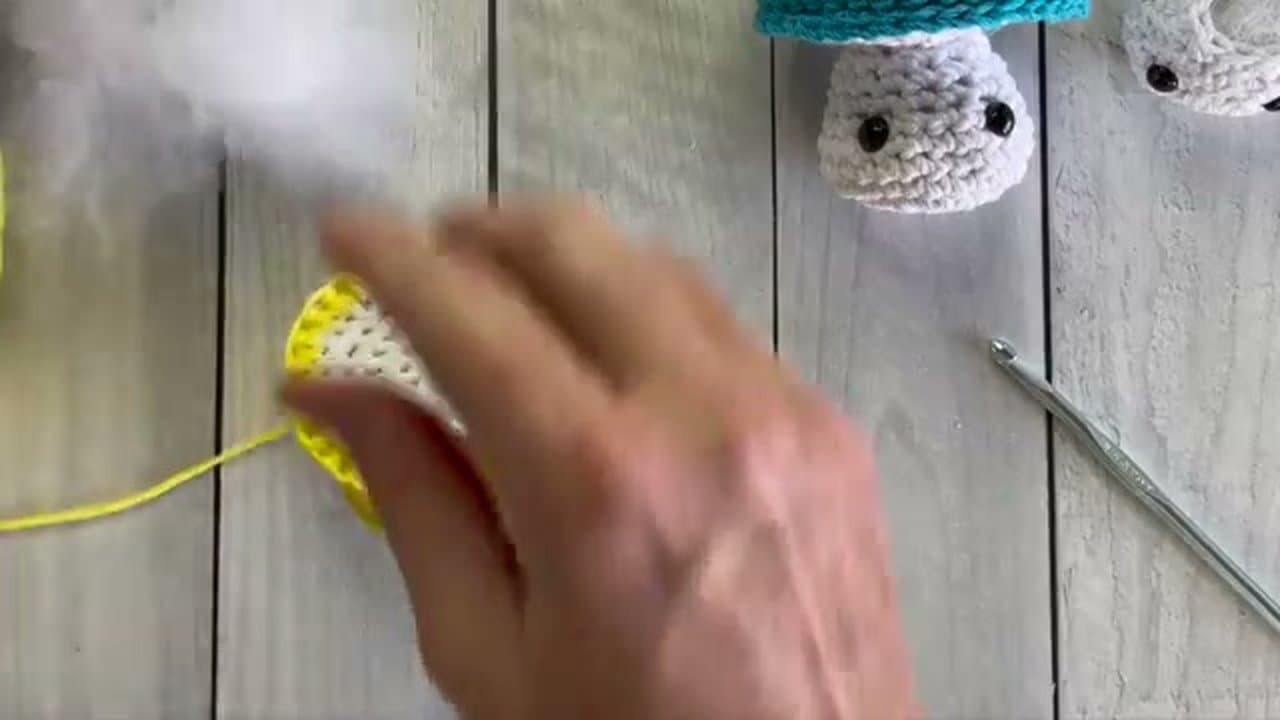
Make a slip knot, chain 3, and join with a slip stitch to form a tiny ring. Work 6 single crochets into that ring - they all go inside the loop you just made. That's round 1. (If you already know the magic ring technique, you can substitute it here; it makes a slightly smaller starting hole.)
Tip
Premier Home Cotton is what Nancy Queen uses, but any worsted-weight 100% cotton will hold the mushroom shape well. Avoid acrylic for a first try - it's slippery and the cap shape gets floppy.