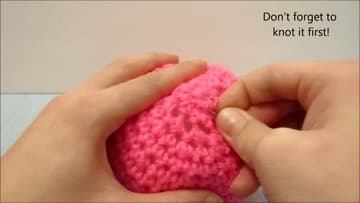
How to Crochet a Sphere (Beginner Amigurumi Ball)
Source: The Craft Nut • Full tutorial: www.craftingstepbystep.com/crochet/how-to-crochet-a-sphere
- Difficulty
- Easy
- Hands-on time
- About 1 hour
- Cost
- About $5 to $10
- Makes
- 1 crochet ball

Tools
- 5.0 mm crochet hook
- Stitch markers (lockable)
- Yarn needle (tapestry needle)
- Sharp fabric scissors
Materials
- Worsted-weight yarn (cotton or acrylic)
- Polyester fiberfill stuffing
Steps
1. Start with a Magic Ring
Every amigurumi piece starts with a magic ring (also called a magic circle). If you've never made one, work through that tutorial first - it's the single most important crochet skill for amigurumi, and you'll use it on every project from here on.
Tip: If the magic ring won't hold together, try wrapping the yarn around your finger three times instead of two. Cotton yarn slips more than acrylic and needs the extra grip.
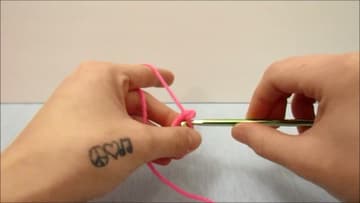
2. Work 8 Single Crochet into the Ring
Single crochet eight times into the magic ring. Hook into the center of the ring, yarn over, pull through, yarn over, pull through both loops on the hook.
Tip: Count the stitches before you cinch. It's much easier to add a missing stitch now than to figure out two rounds later why your circle has a flat side.
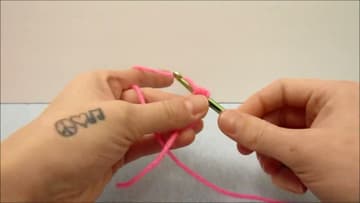
3. Double the Stitch Count (16 Stitches)
Chain one, then work two single crochet into every stitch around. You started with eight stitches and you'll end this round with sixteen.
Tip: If your disk starts cupping upward, your increases were too tight. Loosen your tension slightly on the next round and the circle will flatten back out.
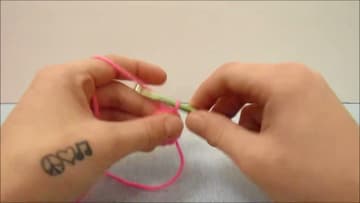
4. Add a Double-Crochet Increase Round
The Craft Nut adds one more increase round using double crochet instead of single crochet to push the diameter out faster. Chain one, then alternate one double crochet and two double crochet around the ring.
Tip: The double-crochet round gives the sphere more volume but also makes the stitches a bit longer than the rest.
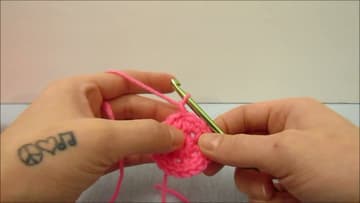
5. Work Straight Rounds (the Equator)
Now switch to plain single crochet rounds with no increases. Chain one, work one single crochet into every stitch around, slip stitch to join.
Tip: This is where you decide how big your sphere will be. Three straight rounds gives a small ball; five or six gives a much bigger one.
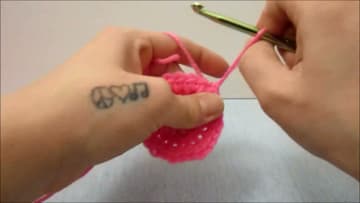
6. Start Decreasing to Close the Top
Now reverse what you did at the start. Work one single crochet into the next three stitches, then bring two stitches together (sc2tog) as a decrease - hook into the first stitch, pull up a loop, hook into the second stitch, pull up a loop, yarn over, pull through all three loops on the hook.
Tip: The sc2tog decrease leaves a visible bump on the front of the fabric.
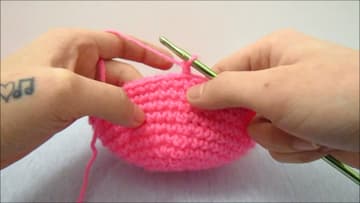
7. Keep Decreasing Until the Hole is Small
Keep decreasing each round, tightening the pattern as you go. Round seven: one sc in the next two stitches then sc2tog, around.
Tip: Don't close all the way before stuffing.
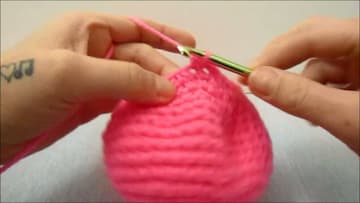
8. Stuff with Polyester Fiberfill
Push polyester fiberfill stuffing into the small opening at the top of the ball. Use the blunt back end of your crochet hook or a chopstick to pack it in.
Tip: Under-stuff slightly rather than over-stuff. An under-stuffed amigurumi reshapes itself in your hands; an over-stuffed one shows every individual stitch and feels rock-hard.
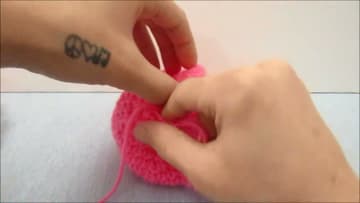
9. Close the Top with a Yarn Needle
Cut the yarn leaving a six to eight inch tail. Thread the tail onto a yarn (tapestry) needle.
Tip: Don't tie a knot before pulling tight - the tension on the cinch is enough to hold everything in place.