How to Crochet a Sloth (Amigurumi Pattern for Beginners)

CrochetEasy16:207 stepsBrowse more →

By CraftingStepByStepPublished

Based on a video by Lemon Crochet.

A crochet sloth is a friendly first amigurumi. There is no fancy shaping to wrestle with - the whole toy is built from simple stuffed balls and short tubes, and the personality comes almost entirely from the face. Lemon Crochet designed this one as a beginner pattern, worked in a 2.5mm hook with a chunky look, and the pace of the video is slow enough to follow stitch by stitch even with the sound off.

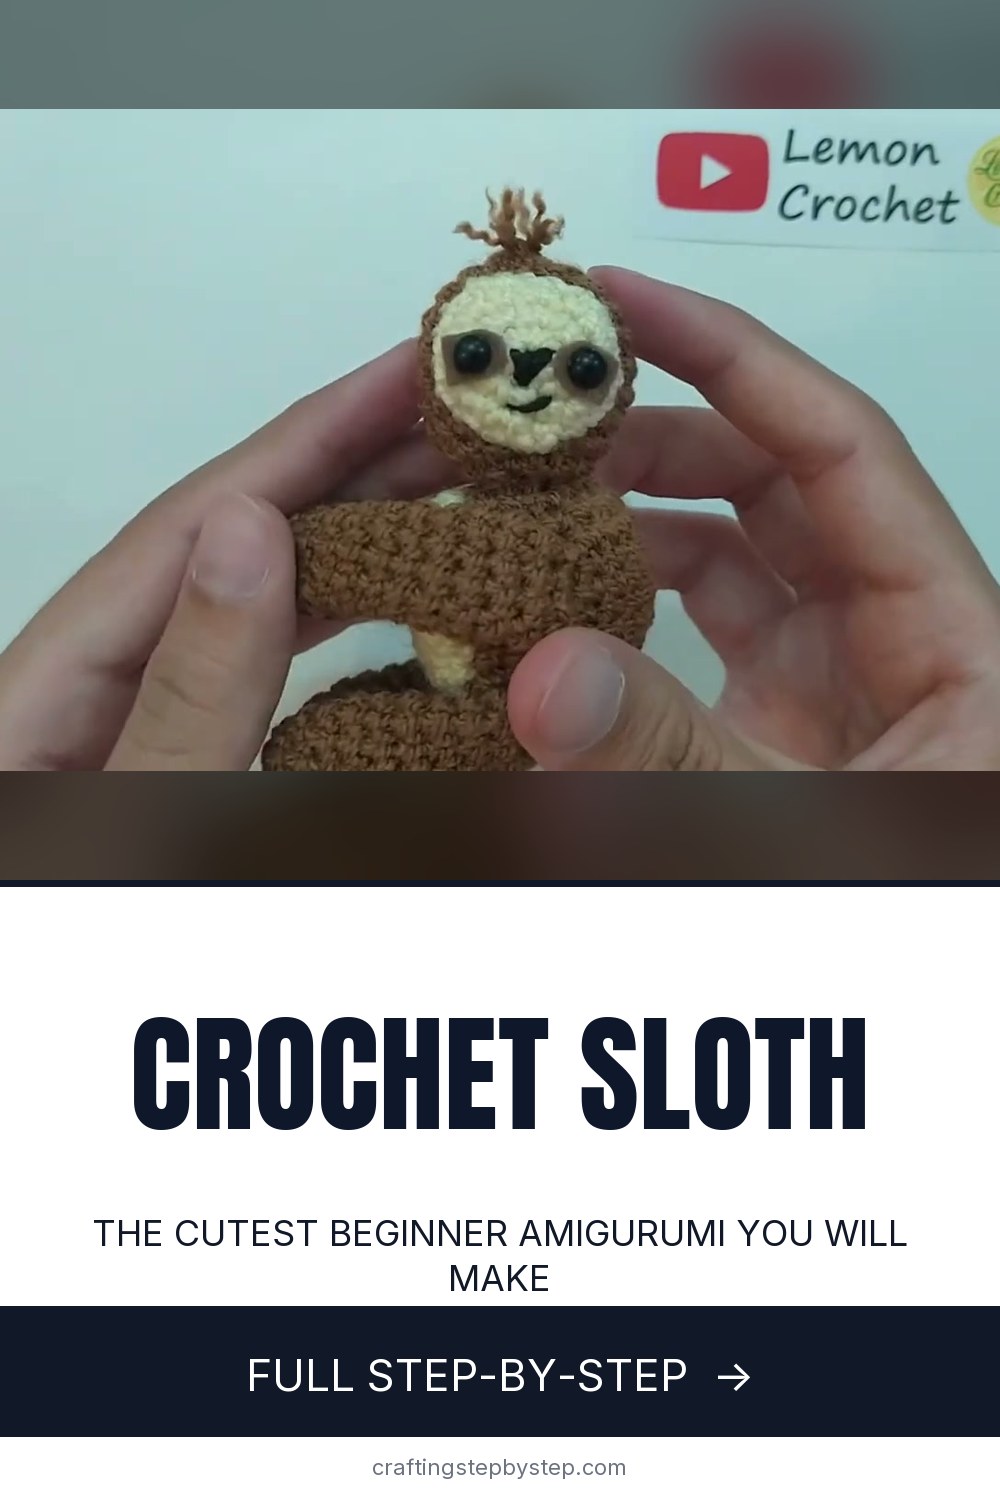
Here is the plan. You crochet two brown balls, one for the head and one for the body, working each in a continuous spiral and stuffing it firm before you close it. Then you make a flat cream disc for the face, four short brown limbs, and finish the front with safety eyes and a stitched nose and smile. Every piece starts from a ring, so if this is new to you, run through how to crochet a magic ring first and the rest falls into place.

Two small things make or break the finished look: firm stuffing and a well-seated face. Pack each ball tight so the stitches do not gap, and take your time with attaching safety eyes to amigurumi so they sit level and lock on straight. Once you have a sloth done, the same build - stuffed body, patch face, safety eyes, sewn-on limbs - carries straight over to other amigurumi animals. It is the same recipe behind our crochet penguin and crochet owl, so pick your next one and keep going.

Step-by-Step Guide

7 steps · about 16 minutes.Check off each step as you go and your progress saves automatically.

1

Step 1: Start the Head with a Magic Ring

1:00
Step 1: Step 1: Start the Head with a Magic Ring

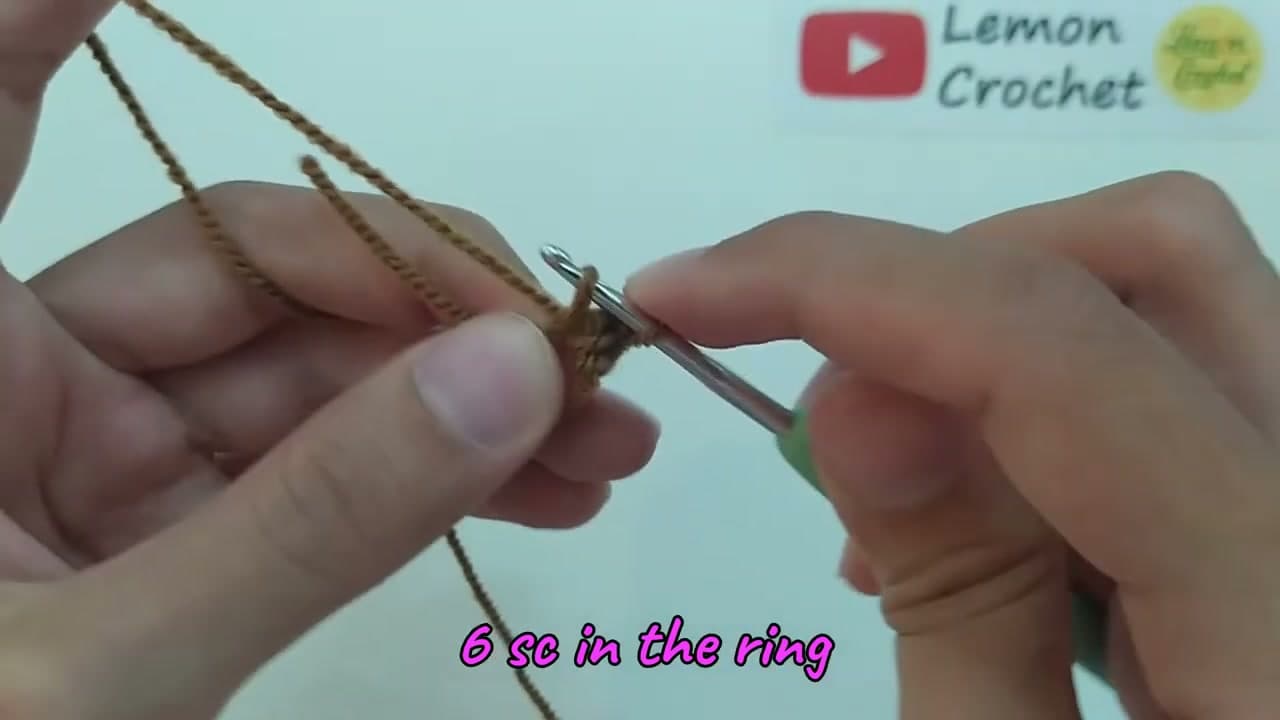
The head begins with a brown magic ring holding six single crochet. From there you work increase rounds, adding stitches evenly until the circle grows wide. This flat disc is the crown of the head and the base every other round builds on.

Drop a stitch marker into the first stitch of each round and move it up as you go. You are crocheting in a continuous spiral with no join, so that marker is the only thing telling you where a round starts and ends.

Tip

Watch this step A 2.5mm hook with cotton yarn gives tight stitches so the stuffing stays hidden. Pull each stitch snug rather than loose.
2

Step 2: Shape and Stuff the Head

4:00
Step 2: Step 2: Shape and Stuff the Head

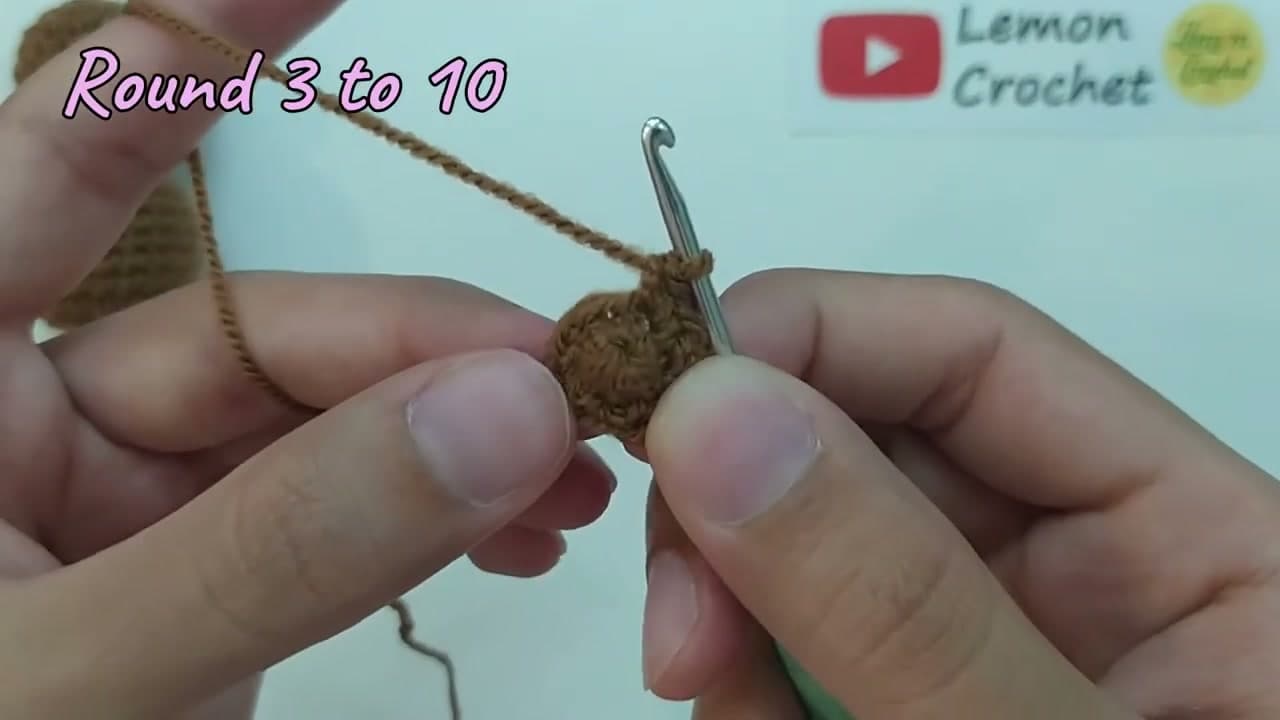
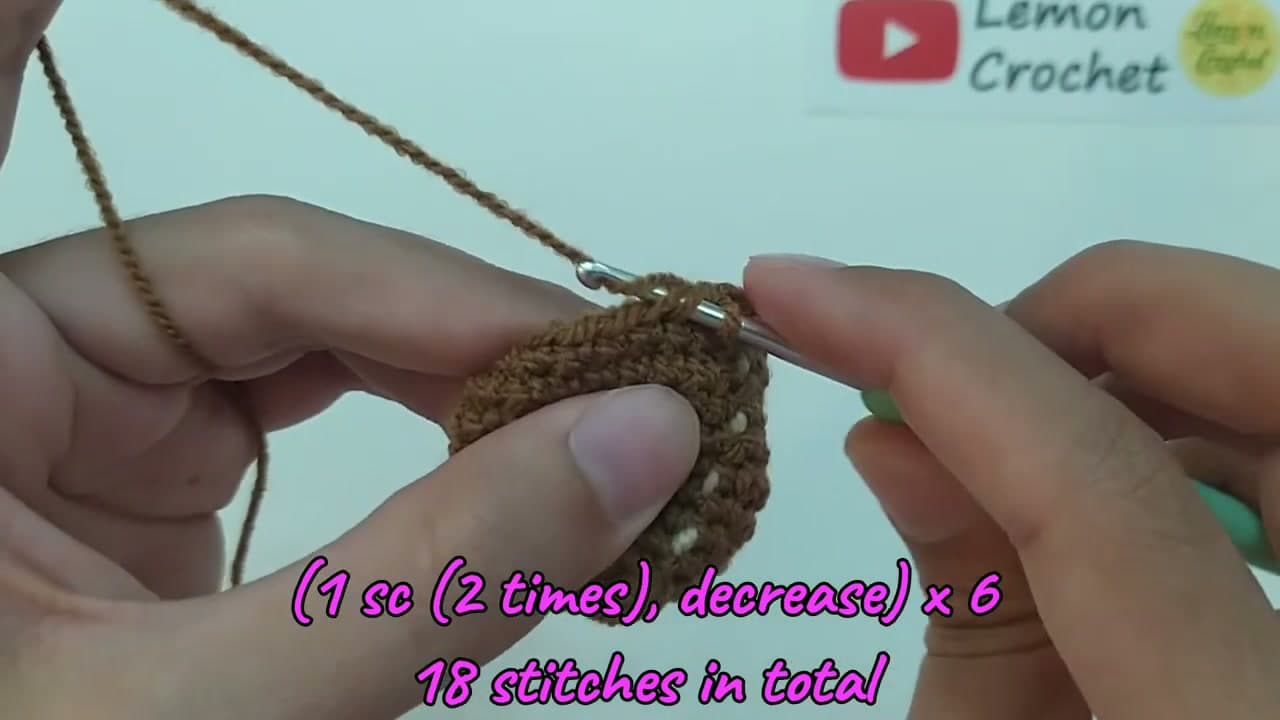
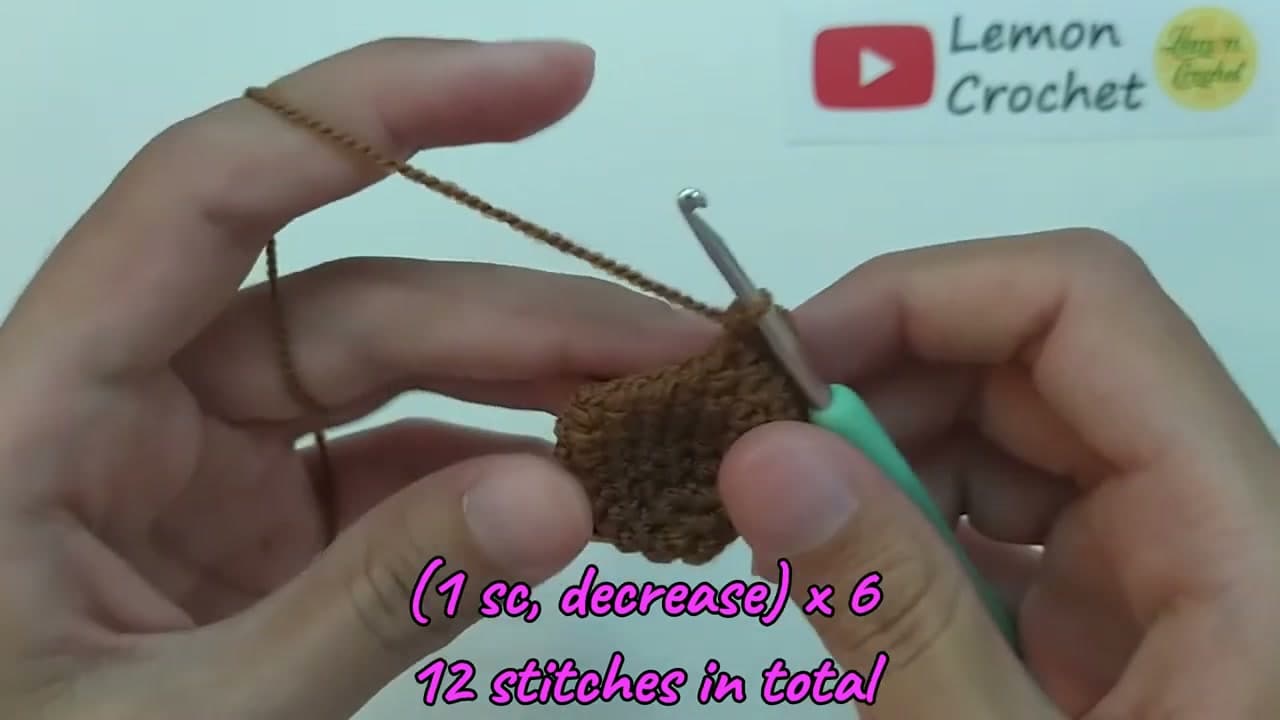
Work a few even rounds so the disc curves up into a ball, then start decreasing to draw the top back in. As the opening shrinks, that is your cue to fill it. Push polyester fiberfill inside and pack it firm before the gap gets too small to reach.

Firm stuffing matters more here than anywhere else. A well-packed ball keeps its round shape and stops the stitches from spreading and showing the white filling through the brown yarn.

Tip

Watch this step Add stuffing in small pinches, not one big lump. Little bits pack evenly and keep the head from ending up lopsided.

3

Step 3: Crochet the Body the Same Way

6:00
Step 3: Step 3: Crochet the Body the Same Way

The body is the head's twin. Start it with a brown magic ring, increase to a ball, then decrease and stuff it firm the same way you just did. Making the two pieces back to back keeps them a matching gauge, which reads as a tidier toy in the end.

When both brown balls are done, set them side by side. Even at this early stage you can see the sloth forming - one round part for the head, one for the chunky body underneath.

Tip

Watch this step Count your rounds on the head and repeat the exact same number on the body. Matched gauge is what makes the two balls sit together cleanly.

4

Step 4: Make the Cream Face Patch

11:00
Step 4: Step 4: Make the Cream Face Patch

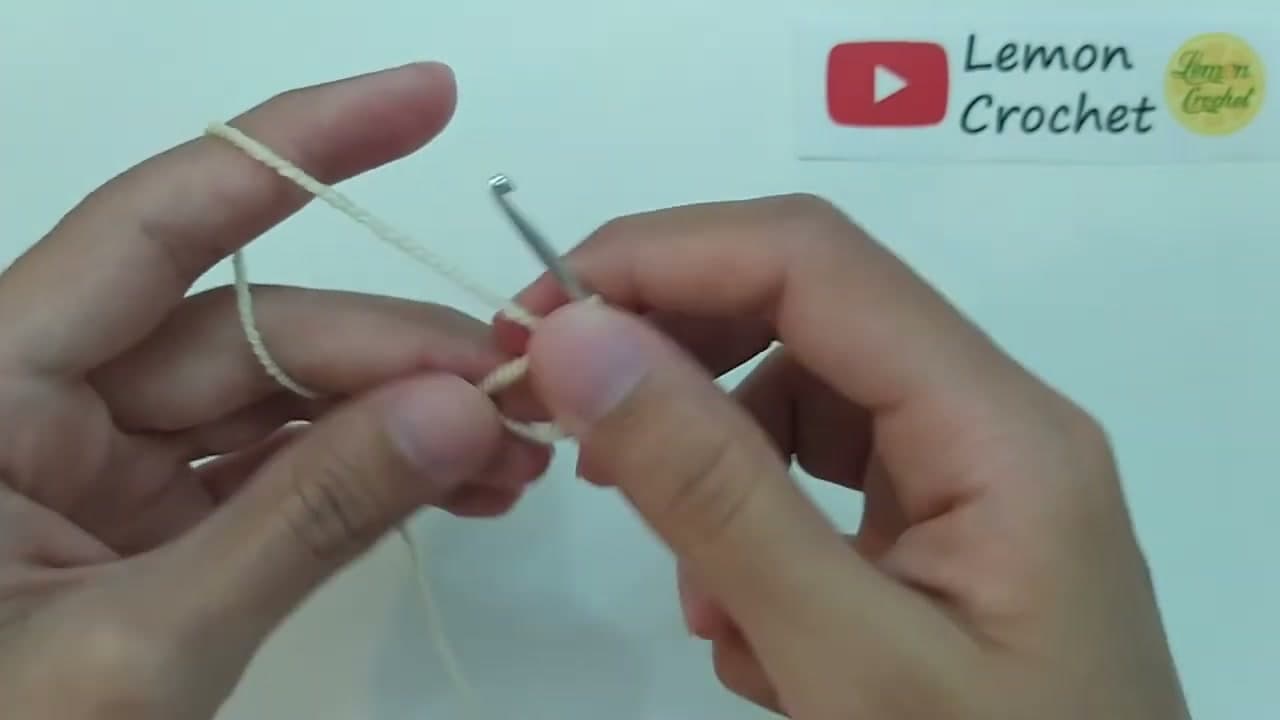
The face is a flat cream disc, not a ball. Switch to cream yarn, start with a magic ring, and increase for four or five rounds until you have a circle a little smaller than the head. Keep it flat as you work so it sits against the front of the face later.

Finish with a slip stitch, then cut the yarn and leave a long tail. That tail is what you will use to sew the patch on, so give yourself plenty of length to work with.

Tip

Watch this step If the disc starts to cup instead of lying flat, your increases are too few. Add one more increase round and it will relax.

5

Step 5: Crochet the Four Limbs

9:00
Step 5: Step 5: Crochet the Four Limbs

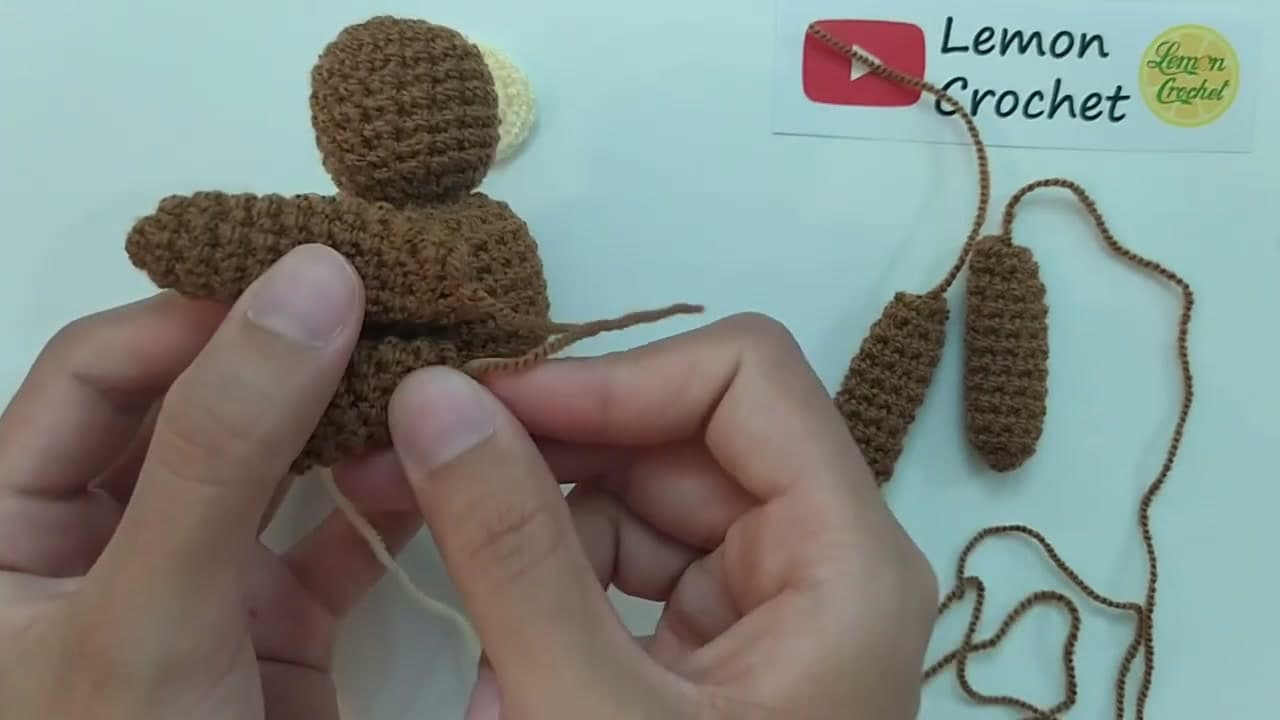
A sloth needs two long arms and two legs. Work each one in brown from a small magic ring, then keep going in a spiral to make a short tube. Leave the top open and finish with a long tail so you have something to sew with.

These stay unstuffed, or barely stuffed, so the limbs can bend into that hanging sloth pose. Make all four before you sew anything, and lay them next to each other to keep the lengths matched.

Tip

Watch this step Want a longer-armed sloth? Add a couple more rounds to each limb before you close it. Longer arms are what give a sloth its signature look.

6

Step 6: Add the Eyes and Face

15:40
Step 6: Step 6: Add the Eyes and Face

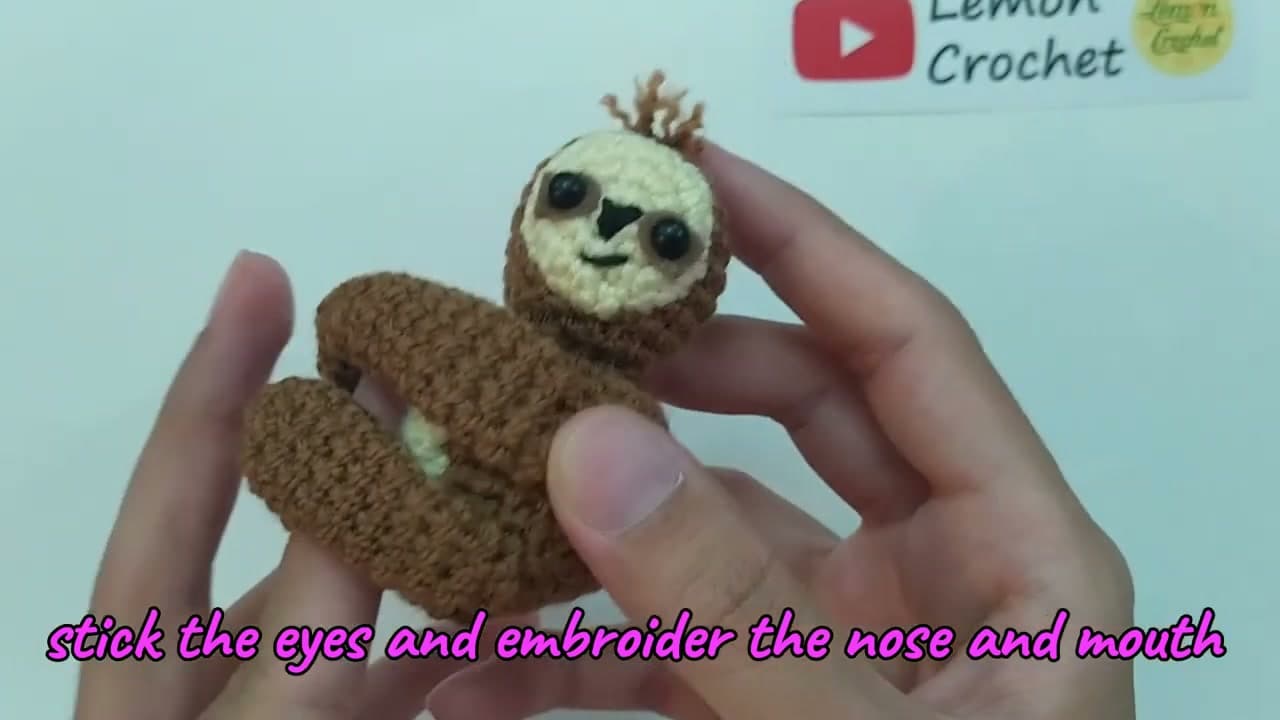
This is where the sloth comes alive. Sew the cream patch onto the front of the head so it sits centered. Then push a safety eye through the fabric on each side of the patch and clip the washer onto the inside. Check the placement from every angle first, because those washers do not come back off.

Finish the face with a scrap of dark yarn. Embroider a small triangle nose between the eyes and a short curved line under it for the smile. Two eyes and a stitched grin, and it is unmistakably a sloth.

Tip

Watch this step Set the eyes lower and closer together than feels right. Low, close eyes read as sweet and sleepy - exactly the sloth look you want.

7

Step 7: Assemble the Sloth

13:30
Step 7: Step 7: Assemble the Sloth

Now put it together. Sew the head to the top of the body, lining up the face so it looks straight ahead. Then attach the two arms high on the sides and the two legs lower down, positioning them in a relaxed sloth pose before you stitch them fast.

Weave the loose tails back inside the body so nothing shows, and give the whole toy a gentle squish to settle the stuffing. Your crochet sloth is finished and ready to hang around.

Tip

Watch this step Pin every piece in place and hold the sloth at arm's length before you sew. It is much easier to nudge a pin than to unpick a stitched-on arm.

Products Used

☐ The Checklist

How to Crochet a Sloth (Amigurumi Pattern for Beginners)

Tools
4
Materials
5
Steps
7
Video
16 min

Tools we recommend

Your Guide

Lemon Crochet

As an Amazon Associate we earn from qualifying purchases. Links on this page may be affiliate links - clicking them and buying doesn't change your price, but helps support ShowMeStepByStep.

Tags

Free printable

Get the Crochet Cheat Sheet

Every basic stitch on one printable page. No spam, one-click unsubscribe.

Did this work for you?

What's next

Related collections

Curated theme pages that include this tutorial.

Weekly Digest

Liked this crochet tutorial?

Pick the categories you want to hear about. Weekly digest of new step-by-step tutorials. No spam, easy unsubscribe.

Send me tutorials about

We only email about new tutorials. Easy unsubscribe anytime.