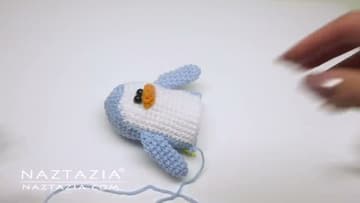
How to Crochet a Penguin (Amigurumi Pattern, Step by Step)
Source: naztazia • Full tutorial: www.craftingstepbystep.com/crochet/how-to-crochet-a-penguin
- Difficulty
- Easy
- Hands-on time
- About 3 hours
- Cost
- About $8 to $15
- Makes
- 1 crochet penguin

Tools
- 3.75mm (F) crochet hook
- scissors
- yarn needle
- stitch markers
Materials
- white worsted yarn (about 25 yards)
- blue worsted yarn (about 35 yards)
- orange worsted yarn (under 10 yards, for the beak)
- 9mm round black buttons or safety eyes
- polyester fiberfill stuffing
Steps
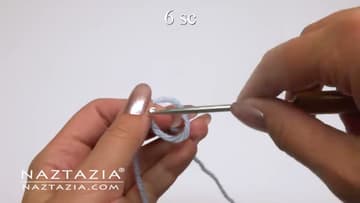
1. Start the Body with a Magic Ring
The whole penguin begins with the body, and the body begins with a magic ring, which is just a loose slip knot. Chain 1, then work 6 single crochet into the ring and pull the tail to draw it closed.
Tip: Watch this step Keep the ring loose while you place the 6 stitches, then cinch it. A too-tight ring makes those first stitches a fight.
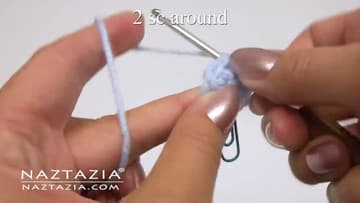
2. Increase the Body in a Spiral
Now grow the base outward. Round two is two single crochet in each stitch to give you twelve.
Tip: Watch this step A different-colored scrap of yarn works as a marker in a pinch. Just loop it through the first stitch and pull it up each round.
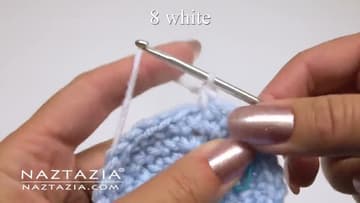
3. Change Colors for the White Belly
Once you hit thirty stitches, it is time to bring in the white. Change color mid-stitch: work the last blue single crochet up to the final pull-through, then finish it with white so the new color is on your hook.
Tip: Watch this step Carry the unused color loosely across the back of the work. Pull it too tight and the belly puckers.
4. Finish the Two-Tone Body
Keep repeating that white-front, blue-back round until the body is as tall as you want it. The stitch count stays the same now, so you are just building height with a straight tube of stitches.
Tip: Watch this step Turn the body inside out for a moment to weave the white ends in under the belly stitches, where they will stay hidden.
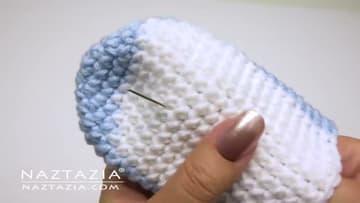
5. Add the Eyes and Crochet the Beak
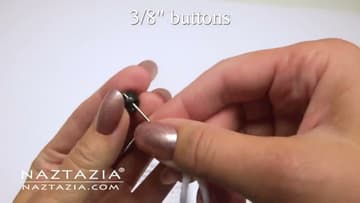
Give your penguin a face. Sew on the eyes using 9mm round black buttons, working the white tail from the body up between the stitches to hold them in place.
Tip: Watch this step If you are making this for a small child, skip the buttons and embroider the eyes with black yarn instead so nothing can pull loose.
6. Make the Wings and Feet
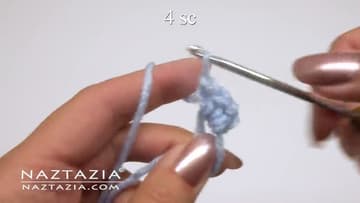
The penguin needs four small pieces down here: two flipper wings and two feet, all made from the same little pattern. Start each with a magic ring of 4 single crochet, then work 2 single crochet in each stitch on the next round.
Tip: Watch this step Working the front loops only on the closing decreases keeps the tip smooth instead of bunchy. Make all four pieces before you sew any on so they match.
7. Stuff, Close, and Assemble
Lightly stuff the body with polyester fiberfill. Do not pack it hard - a soft fill keeps the penguin cuddly and lets it hold its shape.
Tip: Watch this step Pin the wings and feet in place before you sew, then hold the penguin up and look at it. It is much easier to move a pin than to un-sew a flipper.