How to Crochet a Snowflake

CrochetEasy12:108 stepsPart of DIY Crafts for BeginnersBrowse more →
The finished result: How to Crochet a Snowflake

By CraftingStepByStepPublished

Based on a video by JMCrochet .

Six points, an open lacy center, and about twenty minutes of work once the pattern is in your hands. Jonna Martinez of JMCrochet builds this snowflake from stitches you have already met, and the finished motif holds its shape well enough to hang on a tree the same evening you make it.

The whole ornament is three rounds. A chain ring, a wheel of twelve double crochet, a spray of chain loops, and one final pass that turns each loop into a point. Nobody makes a single snowflake, and by the third one you stop reading the pattern altogether.

Yarn and hook: what works, what does not

Jonna works with Bernat Softee Baby in white and a soft ice blue on an F hook, 3.75 mm. Any smooth worsted or sport weight yarn gives you the same six-point motif at roughly four inches across. Drop a hook size if you crochet loosely. Slack stitches flop instead of standing out from the branch.

Fiber matters more than color here. Smooth acrylic, cotton, or a cotton blend all let the picots sit up where you can see them. Fuzzy or halo yarn swallows the detail and you end up with a white blob. If you want something delicate enough for a window, size 10 crochet thread and a 1.5 mm steel hook shrink the same pattern down to two inches. Shimmer yarn is the other easy upgrade, and it catches tree lights far better than plain white.

The three rounds at a glance

Knowing the shape of a crochet snowflake before you start makes the pattern much easier to follow.

  • Round 1 is a flat wheel: twelve double crochet worked into a chain-six ring, each pair separated by a chain-one space.
  • Round 2 is all air: chains of six and five alternating around the wheel, anchored into those chain-one spaces with a single crochet.
  • Round 3 is the shaping. Every chain-six loop becomes a point, built from two double crochet, two triple treble, and three picots on top.

The chain-five loops do nothing but pull the points inward and give the snowflake its star silhouette. Skip them and you get a circle.

Where people get stuck

Three spots trip up most first attempts.

The count in round one. That opening chain-four stands in for your first double crochet plus a chain one, so you work eleven more posts, not twelve. Count before you close the round: a thirteenth post shows up later as a lopsided seventh point.

The picot slip stitch. After chaining four or six you slip stitch back into the stitch you came from, catching the two strands on the side of the post rather than the loop on top. Going into the top loop makes the picot lean.

The anchor stitch in round three. When you single crochet into a chain-five loop, aim for the third chain itself, not the open space. It pins the loop down and keeps the finished motif flat. Jonna tried it both ways on camera and the loop version sags.

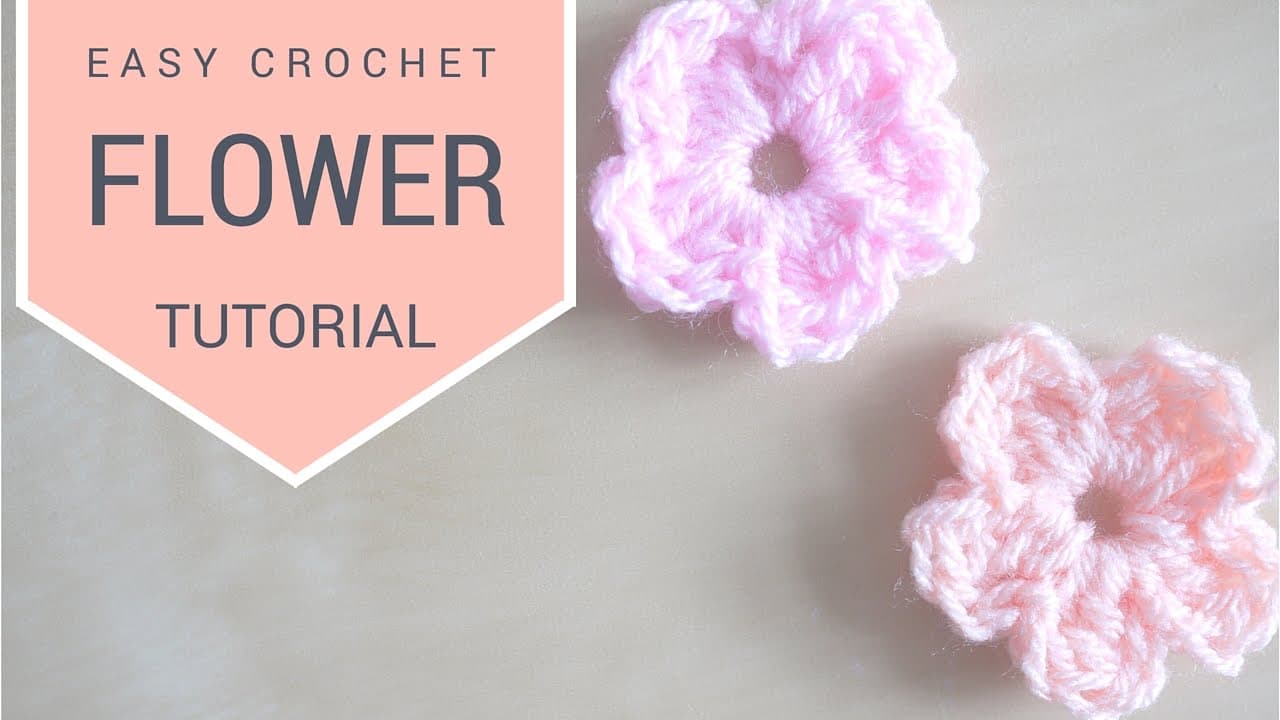
New to working in the round? The magic ring closes tighter than a chain ring and works here too, and the round-and-picot rhythm is the same one behind a crochet flower.

Stiffen it, hang it, store it

Straight off the hook a snowflake is soft. Mix white school glue and water half and half, dunk the motif, squeeze out what you can, then pin it point by point onto a foam blocking board and leave it overnight. It dries clear and rigid. Commercial fabric stiffener does the same job with less mess, and heavy spray starch works if you only need the flake to hold up for one season. Sugar water is the old kitchen trick. It sets hard, then yellows and draws ants, so keep it off anything you are giving away.

Thread a ribbon through any top picot to hang one on a tree. A run of them on fishing line makes a garland for a mantel or a window. One tied to a parcel beats a bow, and a stack of six in a flat box is a present on its own. When the season ends, lay them flat between sheets of parchment in a shoe box. Stiffened motifs crease if you crush them, and a folded point never quite recovers.

What you'll need

Step-by-Step Guide

8 steps · about 12 minutes.Check off each step as you go and your progress saves automatically.

1

Wrap the yarn twice around your finger to make a slip knot

0:38
Step 1: Wrap the yarn twice around your finger to make a slip knot - How to Crochet a Snowflake

Lay the yarn over your index finger and wrap it around twice. Reach under and grab the back loop, pull it through to the front, then catch what is now the back strand and slide the whole thing off your finger. Pull the tail and you have a slip knot with a loop you can size to the hook.

This is the same knot you would tie any other way. Jonna's finger-wrap version is worth learning because it gives you a knot that tightens from the working end instead of the tail.

Tip

Leave a six inch tail. You will weave it back through the center ring at the end, and a short tail pops loose once the snowflake is stiffened.

2

Chain six and slip stitch the ring closed

1:08
Step 2: Chain six and slip stitch the ring closed - How to Crochet a Snowflake

Slide the slip knot onto the hook and chain six. Count them out loud if you are new to this, because an extra chain makes the center hole wide enough to see through on the finished flake.

Now slip stitch into that very first chain, the one sitting next to the knot. Insert the hook, yarn over, and pull straight through both loops in one motion. The six chains close into a small ring, and everything in round one is worked into the middle of it.

Tip

Keep the ring loose enough to fit the hook plus a finger. A tight ring fights you for the next twelve stitches.

3

Work double crochet posts into the center ring

1:58
Step 3: Work double crochet posts into the center ring - How to Crochet a Snowflake

Chain four to start. Those four chains count as your first double crochet plus a chain one, which saves you a stitch and keeps the round even.

Then work double crochet into the ring itself, not into individual chains: yarn over, hook through the middle of the ring, pull up a loop, yarn over and through two, yarn over and through the last two. Chain one, double crochet again. Keep that rhythm going around the ring.

Tip

The posts crowd the ring as you go. Push the finished stitches around to the left with your thumb so there is always clear space under the hook.

4

Close round one with twelve double crochet posts

2:23
Step 4: Close round one with twelve double crochet posts - How to Crochet a Snowflake

Stop when you have eleven double crochet plus the chain four you began with. That is twelve posts, each pair split by a chain-one space. Chain one more, then slip stitch into the third chain of that opening chain four to join the round.

You should be holding a small flat wheel with a visible hole at the center and twelve spokes radiating out. Count the chain-one gaps before you go on. Round two needs exactly twelve of them.

Tip

If the wheel cups instead of lying flat, your stitches are too tight. Redo it on a 4 mm hook rather than fighting the tension.

5

Chain six and chain five loops make round two

3:38
Step 5: Chain six and chain five loops make round two - How to Crochet a Snowflake

Chain one, then single crochet into the top of that first chain from round one. Chain six and single crochet down into the next chain-one space. Chain five and single crochet into the one after that.

Alternate all the way around: six, five, six, five. You end with six long loops and five short ones, and the final loop is a chain two plus a double crochet into that first single crochet, which parks your hook at the right height for round three.

Tip

Clip a stitch marker into each chain-six loop as you make it. Those six loops become the six points, and they are easy to miscount once the whole round is floppy.

Used in this stepLocking stitch markers
6

Double crochet twice into the first chain-six loop

5:00
Step 6: Double crochet twice into the first chain-six loop - How to Crochet a Snowflake

Chain two, then work two double crochet into the first chain-six loop. Go under the whole loop rather than into a single chain so the stitches can slide and spread.

These two posts are the left shoulder of your first point. Everything taller gets built between them and the two matching posts you will add on the other side, which is what gives each arm of the snowflake its width at the base.

Tip

Work the chain-six loops and leave the chain-five loops alone until the very end of each point. Mixing them up is the single most common way this round goes wrong.

7

Two picots and a triple treble shape each snowflake point

7:25
Step 7: Two picots and a triple treble shape each snowflake point - How to Crochet a Snowflake

Chain four and slip stitch back into the double crochet you came from, catching the two strands on the side of the post. That little bump is your first picot.

Now a triple treble: yarn over twice, into the same chain-six loop, then pull through two loops at a time until the hook is clear. Chain six and slip stitch into its top for the tall center picot. A second triple treble, a second chain-four picot, then two double crochet to even out the other side. Chain two, single crochet into the third chain of the next chain-five loop, and start the next point.

Tip

Say the point out loud as you work it: two double, picot, treble, big picot, treble, picot, two double. Six repeats and the snowflake is done.

8

Snip the yarn and fasten off the finished crochet snowflake

11:24
Step 8: Snip the yarn and fasten off the finished crochet snowflake - How to Crochet a Snowflake

After the sixth point, chain two and slip stitch into the top of that last double crochet. Cut the yarn a few inches out, pull the tail all the way through the loop, and give it a tug to lock it.

Thread the tail on a yarn needle and weave it back into the center ring where the stitches are densest. Do the same with the starting tail. Then stiffen it: soak in half glue, half water, pin it out flat, and leave it to dry overnight before you hang it.

Tip

Crochet tightly and the flake holds its shape with barely any stiffening. Crochet loosely and it needs the full glue soak and a night on the pins.

Keep going

How to Make a Slip Knot for Crochet

Products Used

The Checklist

How to Crochet a Snowflake

Tools
4
Materials
3
Steps
8
Video
12 min

Tools we recommend

Your Guide

JMCrochet

As an Amazon Associate we earn from qualifying purchases. Links on this page may be affiliate links - clicking them and buying doesn't change your price, but helps support CraftingStepByStep.

Tags

Free printable

Get the Crochet Cheat Sheet

Every basic stitch on one printable page. No spam, one-click unsubscribe.

Did this work for you?

What's next

Related collections

Curated theme pages that include this tutorial.

Weekly Digest

Liked this crochet tutorial?

Pick the categories you want to hear about. Weekly digest of new step-by-step tutorials. No spam, easy unsubscribe.

Send me tutorials about

We only email about new tutorials. Easy unsubscribe anytime.