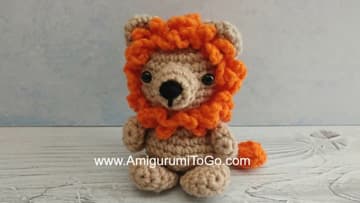
How to Crochet a Lion (Beginner Amigurumi)
Source: Sharon Ojala • Full tutorial: www.craftingstepbystep.com/crochet/how-to-crochet-a-lion
- Difficulty
- Medium
- Hands-on time
- About 4 hours 30 minutes
- Cost
- About $10 to $20
- Makes
- 1 crochet lion
Tools
- 3.5mm crochet hook
- tapestry needle
- stitch markers
- scissors
Materials
- worsted weight yarn in tan
- worsted weight yarn in orange
- polyester fiberfill
- 6mm safety eyes
- black embroidery floss
Steps
1. Gather Your Yarn and Tools
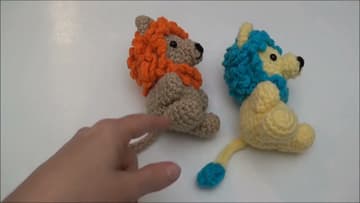
Here is what you are making. Sharon shows the finished lion in two colorways so you can see how the mane and tail come together.
Tip: Watch this step A smooth worsted yarn shows your stitches better than a fuzzy one, which makes counting easier while you learn.
2. Crochet the Head and Body in the Round
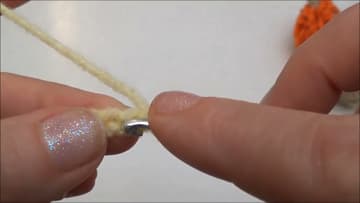
Start with a magic ring and single crochet into it, then work in a continuous spiral. The head and body are one piece, so you increase to round out the head, work a few even rounds, then decrease to pull it back in toward the base.
Tip: Watch this step Count your stitches at the end of each round. Catching an extra or missing stitch early saves you from frogging later.
3. Add the Eyes and Stitch the Face
Before you close up the head, push the safety eyes through the fabric and snap the backings on from the inside. Space them evenly and low on the face so the lion looks friendly rather than surprised.
Tip: Watch this step Set the eyes before you stuff the head. Reaching the backings through a firm ball of fiberfill is a lot harder.
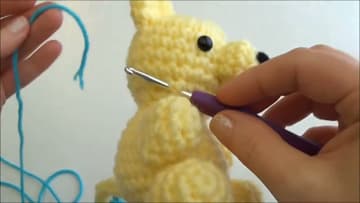
4. Crochet the I-Cord Tail
The tail is a slim I-cord, which is a narrow tube that reads like a rope. Chain a few stitches, then work back along them so the cord curls into a round shape on its own.
Tip: Watch this step Leave a long tail of yarn when you finish. You will use it to sew the cord onto the body later.
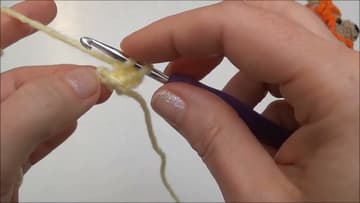
5. Add the Contrast Tuft to the Tail
A lion tail needs a tuft at the tip. Switch to your contrast color at the very end of the cord and work a small cluster of stitches, or add a tiny puff, so the color pops against the tan.
Tip: Watch this step Make the color change on the wrong side if you can, so the join hides inside the tuft.
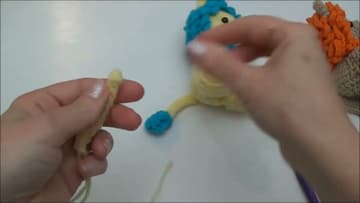
6. Crochet the Mane
The mane is what turns a round ball into a lion. Work a band of loop stitches, or a row of small bobbles, in your contrast color.
Tip: Watch this step Wrap every loop around the same finger. Using your fingertip as a gauge keeps the loops matching without measuring.
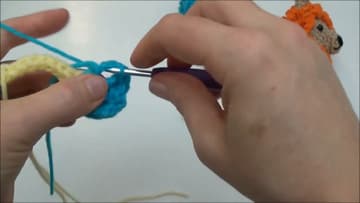
7. Attach the Mane and Tail
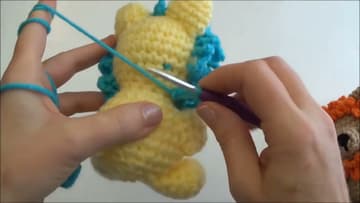
Now bring it all together. Wrap the mane band around the face and sew it down with your tapestry needle, working stitch by stitch so it sits flat against the head.
Tip: Watch this step Pin the mane in place before you sew. A couple of stitch markers hold it steady so it does not shift while you stitch.
8. Your Finished Lion
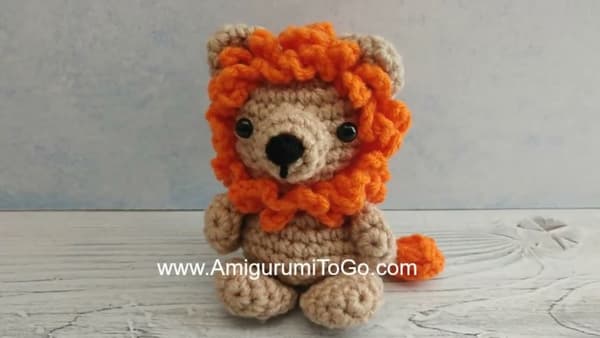
Here is the finished mini lion, sitting up with its full mane framing the face and the tuft-tipped tail curling around the side. From here you can make a whole safari set in different colors, or scale up with a bigger hook and chunkier yarn for a larger version.
Tip: Watch this step Ready for another? A crochet bear uses the same body, just skip the mane.