How to Crochet a Mini Hedgehog

CrochetEasy17:317 stepsBrowse more →

By CraftingStepByStepPublished

Based on a video by Heavenly Crochet Amigurumi.

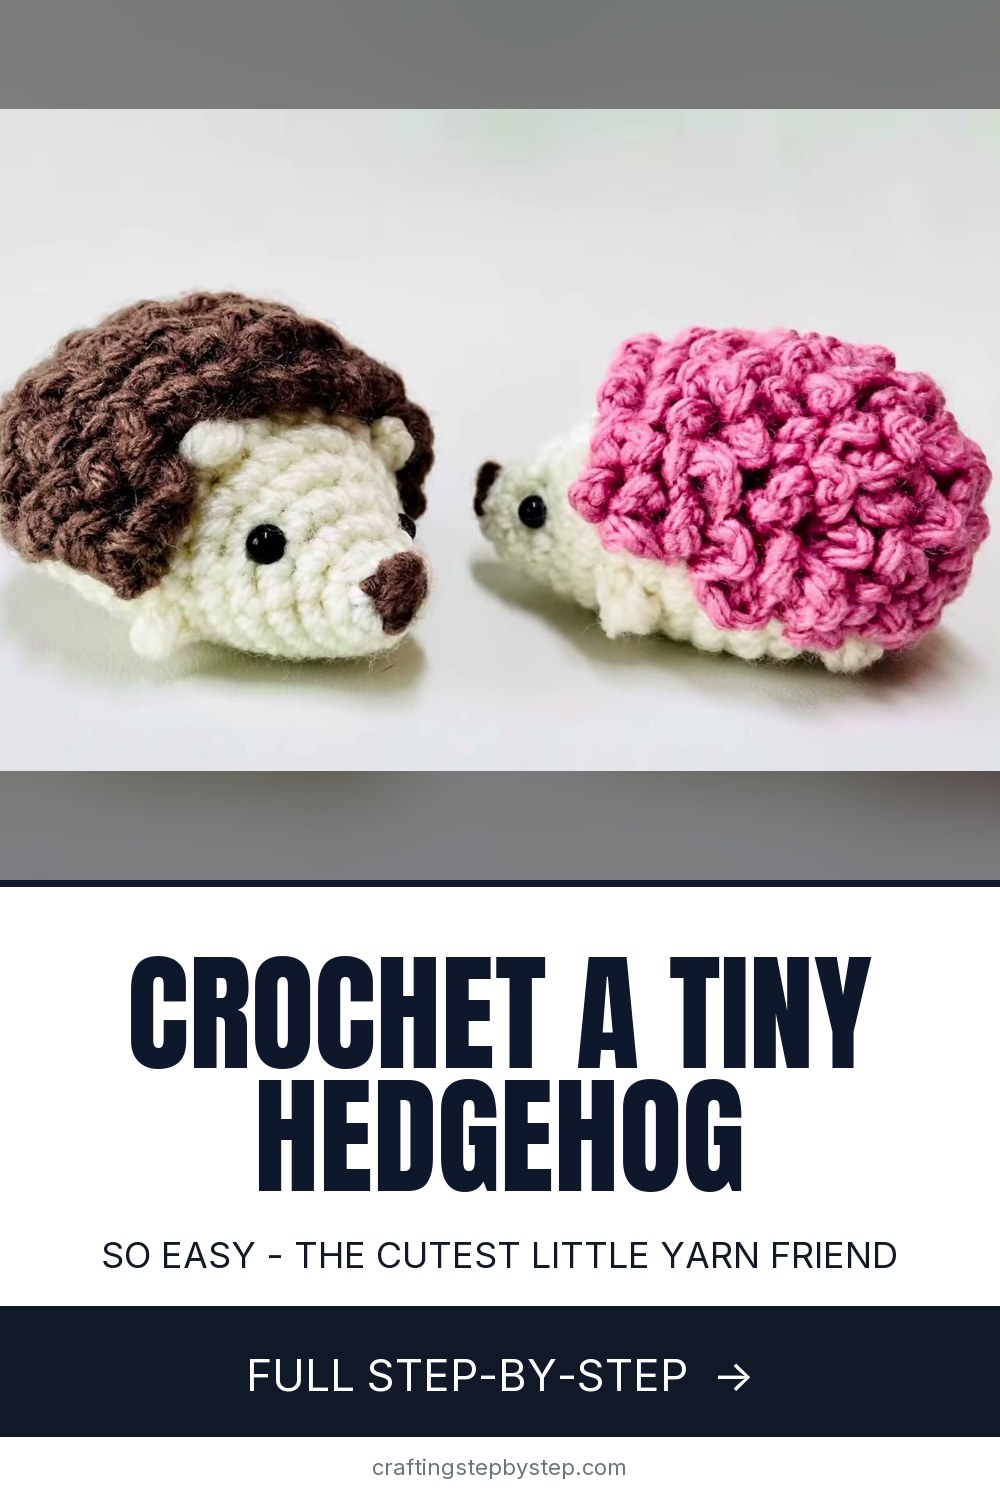
A mini hedgehog is one of the friendliest amigurumi projects to start with. The body is a simple stuffed ball, and the only stitch that looks tricky, the spiny back, is really just a cluster stitch repeated over and over. This walkthrough follows Heavenly Crochet Amigurumi, whose pattern turns a few yards of yarn into a palm-sized hedgehog with a pointed little face and a bumpy coat of spikes.

You work the body in a spiral, so there is no turning and no counting rows the hard way. A magic ring gets you started, single crochet increases shape the ball, and a few rounds in the back loops pinch in the snout. Once it is stuffed and closed, you switch to a second color and build up the spines with two double-crochet clusters. If you have made any small round amigurumi before, this will feel familiar. If you are brand new, this is a gentle place to learn the core moves covered in our amigurumi basics.

The face is what makes it a hedgehog. You push in a pair of safety eyes and add a small dark nose at the tip of the snout. Work in a light worsted or DK yarn for the size shown here, or size up for a chunkier hedgehog. When you are done, try the same round-body technique on a crochet bee for a matching little critter.

Step-by-Step Guide

7 steps · about 18 minutes.Check off each step as you go and your progress saves automatically.

1

Step 1: Start the Body with a Magic Ring

0:24
Step 1: Step 1: Start the Body with a Magic Ring

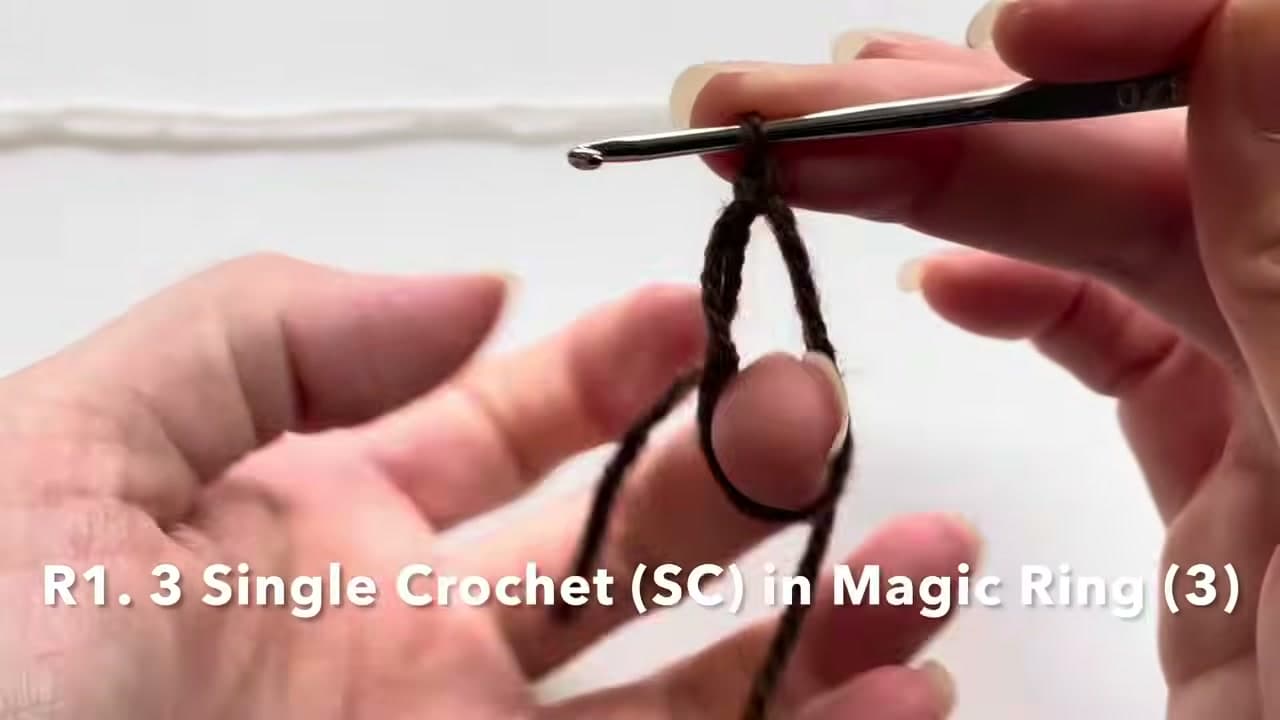
Begin the body in your face color, usually cream or tan. Make a magic ring by wrapping the yarn around two fingers, then pull a loop through and work three single crochet into the ring.

Give the tail a firm tug to draw the center closed. That leaves you with a tight little circle and no hole in the middle, which is exactly what you want for a stuffed shape. Everything else builds out from this starting round.

Tip

Watch this step If the magic ring feels fiddly, leave a long starting tail. You will use it to weave the center shut a second time later if it ever loosens.
2

Step 2: Increase to Shape the Body

4:12
Step 2: Step 2: Increase to Shape the Body

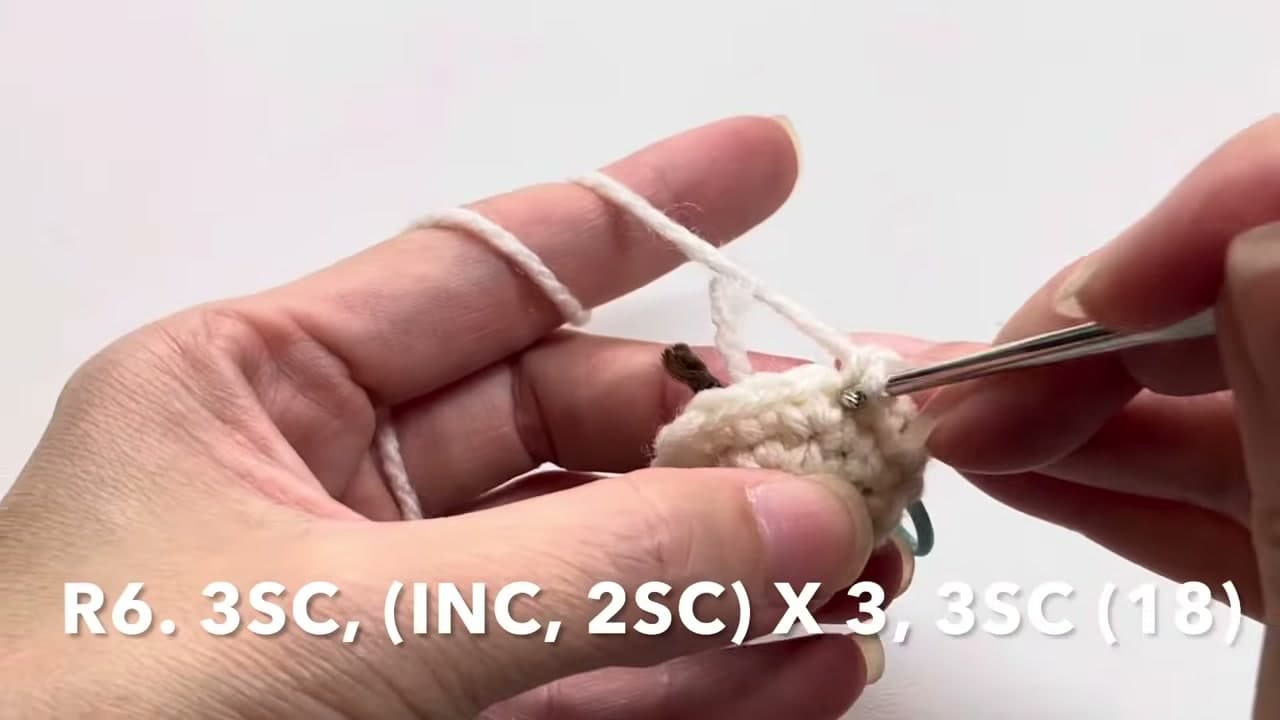
Keep working in a spiral, adding stitches on each round so the ball grows evenly. The increases fall in a steady pattern, a few single crochet, then an increase, and repeat, so the sides curve out into a smooth egg shape.

Drop a stitch marker into the first stitch of every round. Amigurumi has no obvious seam, and that marker is the only way to know where one round ends and the next begins.

Tip

Watch this step Keep your tension snug. Loose stitches leave gaps that let the stuffing peek through once the body is filled.

3

Step 3: Work Back Loops to Shape the Face

5:48
Step 3: Step 3: Work Back Loops to Shape the Face

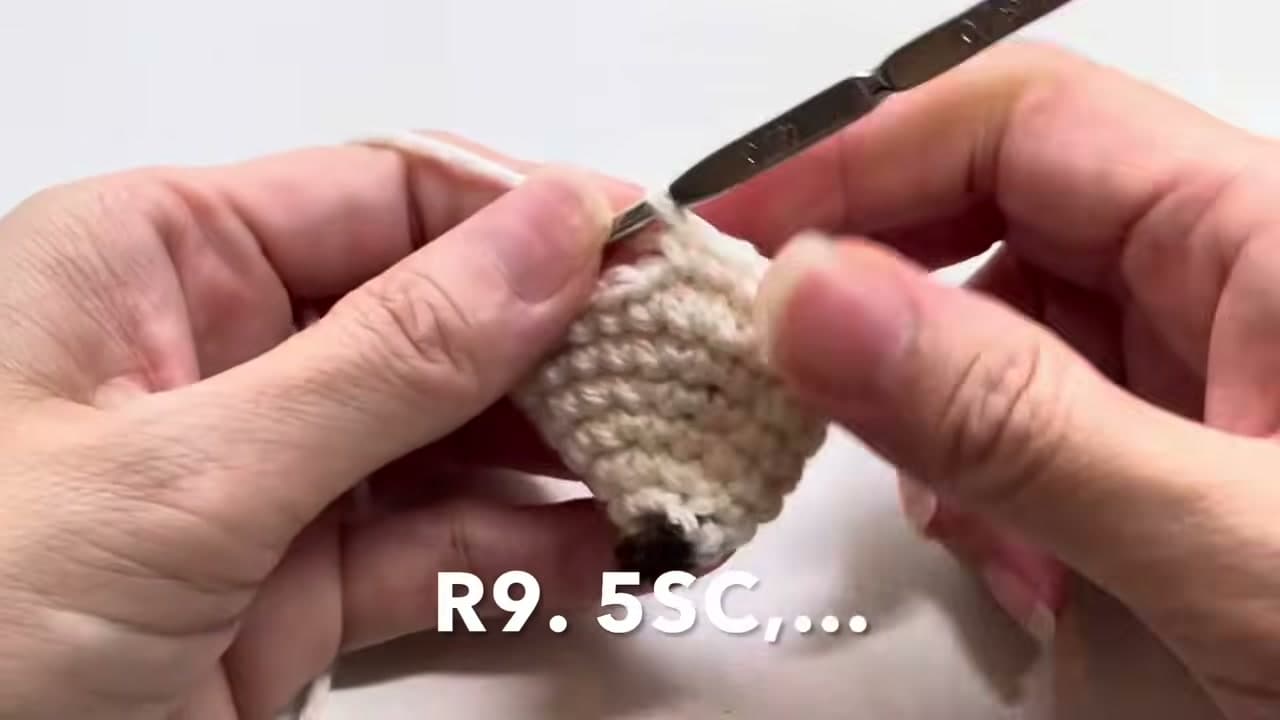
When the body is as wide as you want, work several rounds into the back loops only. Slide your hook under just the back loop of each stitch instead of both loops as you go around.

Working this way leaves a small ridge and pulls the fabric inward, which flattens the underside and starts to taper the front into the pointed hedgehog snout. It is a small change in where you insert the hook that makes a big difference in the shape.

Tip

Watch this step Watch the ridge line as it forms. That visible bump is your guide for where the spiny cap will later sit against the smooth face.

Products used in this step

4

Step 4: Stuff the Body and Close It Up

13:24
Step 4: Step 4: Stuff the Body and Close It Up

Push in the polyester fiberfill before the opening gets too small to work with. Add it in small pinches and press it around the edges so the body stays firm and round, not lumpy on one side.

With the stuffing in, decrease around to draw the top closed. Once only a few stitches remain, cut the yarn, thread the tail through them, and pull tight to cinch the hole shut so no filling shows.

Tip

Watch this step Firm but not overstuffed is the goal. Too much filling stretches the stitches apart and the body loses its neat hedgehog shape.

5

Step 5: Build the Spiny Back with Cluster Stitches

17:00
Step 5: Step 5: Build the Spiny Back with Cluster Stitches

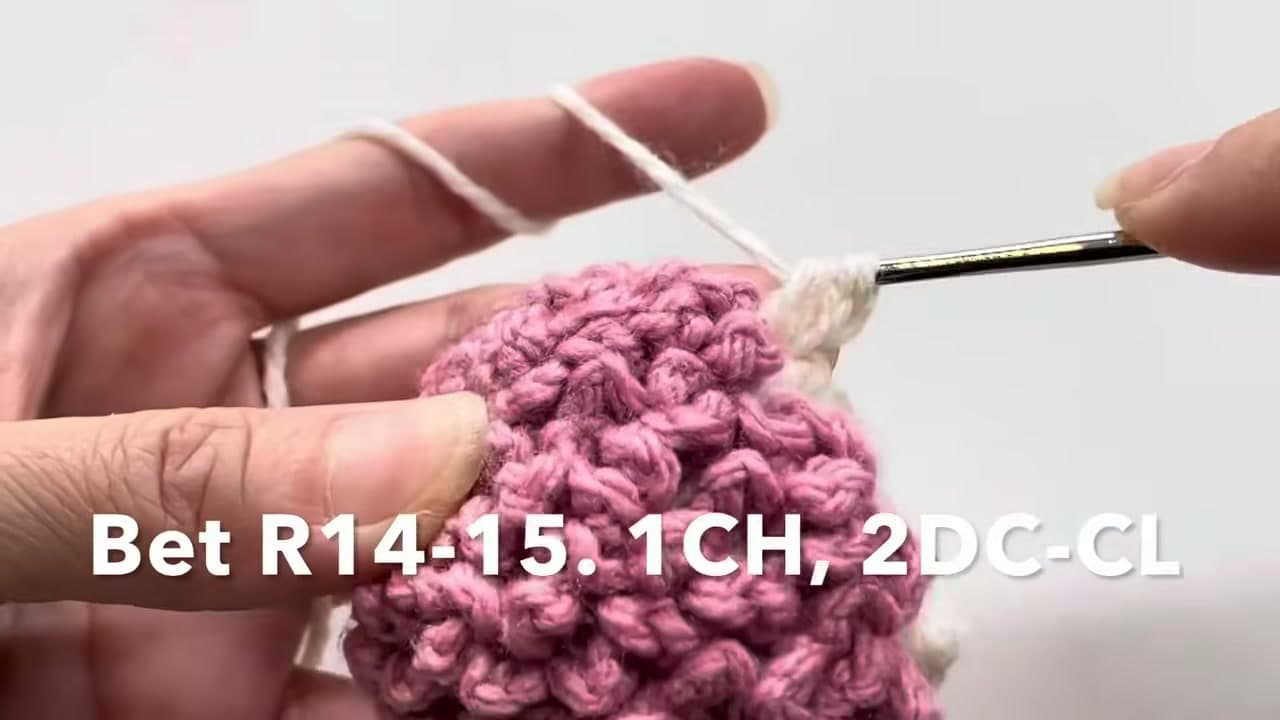
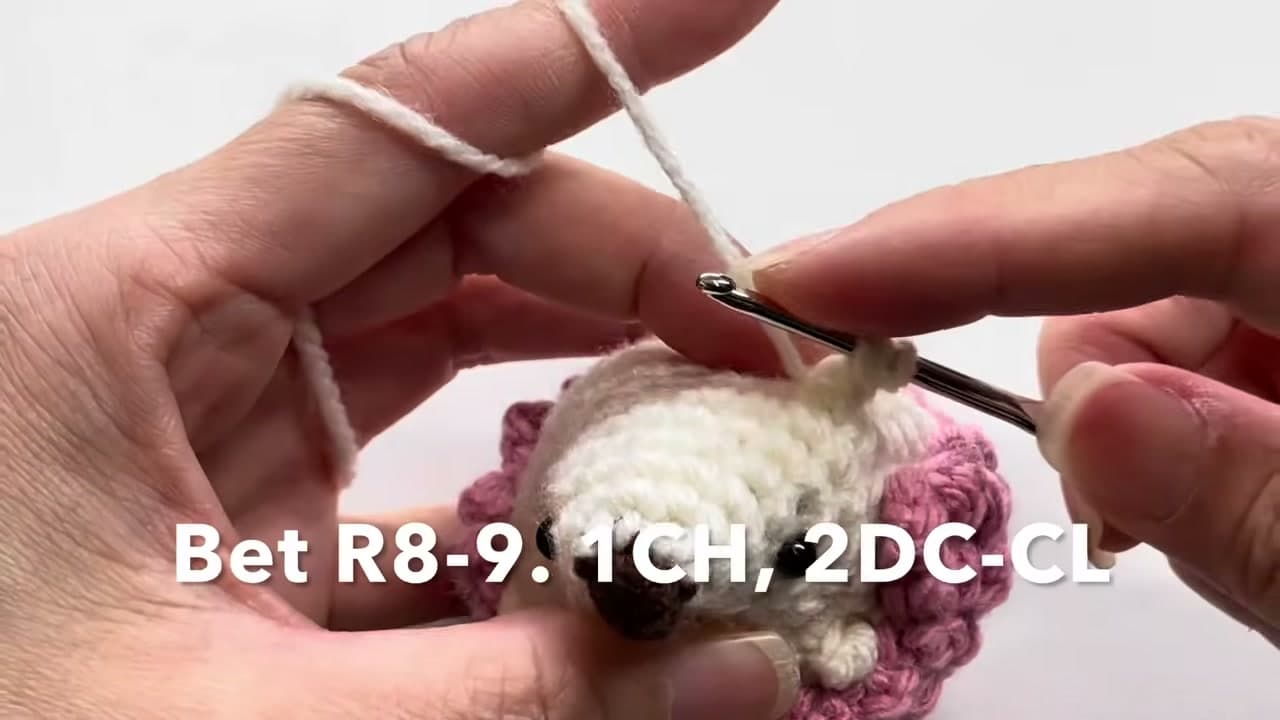
Now switch to your spine color and make the coat of spikes. Each spine is one small chain followed by a two double-crochet cluster, written in the pattern as 2DC-CL. You yarn over, pull up loops, then draw them all together into one raised bump.

Repeat that cluster across the round and into the rounds above, and the surface fills in with dozens of little points. Keep them close together so the back reads as a dense, prickly coat rather than a few scattered bobbles.

Tip

Watch this step A slightly larger hook on the cluster rounds makes the spines pop out more. Tight clusters flatten and lose the prickly look.

6

Step 6: Attach the Cap and Add the Face

15:48
Step 6: Step 6: Attach the Cap and Add the Face

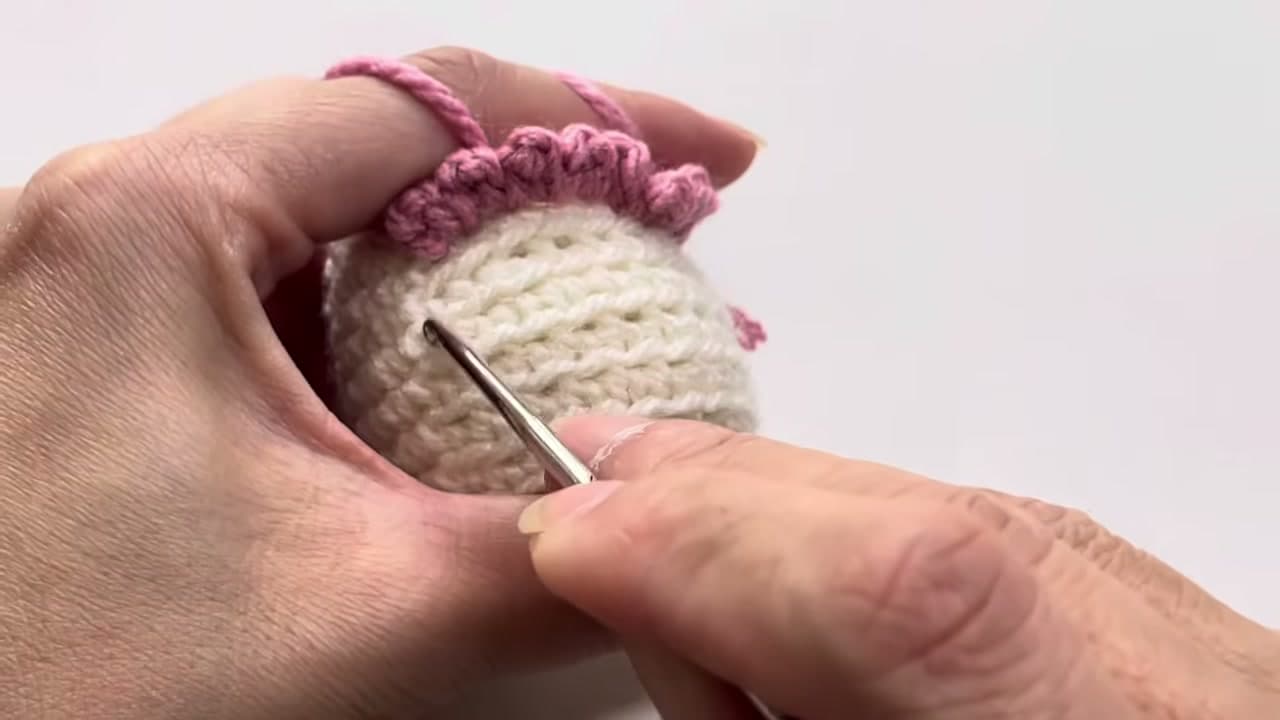
Set the spiny cap over the cream body so it covers the back and sits just behind the snout. Line up the edges, then stitch it down all the way around with your yarn needle so it stays put and does not shift.

Now give it a face. Push a safety eye into place on each side of the snout and lock the washers on the inside before the opening closes, then stitch or attach a small dark nose right at the pointed tip.

Tip

Watch this step Set the eyes before you stitch the cap fully shut. Once the washers are on, safety eyes do not come back off without cutting.

7

Step 7: Make the Feet and Finish

11:12
Step 7: Step 7: Make the Feet and Finish

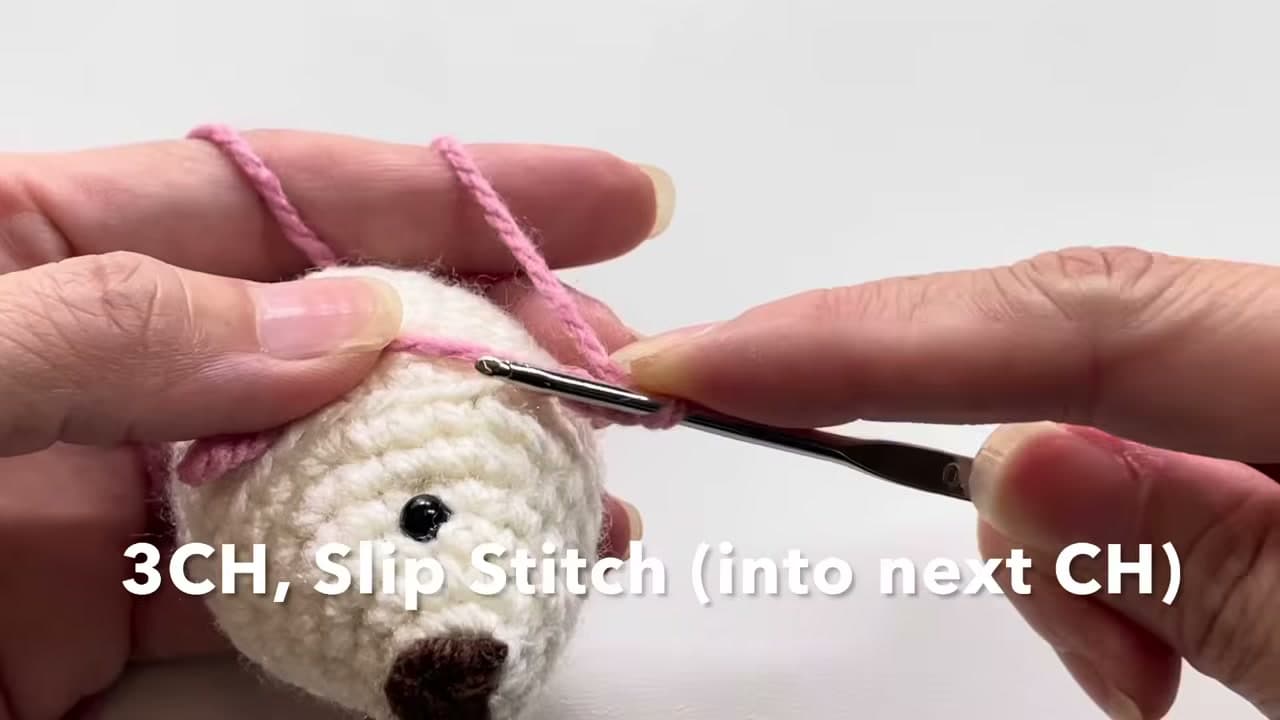
Give your hedgehog a set of tiny feet. Chain three, then slip stitch back into the next chain to make a short little stub, and attach one under each side of the body so it can sit flat.

Do the same for the other leg, then weave every loose yarn end back into the body with your needle so nothing dangles. Trim the tails close, and your mini hedgehog is ready to display or gift.

Tip

Watch this step Weave each end in two directions, not one. A single straight pass can work loose over time and poke back out of the stuffing.

Products Used

☐ The Checklist

How to Crochet a Mini Hedgehog

Tools
4
Materials
4
Steps
7
Video
18 min

Tools we recommend

Your Guide

Heavenly Crochet Amigurumi

As an Amazon Associate we earn from qualifying purchases. Links on this page may be affiliate links - clicking them and buying doesn't change your price, but helps support ShowMeStepByStep.

Tags

Free printable

Get the Crochet Cheat Sheet

Every basic stitch on one printable page. No spam, one-click unsubscribe.

Did this work for you?

What's next

Related collections

Curated theme pages that include this tutorial.

Weekly Digest

Liked this crochet tutorial?

Pick the categories you want to hear about. Weekly digest of new step-by-step tutorials. No spam, easy unsubscribe.

Send me tutorials about

We only email about new tutorials. Easy unsubscribe anytime.