How to Crochet a Mini Hedgehog
Source: Heavenly Crochet Amigurumi • Full tutorial: www.craftingstepbystep.com/crochet/how-to-crochet-a-hedgehog
- Difficulty
- Easy
- Hands-on time
- About 3 hours
- Cost
- About $8 to $15
- Makes
- 1 crochet hedgehog

Tools
- crochet hook (3.5mm or 4mm)
- yarn needle
- stitch marker
- scissors
Materials
- brown yarn (body/spines)
- cream or tan yarn (face)
- polyester fiberfill stuffing
- safety eyes (6-9mm)
Steps
1. Start the Body with a Magic Ring
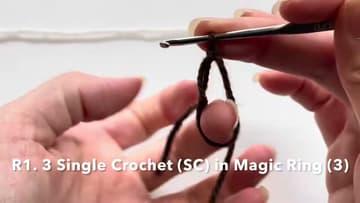
Begin the body in your face color, usually cream or tan. Make a magic ring by wrapping the yarn around two fingers, then pull a loop through and work three single crochet into the ring.
Tip: Watch this step If the magic ring feels fiddly, leave a long starting tail. You will use it to weave the center shut a second time later if it ever loosens.
2. Increase to Shape the Body
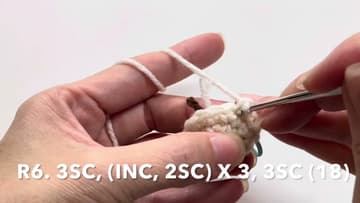
Keep working in a spiral, adding stitches on each round so the ball grows evenly. The increases fall in a steady pattern, a few single crochet, then an increase, and repeat, so the sides curve out into a smooth egg shape.
Tip: Watch this step Keep your tension snug. Loose stitches leave gaps that let the stuffing peek through once the body is filled.
3. Work Back Loops to Shape the Face
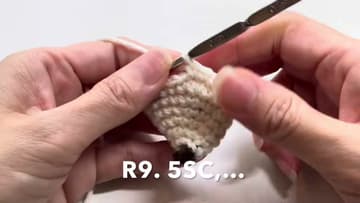
When the body is as wide as you want, work several rounds into the back loops only. Slide your hook under just the back loop of each stitch instead of both loops as you go around.
Tip: Watch this step Watch the ridge line as it forms. That visible bump is your guide for where the spiny cap will later sit against the smooth face.
4. Stuff the Body and Close It Up
Push in the polyester fiberfill before the opening gets too small to work with. Add it in small pinches and press it around the edges so the body stays firm and round, not lumpy on one side.
Tip: Watch this step Firm but not overstuffed is the goal. Too much filling stretches the stitches apart and the body loses its neat hedgehog shape.
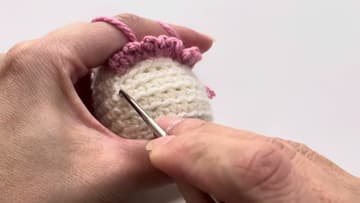
5. Build the Spiny Back with Cluster Stitches
Now switch to your spine color and make the coat of spikes. Each spine is one small chain followed by a two double- crochet cluster, written in the pattern as 2DC-CL.
Tip: Watch this step A slightly larger hook on the cluster rounds makes the spines pop out more. Tight clusters flatten and lose the prickly look.
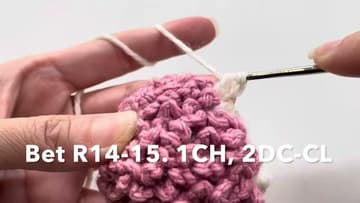
6. Attach the Cap and Add the Face
Set the spiny cap over the cream body so it covers the back and sits just behind the snout. Line up the edges, then stitch it down all the way around with your yarn needle so it stays put and does not shift.
Tip: Watch this step Set the eyes before you stitch the cap fully shut. Once the washers are on, safety eyes do not come back off without cutting.
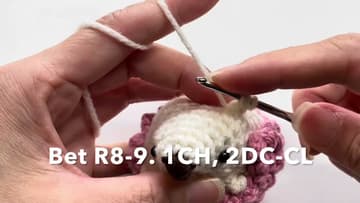
7. Make the Feet and Finish
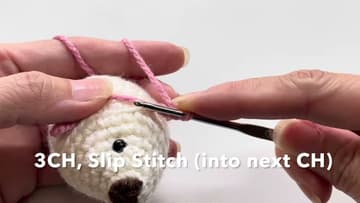
Give your hedgehog a set of tiny feet. Chain three, then slip stitch back into the next chain to make a short little stub, and attach one under each side of the body so it can sit flat.
Tip: Watch this step Weave each end in two directions, not one. A single straight pass can work loose over time and poke back out of the stuffing.