How to Crochet a Cherry Keychain (Easy Amigurumi Cherries)

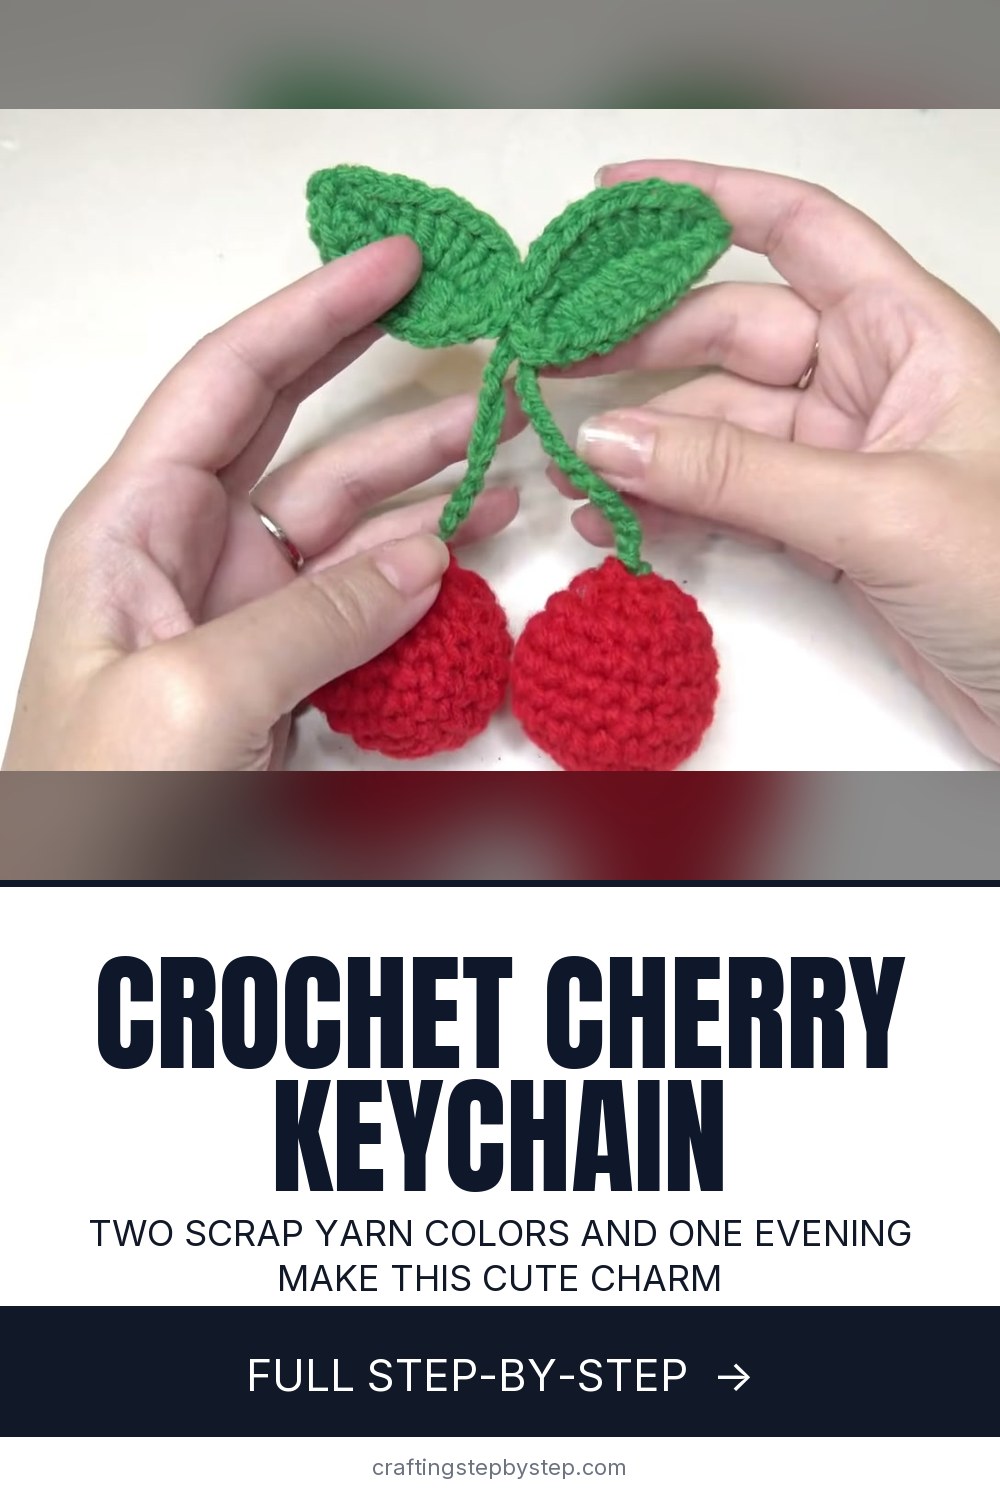
The finished result: How to Crochet a Cherry Keychain (Easy Amigurumi Cherries)
  • Difficulty: Easy
  • About 1 hour
  • 10 steps

You tapped Save

Save this project for later

We'll email you a link, no password.

How to Crochet a Cherry Keychain (Easy Amigurumi Cherries)

  • Your saved projects in one list
  • Your ticked steps on any device

Check your inbox for an email from us. Not there? Look in your spam folder.

Print

Steps written out by Crafting Step by Step from Crochet Jewel's video (opens YouTube) (8:10). Published .

These little crochet cherries take one evening and two colors of scrap yarn. Amy from Crochet Jewel makes them with an E hook and medium worsted yarn: two stuffed red balls, two green stems with leaves, a few stitches to join it all. Clip a keychain ring through the leaves and you have a bag charm, a stocking stuffer or a sweet little gift for a teacher.

How to crochet a cherry keychain: the short version

  • Make two cherries: a magic ring of 6, increase to 12 and 18, work four even rounds, decrease to 12, stuff, decrease to 6.
  • Make two stems: chain 12, then chain 10 more and work a leaf back along those 10.
  • Sew the two leaves together at the base.
  • Sew each stem tail into the top of a cherry.
  • Add a keychain ring through the joined leaves.

Yarn and hook

Any medium worsted (weight 4) yarn works. Acrylic is cheap and holds its color, and cotton gives crisper stitches. Amy uses an E hook (3.5mm), which is a size or two smaller than the yarn label suggests. That is on purpose. Tight stitches keep the stuffing from peeking through. Go up a hook size for bigger cherries or down for tiny ones; the pattern stays the same.

The cherry pattern, round by round

  • Round 1: 6 single crochet in a magic ring (6).
  • Round 2: 2 sc in each stitch (12).
  • Round 3: sc, 2 sc in the next, repeat (18).
  • Rounds 4 to 7: sc in each stitch (18).
  • Round 8: sc, sc2tog, repeat (12). Stuff.
  • Round 9: sc2tog around (6). Slip stitch, fasten off.

Work in a spiral without joining each round, and move a stitch marker up as you go.

Turning it into a keychain

Open a split ring or a lobster clasp keychain and slide it through the stitches where the two leaves meet. That join is the strongest point, so the cherries hang from it without stretching. For a bag charm, a lobster clasp is easiest to clip on and off. You can also sew the pair onto a hair clip or a headband instead.

Ways to use your cherries

Make a handful at once. They tie onto gift bags, hang from a Christmas tree, top a jar of homemade jam and work as a little prize for a grandchild's backpack. A single cherry with one leaf makes a cute pin for a cardigan, too.

Common problems

  • Stuffing shows through. Use a smaller hook or a firmer tension.
  • A lumpy cherry. Stuff a little at a time and shape it with your fingers before the last round closes.
  • Floppy leaves. Steam them flat, or work the leaf in cotton yarn.
  • Lost count. Count at the end of each round; it should match the number in brackets.

More crochet

New to the stitches here? Start with the magic ring, single crochet and the crochet decrease. For a firm, smooth finish, see how to stuff amigurumi. Then make a crochet strawberry to go with your cherries.

Free printable

Print the steps and supply list for this project

One page you can take to the table. Free with a free account, no password.

Get the free printable

What you'll need

Free, for this project

Get this checklist by email

  • All 8 tools and materials, with tick boxes
  • A link to print all 10 steps on paper, to keep by you while you craft

No password. The whole tutorial stays free on this page.

Quick answer

Crochet two stuffed cherries with leaves and clip them on a keychain. An easy project: about 1 hour. Materials cost about $1 to $4. You need 8 things, including red medium worsted yarn, green medium worsted yarn and polyester fiberfill. The 10 steps start with work Six Single Crochet Into the Cherry Magic Ring, pull the Magic Ring Closed on the Crochet Cherry, work the Crochet Cherry Increase Rounds and crochet Four Even Rounds to Shape the Cherry.

Step-by-step guide

10 steps, about 8 minutes. Tap a picture to jump to that step. Your progress saves automatically.

Tick each step off as you go.

  1. Step 1: Work Six Single Crochet Into the Cherry Magic Ring

    Watch this step · 0:58
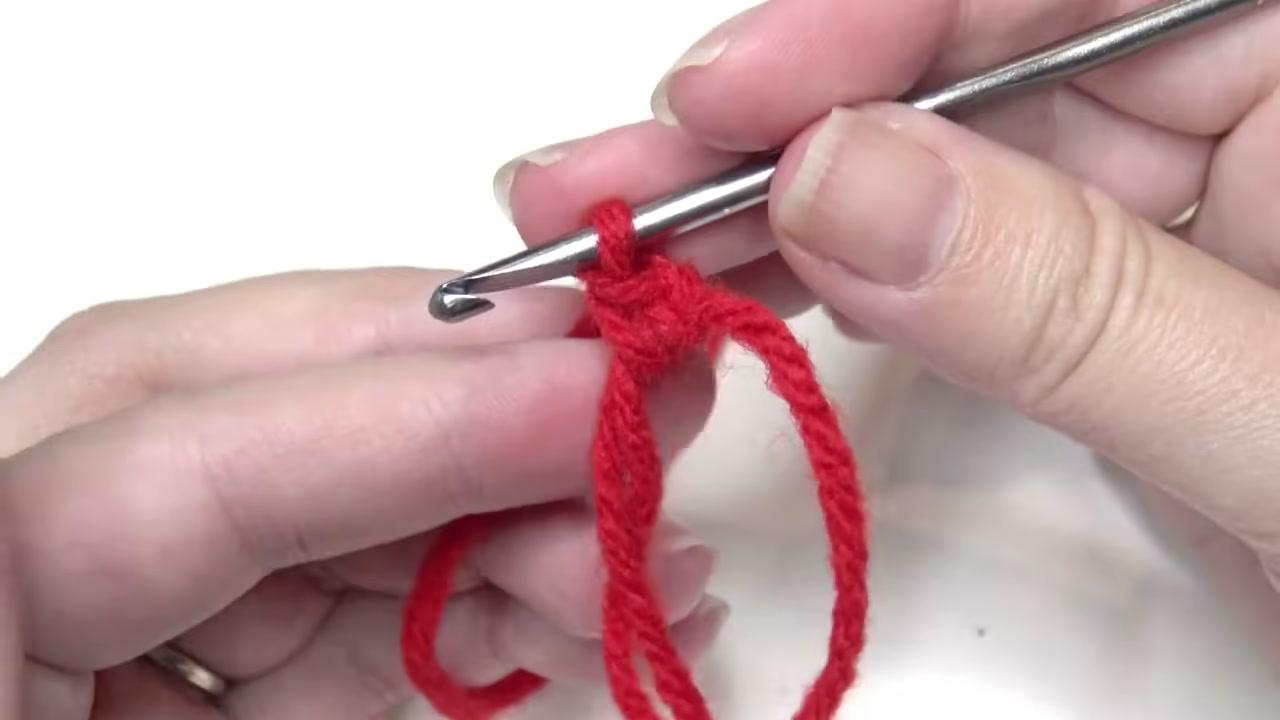
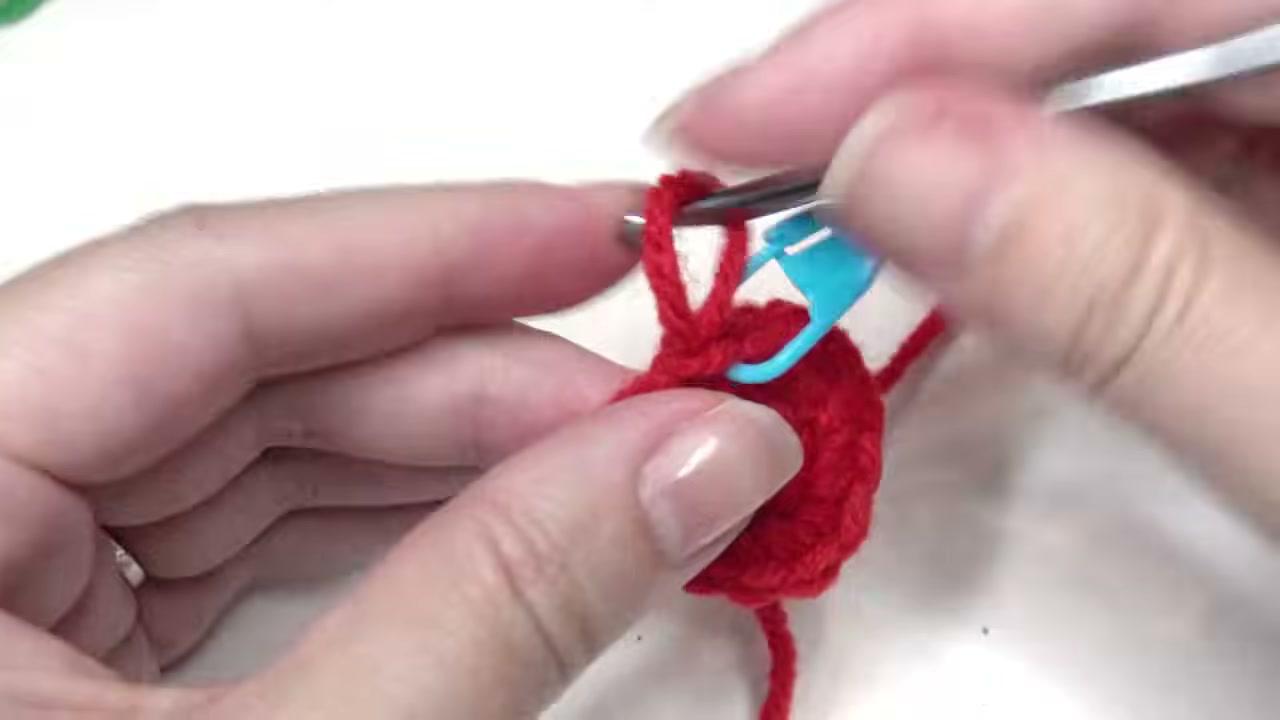
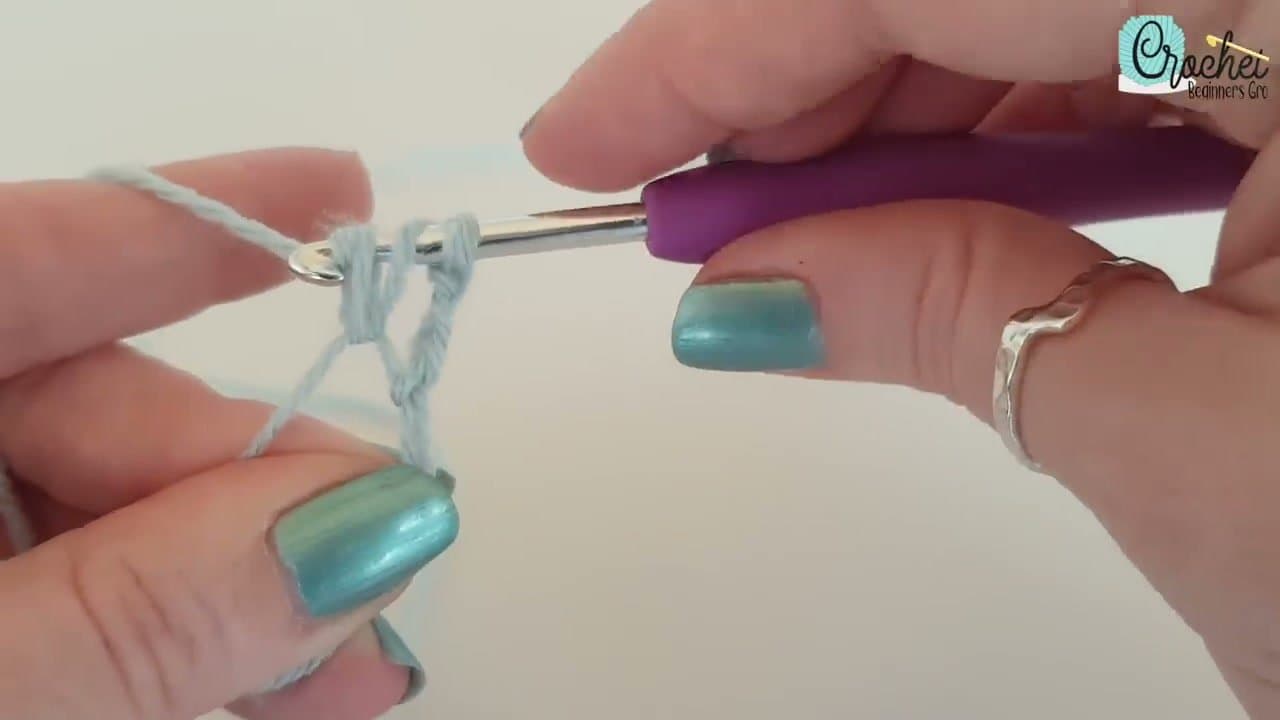
    Start with red yarn. Wrap it around your fingers to make a magic ring, insert the hook, pull up a loop and chain 1. Now work six single crochet into the ring: insert the hook, grab the yarn, pull it through, yarn over and pull through both loops. Count to six as you go. This is round 1 of the cherry.

    Tip:

    Not sure about the magic ring? Chain 2 and work the 6 stitches into the first chain.
    Back to all steps

  2. Step 2: Pull the Magic Ring Closed on the Crochet Cherry

    Watch this step · 1:32

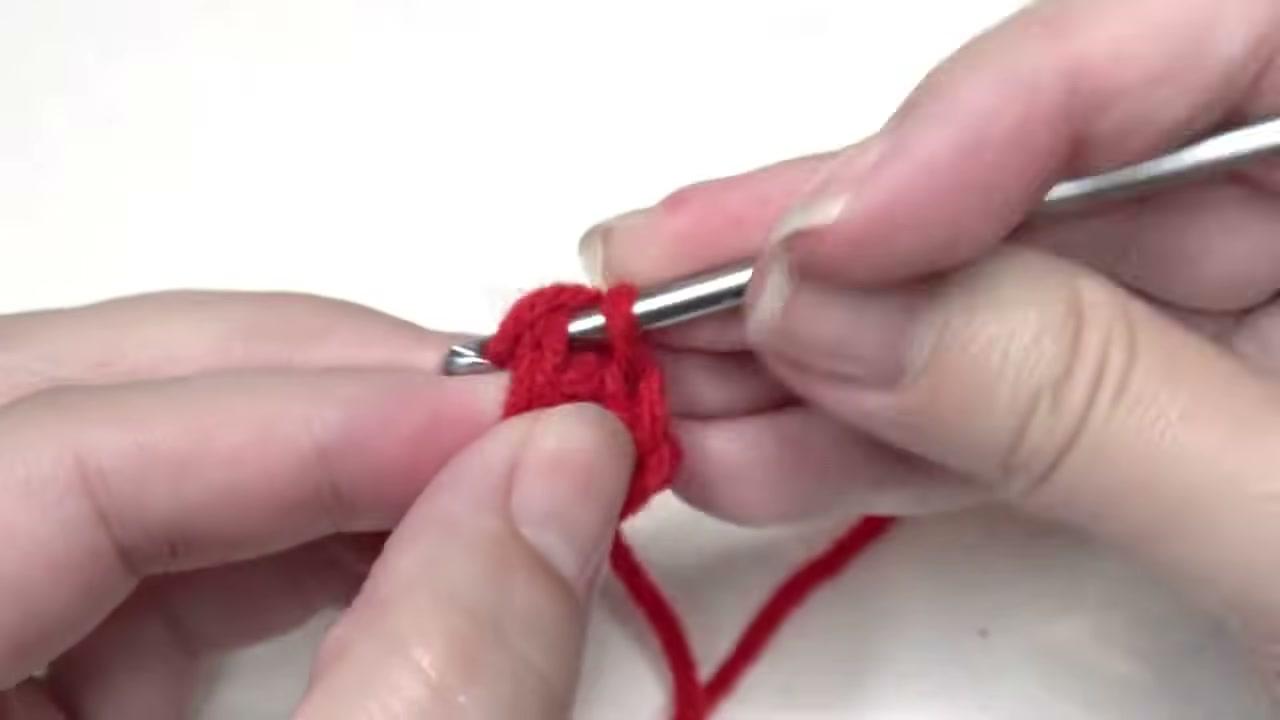
    Hold the stitches and pull the yarn tail firmly. The ring cinches shut into a small solid circle with no hole in the middle. Slip stitch into the first stitch to join. After that, you can work the rest of the cherry in a spiral, so there are no more joins and no visible seam running up the side.

    Tip:

    Pull the tail again after round 2 to close any gap that opens.

    Back to all steps

  3. Step 3: Work the Crochet Cherry Increase Rounds

    Watch this step · 2:07

    Round 2: work 2 single crochet in every stitch for 12. Clip a stitch marker into the first stitch so you know where each round starts. Round 3: 1 single crochet in the next stitch, then 2 in the stitch after that. Repeat around for 18. The piece stays flat for now and grows into a small disc.

    Tip:

    Move the marker up into the first stitch of every new round.

    Back to all steps

  4. Step 4: Crochet Four Even Rounds to Shape the Cherry

    Watch this step · 2:46

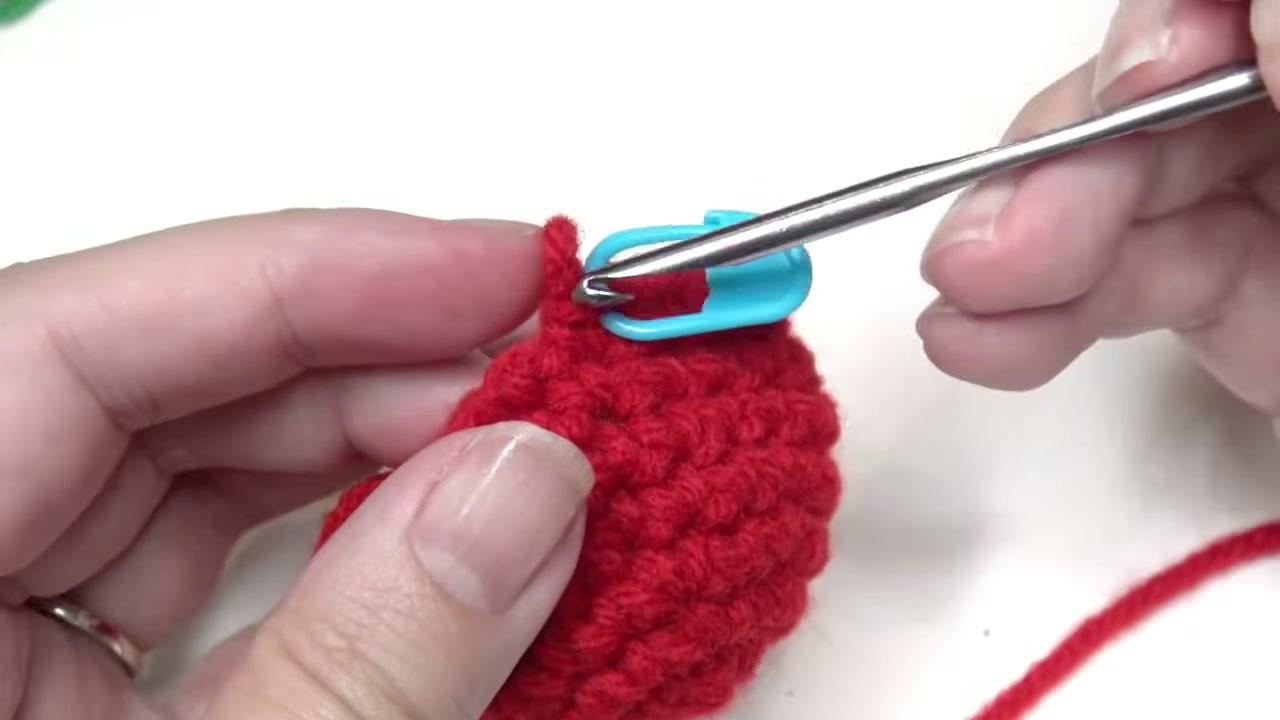
    Now work 1 single crochet in every stitch, no increases, for four full rounds. You keep 18 stitches each time. The flat disc starts to curl up into a cup, and that is the round body of your cherry taking shape. Keep your tension even here so the sides look smooth and the stitches stay tight.

    Tip:

    The outside of the cup is the right side. Keep it facing out.

    Back to all steps

  5. Step 5: Stuff the Crochet Cherry and Start the Decreases

    Watch this step · 3:12

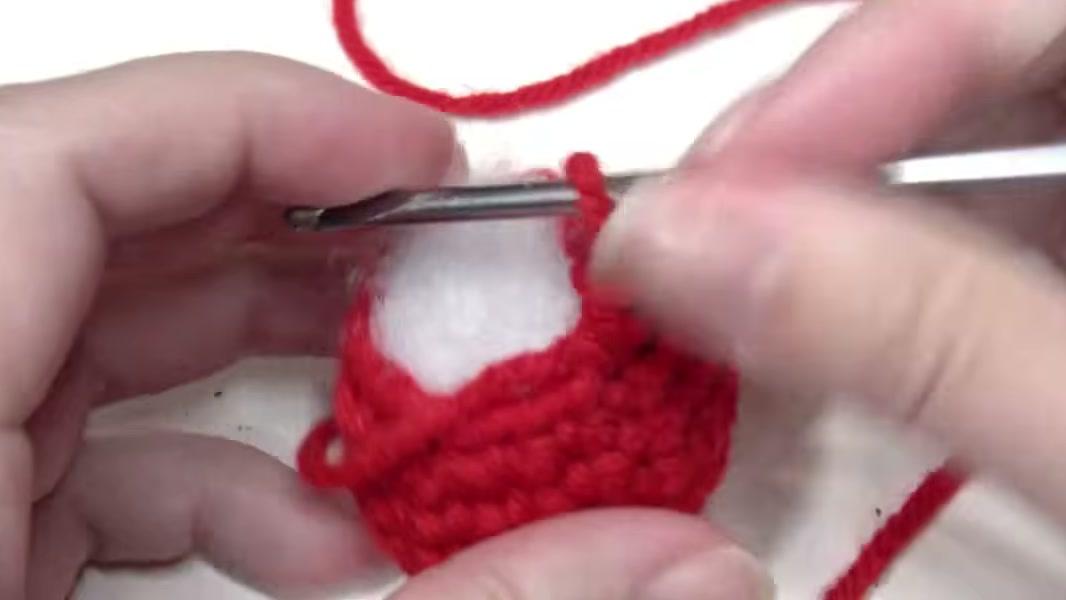
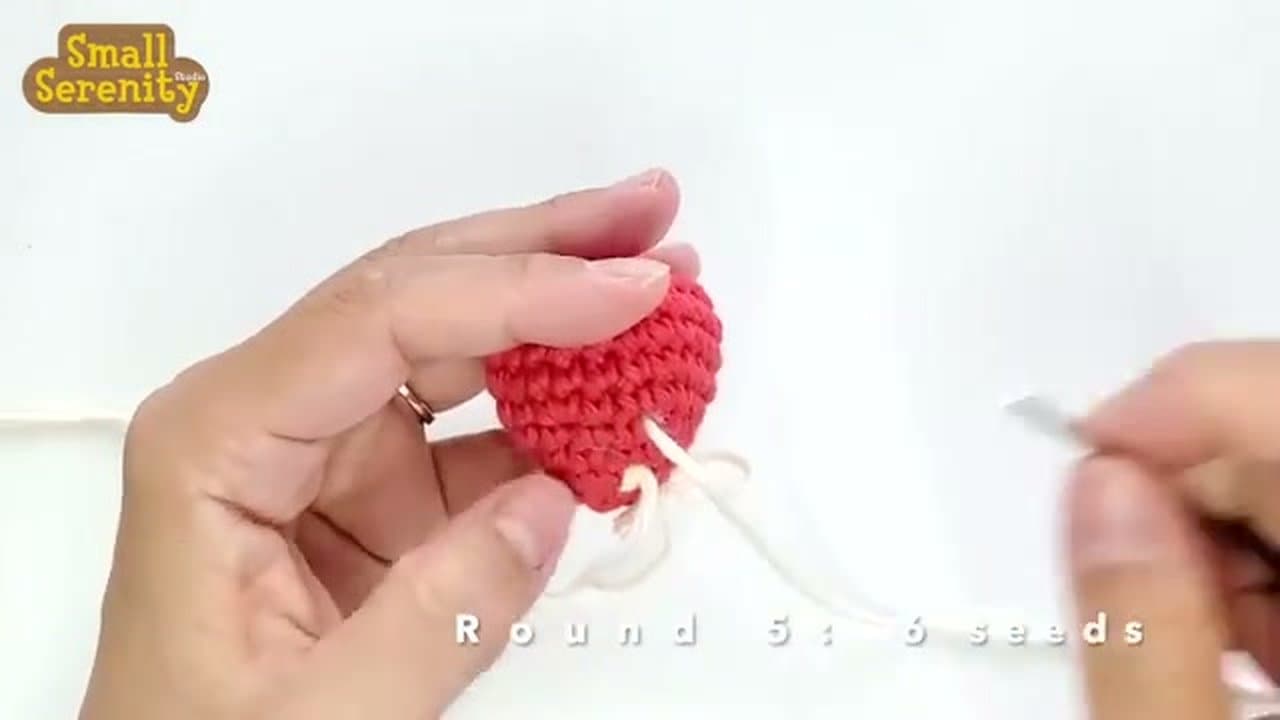
    Round 8: single crochet in one stitch, then a decrease over the next two. To decrease, pull up a loop in each of two stitches and yarn over through all three loops. Repeat around for 12. Now stuff the cherry lightly with fiberfill. Then round 9: decrease all the way around for 6 stitches.

    Tip:

    Stuff before the hole gets too small. A pencil end helps push it in.

    Back to all steps

  6. Step 6: Close the Cherry and Weave In the Red Yarn Tail

    Watch this step · 3:52

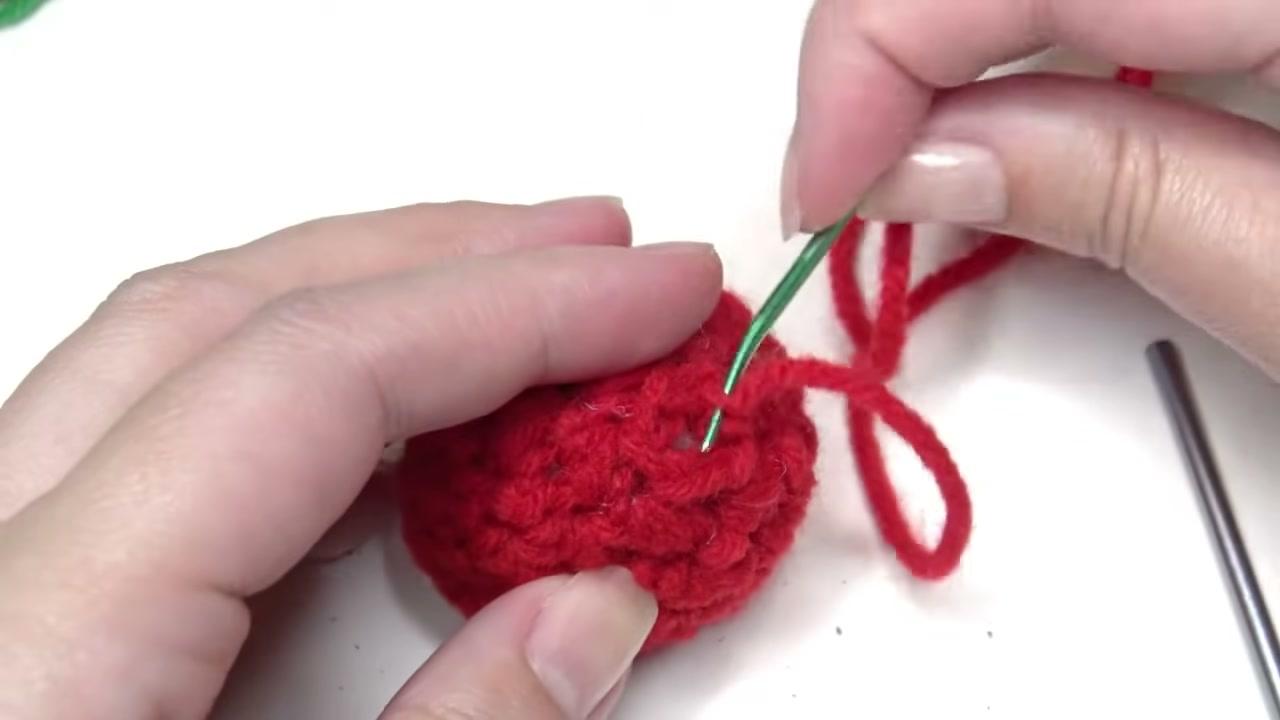
    Slip stitch into the next stitch, fasten off and leave a tail. Thread it on a yarn needle and weave it in and out across the top of the cherry to close the last little gap. Pull it snug and bury the end inside. Make a second cherry the same way, so you have a matching pair.

    Tip:

    Push the needle out the far side and trim close so the end hides inside.

    Back to all steps

  7. Step 7: Chain 22 for the Cherry Stem and Leaf

    Watch this step · 4:22

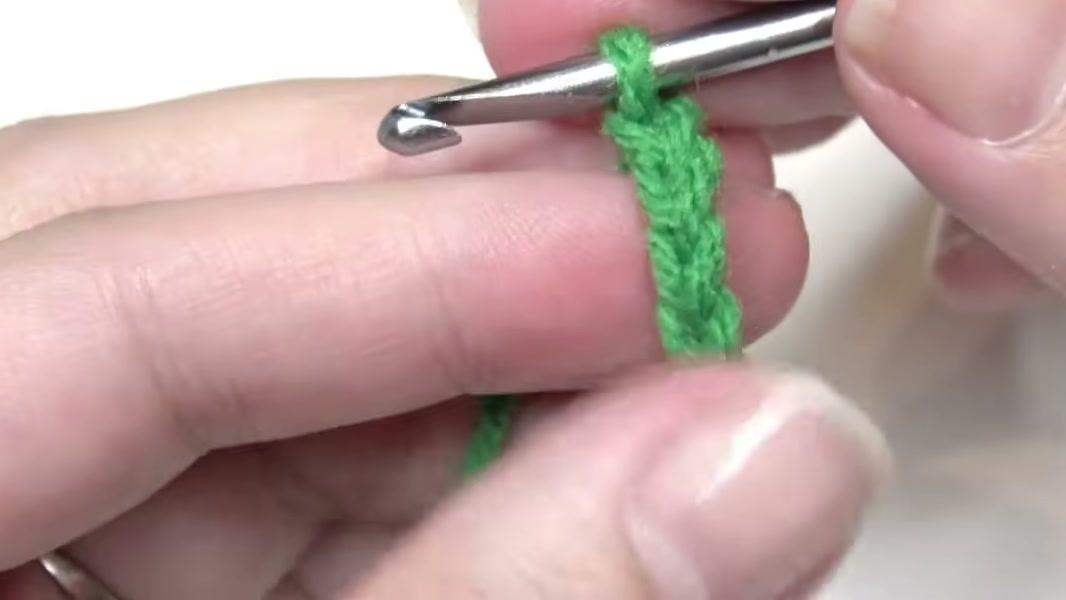
    Switch to green yarn. Make a slip knot on the hook and chain 12. This part becomes the stem. Then chain 10 more for the leaf, so you have 22 chains in all. Keep the chains loose and even, because the leaf gets worked back into the last 10 of them and tight chains are hard to work into.

    Tip:

    Leave a long starting tail. It sews the stem to the cherry later.

    Back to all steps

  8. Step 8: Crochet the Cherry Leaf Down One Side and Back Up

    Watch this step · 6:24

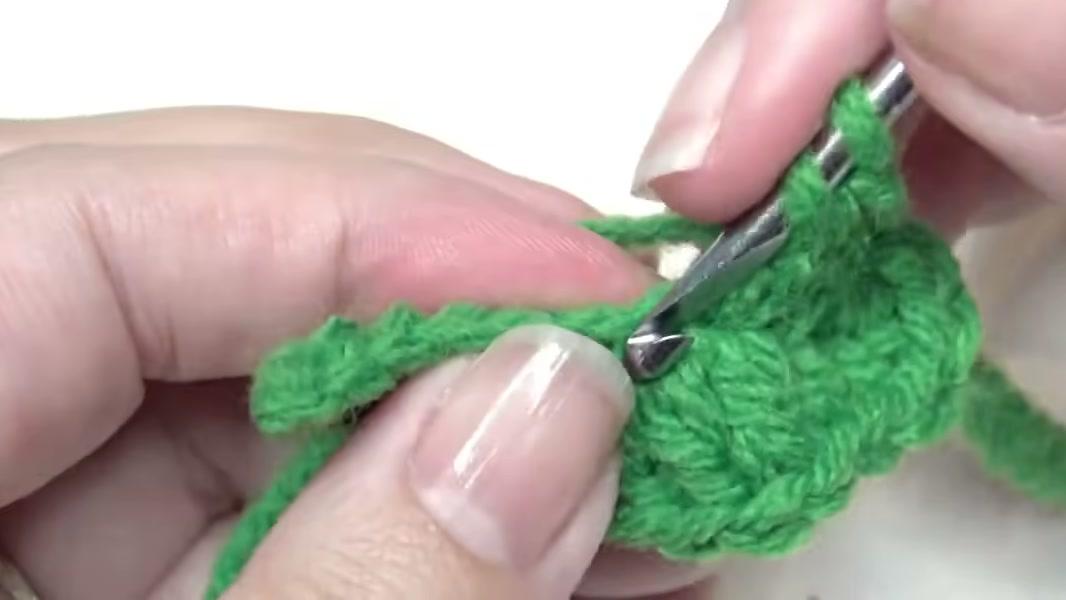
    Skip the first chain. Slip stitch, sc, hdc, dc, 2 dc, 2 dc, dc, hdc, then 3 sc in the next chain to turn the tip. Work back up the other side: hdc, dc, 2 dc, 2 dc, dc, hdc, sc and a slip stitch. The taller stitches in the middle give the leaf its oval shape. Fasten off and make a second stem and leaf.

    Tip:

    The 3 sc at the far end turns the corner and makes the leaf tip.

    Back to all steps

  9. Step 9: Sew the Two Cherry Leaves Together at the Base

    Watch this step · 7:17

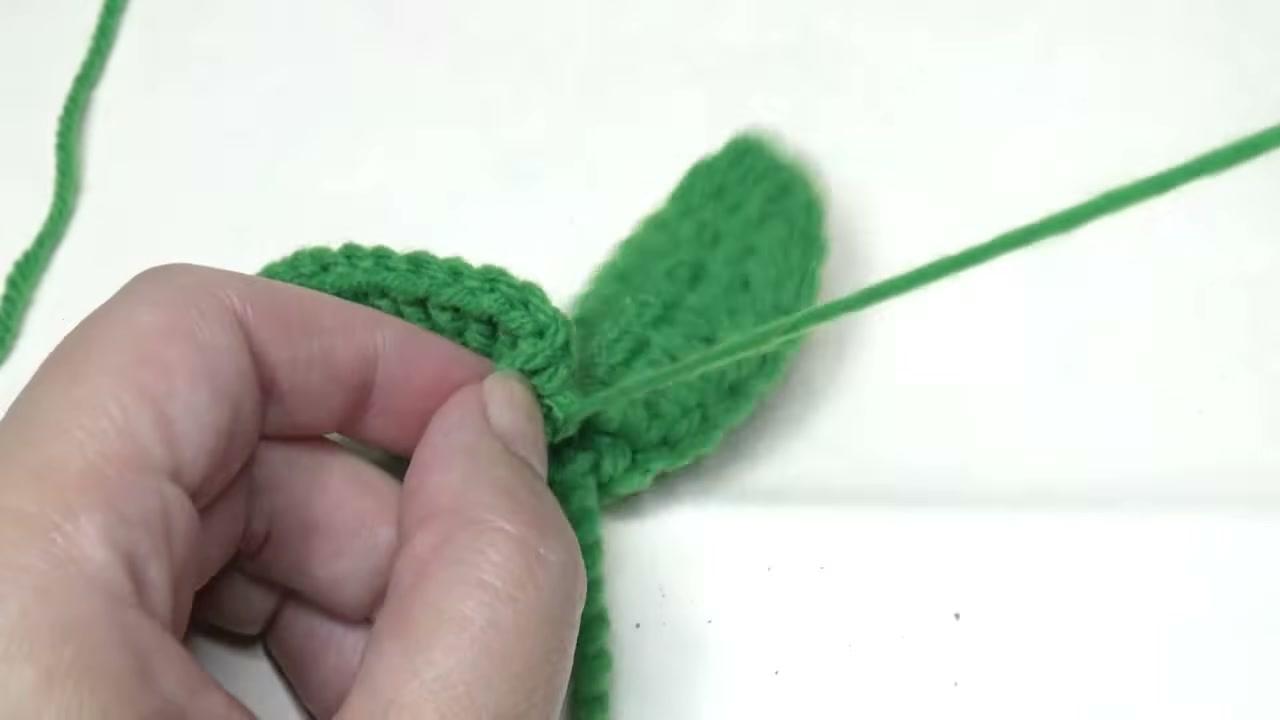
    Lay the two leaves side by side so their stems hang down. Thread a yarn needle with one of the green tails and sew through both leaves where they meet at the base. Go back and forth a few times in the back so the join is firm. This joint holds the whole charm, so make it strong.

    Tip:

    Angle the leaves in a slight V. It looks more natural than a flat line.

    Back to all steps

  10. Step 10: Sew the Stem Tail Into the Top of Each Cherry

    Watch this step · 7:52

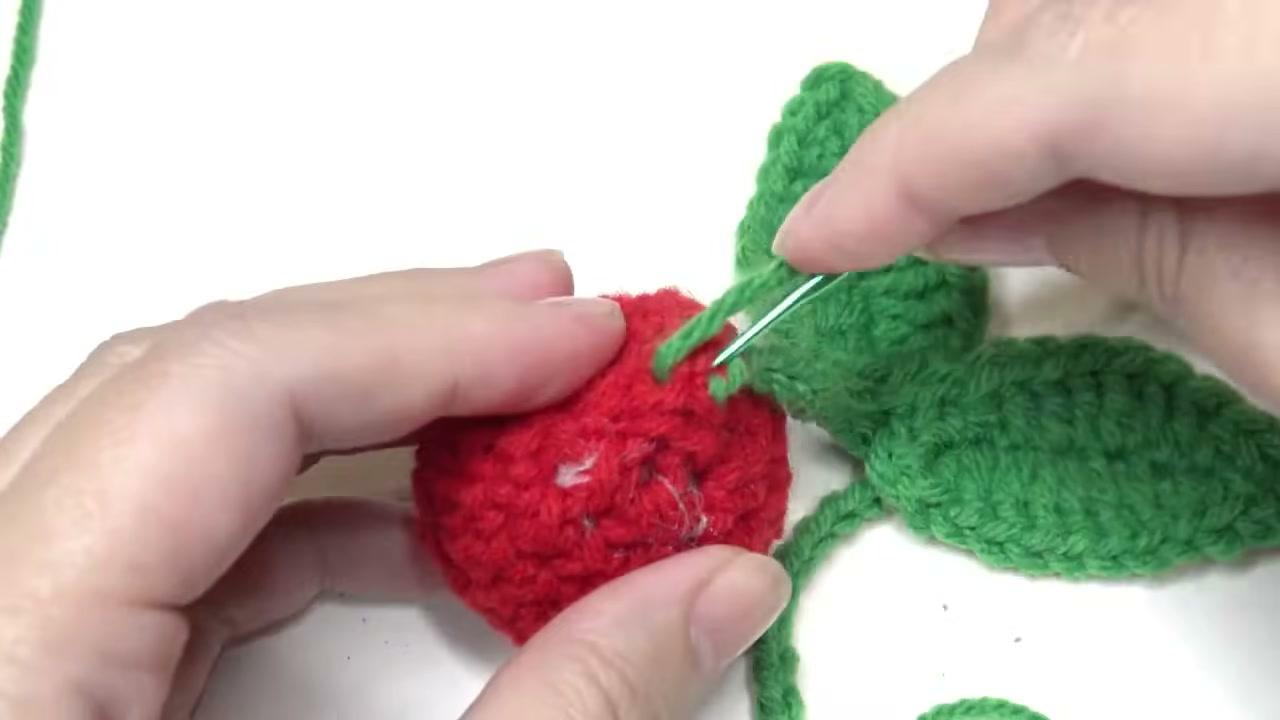
    Take the tail at the end of one stem and thread it on the needle. Push it into the top of a cherry and weave it through three or four times so the cherry cannot pull off. Repeat with the other stem and cherry. Slide a keychain ring through the leaf join and your cherry keychain is done.

    Tip:

    Tug each cherry gently to test it before you trim the tails.

    Back to all steps

How to Crochet Front Post Double Crochet (FPdc) for Ribbing

Keep going

How to Crochet Front Post Double Crochet (FPdc) for Ribbing

Keep going with crochet

More on this topic, picked for this cherry keychain.

You reached the last step

Save this project to come back to it

Your ticked steps, the free printable and your other saved makes, together in My Projects. Free, no password.

You tapped Save

Save this project for later

We'll email you a link, no password.

How to Crochet a Cherry Keychain (Easy Amigurumi Cherries)

  • Your saved projects in one list
  • Your ticked steps on any device

Check your inbox for an email from us. Not there? Look in your spam folder.

Free printable

Printable sheet for this project

The bonus is hidden until you sign up.

Free with a free account, no password. Every step above stays open to everyone.

Products Used

The Checklist

How to Crochet a Cherry Keychain (Easy Amigurumi Cherries)

Tools
4
Materials
4
Steps
10
Video
8 min

Tools we recommend

As an Amazon Associate we earn from qualifying purchases. Links on this page may be affiliate links - clicking them and buying doesn't change your price, but helps support Crafting Step by Step.

Tags

The Crafter's Weekly

New crochet tutorials, every Sunday

One short email with the week's best step-by-step guides. Free, no spam, unsubscribe anytime.

Did this work for you?

What's next

Related collections

Curated theme pages that include this tutorial.

Similar tutorials

Hand-picked next reads based on the one you just finished.

Liked this crochet tutorial?

Pick the crafts you want to hear about. One email every Sunday with new step-by-step tutorials. No spam, easy to unsubscribe.

Get more like this in your inbox

Weekly digest. Pick the categories you want. Unsubscribe anytime.

Send me tutorials about

We only email about new tutorials. Easy unsubscribe anytime.