How to Stuff Amigurumi Evenly (No Lumps)

Save it for later. We'll email you a link, no password.

Find it again on your phone or computer, with your finished steps ticked.

You tapped Save

Save this project for later

We'll email you a link, no password.

How to Stuff Amigurumi Evenly (No Lumps)

  • Your saved projects in one list
  • Your ticked steps on any device

Check your inbox for an email from us. Not there? Look in your spam folder.

  • 10 steps
  • 4:28 video
  • Difficulty: Easy
  • About 20 minutes
  • Materials about $1 to $3
  • Crochet

Based on a video by Theresa's Crochet Shop

Opens their YouTube channel

Steps written out by Crafting Step by Step · Published

The finished result: How to Stuff Amigurumi Evenly (No Lumps)
Also in:Fiber Arts

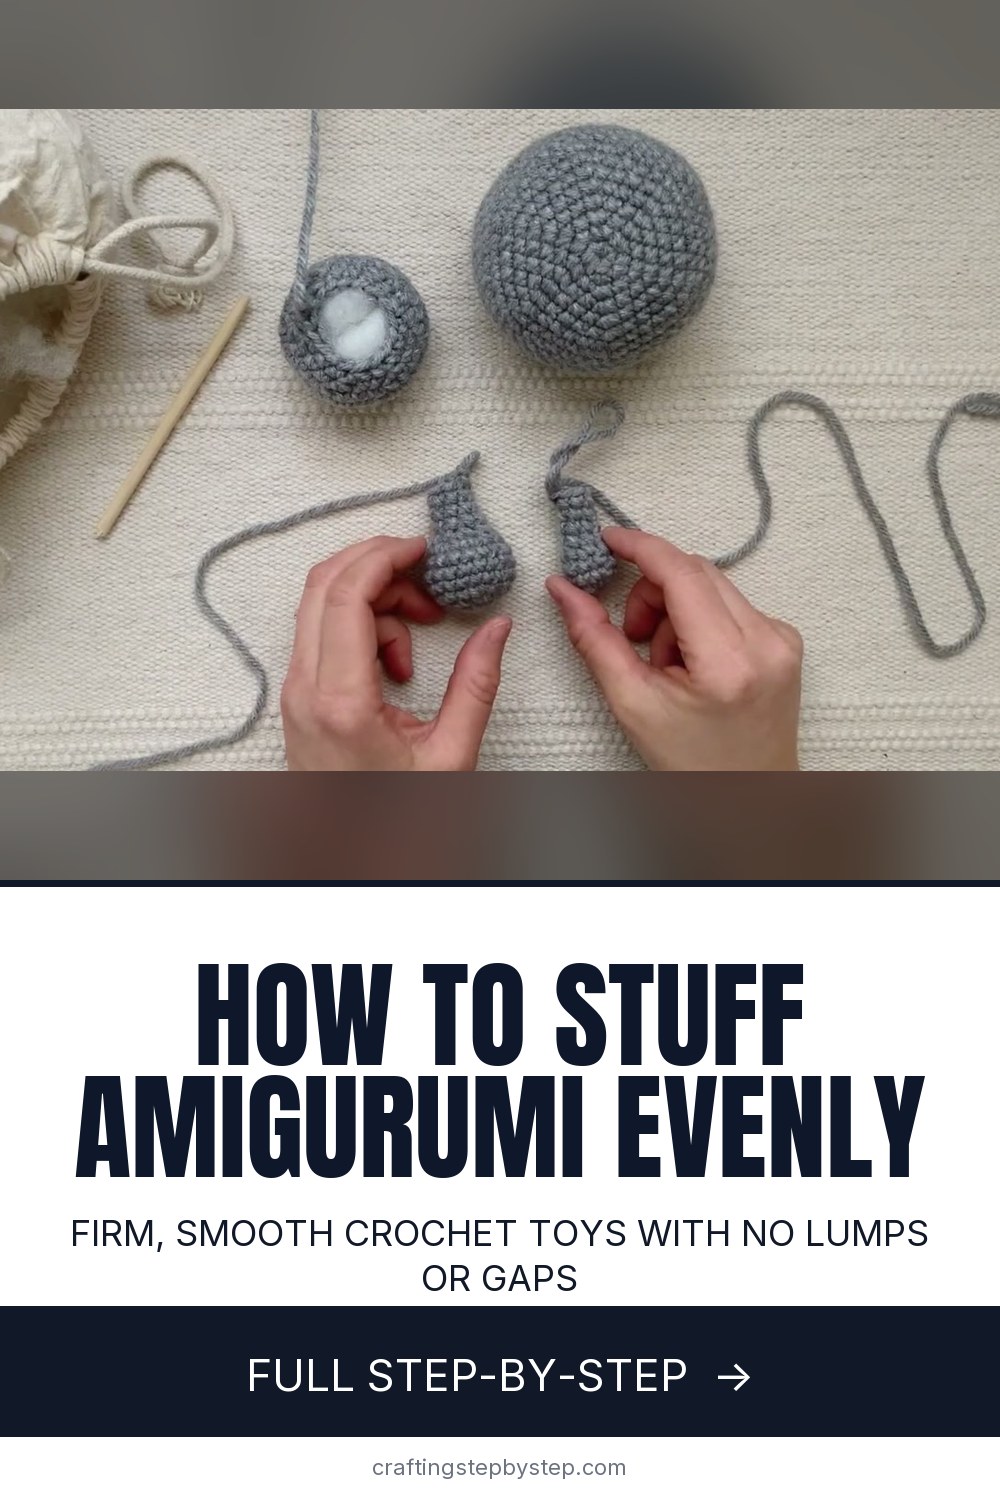
Stuffing decides how a crochet toy looks once it is done. Too little and it sags and wrinkles. Too much and the white fill pokes out between the stitches. Theresa of Theresa's Crochet Shop shows how she stuffs the head, body, arms and legs of a little grey elephant so every piece comes out smooth, firm and the right shape.

How to stuff amigurumi evenly: the short version

  • Pull the fiberfill into small, fluffy tufts before it goes in.
  • Add it a little at a time and push each tuft out to the walls.
  • Squeeze as you go. Firm, but with a little give, is the goal.
  • Fill the edges around the opening last so the shape does not collapse.

Which stuffing to use

Polyester fiberfill is the standard. It is light, washable, cheap and springs back after a squeeze. Theresa buys hers at a craft store, and any big box store or online shop carries it. Cotton and wool fill feel nice but pack down and can go lumpy over time. Skip cotton balls and quilt batting scraps. They bunch up in clumps you can feel through the stitches.

How firm is firm enough?

Press your thumb into the piece. It should push back and fill out again when you let go. If the dent stays, add more. If the stitches stretch open and you can see white, take a little out. Heads and bodies want to be firm so they hold their shape. Ears and flat parts usually get no stuffing at all.

Seeing stuffing through the stitches

Overstuffing is the first suspect, but it is rarely the real cause. Most of the time the hook is too big for the yarn. Go down a hook size, or two, and the fabric tightens up. Amigurumi uses a smaller hook than the yarn label suggests for this reason. Our guide to choosing yarn for amigurumi covers the pairing.

Tools for small pieces

Fingers work while the opening is wide. Once it gets narrow, use a stuffing stick, a chopstick or the eraser end of a pencil. Theresa snaps her stick in half and uses the jagged end. It grips the fill and drags it down instead of poking a hole through it. Long, thin pieces are easier if you stuff them a few rounds at a time as you crochet.

Shaping with stuffing

You do not have to fill every part the same. Stuff the hands and feet firmly and leave the arms and legs light or empty. They bend and sit more naturally, and the toy looks cuter. For a toy that needs to sit up, tie a few spoonfuls of plastic pellets in a scrap of nylon and drop the pouch in the bottom before the fill.

Fixing lumps

Roll the piece between your palms to move the fill around. If a lump will not shift, pull the stuffing back out and start again with smaller tufts. It takes a minute and saves the toy.

Before you close it up

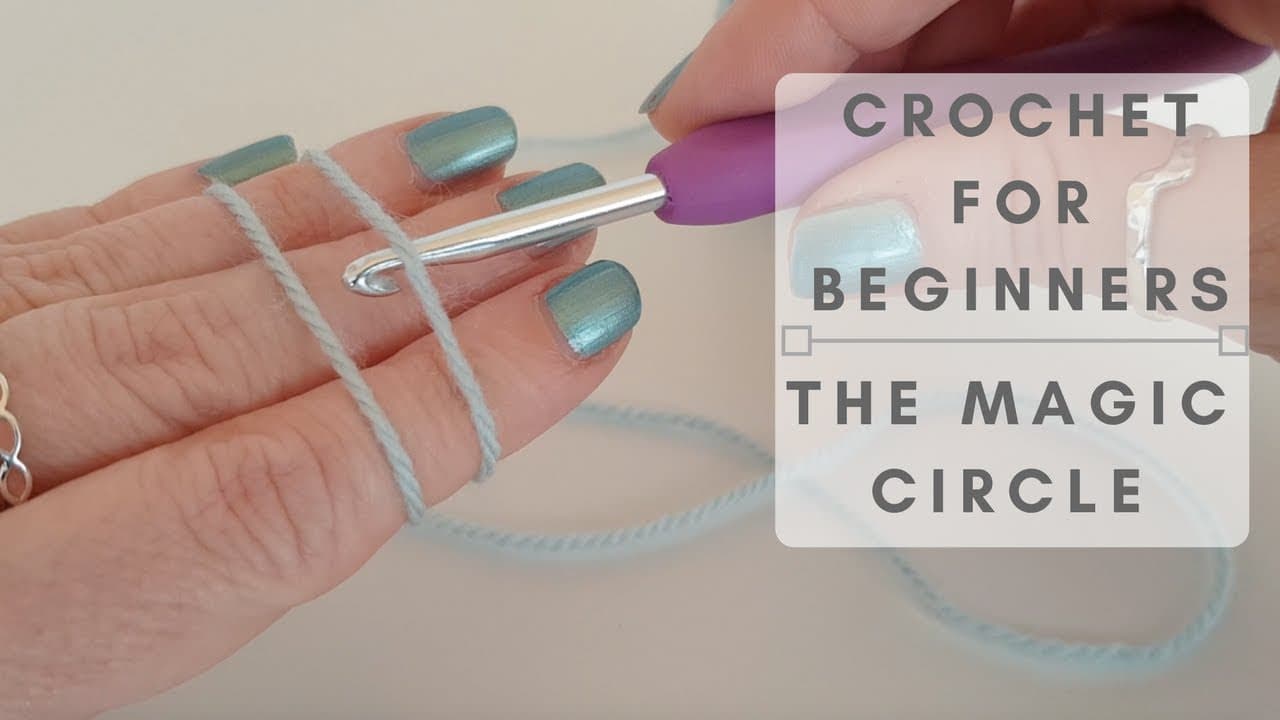
Fit the safety eyes before the head is full, while you can still reach the backs. Then top up the joins as you sew the pieces together. New to toys? Start with the magic ring and our amigurumi basics.

Free printable

Print the steps and supply list for this project

One page you can take to the table. Free with a free account, no password.

Get the free printable

What you'll need

Free, for this project

Get this checklist by email

  • All 3 tools and materials, with tick boxes
  • A link to print all 10 steps on paper, to keep by you while you craft

No password. The whole tutorial stays free on this page.

Quick answer

How to stuff amigurumi so it comes out firm and smooth: small tufts, the squeeze test, a stuffing stick for arms and legs, and fixing lumps. An easy project: about 20 minutes. Materials cost about $1 to $3. You need 3 things, including polyester fiberfill, crocheted amigurumi pieces and stuffing stick or chopstick. The 10 steps start with pull the Amigurumi Stuffing Into Small Tufts and push the Stuffing Into the Amigurumi Head With Your Fingers.

Step-by-step guide

10 steps, about 4 minutes. Tap a picture to jump to that step. Your progress saves automatically.

Tick each step off as you go.

  1. Step 1: Pull the Amigurumi Stuffing Into Small Tufts

    Watch this step · 0:29

    Do not wad the fiberfill into a ball and shove it in. Pull a handful apart into small, loose tufts first. Theresa tears each clump open with both hands until it is light and fluffy. Small pieces spread out inside the crochet and fill the shape evenly. A big wad stays a big wad, and you will feel it as a hard lump through the stitches.

    Tip:

    Tease out a pile of tufts before you start so you can keep a steady rhythm.

    Back to all steps

  2. Step 2: Push the Stuffing Into the Amigurumi Head With Your Fingers

    Watch this step · 0:38

    While the opening at the bottom of the head is still wide, your fingers are the best tool. Feed one tuft in at a time and press it up into the top of the head. Work around the inside so the fill reaches every wall. Keep adding tufts and pressing. The head starts to round out and the stitches begin to stand up.

    Tip:

    Stuff the head before the last few decrease rounds, while the hole is big enough for two fingers.

    Back to all steps

  3. Step 3: Keep the Fiberfill Loose So the Amigurumi Stays Smooth

    Watch this step · 1:01

    Halfway through, it is tempting to grab bigger handfuls. Keep pulling each piece apart before it goes in. Theresa wants the ball firm but not lumpy, and pulling the stuffing apart is what stops those big lumps from forming. The fill should look like a cloud, not a cotton ball, when it goes through the opening.

    Tip:

    If you feel a lump, roll the head between your palms to spread it out.

    Back to all steps

  4. Step 4: Fill the Decreased Edge Around the Amigurumi Opening

    Watch this step · 1:26

    When the head is nearly full, add tufts around the opening and push them out to the edges with your finger. This fills the decreased rounds at the bottom of the head. If you skip it, that part caves in and the head seems to sink into the neck once it is sewn to the body. A finger pressed sideways works better than one pushed straight in.

    Tip:

    Turn the head as you go so you fill the edge all the way around.

    Back to all steps

  5. Step 5: Squeeze the Amigurumi Head to Find Soft Spots

    Watch this step · 1:56

    Hold the head in both hands and squeeze all over. Feel for any side that is squishier than the rest. Theresa finds one and tucks a little more fill along that wall. The head should feel firm and even everywhere, with a little give. It is fine to leave the very bottom slightly under-stuffed. You will top it up when you sew the head on.

    Tip:

    Press with your thumb. A good head pushes back and the dent fills out again.

    Back to all steps

  6. Step 6: Stuff the Amigurumi Body the Same Way

    Watch this step · 2:16

    The body gets the same treatment as the head. Small tufts, fed in a little at a time, pressed out to the walls. Fill it firmly so it holds its shape and supports the head. Leave a small gap at the top. You will add the last bit of stuffing to the top of the body and the bottom of the head as you close the seam between them.

    Tip:

    If white fill shows between stitches, try a smaller hook on your next toy.

    Back to all steps

  7. Step 7: Use a Stuffing Tool for Narrow Amigurumi Pieces

    Watch this step · 3:04

    Arms and legs have openings too small for a finger. Theresa uses the wooden stuffing stick that came in her box of fiberfill, snapped in half. She likes the jagged broken end because it grabs the fill and pushes it into tight spaces. A chopstick or the eraser end of a pencil works too if you do not have a stuffing stick.

    Tip:

    Rough up a smooth chopstick tip with sandpaper so it grips the fiberfill.

    Back to all steps

  8. Step 8: Push the Stuffing Down to the Hand End of the Amigurumi Arm

    Watch this step · 3:28

    Pick up a small tuft with the stick and push it down through the arm, all the way to the round hand at the end. Add a few more tufts and pack them into the hand until it feels firm. Keep the tufts small here. A narrow tube jams easily, and a jammed tuft is hard to get back out.

    Tip:

    Twist the stick a little as you push. The fill slides down more easily.

    Back to all steps

  9. Step 9: Leave the Amigurumi Arm Lightly Stuffed for Shape

    Watch this step · 3:58

    Once the hand is firm, stop. Theresa leaves the rest of the arm empty. The plump hand and the soft, flat arm give the elephant that cute, floppy shape. An arm stuffed all the way up turns into a stiff tube that sticks straight out. This is a style choice, so stuff more if your pattern calls for straight arms.

    Tip:

    Empty arms are also easier to sew flat against the body.

    Back to all steps

  10. Step 10: Stuff the Amigurumi Leg With a Firm Foot

    Watch this step · 4:14

    The legs work the same way. Push tufts through the leg to the foot and pack the foot firmly. Then add only a wisp of fill in the leg itself, enough to give it a little shape. Compare the two legs side by side as you go so they match. A firm foot also helps the toy stand or sit steady.

    Tip:

    Count the tufts you use in the first leg and use the same number in the second.

    Back to all steps

How to Choose Yarn for Amigurumi

Keep going

How to Choose Yarn for Amigurumi

You reached the last step

Save this project to come back to it

Your ticked steps, the free printable and your other saved makes, together in My Projects. Free, no password.

You tapped Save

Save this project for later

We'll email you a link, no password.

How to Stuff Amigurumi Evenly (No Lumps)

  • Your saved projects in one list
  • Your ticked steps on any device

Check your inbox for an email from us. Not there? Look in your spam folder.

Free printable

Printable sheet for this project

The bonus is hidden until you sign up.

Free with a free account, no password. Every step above stays open to everyone.

Products Used

The Checklist

How to Stuff Amigurumi Evenly (No Lumps)

Tools
1
Materials
2
Steps
10
Video
4 min

Tools we recommend

As an Amazon Associate we earn from qualifying purchases. Links on this page may be affiliate links - clicking them and buying doesn't change your price, but helps support Crafting Step by Step.

Tags

Free printable

Get the Crochet Cheat Sheet

Every basic stitch on one printable page. No spam, one-click unsubscribe.

Did this work for you?

What's next

Related collections

Curated theme pages that include this tutorial.

Similar tutorials

Hand-picked next reads based on the one you just finished.

Liked this crochet tutorial?

Pick the crafts you want to hear about. One email every Sunday with new step-by-step tutorials. No spam, easy to unsubscribe.

Get more like this in your inbox

Weekly digest. Pick the categories you want. Unsubscribe anytime.

Send me tutorials about

We only email about new tutorials. Easy unsubscribe anytime.