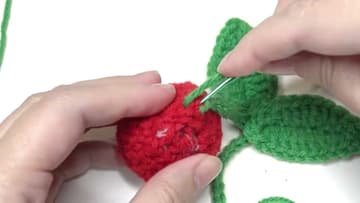
How to Crochet a Cherry Keychain (Easy Amigurumi Cherries)
Source: Crochet Jewel • Full tutorial: www.craftingstepbystep.com/crochet/how-to-crochet-a-cherry-keychain
- Difficulty
- Easy
- Hands-on time
- About 1 hour
- Cost
- About $1 to $4
- Makes
- 1 cherry keychain

Tools
- 3.5mm (E) crochet hook
- yarn needle
- stitch marker
- scissors
Materials
- red medium worsted yarn
- green medium worsted yarn
- polyester fiberfill
- keychain ring or lobster clasp
Steps
1. Work Six Single Crochet Into the Cherry Magic Ring
Start with red yarn. Wrap it around your fingers to make a magic ring, insert the hook, pull up a loop and chain 1.
Tip: Not sure about the magic ring? Chain 2 and work the 6 stitches into the first chain.
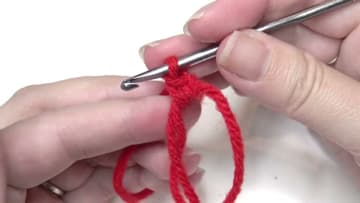
2. Pull the Magic Ring Closed on the Crochet Cherry
Hold the stitches and pull the yarn tail firmly. The ring cinches shut into a small solid circle with no hole in the middle.
Tip: Pull the tail again after round 2 to close any gap that opens.
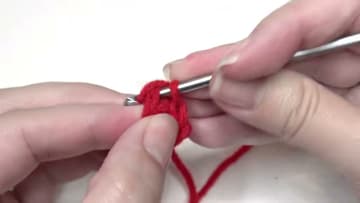
3. Work the Crochet Cherry Increase Rounds
Round 2: work 2 single crochet in every stitch for 12. Clip a stitch marker into the first stitch so you know where each round starts.
Tip: Move the marker up into the first stitch of every new round.
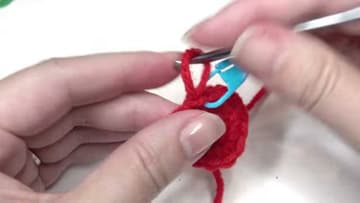
4. Crochet Four Even Rounds to Shape the Cherry
Now work 1 single crochet in every stitch, no increases, for four full rounds. You keep 18 stitches each time.
Tip: The outside of the cup is the right side. Keep it facing out.
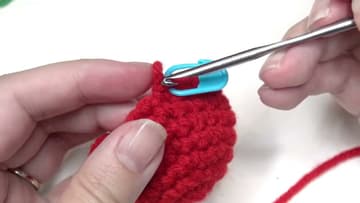
5. Stuff the Crochet Cherry and Start the Decreases
Round 8: single crochet in one stitch, then a decrease over the next two. To decrease, pull up a loop in each of two stitches and yarn over through all three loops.
Tip: Stuff before the hole gets too small. A pencil end helps push it in.
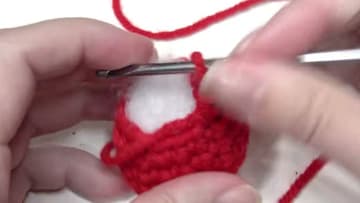
6. Close the Cherry and Weave In the Red Yarn Tail
Slip stitch into the next stitch, fasten off and leave a tail. Thread it on a yarn needle and weave it in and out across the top of the cherry to close the last little gap.
Tip: Push the needle out the far side and trim close so the end hides inside.
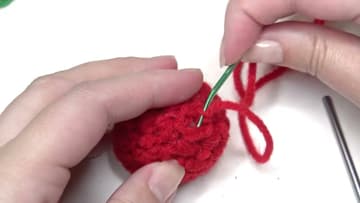
7. Chain 22 for the Cherry Stem and Leaf
Switch to green yarn. Make a slip knot on the hook and chain 12.
Tip: Leave a long starting tail. It sews the stem to the cherry later.
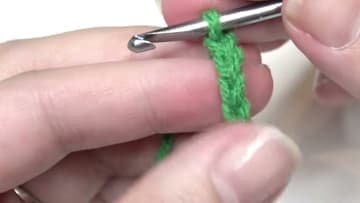
8. Crochet the Cherry Leaf Down One Side and Back Up
Skip the first chain. Slip stitch, sc, hdc, dc, 2 dc, 2 dc, dc, hdc, then 3 sc in the next chain to turn the tip.
Tip: The 3 sc at the far end turns the corner and makes the leaf tip.
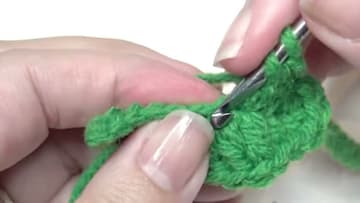
9. Sew the Two Cherry Leaves Together at the Base
Lay the two leaves side by side so their stems hang down. Thread a yarn needle with one of the green tails and sew through both leaves where they meet at the base.
Tip: Angle the leaves in a slight V. It looks more natural than a flat line.
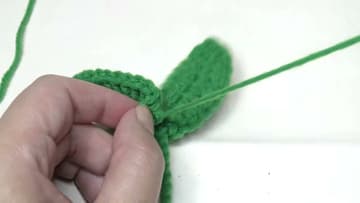
10. Sew the Stem Tail Into the Top of Each Cherry
Take the tail at the end of one stem and thread it on the needle. Push it into the top of a cherry and weave it through three or four times so the cherry cannot pull off.
Tip: Tug each cherry gently to test it before you trim the tails.