How to Crochet Front Post Double Crochet (FPdc) for Ribbing

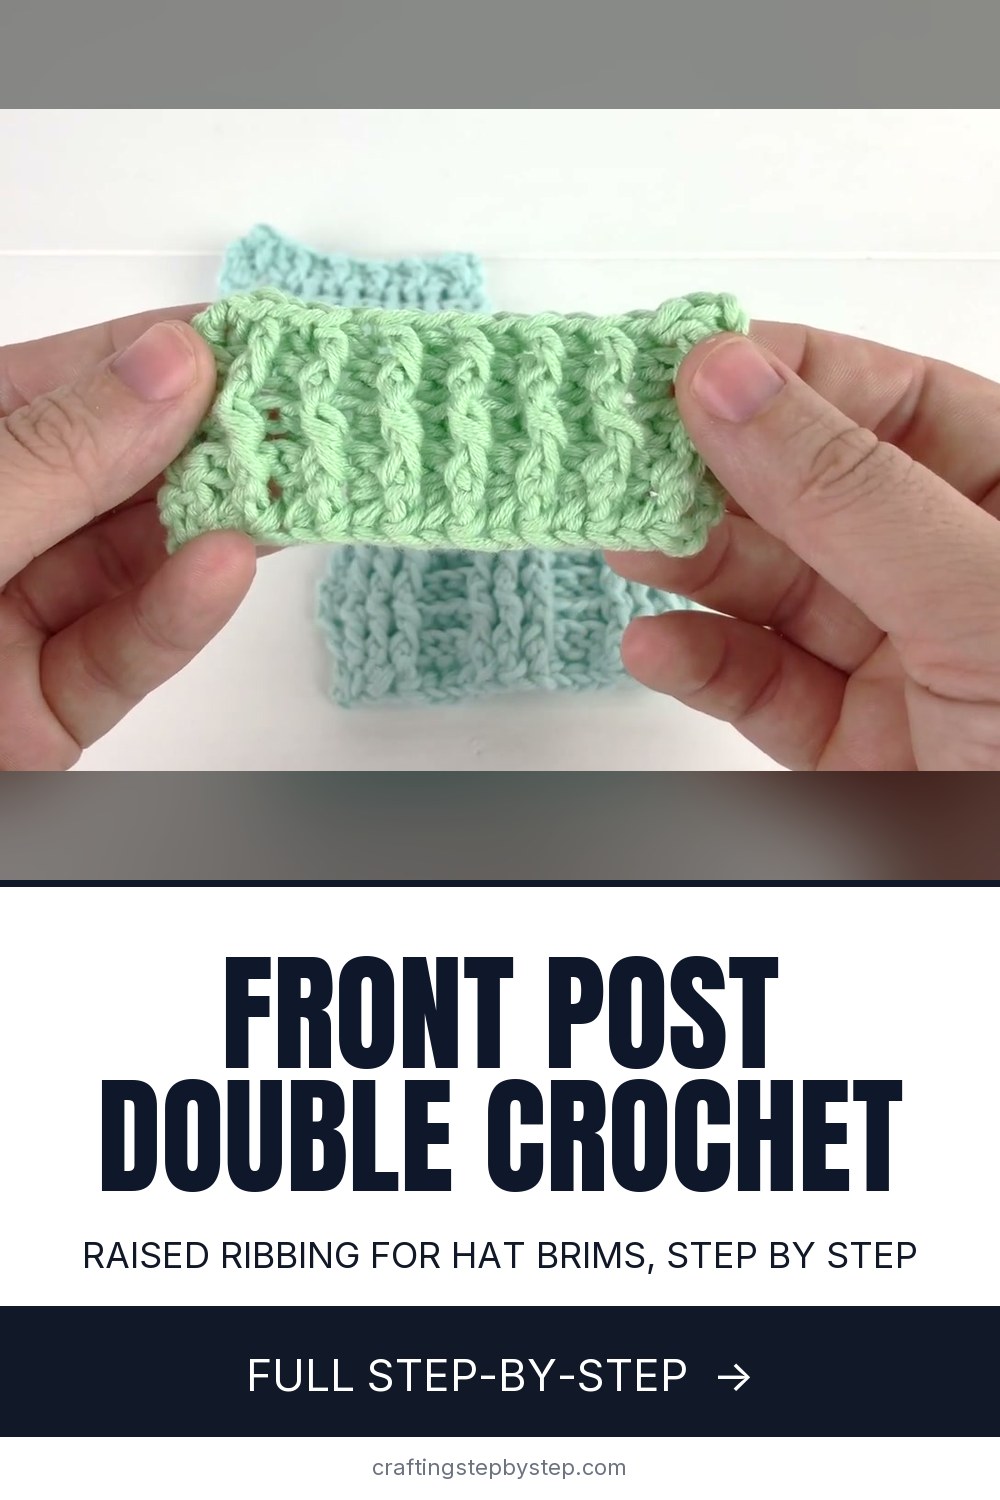
The finished result: How to Crochet Front Post Double Crochet (FPdc) for Ribbing
  • Difficulty: Easy
  • About 30 minutes
  • 9 steps

You tapped Save

Save this project for later

We'll email you a link, no password.

How to Crochet Front Post Double Crochet (FPdc) for Ribbing

  • Your saved projects in one list
  • Your ticked steps on any device

Check your inbox for an email from us. Not there? Look in your spam folder.

Print

Steps written out by Crafting Step by Step from Winding Road Crochet's video (opens YouTube) (6:22). Published .

Front post double crochet, written FPdc in patterns, gives crochet that raised, ridged look you see on hat brims, cuffs and textured blankets. The stitch is a regular double crochet. The only change is where the hook goes. You wrap it around the post of the stitch below instead of through the top loops. Lindsey of Winding Road Crochet shows it on a small cotton swatch, then adds the back post version so you can see the two side by side.

What the post of a stitch is

Every double crochet has a top, the two loops shaped like a sideways V, and a post, the tall column of yarn that runs down from the top to the row below. Normal stitches go into the top. Post stitches go around the column instead, which pulls that column forward or back. That pull is what makes the ridge.

Front post vs back post double crochet

StitchPattern saysHook pathResult
Front post double crochetFPdcIn from the front, behind the post, out the frontPost pops toward you
Back post double crochetBPdcIn from the back, in front of the post, out the backPost sinks away from you

Both use the same yarn over, pull up a loop, and two pulls through two loops. Only the way in differs.

Patterns you can make with post stitches

  • 1x1 ribbing: alternate one FPdc and one BPdc. Narrow and stretchy, good for a beanie brim.
  • 3x3 ribbing: three FPdc, then three BPdc. Wide, bold ridges.
  • Basket weave: switch the order every few rows so the blocks trade places.
  • Cables: work a post stitch around a post one or two stitches over, so the columns cross.

Yarn and hook

Lindsey uses a smooth baby cotton with a size G (4 mm) hook. Smooth, light yarn is best while you learn, because you can see each post. Fuzzy or dark yarn hides it. Post stitches eat more yarn than flat rows and the fabric pulls in a little, so a ribbed piece comes out narrower than the same count in plain double crochet.

Common mistakes

  • Working into the top too. The post stitch replaces the stitch behind it. Skip that top, or your count grows by one each time.
  • Pulling the loop tight. Draw the first loop up to the height of the row so the stitch is not short and stiff.
  • Losing the last stitch. The turning chain hides the end. Pop a marker in it and count at the end of each row.
  • Mixing up the sides. On the next row, a ridge that faced you now faces away. Work FPdc around a post that sticks out toward you and BPdc around one that sinks in.

Where to go from here

If double crochet is still new, start with how to double crochet and how to crochet a foundation chain. How to read a crochet pattern covers FPdc, BPdc and the other shorthand. Ribbing is a natural fit for a crochet beanie brim. A quick soak and pin out, covered in how to block crochet, evens out the ridges.

Free printable

Print the steps and supply list for this project

One page you can take to the table. Free with a free account, no password.

Get the free printable

What you'll need

Free, for this project

Get this checklist by email

  • All 5 tools and materials, with tick boxes
  • A link to print all 9 steps on paper, to keep by you while you craft

No password. The whole tutorial stays free on this page.

Quick answer

Learn front post double crochet step by step, then add back post stitches for raised ribbing. An easy project: about 30 minutes. Materials cost about $5 to $10. You need 5 things, including crochet hook size G, yarn needle and scissors. The 9 steps start with crochet a Foundation Row of Double Crochet Stitches, work a Regular Double Crochet as the First Stitch of Row Two and find the Post of the Next Double Crochet Stitch.

Step-by-step guide

9 steps, about 6 minutes. Tap a picture to jump to that step. Your progress saves automatically.

Tick each step off as you go.

  1. Step 1: Crochet a Foundation Row of Double Crochet Stitches

    Watch this step · 1:02

    Post stitches need posts to work around, so you start with a row of regular double crochet. Lindsey chains 12, works a double crochet in the third chain from the hook, then one in every chain across. That gives you a short practice strip. Chain 2 and turn your work to start row two. A smooth, light yarn makes the posts easy to see.

    Tip:

    A small practice swatch of 10 to 12 stitches is plenty. You can rip it out and try again fast.

    Back to all steps

  2. Step 2: Work a Regular Double Crochet as the First Stitch of Row Two

    Watch this step · 1:42

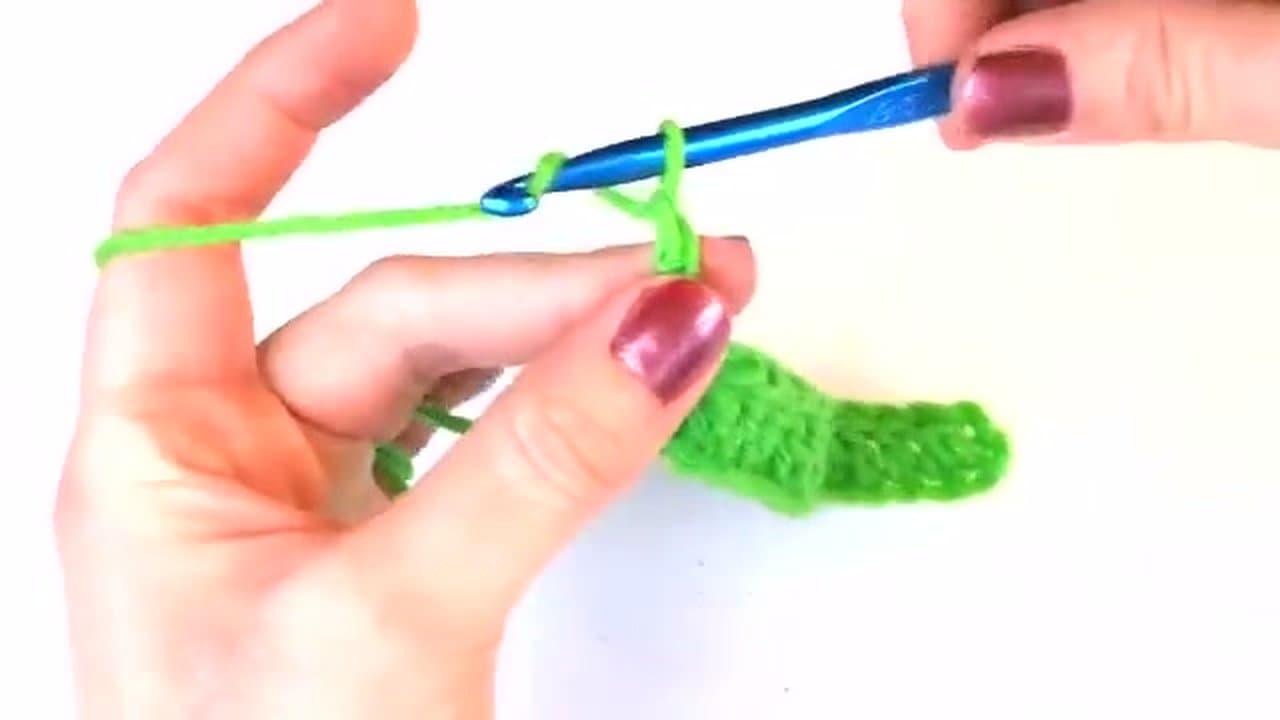
    Make the first stitch of row two a normal double crochet. Yarn over and put the hook under both top loops of the stitch. Yarn over and pull up a loop, so you have three loops on the hook. Yarn over and pull through two, then yarn over and pull through the last two. This edge stitch keeps the side of the swatch straight.

    Tip:

    Many patterns work the first and last stitch of a post row as plain double crochet for a neater edge.

    Back to all steps

  3. Step 3: Find the Post of the Next Double Crochet Stitch

    Watch this step · 2:04

    Look at the next stitch along. The two loops on top are where you would normally go. Below them, the tall column of yarn running down to the row before is the post. The arrows in Lindsey's video trace the path around it. For a front post double crochet the hook goes in from the front, behind that column and back out to the front.

    Tip:

    Tilt the swatch toward the light. The gaps on either side of each post are easier to spot.

    Back to all steps

  4. Step 4: Insert the Crochet Hook Around the Front of the Post

    Watch this step · 2:20

    Yarn over first, the same as any double crochet. Push the hook into the gap on the right of the post from the front. Bring it behind the post and out through the gap on the left, so the hook sits on the front of your work with the post lying across it. You are not going under the top loops at all this time.

    Tip:

    If the hook will not slide behind the post, your previous row is tight. Go up a hook size for the foundation row next time.

    Back to all steps

  5. Step 5: Pull Up a Loop Around the Post for Three Loops on the Hook

    Watch this step · 2:30

    Yarn over and draw the yarn back around the post and toward you. You now have three loops on the hook. Pull that new loop up to about the height of the row you are working. A loop that stays low makes a short, stiff stitch that pulls the fabric out of shape.

    Tip:

    Lift the hook slightly as you pull through so the loop does not snag on the post.

    Back to all steps

  6. Step 6: Finish the Front Post Double Crochet by Pulling Through Two Loops Twice

    Watch this step · 2:41

    Yarn over and pull through the first two loops on the hook. Yarn over again and pull through the last two. That is one front post double crochet. Look at the swatch from the front. The post you wrapped now bulges toward you, standing proud of the stitches on either side. That ridge is the whole point of the stitch.

    Tip:

    Skip the top of the stitch you wrapped. The post stitch takes its place in the row.

    Back to all steps

  7. Step 7: Repeat the Front Post Double Crochet Around the Next Post

    Watch this step · 3:16

    Work two more the same way. Yarn over, hook in from the front, behind the next post and out the front. Yarn over and pull up a loop, then pull through two loops twice. After three you can see a raised band of three columns. Lindsey stops at three so she can switch to the back post stitch and show the contrast.

    Tip:

    Count as you go. It is easy to wrap the same post twice by accident.

    Back to all steps

  8. Step 8: Make a Back Post Double Crochet From the Back of the Work

    Watch this step · 3:48

    A back post double crochet is the mirror move. Yarn over and insert the hook from the back, in front of the post and out the back again. Finish it like a normal double crochet. This time the post sinks away from you. Work three, then go back to one front post stitch to see a ridge, then a dip, then a ridge.

    Tip:

    Patterns write this stitch as BPdc. Some lefty videos show it reversed, so follow the direction of the post, not the hand.

    Back to all steps

  9. Step 9: Check the Raised Ribbing Made by Front and Back Post Stitches

    Watch this step · 5:37

    Keep alternating three front post and three back post stitches across a few rows, and the swatch turns into wide, stretchy ribbing like this one. Work one of each for a thinner rib suited to a hat brim. Weave in the tails with a yarn needle when you finish. Ribbing relaxes and evens out after a soak and a gentle press.

    Tip:

    On a wrong-side row, work FPdc around posts that stick out toward you so the ribs line up.

    Back to all steps

How to Crochet a Snowman Ornament

Keep going

How to Crochet a Snowman Ornament

Keep going with crochet

More on this topic, picked for this project.

You reached the last step

Save this project to come back to it

Your ticked steps, the free printable and your other saved makes, together in My Projects. Free, no password.

You tapped Save

Save this project for later

We'll email you a link, no password.

How to Crochet Front Post Double Crochet (FPdc) for Ribbing

  • Your saved projects in one list
  • Your ticked steps on any device

Check your inbox for an email from us. Not there? Look in your spam folder.

Free printable

Printable sheet and shopping list for this project

The bonus is hidden until you sign up.

Free with a free account, no password. Every step above stays open to everyone.

Products Used

The Checklist

How to Crochet Front Post Double Crochet (FPdc) for Ribbing

Tools
4
Materials
1
Steps
9
Video
6 min

Tools we recommend

As an Amazon Associate we earn from qualifying purchases. Links on this page may be affiliate links - clicking them and buying doesn't change your price, but helps support Crafting Step by Step.

Tags

The Crafter's Weekly

New crochet tutorials, every Sunday

One short email with the week's best step-by-step guides. Free, no spam, unsubscribe anytime.

Did this work for you?

What's next

Related collections

Curated theme pages that include this tutorial.

Similar tutorials

Hand-picked next reads based on the one you just finished.

Liked this crochet tutorial?

Pick the crafts you want to hear about. One email every Sunday with new step-by-step tutorials. No spam, easy to unsubscribe.

Get more like this in your inbox

Weekly digest. Pick the categories you want. Unsubscribe anytime.

Send me tutorials about

We only email about new tutorials. Easy unsubscribe anytime.