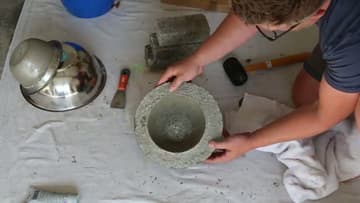
How to Make a Concrete Bowl
Source: So Much Better With Age • Full tutorial: www.craftingstepbystep.com/crafts/how-to-make-a-concrete-bowl
- Difficulty
- Medium
- Hands-on time
- About 40 minutes
- Wait time
- 36 hours
- Cost
- About $8 to $15
- Makes
- 1 concrete bowl
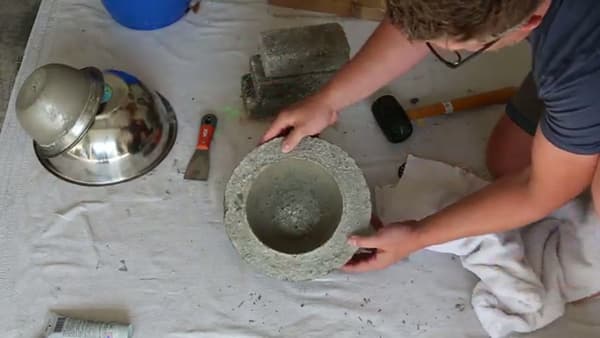
Tools
- mixing bucket
- stir stick
- putty knife or trowel
- rubber mallet
- gloves
- sandpaper
- two nesting metal bowls (large and small)
Materials
- concrete mix
- household grease or petroleum jelly
- two bricks
- scrap board
Steps
1. Gather Your Supplies
Lay everything out before you start, because concrete waits for no one once it's mixed. You need two nesting metal bowls, one large and one small.
Tip: Buy an extra small bowl if you can. If the inner one gets stuck, it's easier to sacrifice a cheap bowl than to fight it out.
2. Measure With Water Displacement
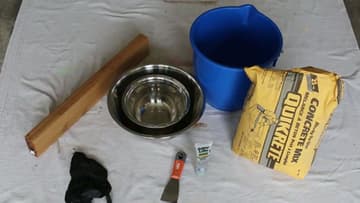
Here's a clever way to figure out how much concrete you need. Fill the large bowl with water, then press the small bowl down into it so the water rises around it.
3. Mix the Concrete
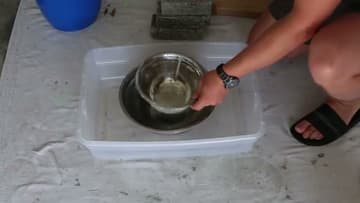
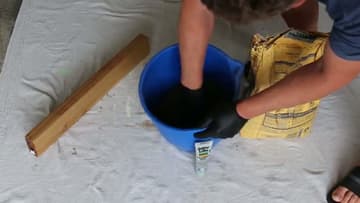
Fill the bucket about three-quarters full with concrete mix, then add water and stir. You're aiming for a cake-batter consistency, thick enough to hold its shape but loose enough to pour and settle.
Tip: Wear gloves and mix in a ventilated spot. Wet concrete is caustic and the dust isn't kind to your lungs.
4. Grease Both Bowls
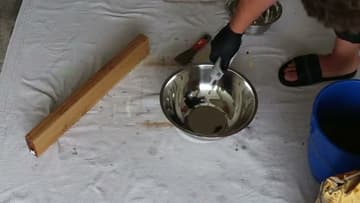
Coat the inside of the large bowl and the outside of the small bowl with grease. This is your release layer, and it's the difference between a bowl that pops out clean and one that's stuck for good.
Tip: Cooking spray works in a pinch, but a thicker grease gives you more insurance against sticking.
5. Pour and Level the Concrete
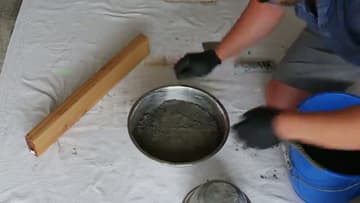
Pour the mixed concrete into the greased large bowl. Even out the top with your putty knife or a trowel so it sits level.
6. Press In the Inner Bowl and Weigh It Down
Push the small greased bowl straight down into the center of the wet concrete. This is what carves out the hollow of your finished bowl.
Tip: The longer you wait, the harder and tougher the concrete gets. Push toward 48 hours if you can be patient.
7. Demold With a Mallet
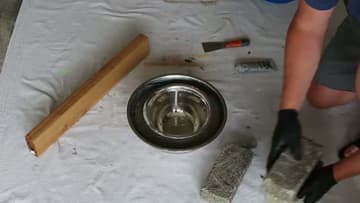
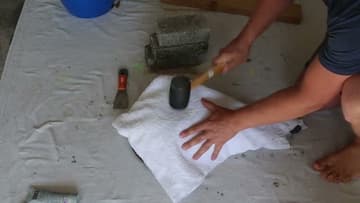
Once it's cured, pull off the bricks and board and flip the whole thing over. Drape a towel over the bottom and tap it with a rubber mallet.
Tip: Go easy. Light, steady taps release the mold. One hard whack can crack a fresh bowl.
8. Finish and Style Your Bowl
Lift out your finished concrete bowl. Run sandpaper over the rim and any rough edges to knock them smooth.
Tip: Want a colored or sealed finish? A coat of concrete sealer deepens the gray and helps it shrug off water rings.