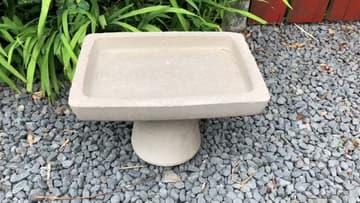
How to Make a Concrete Bird Bath (DIY, Step by Step)
Source: Grow With Kit • Full tutorial: www.craftingstepbystep.com/crafts/how-to-make-a-concrete-bird-bath
- Difficulty
- Medium
- Hands-on time
- About 1 hour
- Wait time
- 48 hours
- Cost
- About $15 to $30
- Makes
- 1 concrete bird bath with pedestal

Tools
- two nesting plastic storage trays (basin mold)
- plastic bucket (pedestal mold)
- cement mixing tub
- concrete scoop or trowel
- rubber work gloves
- dust mask
- wire brush
- sponge
Materials
- multipurpose cement
- sharp or building sand
- water
- WD-40 or silicone mould release
- exterior concrete sealer (optional)
- outdoor masonry paint (optional)
- galvanised wire mesh (optional, for reinforcement)
Steps
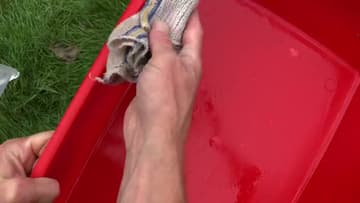
1. Line the Molds
Kit builds the basin from two plastic trays that nest together and the pedestal from an old bucket. Before any concrete goes in, the inside of each mold needs a release coat so the cured pieces come out clean.
Tip: Watch this step Wipe off the excess so it does not pool. You want a film, not a puddle, or it can mark the surface of the concrete.
2. Mix the Concrete
Tip your cement and sand into a big tub and mix it dry first so the color is even. Kit uses one part cement to two parts sand, which came out to six scoops of cement and twelve of sand for a couple of baths.
Tip: Watch this step Wear a dust mask while the cement is dry. The powder is harsh on your lungs, and it only takes a second to put one on.
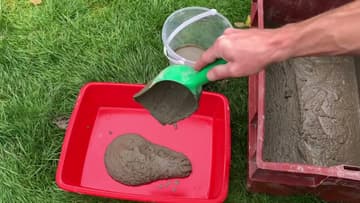
3. Fill the Molds
Start with the pedestal bucket and pack it right to the top. Then load concrete into the larger basin tray, filling it about halfway since the second tray still has to press down into it.
Tip: Watch this step Drop the whole mold flat onto the ground a few times. The jolt shakes trapped air loose better than poking at it.
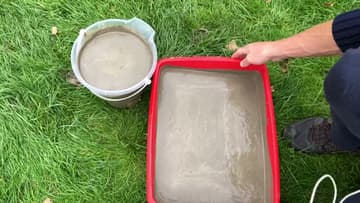
4. Shape the Basin and Weigh It Down
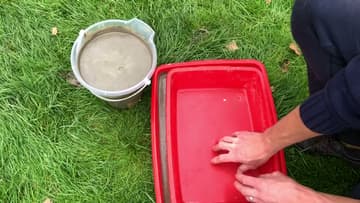
Push the second tray straight down into the half-filled basin mold. It squeezes the concrete up and around the sides, which forms the shallow dish the birds will drink from.
Tip: Watch this step More water in the inner tray means more weight and a flatter, more even dish. Fill it close to the brim.
5. Demold the Pieces
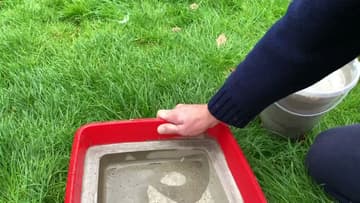
After a couple of days the concrete is hard enough to handle. Tip the water out of the basin, then work your fingers around the rim to break the grip between the plastic and the stone.
Tip: Watch this step If a piece is stubborn, leave it another day. Green concrete chips at the edges, but a fully cured piece pops much more willingly.
6. Smooth the Edges
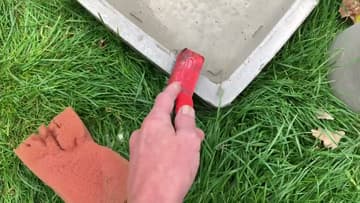
Fresh concrete is still soft enough to shape. Run a wire brush over the rim and down any ridge left by the seam between the two trays, knocking off the gritty high spots until the edges feel kind to the touch.
Tip: Watch this step To weatherproof it for years outside, brush on an exterior concrete sealer once it has fully cured for a week.
7. Set It in the Garden
Rest the basin on top of the pedestal. Its own weight holds it in place, or you can bed it down with a dab of exterior adhesive.
Tip: Watch this step A few pebbles or a flat stone in the dish gives bees and small birds a safe place to perch while they drink.