How to Make a Christmas Centerpiece (Easy Dollar Tree DIY)

The finished result: How to Make a Christmas Centerpiece (Easy Dollar Tree DIY)
  • Difficulty: Easy
  • About 1 hour
  • 10 steps

You tapped Save

Save this project for later

We'll email you a link, no password.

How to Make a Christmas Centerpiece (Easy Dollar Tree DIY)

  • Your saved projects in one list
  • Your ticked steps on any device

Check your inbox for an email from us. Not there? Look in your spam folder.

Print

Steps written out by Crafting Step by Step from Dave's Wreaths and Things' video (opens YouTube) (7:28). Published .

This long, low Christmas centerpiece costs a few dollars and takes about an hour. Dave of Dave's Wreaths and Things builds it from four mini trees from the Dollar Tree, a block of floral foam, one roll of plaid wired ribbon and a handful of red ornaments. He keeps it simple and classic on purpose: green, red and a deconstructed bow, nothing more.

How to make a Christmas centerpiece: the short version

  • Fluff two mini trees and cut the branches off two more.
  • Wrap a piece of floral foam in red felt.
  • Push the whole trees into each end and fill the middle with the cut stems.
  • Pin in ribbon tails and stapled ribbon loops for a bow.
  • Hot glue ornaments in, big ones in the middle, small ones at the ends.

Supplies and what each one does

The mini trees give you the greenery. Two stay whole and make the long tapered ends. The other two turn into loose stems that fill the middle. Dry floral foam (the green kind for silk flowers, not the wet kind for fresh flowers) holds every stem. Red felt hides the foam from the side. Wired ribbon in a 2.5 inch width keeps its loops round. Straight pins hold the ribbon without glue, so you can change it next year. A small stapler is the quickest way to close the ribbon loops.

Sizing it for your table

Four mini trees make a centerpiece about 30 inches long. That suits a standard dining table or a kitchen island. For a round table, use three trees and fan the whole ones out at an angle instead of straight. Keep it under 10 inches tall so people can see each other across the table. It also fits a mantel or the top of a sideboard.

Glue or no glue?

Dave skips glue on the greenery and the big loops. Stems pushed into foam hold well, and the whole piece comes apart if you want to restyle it. If the centerpiece will be moved a lot, or little hands will be near it, add a dab of hot glue to each stem before you push it in. Ornaments do need glue.

Ways to change the look

  • Rustic: burlap ribbon, pinecones and wood bead garland.
  • Elegant: gold and white ribbon with champagne ornaments.
  • Candlelit: leave a gap and set battery candles in glass holders beside it. Never put real flames near artificial greenery.
  • Winter: silver ornaments and a frosted ribbon carry it past New Year.

Common problems

  • The trees wobble. Push the trunk deeper, at least an inch into the foam.
  • Bare foam shows. Add short stems on the sides, angled down.
  • The bow looks flat. Pinch each loop round before you pin it.
  • Ornaments fall off. Glue them to a branch, not to the needles alone.

Want a matching door piece? Make a Christmas wreath or a Christmas garland in the same ribbon. If you prefer a full tied bow, see how to make a bow for a wreath. For autumn, try a Thanksgiving centerpiece with the same foam method.

Free printable

Print the steps and supply list for this project

One page you can take to the table. Free with a free account, no password.

Get the free printable

What you'll need

Free, for this project

Get this checklist by email

  • All 12 tools and materials, with tick boxes
  • A link to print all 10 steps on paper, to keep by you while you craft

No password. The whole tutorial stays free on this page.

Quick answer

Build a classic Christmas table centerpiece from four Dollar Tree mini trees, floral foam, plaid ribbon and red ornaments. An easy project: about 1 hour. Materials cost about $10 to $20. You need 12 things, including 4 mini artificial Christmas trees, dry floral foam block and red felt. The 10 steps start with gather Supplies for a Dollar Tree Christmas Centerpiece, fluff Out Two Mini Christmas Trees for the Centerpiece and cut the Branch Stems Off Two More Mini Christmas Trees.

Step-by-step guide

10 steps, about 7 minutes. Tap a picture to jump to that step. Your progress saves automatically.

Tick each step off as you go.

  1. Step 1: Gather Supplies for a Dollar Tree Christmas Centerpiece

    Watch this step · 1:36
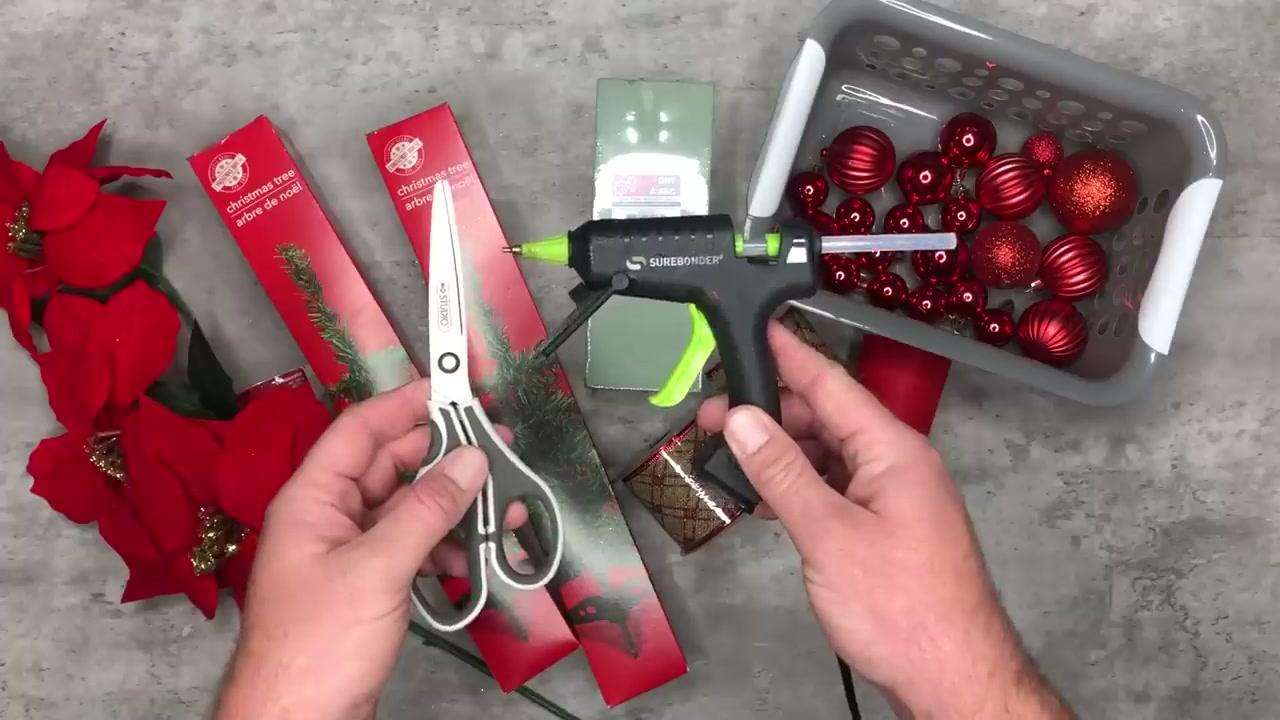
    Lay everything out before you start. You need four mini artificial Christmas trees, a block of dry green floral foam, a 2.5 inch wired ribbon, red ornaments in a few sizes, and a scrap of red felt. Add straight pins, a stapler, scissors, a ruler, wire cutters and a hot glue gun. Most of it comes from the dollar store, so the whole piece stays cheap.

    Tip:

    Pick ornaments in two or three sizes. Mixed sizes look fuller than a matching set.
    Back to all steps

  2. Step 2: Fluff Out Two Mini Christmas Trees for the Centerpiece

    Watch this step · 1:56

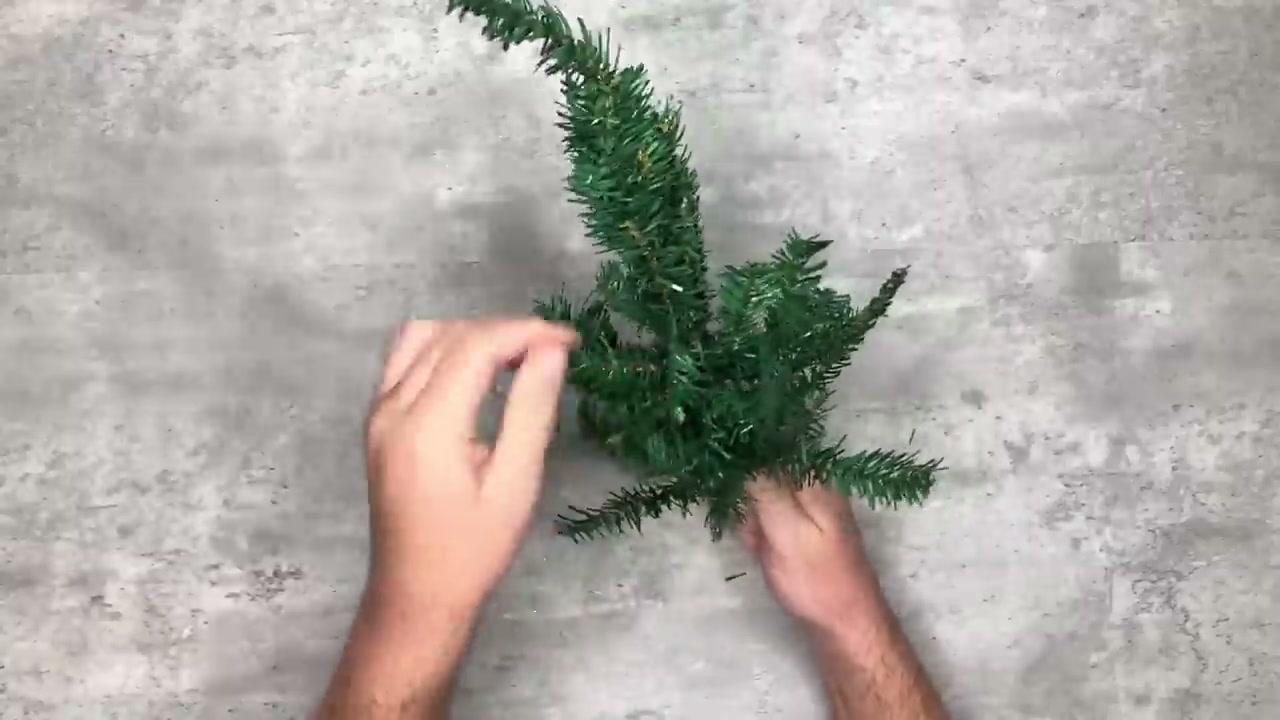
    Take two of the mini trees out of the box and skip the stands. Bend each branch out and away from the trunk, then spread the tips so they look full. Do not take these two apart. They become the long, tapered ends of your centerpiece, so the fuller they are now, the less filling you need later.

    Tip:

    Fluff from the trunk out to the tips, one branch at a time.

    Back to all steps

  3. Step 3: Cut the Branch Stems Off Two More Mini Christmas Trees

    Watch this step · 2:12

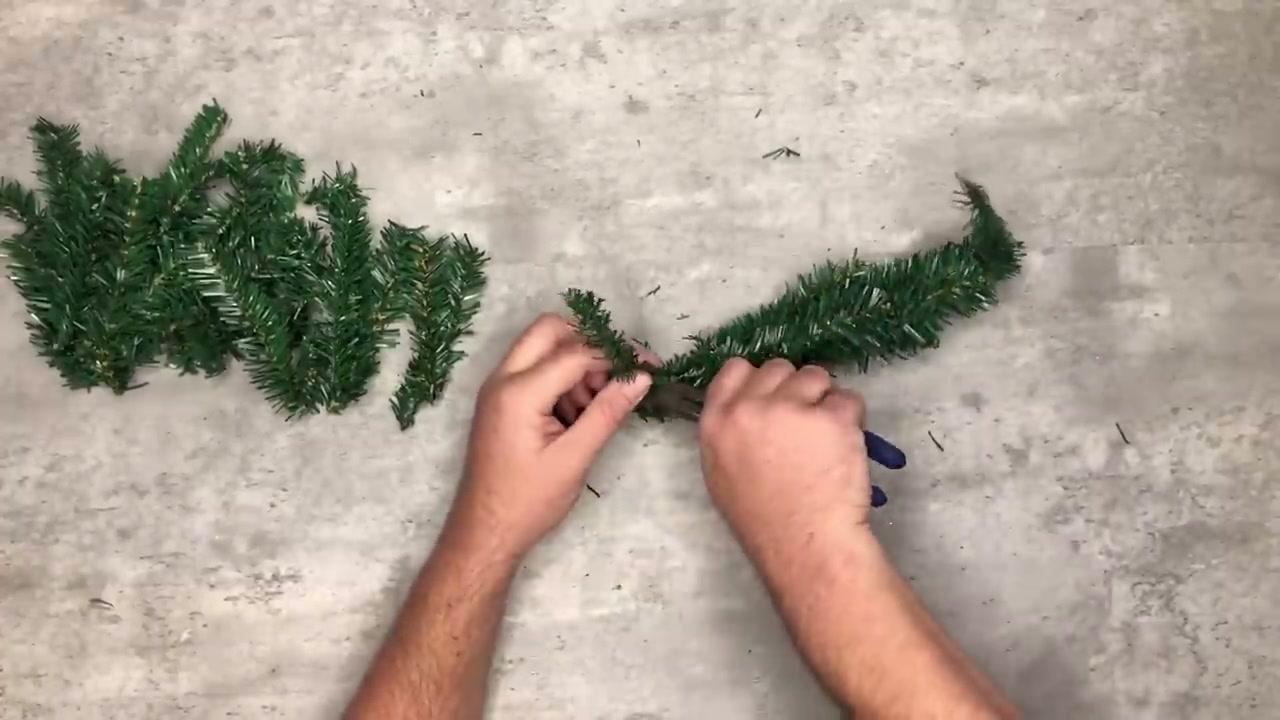
    Take the other two mini trees and cut each branch off at the trunk with wire cutters. Cut at different points so you end up with stems of different lengths. Short ones fill the top, longer ones go on the sides. Fluff each stem as you go and drop them in a tray so they are ready to use.

    Tip:

    Use wire cutters, not your good scissors. The stems have wire inside.

    Back to all steps

  4. Step 4: Wrap the Floral Foam Block in Red Felt

    Watch this step · 2:28

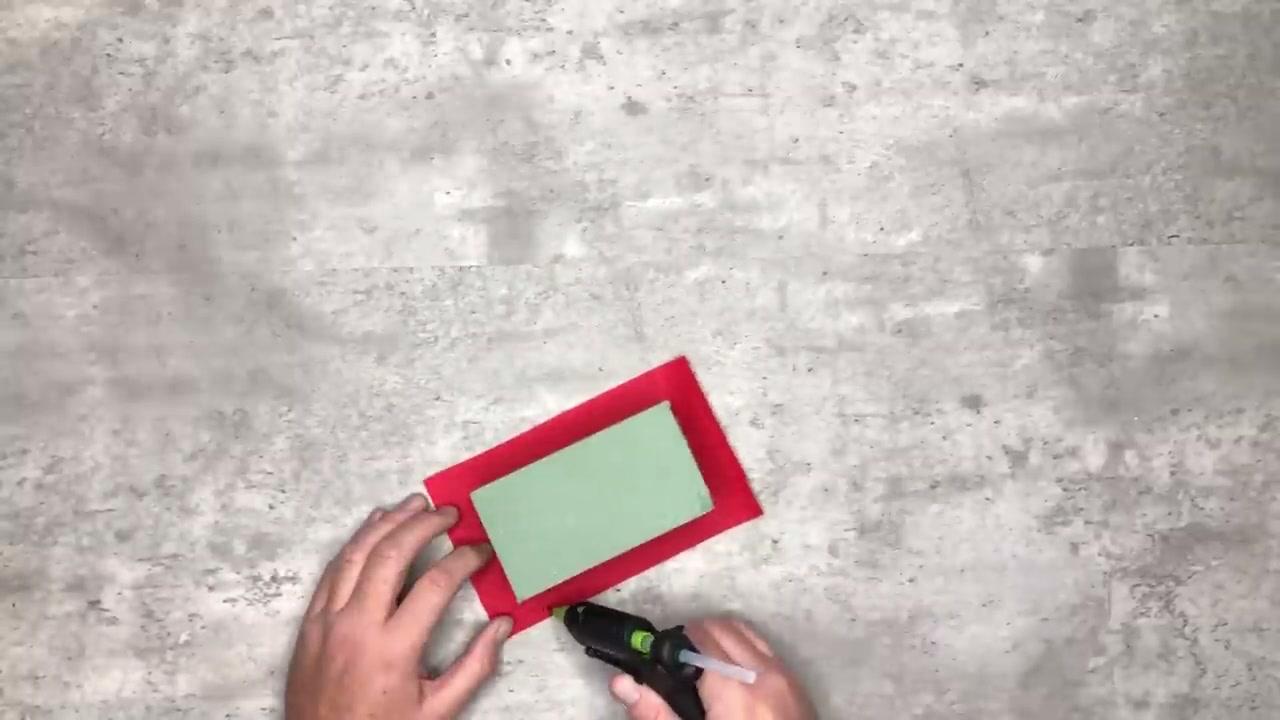
    Cut a small block from the green floral foam, about the size of your palm. Cut a piece of red felt a little bigger than the bottom. Glue the foam onto the felt, then fold the felt up the sides like wrapping a present and glue it down. The felt hides the foam and protects your table.

    Tip:

    Keep the top of the foam bare. That is where the stems go in.

    Back to all steps

  5. Step 5: Push the Whole Mini Trees Into the Ends of the Floral Foam

    Watch this step · 2:56

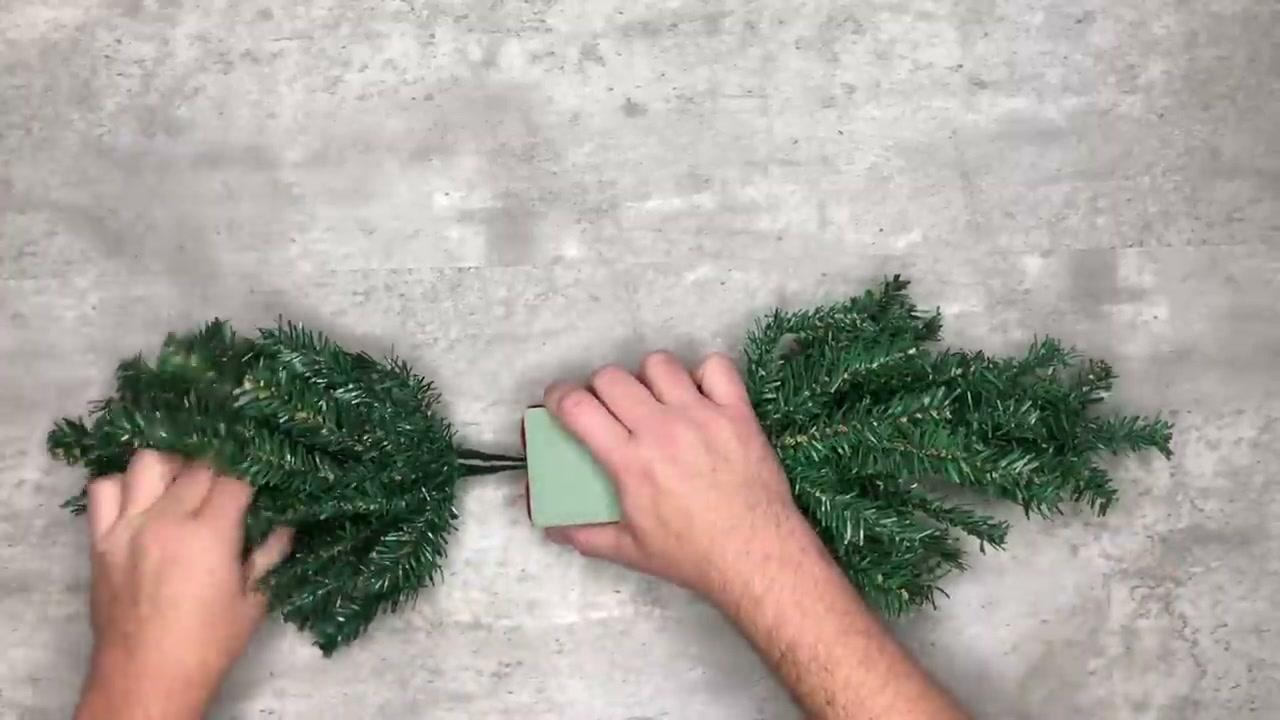
    Push the trunk of one fluffed tree straight into one short end of the foam block. Push the second tree into the opposite end, so the two point away from each other. Then fluff the branches again so they cover the foam and look full. You now have the long shape of the centerpiece.

    Tip:

    Push each trunk in at least an inch so the trees do not wobble.

    Back to all steps

  6. Step 6: Fill the Centerpiece Base With the Cut Greenery Stems

    Watch this step · 3:14

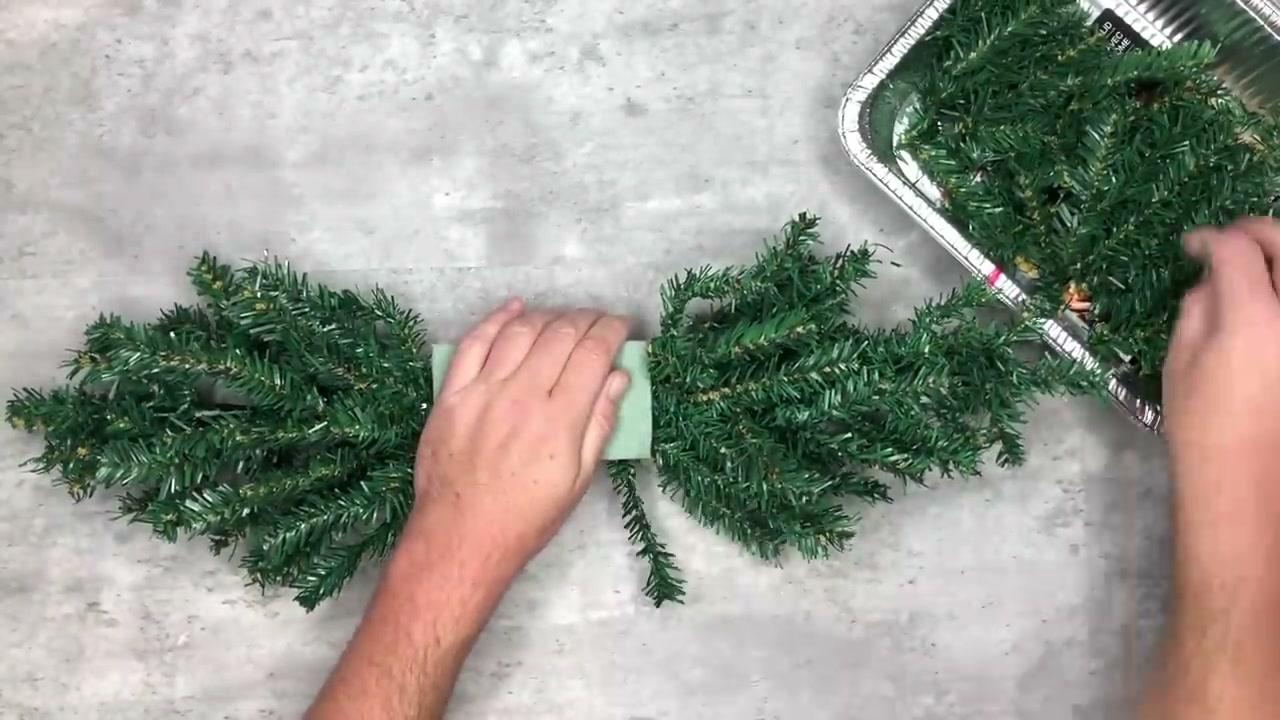
    Hold the base steady and push the cut stems into the top and sides of the foam. Angle the side stems down a little so they hide the felt. Work around until no foam shows from any side. Dave skips glue here so he can restyle it later. Add a dab of hot glue on each stem if you want it permanent.

    Tip:

    Turn the piece around often. Both sides will be seen on a table.

    Back to all steps

  7. Step 7: Fold and Staple Ribbon Into Teardrop Loops

    Watch this step · 3:56

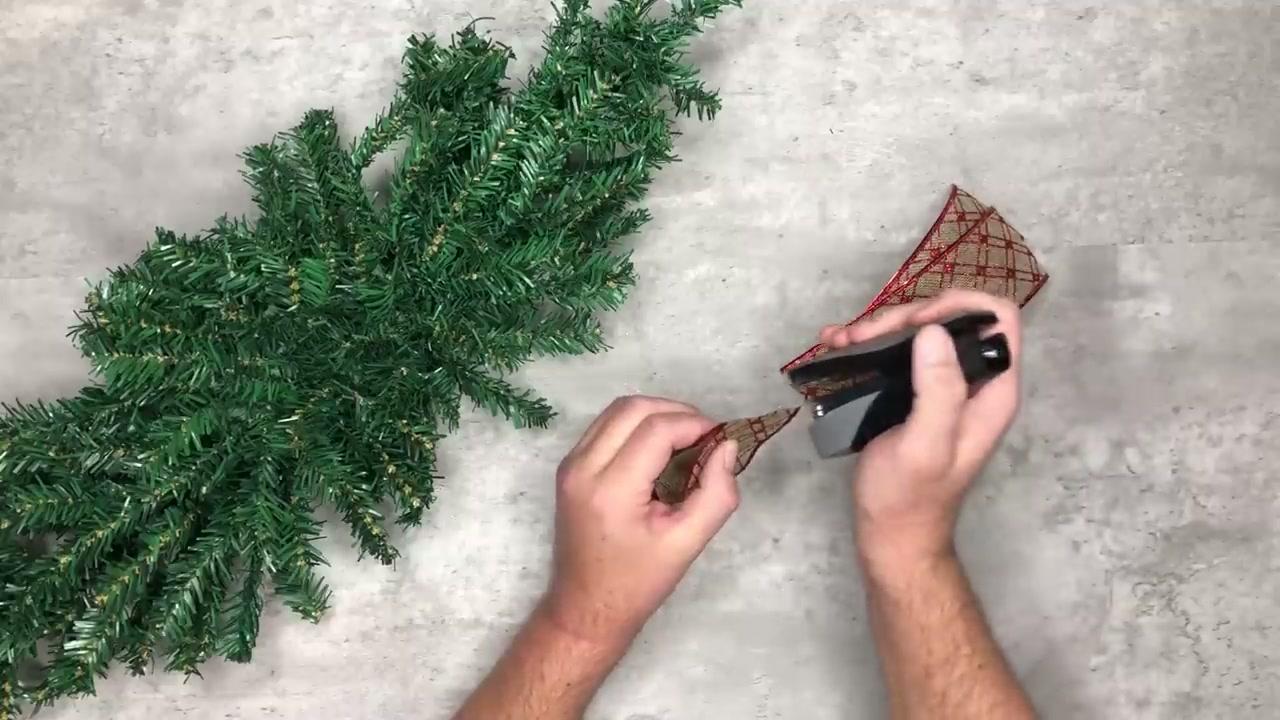
    Measure and cut six pieces of wired ribbon, 8 inches each. Fold one piece in half so the two ends meet, and staple the ends together. You get a teardrop shaped loop. Make six. These loops are the pieces of a deconstructed bow, so you never have to tie a bow at all.

    Tip:

    A hot glue dot works in place of the staple if you do not have a stapler.

    Back to all steps

  8. Step 8: Pin Dovetailed Ribbon Tails Into the Centerpiece Foam

    Watch this step · 4:38

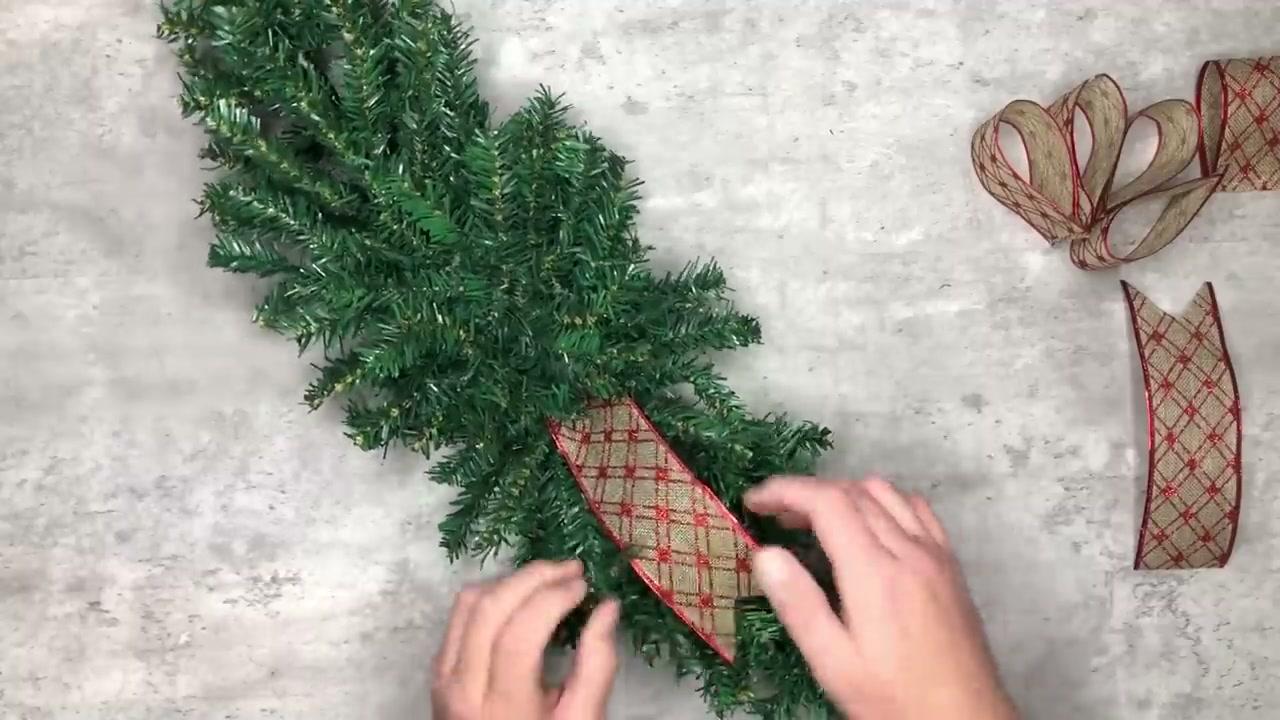
    Cut two longer lengths of ribbon for tails. Fold one end of each in half and cut on a slant to make a dovetail. Lay one tail along each side of the centerpiece, with the dovetail end out. Push a straight pin through the other end and into the foam to hold it. The tails stretch the bow along the greenery.

    Tip:

    Pins let you move a tail if it does not sit right.

    Back to all steps

  9. Step 9: Pin Ribbon Loops Into a Deconstructed Bow on the Centerpiece

    Watch this step · 5:06

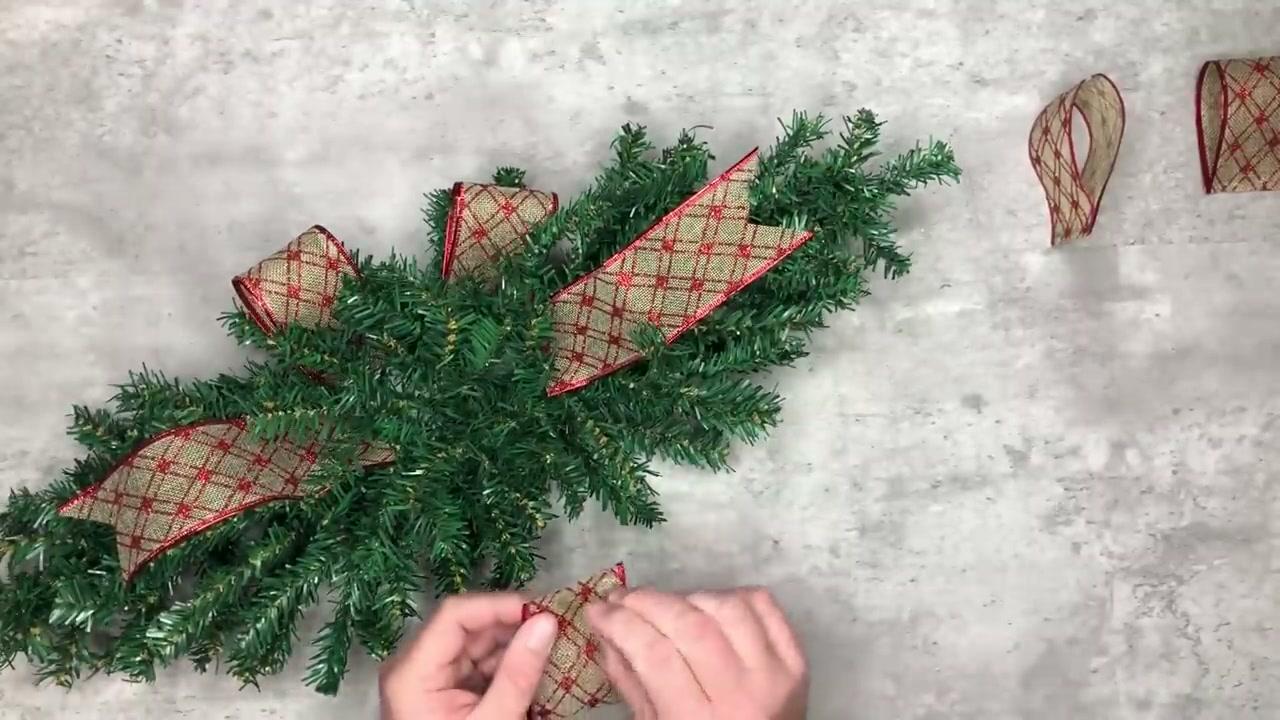
    Pin two teardrop loops on each side of the center, then two in the middle. Point the loops out so they look like one large bow. Dave then cut a few shorter loops, stapled them the same way and hot glued them near the ends of the greenery. Turn the piece around and check both sides look even.

    Tip:

    Pinch each loop round before you pin it so the bow does not look flat.

    Back to all steps

  10. Step 10: Hot Glue Red Ornaments Into the Christmas Centerpiece

    Watch this step · 6:08

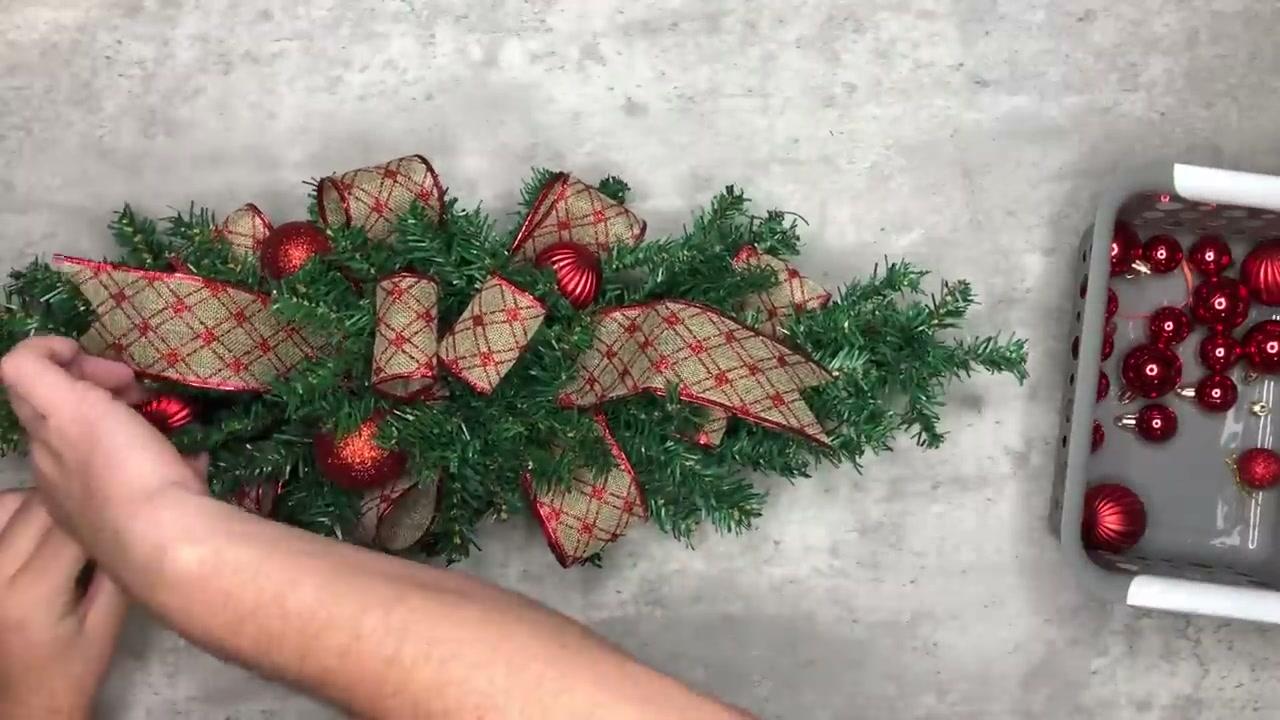
    Hot glue the large ornaments in the center around the bow. Then glue the smaller ones out toward the ends. Tuck them into the greenery so they look nestled, not stuck on top. Stop before it looks crowded; Dave had four left over. Set it on your table, mantel or island and enjoy it.

    Tip:

    Shatterproof ornaments are safer if pets or grandchildren are around.

    Back to all steps

How to Make a Popsicle Stick Sled Ornament

Keep going

How to Make a Popsicle Stick Sled Ornament

Keep going with crafts

More on this topic, picked for this christmas centerpiece.

You reached the last step

Save this project to come back to it

Your ticked steps, the free printable and your other saved makes, together in My Projects. Free, no password.

You tapped Save

Save this project for later

We'll email you a link, no password.

How to Make a Christmas Centerpiece (Easy Dollar Tree DIY)

  • Your saved projects in one list
  • Your ticked steps on any device

Check your inbox for an email from us. Not there? Look in your spam folder.

Free printable

Printable sheet and shopping list for this project

The bonus is hidden until you sign up.

Free with a free account, no password. Every step above stays open to everyone.

Products Used

The Checklist

How to Make a Christmas Centerpiece (Easy Dollar Tree DIY)

Tools
5
Materials
7
Steps
10
Video
7 min

Tools we recommend

As an Amazon Associate we earn from qualifying purchases. Links on this page may be affiliate links - clicking them and buying doesn't change your price, but helps support Crafting Step by Step.

Tags

The Crafter's Weekly

New crafts tutorials, every Sunday

One short email with the week's best step-by-step guides. Free, no spam, unsubscribe anytime.

Did this work for you?

What's next

Related collections

Curated theme pages that include this tutorial.

Similar tutorials

Hand-picked next reads based on the one you just finished.

Liked this crafts tutorial?

Pick the crafts you want to hear about. One email every Sunday with new step-by-step tutorials. No spam, easy to unsubscribe.

Get more like this in your inbox

Weekly digest. Pick the categories you want. Unsubscribe anytime.

Send me tutorials about

We only email about new tutorials. Easy unsubscribe anytime.