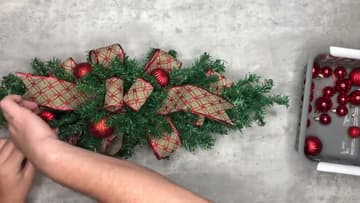
How to Make a Christmas Centerpiece (Easy Dollar Tree DIY)
Source: Dave's Wreaths and Things • Full tutorial: www.craftingstepbystep.com/crafts/how-to-make-a-christmas-centerpiece
- Difficulty
- Easy
- Hands-on time
- About 1 hour
- Cost
- About $10 to $20
- Makes
- 1 centerpiece

Tools
- hot glue gun
- wire cutters
- scissors
- stapler
- ruler
Materials
- 4 mini artificial Christmas trees
- dry floral foam block
- red felt
- 2.5-inch wired ribbon
- red Christmas ornaments
- straight pins
- glue sticks
Steps
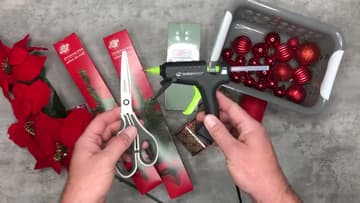
1. Gather Supplies for a Dollar Tree Christmas Centerpiece
Lay everything out before you start. You need four mini artificial Christmas trees, a block of dry green floral foam, a 2.5 inch wired ribbon, red ornaments in a few sizes, and a scrap of red felt.
Tip: Pick ornaments in two or three sizes. Mixed sizes look fuller than a matching set.
2. Fluff Out Two Mini Christmas Trees for the Centerpiece
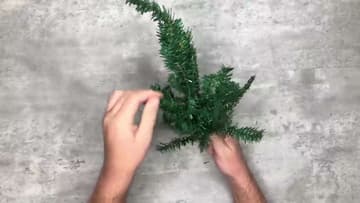
Take two of the mini trees out of the box and skip the stands. Bend each branch out and away from the trunk, then spread the tips so they look full.
Tip: Fluff from the trunk out to the tips, one branch at a time.
3. Cut the Branch Stems Off Two More Mini Christmas Trees
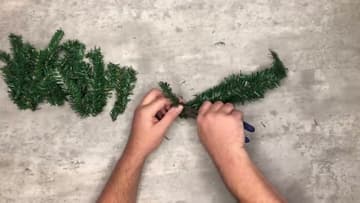
Take the other two mini trees and cut each branch off at the trunk with wire cutters. Cut at different points so you end up with stems of different lengths.
Tip: Use wire cutters, not your good scissors. The stems have wire inside.
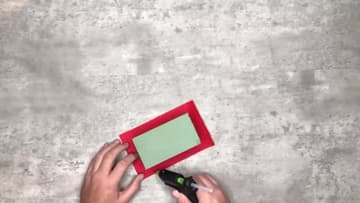
4. Wrap the Floral Foam Block in Red Felt
Cut a small block from the green floral foam, about the size of your palm. Cut a piece of red felt a little bigger than the bottom.
Tip: Keep the top of the foam bare. That is where the stems go in.
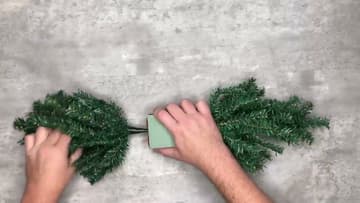
5. Push the Whole Mini Trees Into the Ends of the Floral Foam
Push the trunk of one fluffed tree straight into one short end of the foam block. Push the second tree into the opposite end, so the two point away from each other.
Tip: Push each trunk in at least an inch so the trees do not wobble.
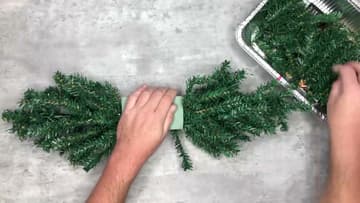
6. Fill the Centerpiece Base With the Cut Greenery Stems
Hold the base steady and push the cut stems into the top and sides of the foam. Angle the side stems down a little so they hide the felt.
Tip: Turn the piece around often. Both sides will be seen on a table.
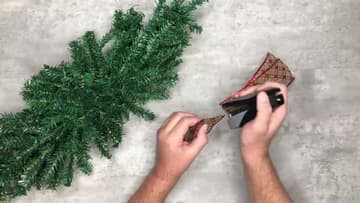
7. Fold and Staple Ribbon Into Teardrop Loops
Measure and cut six pieces of wired ribbon, 8 inches each. Fold one piece in half so the two ends meet, and staple the ends together.
Tip: A hot glue dot works in place of the staple if you do not have a stapler.
8. Pin Dovetailed Ribbon Tails Into the Centerpiece Foam
Cut two longer lengths of ribbon for tails. Fold one end of each in half and cut on a slant to make a dovetail.
Tip: Pins let you move a tail if it does not sit right.
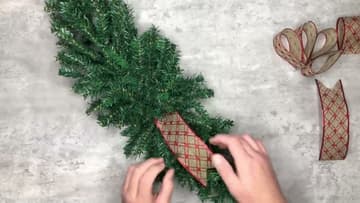
9. Pin Ribbon Loops Into a Deconstructed Bow on the Centerpiece
Pin two teardrop loops on each side of the center, then two in the middle. Point the loops out so they look like one large bow.
Tip: Pinch each loop round before you pin it so the bow does not look flat.
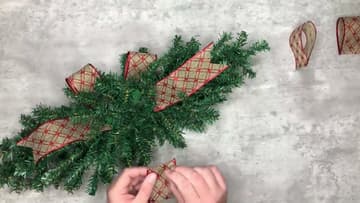
10. Hot Glue Red Ornaments Into the Christmas Centerpiece
Hot glue the large ornaments in the center around the bow. Then glue the smaller ones out toward the ends.
Tip: Shatterproof ornaments are safer if pets or grandchildren are around.