How to Cut a Glass Bottle Into Rings

CraftsMedium4:2110 stepsBrowse more →
The finished result: How to Cut a Glass Bottle Into Rings
Also in:Other Crafts

By CraftingStepByStepPublished

Based on a video by Glass House.

The tool does not cut the glass. That trips up nearly everyone the first time. A bottle cutter only draws a scratch, a single continuous score line around the bottle, and the actual break comes later from running the glass from hot to freezing in one go. Get that idea straight and the whole process makes sense.

Marilyn at Glass House cuts a row of rings out of one bottle here rather than a single tumbler, which is the harder version of the job. Rings mean multiple scores stacked an inch apart, all of them made before any heat goes near the bottle, then one heating pass and one plunge. Wine bottles, beer bottles, cobalt blue mineral water bottles all behave the same way, and the colours are the point once you have a pile of them.

What do you do with a heap of glass rings? Wind chimes, mostly. They ring for a surprisingly long time, and there is a full wind chime build here that takes them. They also make good suncatchers hung in a window. If broken glass ends up on your bench anyway, it is worth knowing how to nip glass down for a mosaic.

Step-by-Step Guide

10 steps · about 4 minutes.Check off each step as you go and your progress saves automatically.

1

Step 1: Set Out the Cutter, the Heat Gun and a Bucket of Ice

0:15
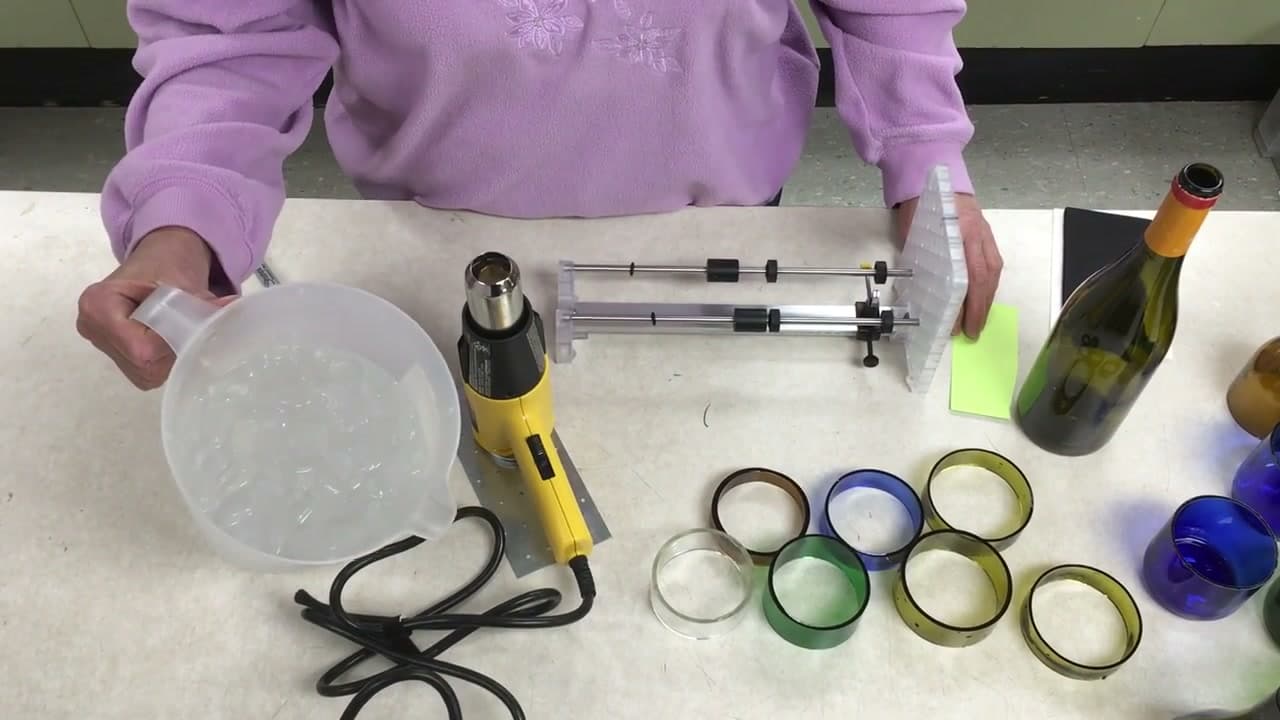
Step 1: Step 1: Set Out the Cutter, the Heat Gun and a Bucket of Ice

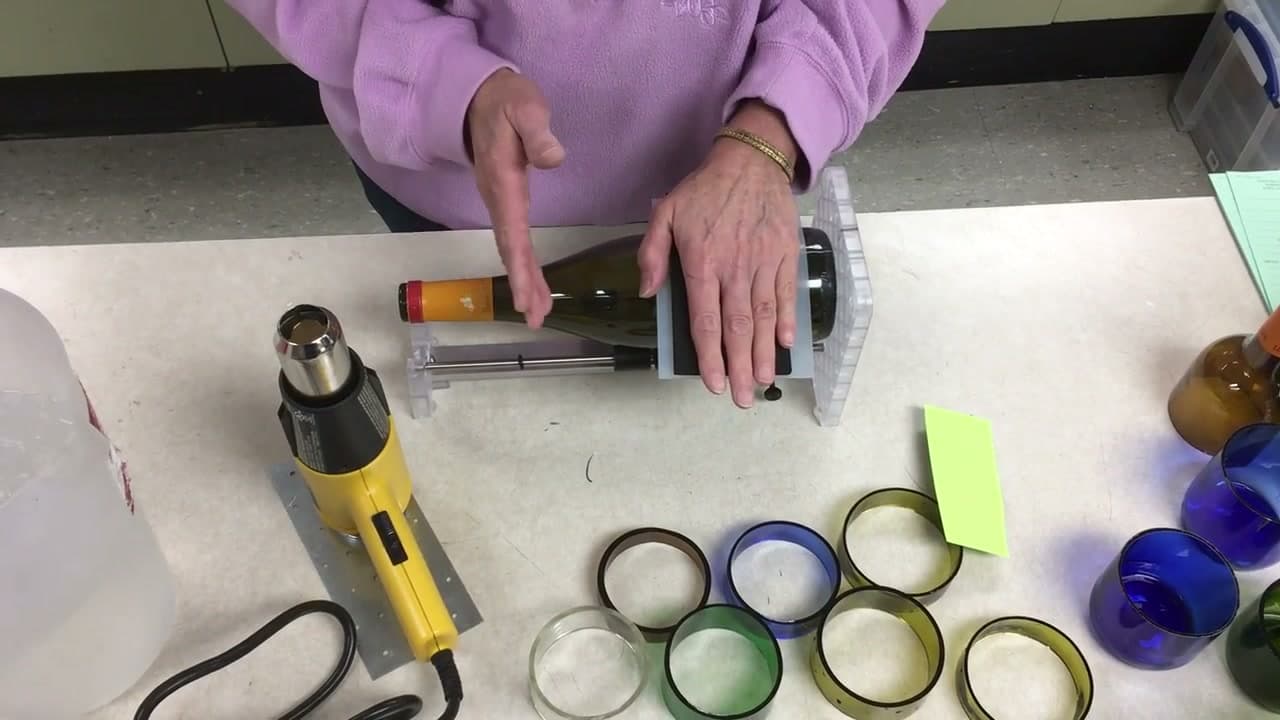
Three things do this job. A bottle cutter with an adjustable carriage, a heat source, and a container of ice water deep enough to swallow the scored part of the bottle. A cheap paint-stripping heat gun from the hardware store is plenty of heat.

Put a good handful of ice in the water and let it sit while you score. You want the water genuinely cold, not just cool, because the size of the temperature swing is what breaks the glass.

Tip

Boiling water instead of a heat gun works too, but it is slower and clumsier on a bottle with several scores on it. Watch this step
2

Step 2: Mark a Registration Line Down the Bottle

0:23
Step 2: Step 2: Mark a Registration Line Down the Bottle

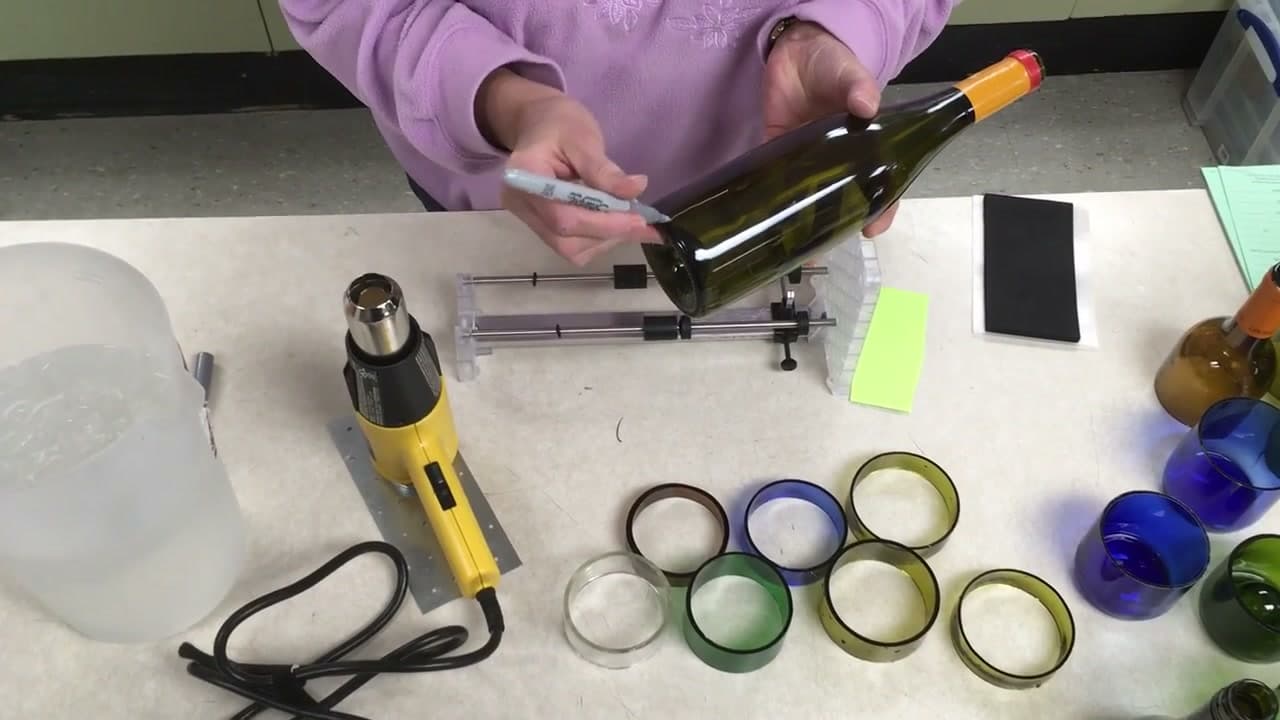
Draw a straight line down the side of the bottle with a marker. This is your start and finish mark. When the score comes back around to that line you know you have gone exactly once around and it is time to stop.

Without a mark you will overrun. Going around twice puts a second scratch beside the first, and the glass then breaks along whichever one it prefers, which is usually neither.

Tip

A silver or white paint marker shows up far better on dark green and brown bottles than a black sharpie does. Watch this step

3

Step 3: Slip a Scrap of Paper Under the Cutting Wheel

0:30
Step 3: Step 3: Slip a Scrap of Paper Under the Cutting Wheel

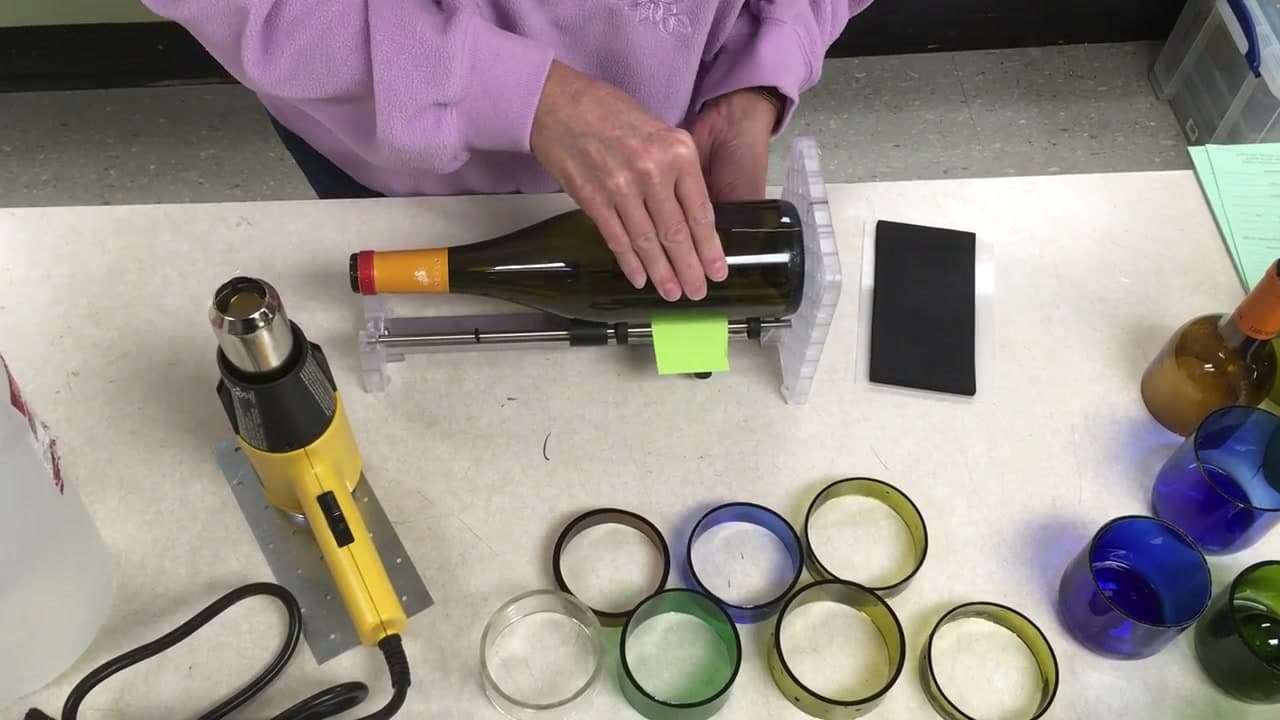
Before the bottle touches the wheel, wedge a small piece of paper between the two. The paper holds the glass off the carbide just far enough that you cannot start scratching until you are ready.

This is a genuinely useful habit. An accidental partial score at the wrong angle is a wasted bottle, and it happens most often while you are still lining things up.

Tip

A folded sticky note is the right thickness. Thicker card lifts the bottle enough to change the angle of the wheel. Watch this step

4

Step 4: Set the Pressure Pad and Line Up the Mark

0:44
Step 4: Step 4: Set the Pressure Pad and Line Up the Mark

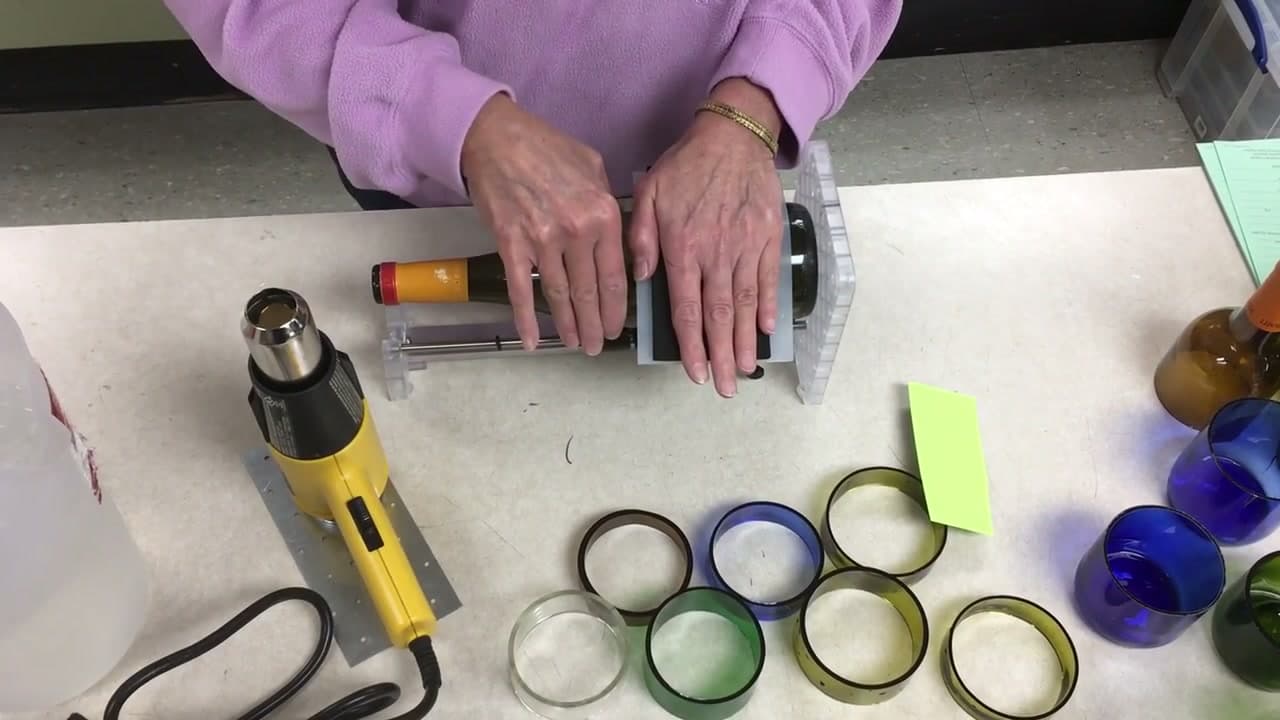
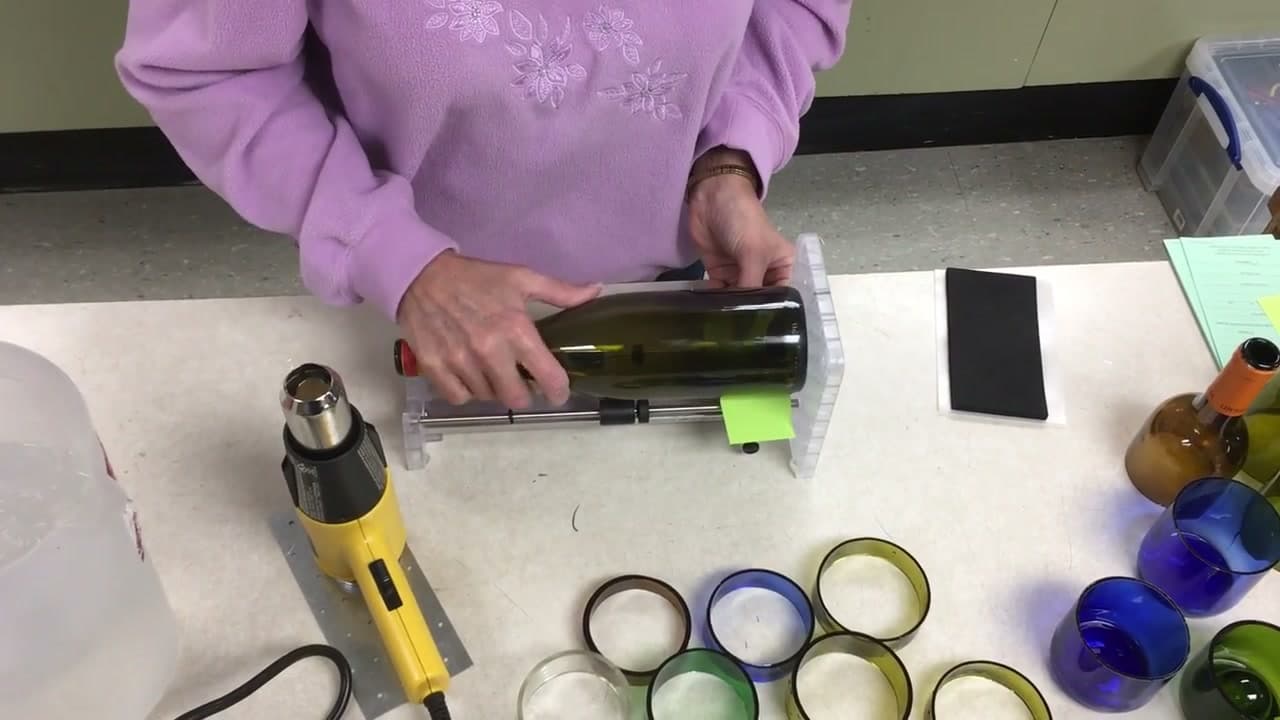
Bring the pressure pad down onto the bottle so it sits square, then rotate the bottle until your registration line meets the cutting wheel. Now pull the paper out. The wheel drops onto the glass exactly where you want to start.

Take a moment to check the bottle is running flat along the rails. The carriage on most cutters adjusts to fit different diameters, and a bottle that is riding high at one end scores a spiral instead of a circle.

Tip

Bottles from the same brand are usually identical. Set the cutter once and you can run a whole case without touching the adjustment. Watch this step

5

Step 5: Loosen the Head and Roll the Bottle Toward You

0:57
Step 5: Step 5: Loosen the Head and Roll the Bottle Toward You

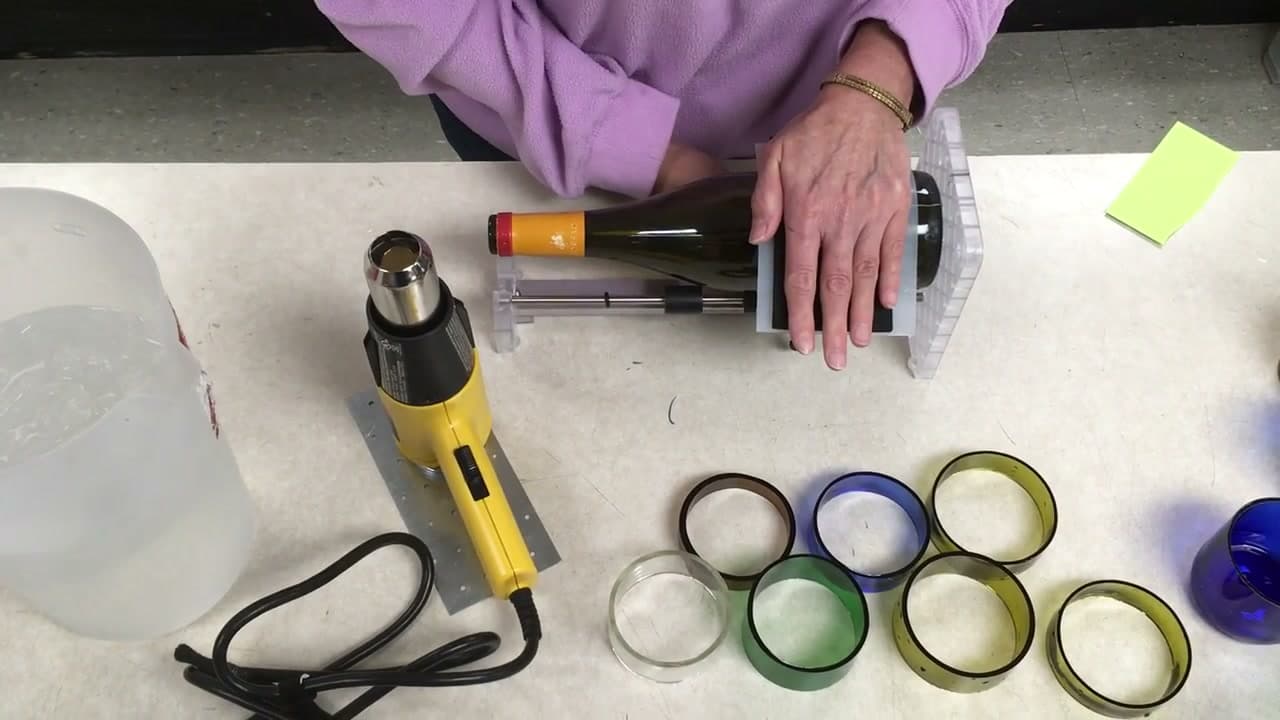
Back the cutting head off until it can float. Glass bottles are not perfect cylinders, and a head that is locked down rigid skips over every dip in the surface. A floating head follows the bottle in and out and gives you one unbroken score.

Roll the bottle toward yourself in one smooth movement. Firm, even pressure. You should hear a steady dry hiss the whole way around, which is the sound of a good score.

Tip

Too much pressure crushes the glass instead of scoring it and leaves a chalky white line. If you can see the score clearly, you leaned on it too hard. Watch this step

6

Step 6: Stop the Second the Line Comes Back Around

1:16
Step 6: Step 6: Stop the Second the Line Comes Back Around

Watch for your marker line. The instant it arrives back at the wheel, stop rolling and lift the pressure. One pass, no more. Going around again does not deepen the score, it only adds a competing one.

A good score looks like almost nothing, a faint hairline you have to catch in the light to see. That is correct. All it has to do is give the crack somewhere to start.

Tip

Run a fingernail over it. A proper score catches very slightly. If your nail glides straight over, roll it again with a touch more pressure. Watch this step

Products used in this step

7

Step 7: Move the Head an Inch and Score Every Ring

1:50
Step 7: Step 7: Move the Head an Inch and Score Every Ring

Loosen the carriage, slide the cutting head about an inch along the rail, and repeat: paper in, line up, paper out, one clean revolution. Keep going until every ring you want out of this bottle has its own score.

Do all of them now. Once the bottle has been heated and shocked it has broken along at least one line, and you can no longer clamp what is left of it into the cutter to score the rest.

Tip

An inch is about the narrowest ring that survives handling. Go thinner than that and they crack while you are sanding them. Watch this step

8

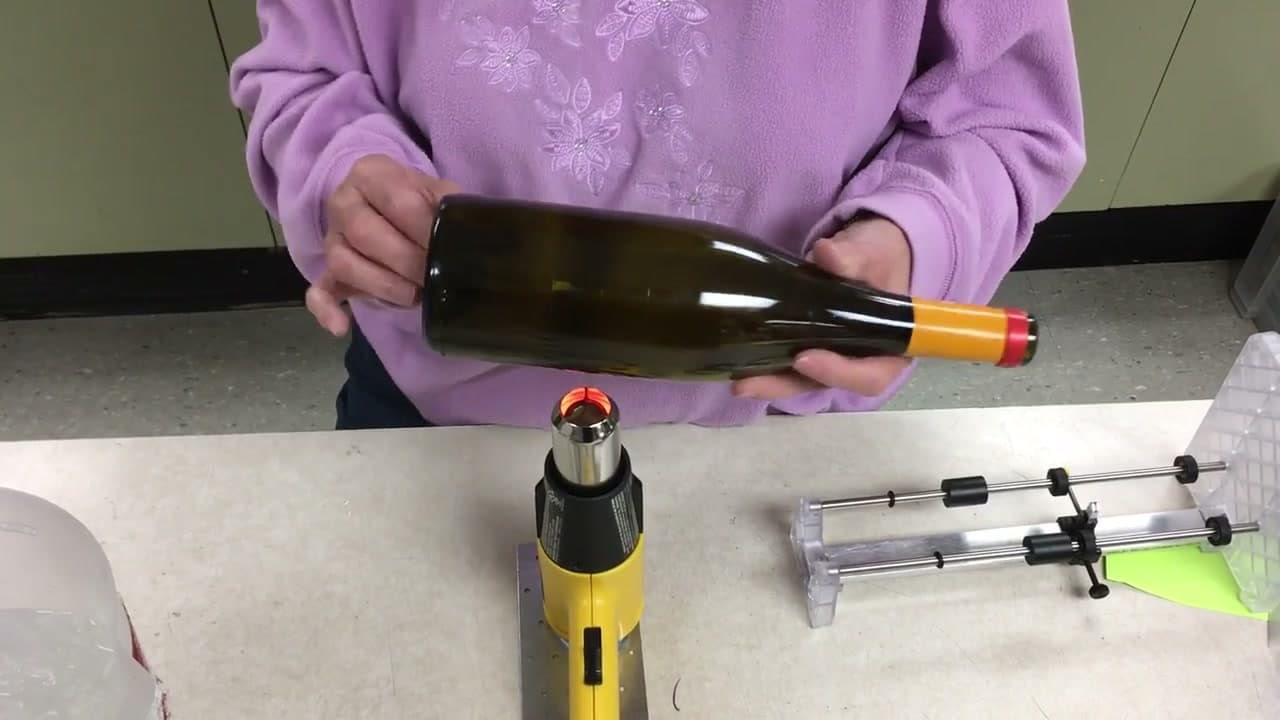
Step 8: Heat the Bottle, Turning It the Whole Time

2:58
Step 8: Step 8: Heat the Bottle, Turning It the Whole Time

Heat gun on high, bottle held over it, turning constantly so no single spot gets ahead of the rest. You are aiming to warm the glass along every score at the same rate.

Judge it by touch. The glass should be hot enough that you can plainly feel the heat when you brush it but not so hot that you snatch your hand away. Overheated glass shatters when it hits the ice water instead of cracking cleanly, so err on the cooler side. Thick bottles take a couple of minutes.

Tip

Keep the gun moving along the length of the scored section too, not just around it. A hot band and a cold band on the same bottle is what causes an ugly break. Watch this step

9

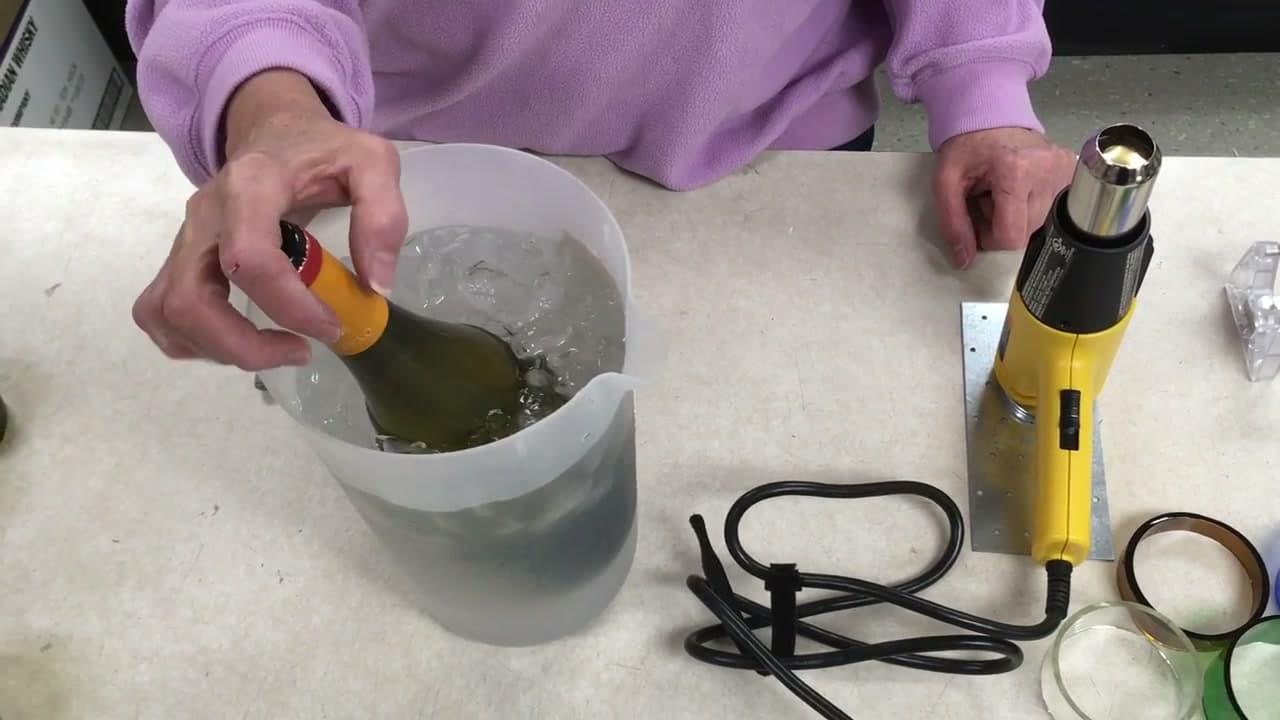
Step 9: Plunge It Straight Into the Ice Water

3:52
Step 9: Step 9: Plunge It Straight Into the Ice Water

Straight down into the bucket, all the way past the top score. No hesitating on the way in, because a slow entry cools the bottom of the bottle before the top and the break wanders off the line.

You will hear it. A small sharp tick as the crack starts running around the score, sometimes two or three of them as each ring lets go. That sound is the whole job working.

Tip

Deep and cold beats wide and cool. A tall narrow container lets you drop the bottle in fast without slopping ice water everywhere. Watch this step

10

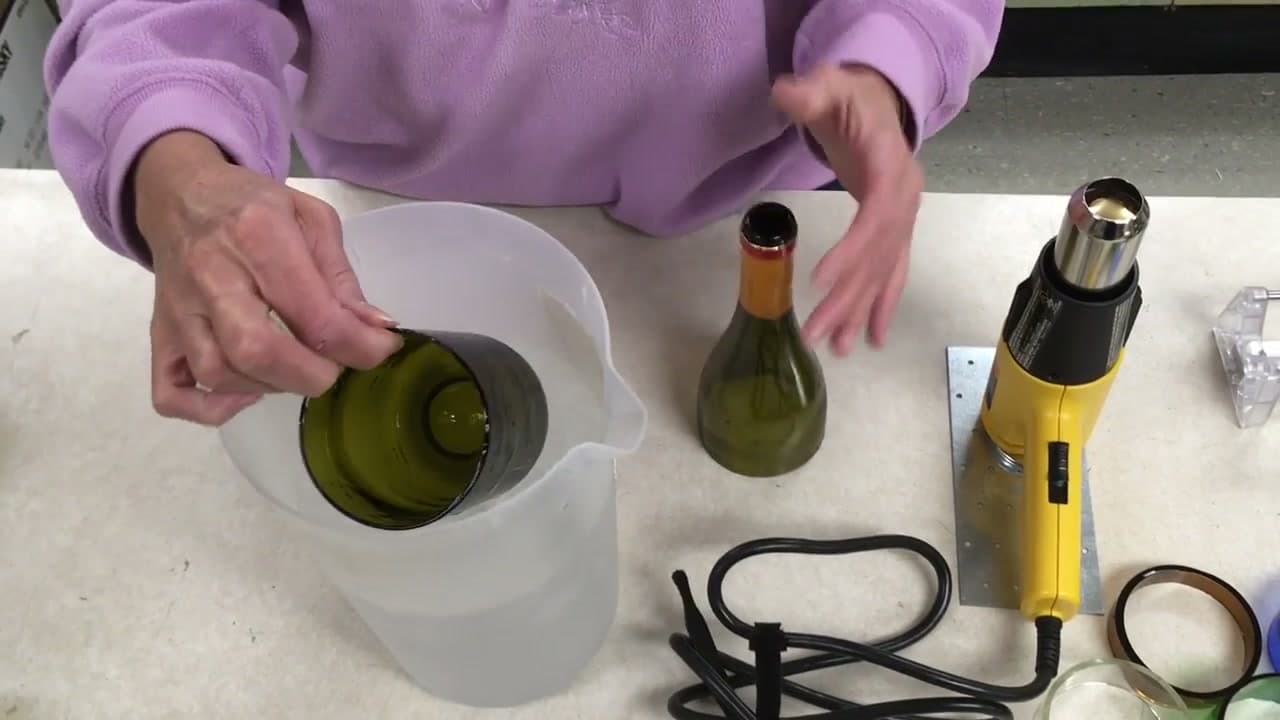
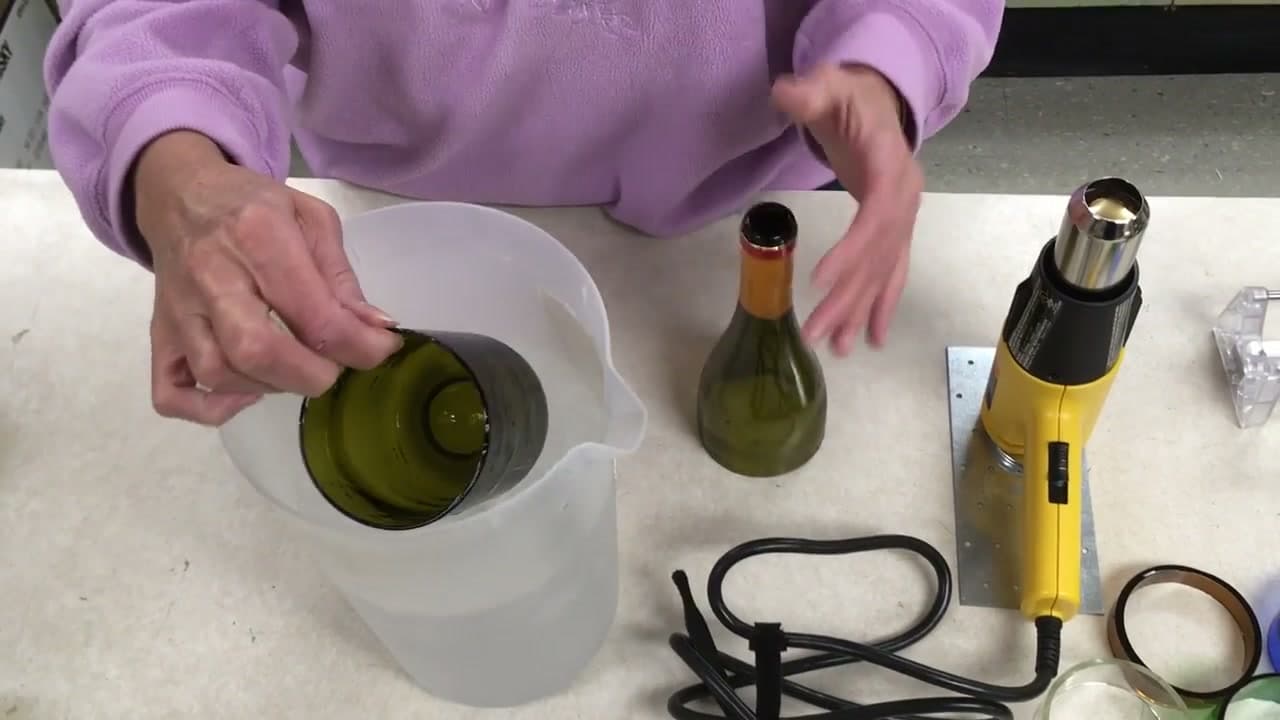
Step 10: The Rings Come Apart in Your Hands

4:17
Step 10: Step 10: The Rings Come Apart in Your Hands

Lift the bottle out and the sections separate, sometimes on their own and sometimes with the gentlest twist. If a score has not fully run, warm that section again and dunk it a second time rather than forcing it.

The edges come out sharp. Every ring needs sanding before it goes anywhere near a project, and wet-dry paper on a flat surface with a little water is the simple way. Work through the grits until you can run a thumb around the rim without flinching.

Tip

Sand wet, always. Dry sanding glass throws a fine dust you do not want anywhere near your lungs. Watch this step

Keep going

How to Seal Concrete Crafts (Indoor and Outdoor Sealers)

Products Used

☐ The Checklist

How to Cut a Glass Bottle Into Rings

Tools
6
Materials
5
Steps
10
Video
4 min

Tools we recommend

Your Guide

Glass House

As an Amazon Associate we earn from qualifying purchases. Links on this page may be affiliate links - clicking them and buying doesn't change your price, but helps support ShowMeStepByStep.

Tags

Sunday How-To

New crafts tutorials, every Sunday

One short email with the week's best step-by-step guides. Free, no spam, unsubscribe anytime.

Did this work for you?

What's next

Related collections

Curated theme pages that include this tutorial.

Weekly Digest

Liked this crafts tutorial?

Pick the categories you want to hear about. Weekly digest of new step-by-step tutorials. No spam, easy unsubscribe.

Send me tutorials about

We only email about new tutorials. Easy unsubscribe anytime.