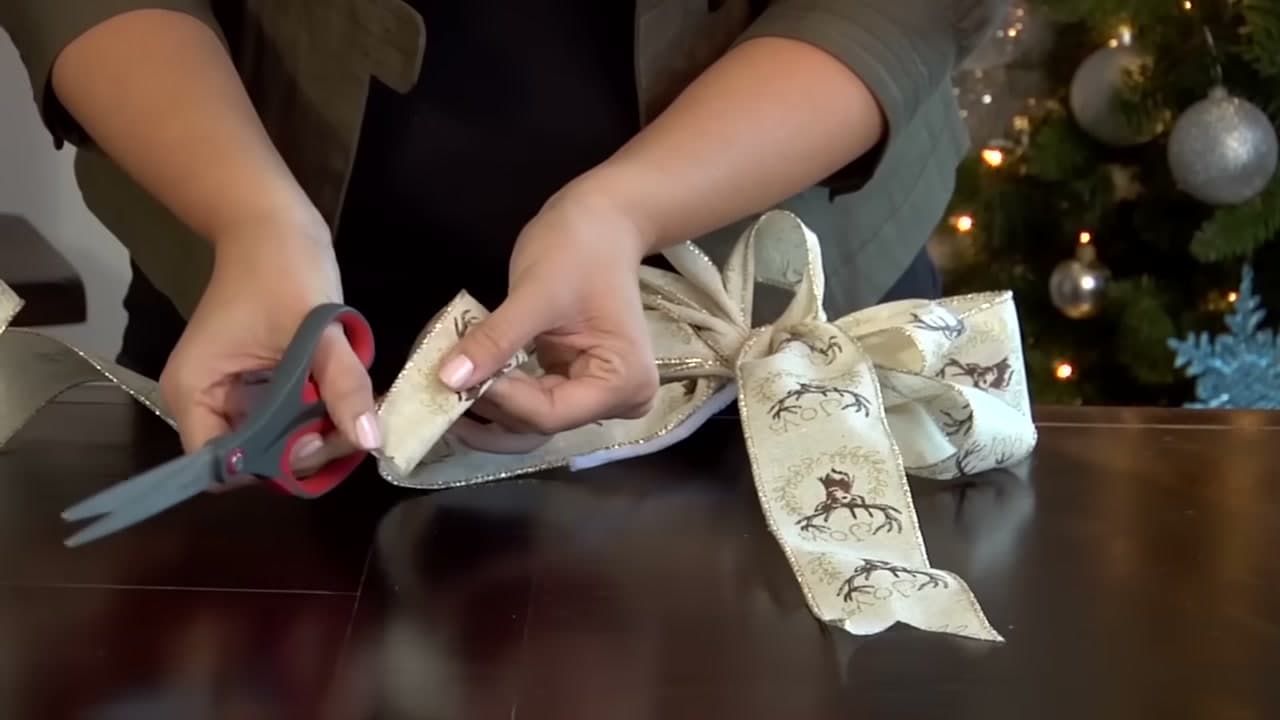
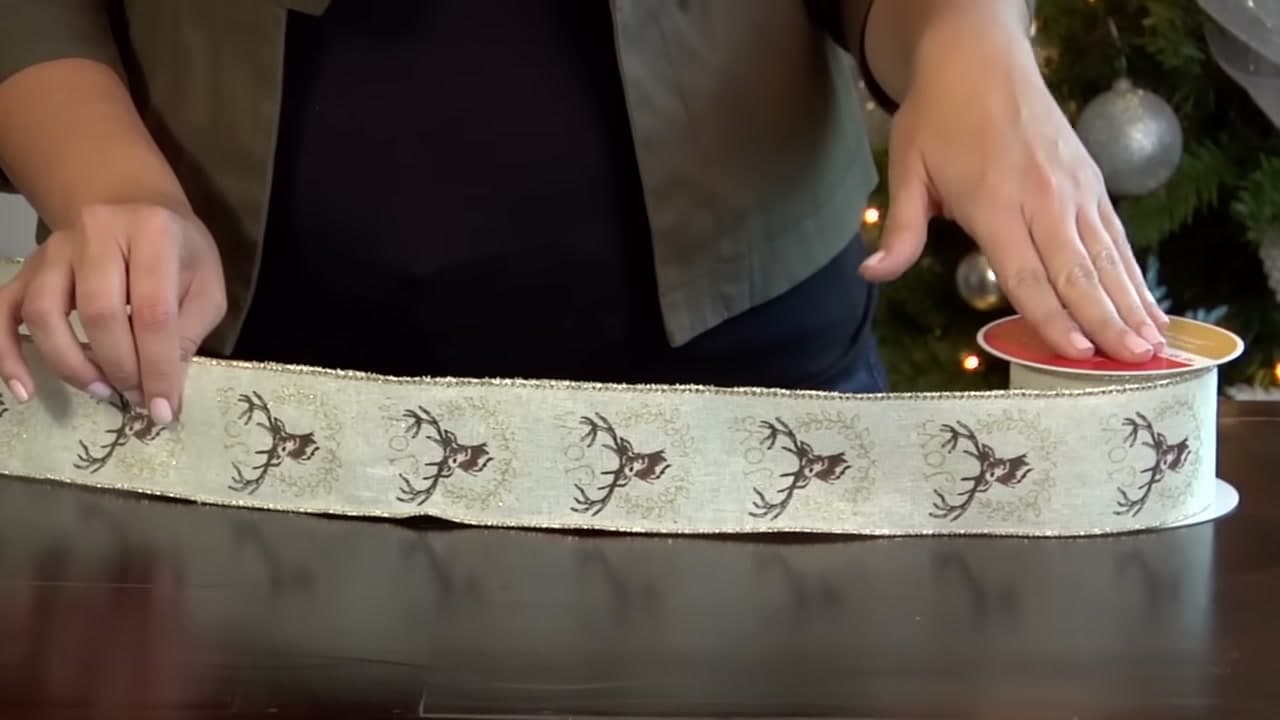
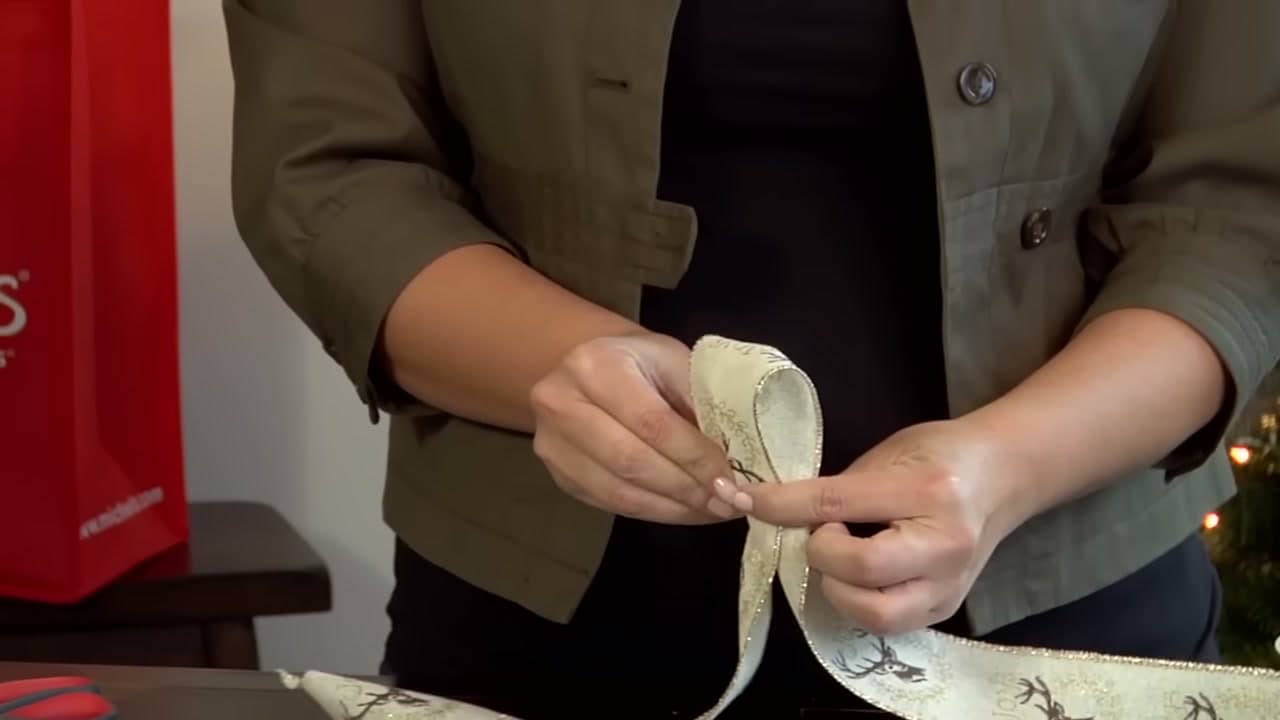
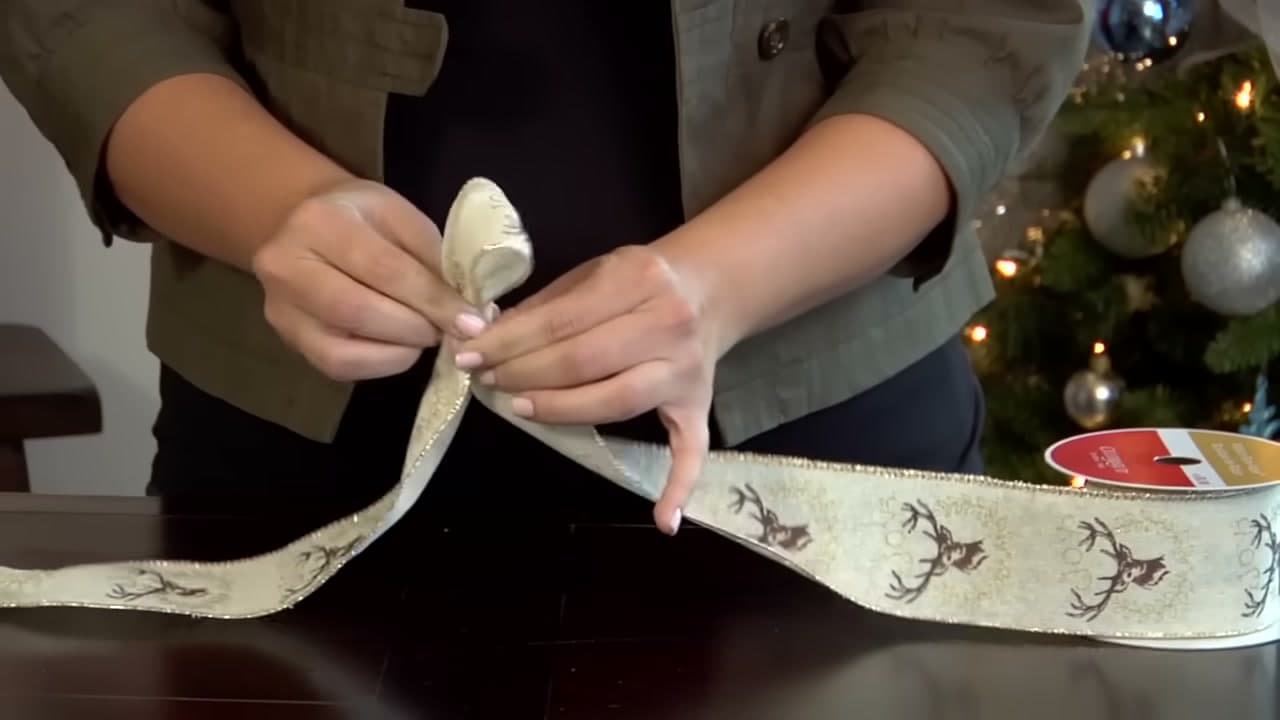
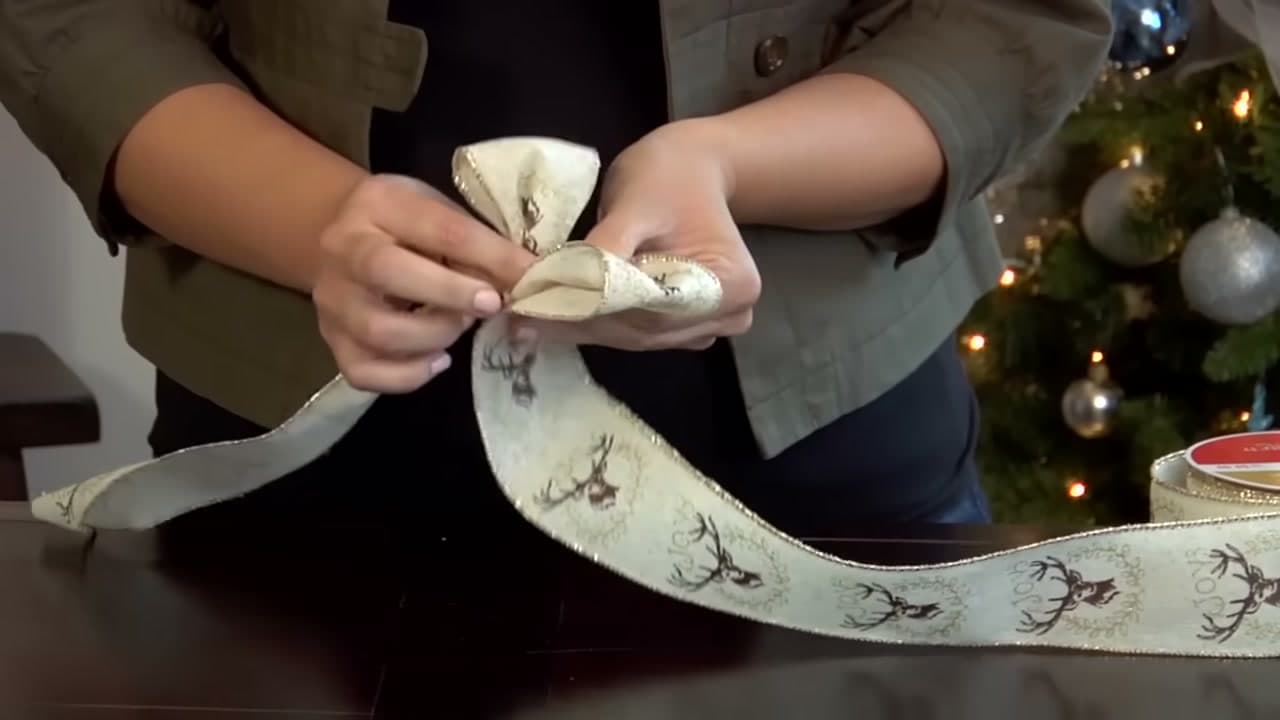
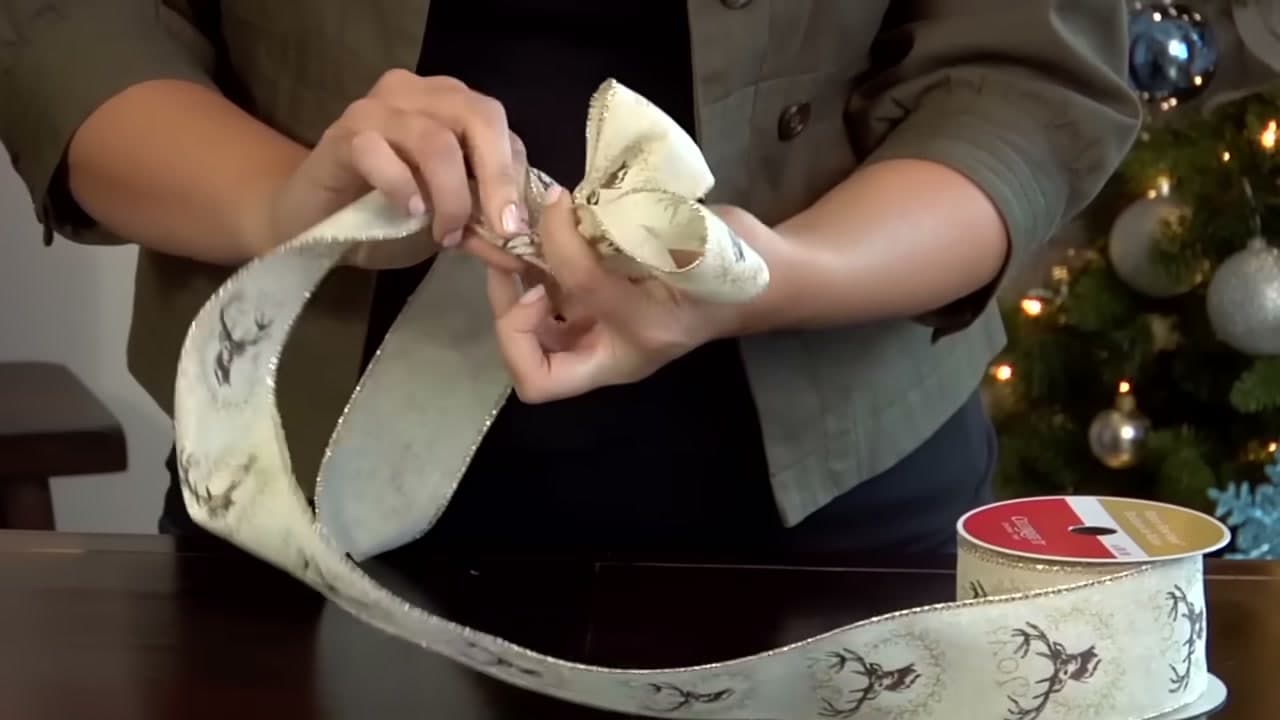
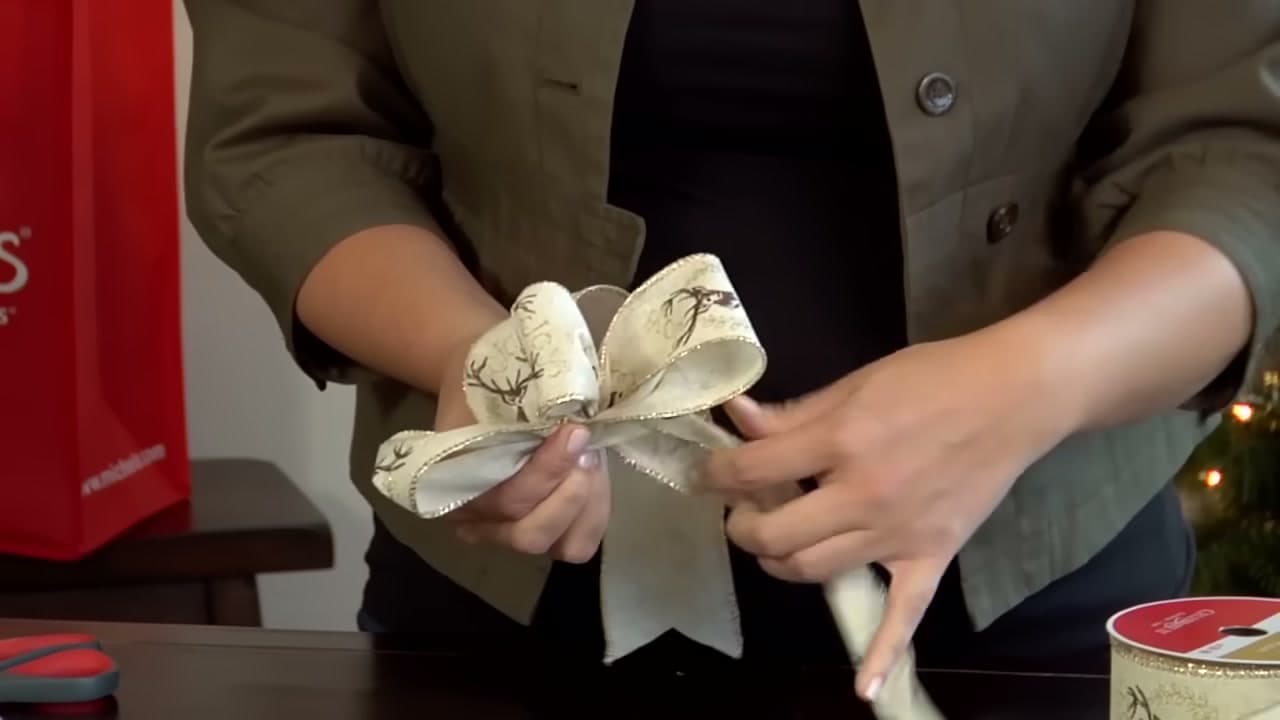
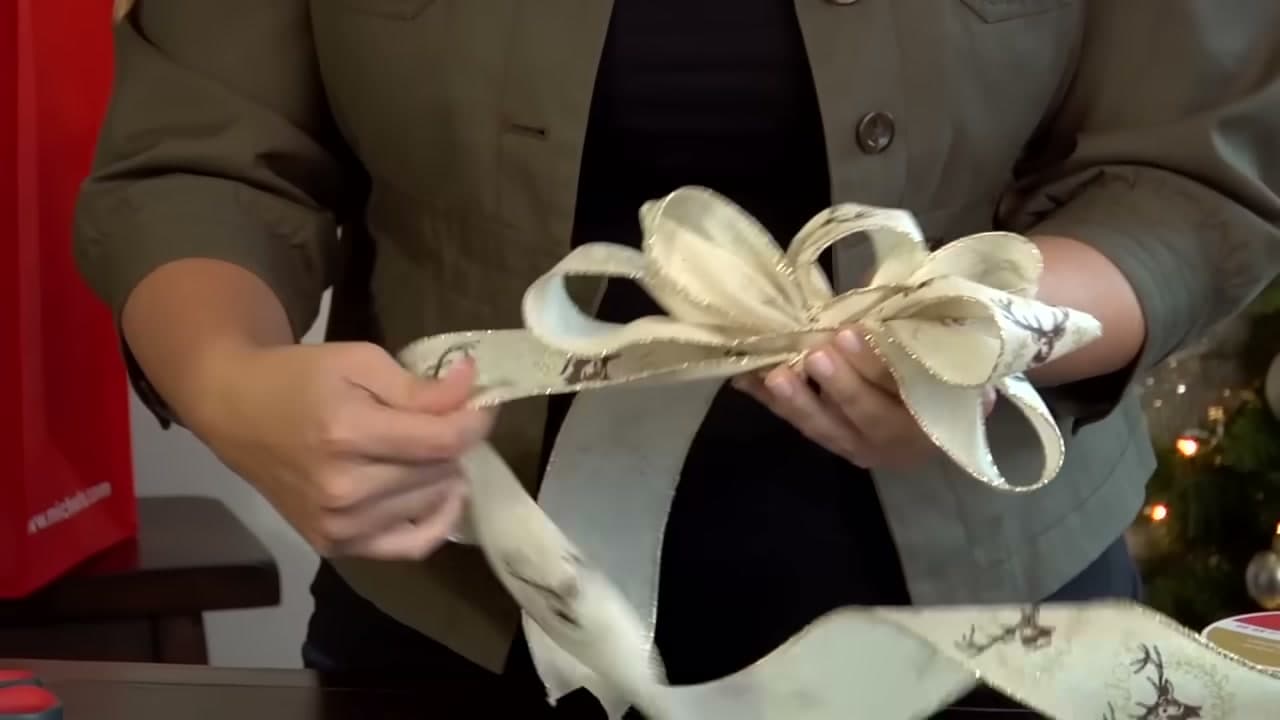
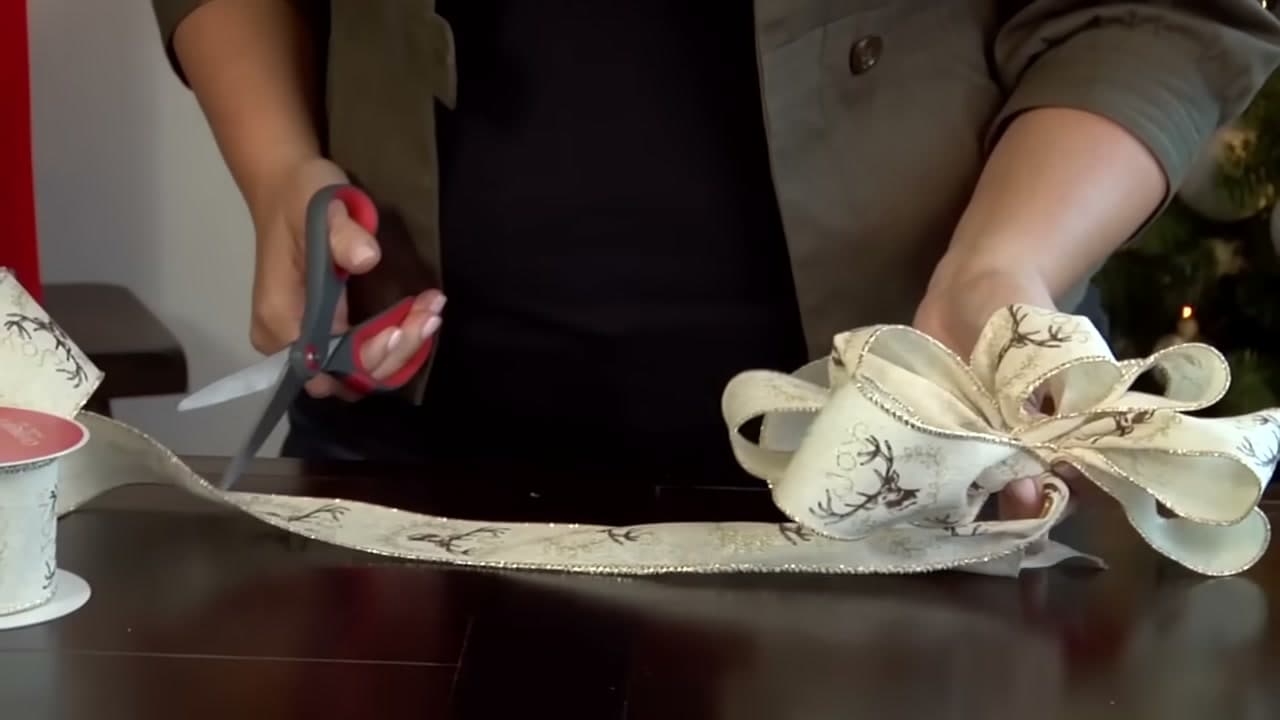
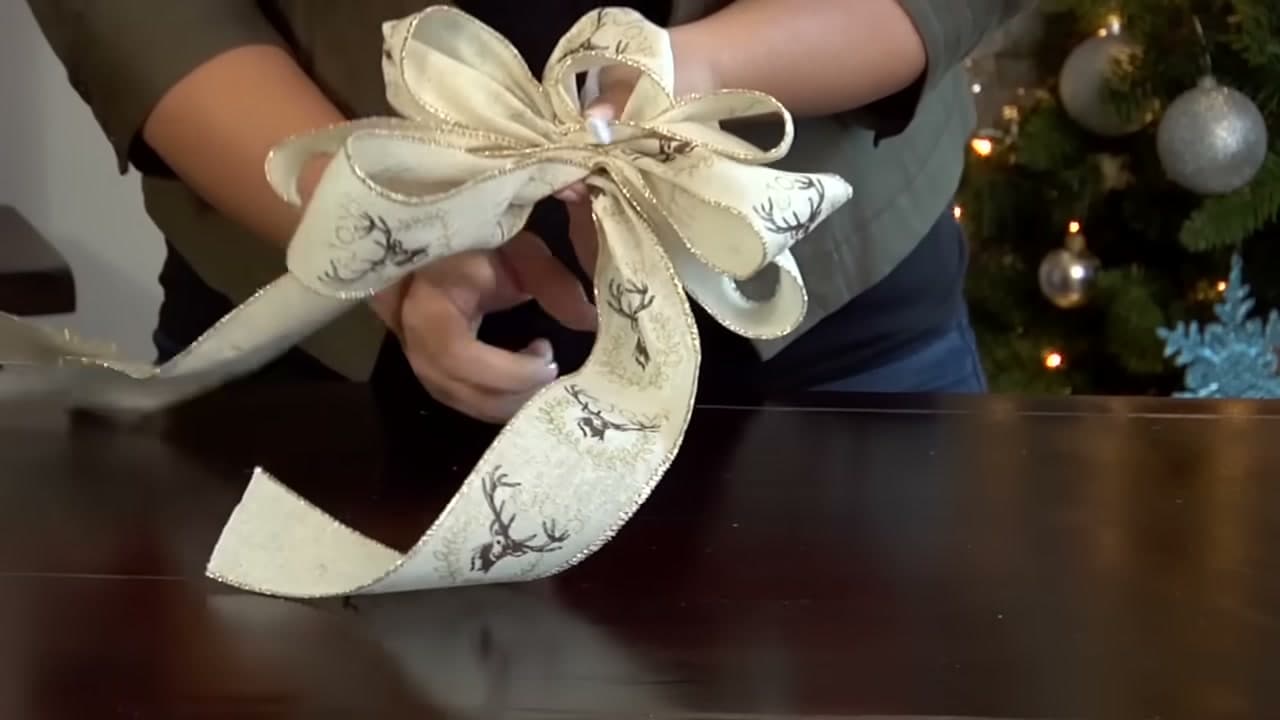
Bows look like something you either can or cannot do. They are not. The whole thing is one move - pinch, twist, repeat - and the only real rule is that every loop should be a little longer than the one before it.
Two things matter more than they sound. Use wired ribbon, because the wire is what holds the loops open. And leave the ribbon attached to the spool until the very end, so you are never short. The bow in this tutorial has four loops a side, but you can keep going as long as your patience holds.
How to make a ribbon bow, three ways
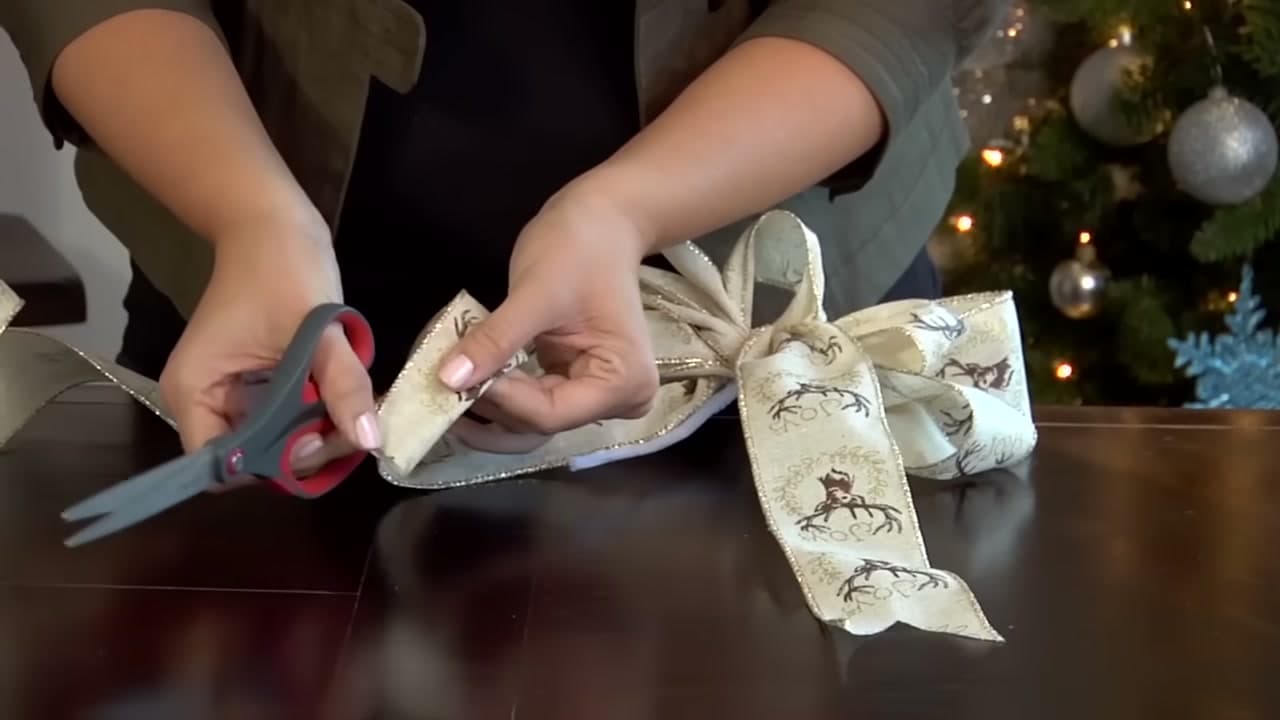
The stacked-loop bow (the one in the steps above). Pinch the centre, twist, add a loop on each side, twist again. Four loops a side gives you a full round bow about eight inches across - the size you want on a wreath or the top of a large box. This is the florist method and it is the most forgiving, because the twists hide any loop that came out uneven.
The simple two-loop bow. The shoelace bow, made with ribbon instead of laces. Cross one tail over the other, pull it through, then form a loop in each tail and knot them against each other. Fast, flat, and right for a small package where a stacked bow would look oversized. Unwired satin works fine here because the knot holds the shape, not the wire.
The layered gift bow. Cut six to eight equal strips, twist each into a figure eight, stack them at right angles and staple or glue through the middle. It builds a round, full bow out of scraps and it is the easiest way to use up short leftover lengths from the end of a spool.
How to tie a bow on a gift box
Run the ribbon under the box lengthways, cross the ends underneath, then bring both ends back up the short sides and tie on top. Crossing underneath instead of on top is what keeps the ribbon flat and centred - tie it all on the top face and the ribbon twists and sits at an angle every time.
Pull the first knot tight before you form the loops, and keep a thumb on that knot while you tie the bow. Most crooked bows are crooked because the base knot loosened halfway through. If the tails splay, cut them at a slant or in a V and the whole thing looks deliberate.
Wired or unwired ribbon?
Wired ribbon has a thin wire along both edges. It holds whatever shape you bend it into, which is why every full, round, floral-looking bow uses it - the loops stay open instead of flopping. It also lets you re-fluff a bow that has been squashed in storage. Use it for wreaths, garlands, large packages and anything that has to keep its shape for weeks.
Unwired ribbon - satin, grosgrain, twill tape - drapes instead of holding. That is what you want for a flat two-loop bow on a small present, where a stiff wired bow would sit up off the paper and look bulky. It is also cheaper, which matters when you are wrapping twenty gifts.
What size bow for what
Match loop length to the thing it sits on. A small package takes two to three inch loops. A large box or a gift basket takes four to five. A wreath takes six or more, and wreaths look better with longer tails than you think - cut them so they reach roughly a third of the way down the wreath.
Ribbon width matters as much as loop length. Two-and-a-half inch ribbon is the general purpose size and what most of these bows are built from. Anything under an inch gets lost on a big package; anything over four inches is hard to twist cleanly by hand.
Common questions
How do you make a bow with ribbon step by step?
Pinch a centre loop, twist the ribbon so the printed side faces back out, add a matching loop on each side, and twist again after every loop. Keep stacking until the bow is as full as you want, then cut it free from the spool and bind the pinched centre with a chenille stem. The full sequence with photos is in the ten steps above.
Why does my bow keep going floppy?
Almost always unwired ribbon. Without the wire there is nothing holding the loop open and gravity wins. The other cause is loops that are all the same length, which makes the bow read flat instead of layered - each loop should be slightly longer than the one inside it.
How much ribbon do I need for a bow?
For a standard four-loop-a-side wired bow at two-and-a-half inch width, budget about three yards. Leave it on the spool while you work and cut at the end - it is the single easiest way to avoid running out one loop short.
Can you make a bow without wired ribbon?
Yes, but pick the right style. The two-loop knot bow and the stapled layered bow both hold their shape without wire because a knot or a staple is doing the work. The stacked florist bow is the one that really needs wire.
Wrapping the gift it goes on
A handmade bow deserves a clean wrap underneath. Here is how to wrap a present with sharp corners and no visible tape.