How to Make a Mosaic Coaster (Beginner Tile Craft)

CraftsEasy9:019 stepsBrowse more →

By CraftingStepByStepPublished

Based on a video by City Self-Sufficiency.

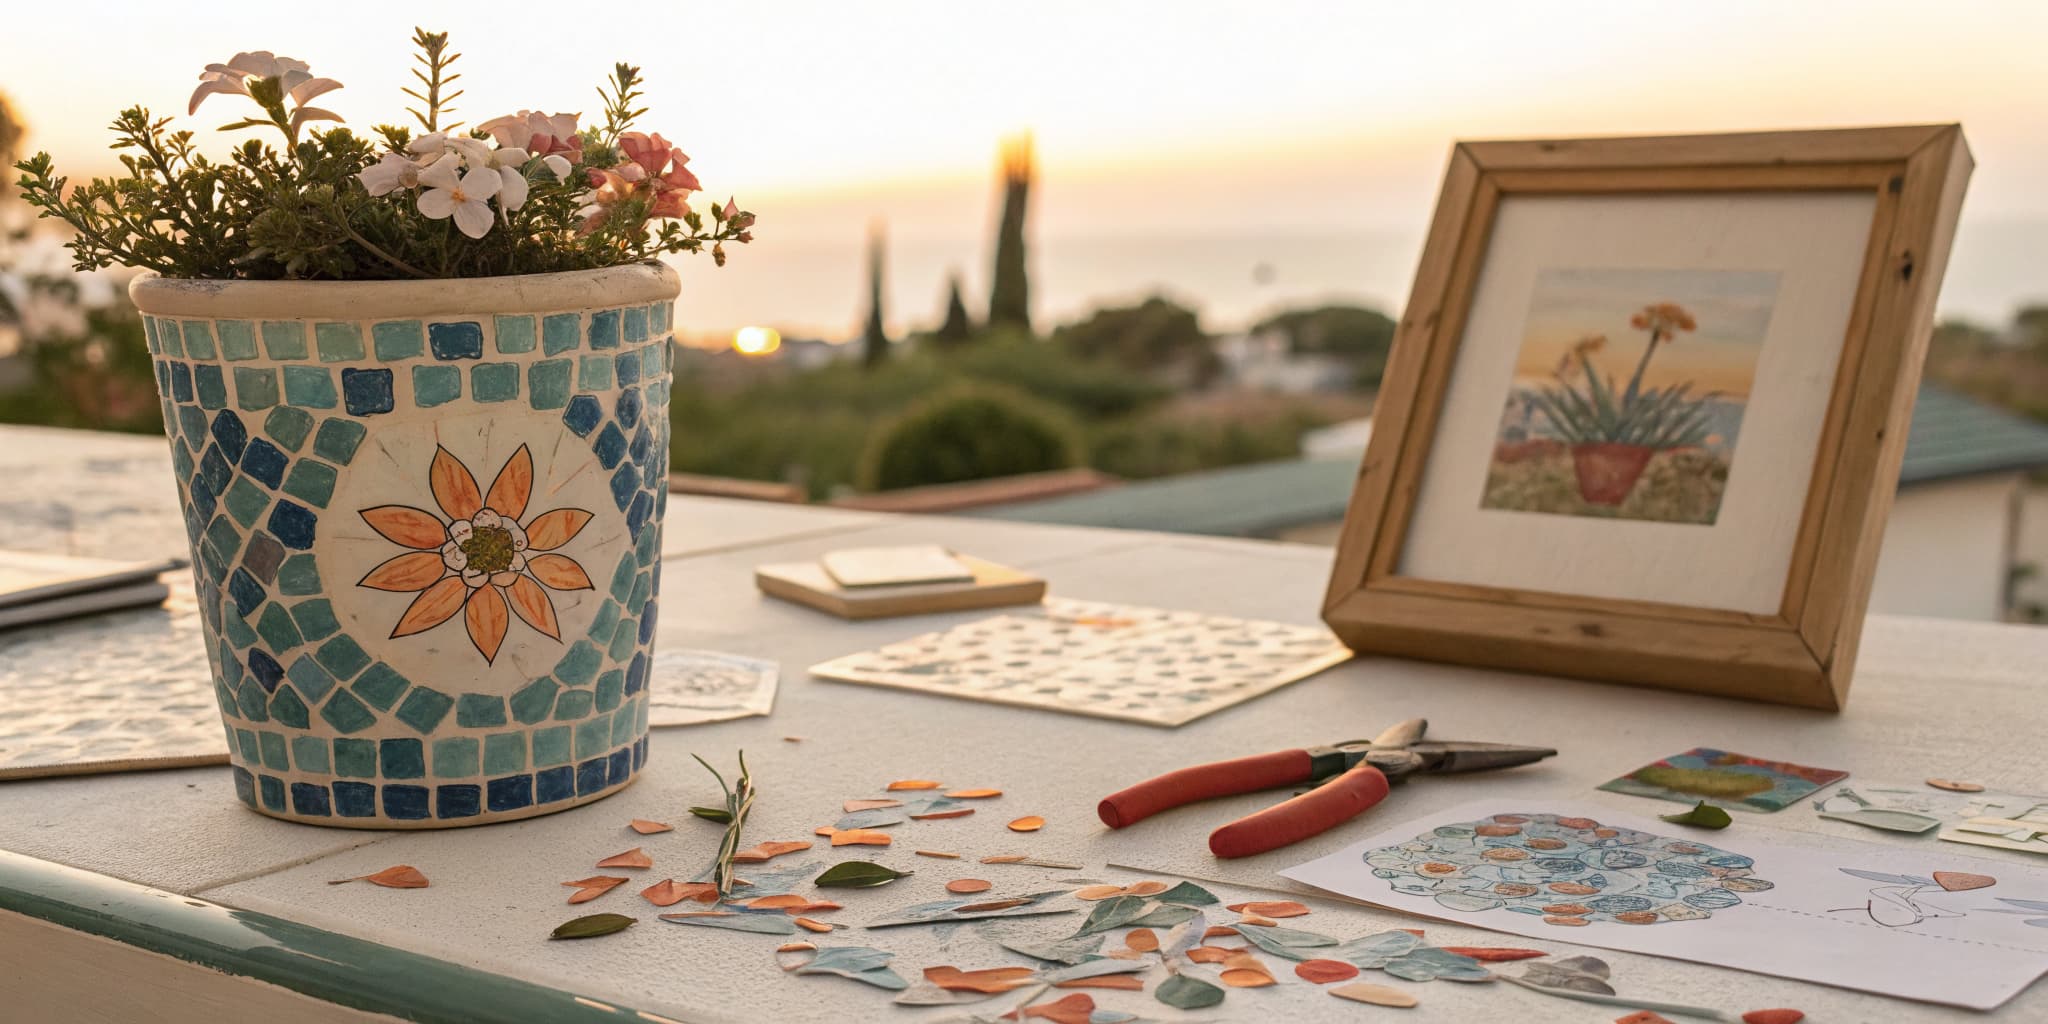
Mosaic looks intimidating from the outside. Tile cutters, thinset, lead lines - that is the heavy-duty version. This walkthrough is the opposite. You are using pre-cut glass tiles that already have smooth edges, so there is no nipping, no protective gear, no chance of nicking your fingers. The whole craft fits on a 10cm wooden coaster blank.

City Self-Sufficiency built this tutorial as the entry point she wishes she had when she started. By the end you will know how to seal a wooden blank, dry-fit a pattern, glue tiles down without making a mess, and finish the project with grout. The same skills scale up to bigger pieces - trivets, plant pot saucers, picture frames - once you have a coaster or two under your belt.

If you are exploring beginner crafts, two more good entry points sit nearby: how to make a pinch pot uses just your hands and a lump of clay, and polymer clay earrings only need an oven and a couple of cutters. For another coaster project that has nothing to do with tiles, see resin art for beginners.

Step-by-Step Guide

1

Gather Your Supplies

0:36
Step 1: Gather Your Supplies

The kit is short. You need a 10cm round MDF coaster blank, a small mixed pack of pre-cut glass mosaic tiles (the demo uses purple squares, red triangles, and green and yellow dots), a bottle of white PVA glue, and a small tub of white grout powder. Add a clean ceramic bowl and a teaspoon for mixing the grout, plus a soft cloth for wiping and buffing.

Pre-cut tiles are the secret to a beginner-friendly project. The edges are already smooth, so the finished coaster is safe to handle without anyone catching a knuckle on a sharp cut tile.

Tip

Look for mixed bags of glass tiles labelled for mosaics rather than buying single colors. You get more variety to play with and the price per tile is usually lower.

2

Seal the Wood Blank with PVA

1:24
Step 2: Seal the Wood Blank with PVA

Wood that is not sealed will swallow any spilled drink and warp, which pops the tiles off later. Five minutes of prep now saves the whole project.

Squeeze a couple of drops of PVA onto the base of the blank. Dip a finger or small brush in water, then rub the PVA across the wood until it spreads thin and the surface feels slightly slippery. Cover the bottom and the edges. Skip the top - that side is getting mosaicked and does not need sealing. Set the blank aside to dry.

Tip

You only need enough PVA to coat the surface, not soak it. If you can still see beads of glue when you stop, you used too much and the coat will dry uneven.

3

Dry-Fit the Tiles Before You Glue

2:20
Step 3: Dry-Fit the Tiles Before You Glue

Once the seal coat is dry, flip the blank over and lay tiles out on the top face. Do not commit any glue yet. With pre-cut tiles you cannot trim a piece to fit a gap at the end, so you need to know the pattern works before anything is permanent.

Place tiles around the edge first, then work toward the centre. PVA grabs quickly once it touches the wood, and the tile you most want to move later will be the one that sticks down hardest. Settle the arrangement first, then glue.

Tip

Take a phone photo of your dry-fit before you start gluing. If a tile shifts while you are working, you have a reference for putting it back where it belongs.

4

Pick a Simple, Striking Pattern

3:04
Step 4: Pick a Simple, Striking Pattern

For a small piece, less design beats more. The demo runs an alternating ring of purple squares and red triangles around the outside, then a band of green and yellow dots inside that, then repeats the pattern toward the centre. The repetition reads as a deliberate design instead of a busy jumble.

Once the pattern looks right, lift the outer ring of tiles aside in order so you can put them back the same way. You are ready to glue.

Tip

Two simple rules keep mosaic work neat: the corners of adjacent tiles need to line up, and the gaps between tiles need to be the same width. Follow both and your beginner piece will look intentional.

5

Glue the Outer Ring of Tiles

3:26
Step 5: Glue the Outer Ring of Tiles

Pipe a thin line of PVA where the outer ring will sit. Resist the urge to lay it down thick - too much glue lets tiles drift while it dries and squeezes up between the tiles, which makes a grouting mess later.

Set each tile back in place one at a time. While the glue is still wet you can nudge each tile to match its neighbour. Once you are happy with the corners and the gaps, move on.

Tip

If you squeeze out too much glue, wipe it back with a damp cotton bud before placing the tile. Dried PVA between tiles will show through the grout as a glossy lump.

6

Fill the Inner Rows and Let It Cure

4:59
Step 6: Fill the Inner Rows and Let It Cure

Work each row the same way: dry-fit, lift, glue, replace. With a mixed pack of tiles you want the colors evenly spaced. Avoid placing two of the same colour right next to each other, and keep the inter-tile gaps the same width as the outer row.

Once every tile is set, walk away. PVA needs a few hours to fully cure. If you start grouting too soon the tiles will shift under the pressure of your finger and the whole layout warps.

Tip

Five hours is the safe minimum cure time for PVA on a coaster-sized piece. Overnight is better if you have the patience - the longer it sets, the firmer the tiles will sit under the grout.

7

Mix the Grout

6:08
Step 7: Mix the Grout

Spoon roughly three tablespoons of grout powder into a clean dry bowl. The exact quantity does not matter - you would rather end with leftovers than run short halfway.

Add water one teaspoon at a time, stirring between each addition, until the mix reaches the consistency of thick toothpaste. It should hold a peak on the spoon but still squish smoothly when you push on it. Too wet and it runs off the tiles before it sets. Too dry and it will not press into the gaps.

Tip

Add water in small increments. Once the grout is too wet you can only fix it by adding more powder, which kicks off the whole proportion game again.

8

Apply the Grout and Wipe the Excess

6:51
Step 8: Apply the Grout and Wipe the Excess

Drop a blob of grout straight onto the centre of the coaster, then work it across the surface with your finger so it pushes into every gap between tiles. Cover the whole top. Because the wood is sealed, grout that lands on the edges will wipe straight off.

Once every joint is full, take a damp cloth and gently wipe the excess off the tile tops. You are not aiming for perfect yet - just clear most of the grout so the colours show through. Leave the coaster ten minutes, then wipe again.

Tip

Rinse and wring out your wiping cloth often. A grout-loaded cloth just smears it back over the tiles instead of lifting it away.

9

Buff with a Soft Cloth

7:49
Step 9: Buff with a Soft Cloth

Once the grout is almost completely dry, the surface of every tile will be hazed with grey dust. Take a soft dry cloth - a clean hand towel is ideal - and polish each tile in a small circle. The dust lifts off and the colour pops out.

You should end up with crisp grout lines between every tile, all the same width, with no haze on the surface. That is the finished mosaic. Use the coaster as is, or brush a thin coat of clear sealer over the grout if you want extra protection against stains.

Tip

If you skip sealing, expect the grout to discolour a little over time, especially with coffee and red wine. Replacing a stained coaster takes an evening, so plenty of crafters skip the sealer and just remake.

Products Used

☐ The Checklist

How to Make a Mosaic Coaster (Beginner Tile Craft)

Tools
5
Materials
6
Steps
9
Video
9 min

Your Guide

City Self-Sufficiency

As an Amazon Associate we earn from qualifying purchases. Links on this page may be affiliate links - clicking them and buying doesn't change your price, but helps support ShowMeStepByStep.

Tags

What's next

Weekly Digest

Liked this crafts tutorial?

Pick the categories you want to hear about. Weekly digest of new step-by-step tutorials. No spam, easy unsubscribe.

Send me tutorials about

We only email about new tutorials. Easy unsubscribe anytime.