How to Preserve Fall Leaves

CraftsEasy8:058 stepsBrowse more →
The finished result: How to Preserve Fall Leaves
Also in:Other Crafts

By CraftingStepByStepPublished

Based on a video by Red Ted Art (Maggy Woodley).

Leaves you bring in from a walk look wonderful for about four days. Then they curl, go brown at the edges, and shatter the moment a child picks one up.

A glycerine bath fixes that. The leaf drinks the solution up through its stem and the glycerine replaces the water it would otherwise lose, so instead of drying out it stays soft and leathery. Maggy Woodley from Red Ted Art walks through it here, and the whole thing is one dish, two ingredients, and a few days of waiting.

What glycerine does that pressing does not

Pressing is the method everyone knows, and it costs you most of the colour. Glycerine keeps far more of it, and it keeps the leaf flexible, which matters if you want to arrange leaves in a garland or wrap them round something rather than glue them flat.

Reds are the hard case

Worth knowing before you start: yellows and greens come through the glycerine bath beautifully. Reds fade towards brown. Maggy ran the same leaves through four methods side by side and the results were clear enough to plan around:

  • Glycerine bath - best all-rounder. Keeps colour and stays flexible. Yellows and greens do best.
  • Taping or laminating - the winner for reds by a distance. Works like a seal. Your leaves must be bone dry first or moisture gets trapped inside.
  • PVA glue - a coat of glue keeps some flexibility and makes the leaf last. Good for yellows, poor on reds, and the natural choice if the leaf is going into an art project anyway.
  • Pressing - loses the most colour, but gives you the flat shape you need to stick a leaf onto a vase or a lamp. Green survives pressing better than red does.

If you have a red maple you really care about, laminate that one and put the rest in the glycerine.

Step-by-Step Guide

8 steps · about 8 minutes.Check off each step as you go and your progress saves automatically.

1

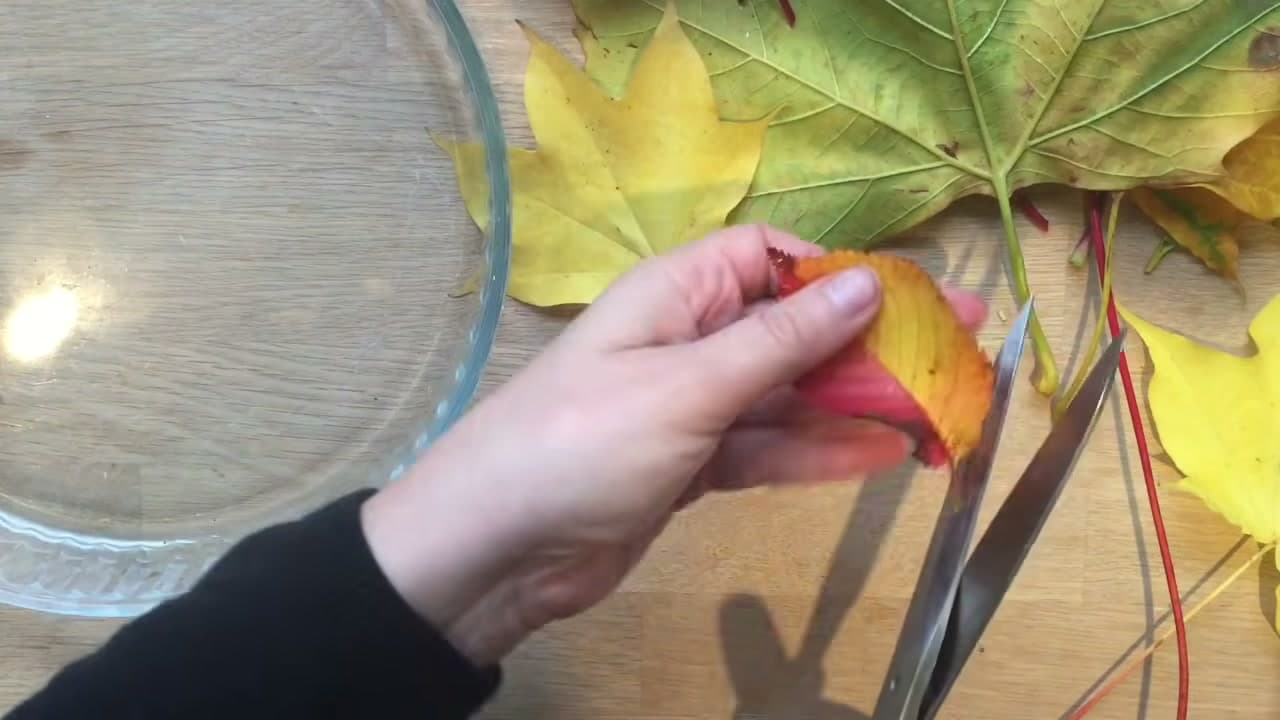
Step 1: Trim the Bottom of Every Stem

0:50
Step 1: Trim the Bottom of Every Stem - How to Preserve Fall Leaves

Snip a little off the bottom of each stem before anything else. It is the same reason you cut flowers before they go in a vase - a fresh cut opens the stem back up so the leaf can draw liquid instead of sitting sealed.

Pick leaves that have only just come down. A leaf that has been lying on wet ground for a week has already started to break down and will not take up much of anything.

Tip

Big leaves and small leaves work equally well. Just check they will actually lie flat in the dish you are planning to use.

Used in this stepgarden snips
2

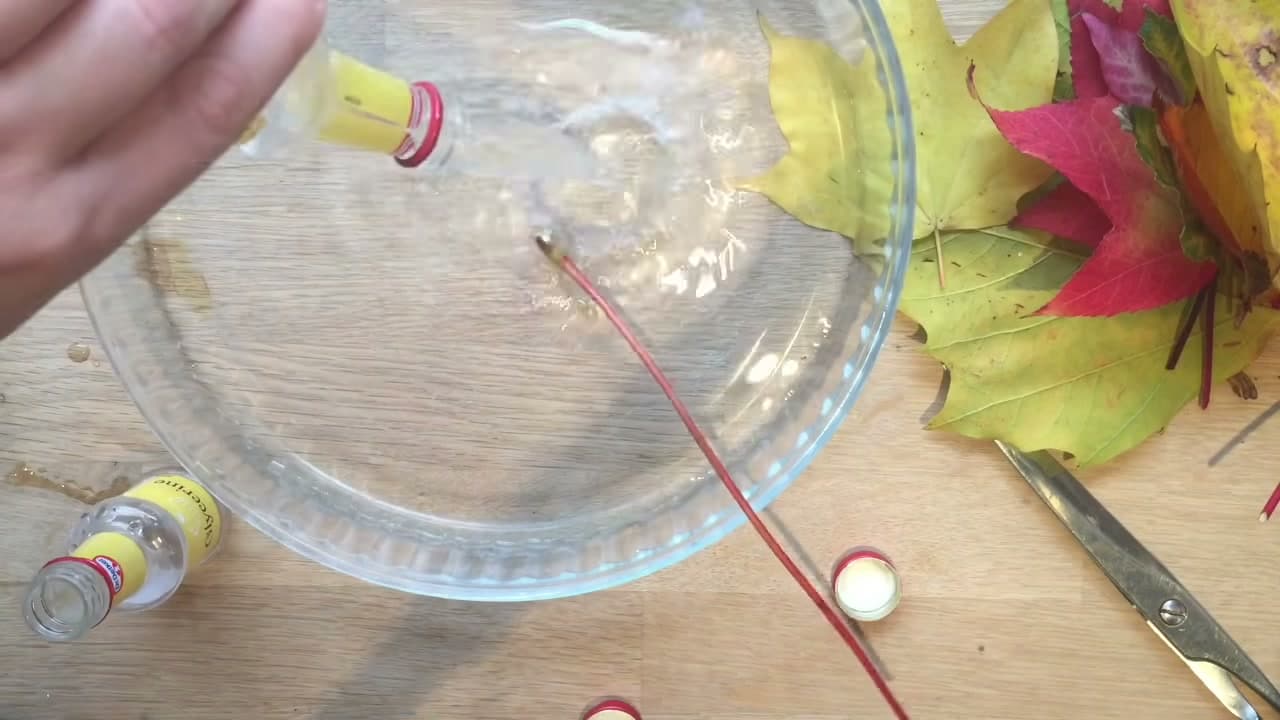
Step 2: Pour the Glycerine into a Shallow Dish

0:26
Step 2: Pour the Glycerine into a Shallow Dish - How to Preserve Fall Leaves

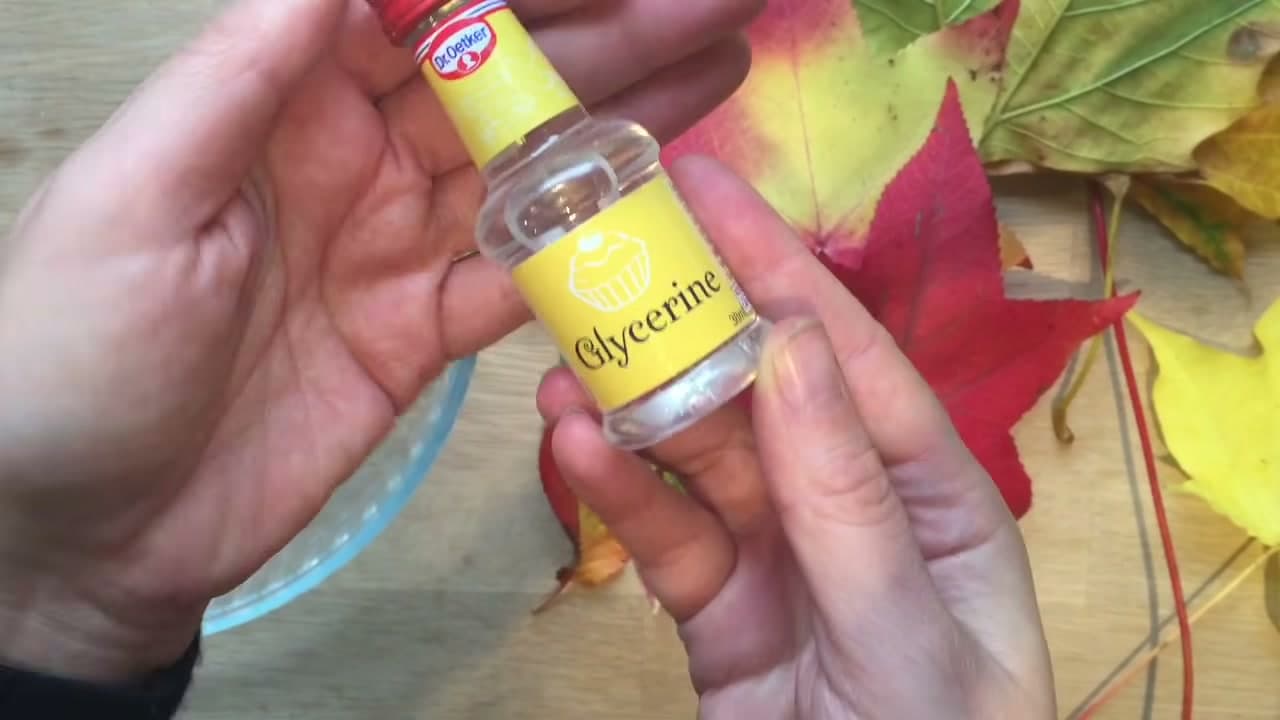
Glycerine sits in the baking aisle next to the food colouring, and a bottle costs very little. Empty the whole thing into a shallow dish.

Hang on to the empty pot. That is your measuring cup for the next step, which saves working out millilitres.

3

Step 3: Add Two Parts Water to One Part Glycerine

2:08
Step 3: Add Two Parts Water to One Part Glycerine - How to Preserve Fall Leaves

Fill the empty glycerine pot with water and tip it in. Do it twice for every pot of glycerine you used - two parts water, one part glycerine.

That ratio is the entire recipe. Too much glycerine and the leaves go greasy; too much water and they just rot.

4

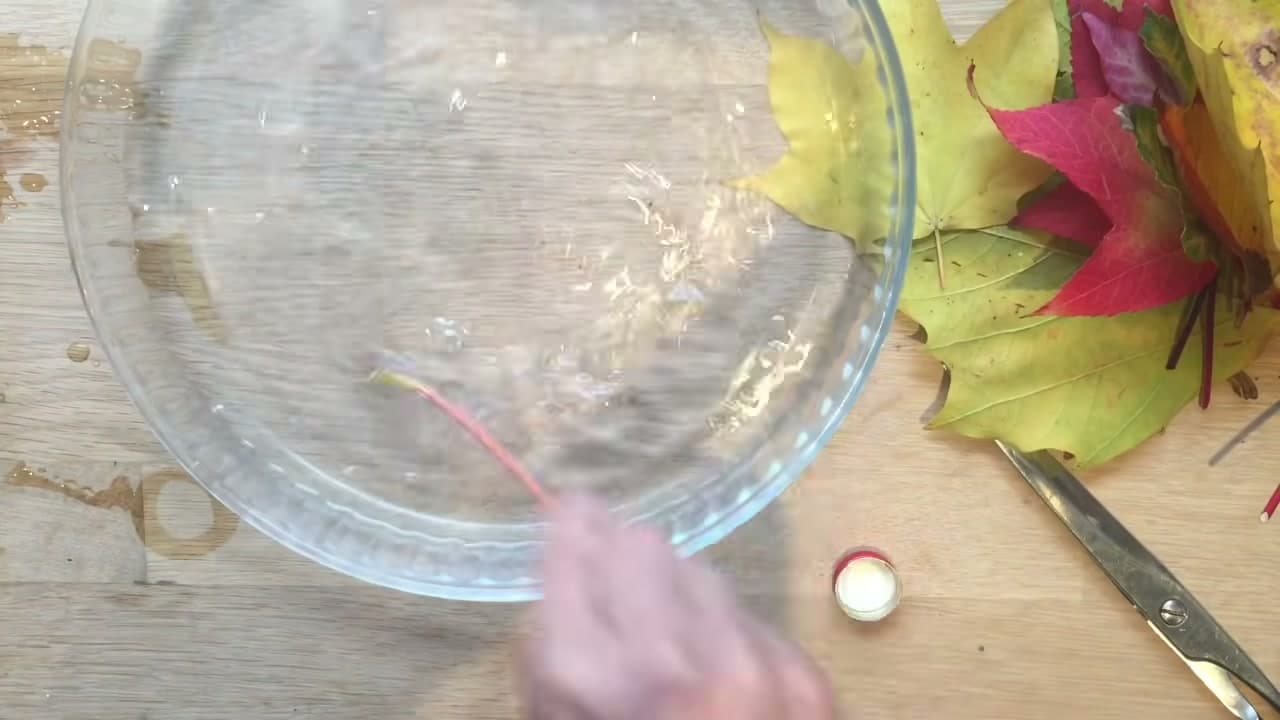
Step 4: Stir It Until It Is Properly Mixed

2:28
Step 4: Stir It Until It Is Properly Mixed - How to Preserve Fall Leaves

Give it a good stir. Glycerine is thick and heavy and it will happily sit in a layer on the bottom of the dish if you let it.

Leaves resting on a pool of neat glycerine while the top of the dish is nearly all water will not preserve evenly, and you cannot tell by looking once the leaves are in.

5

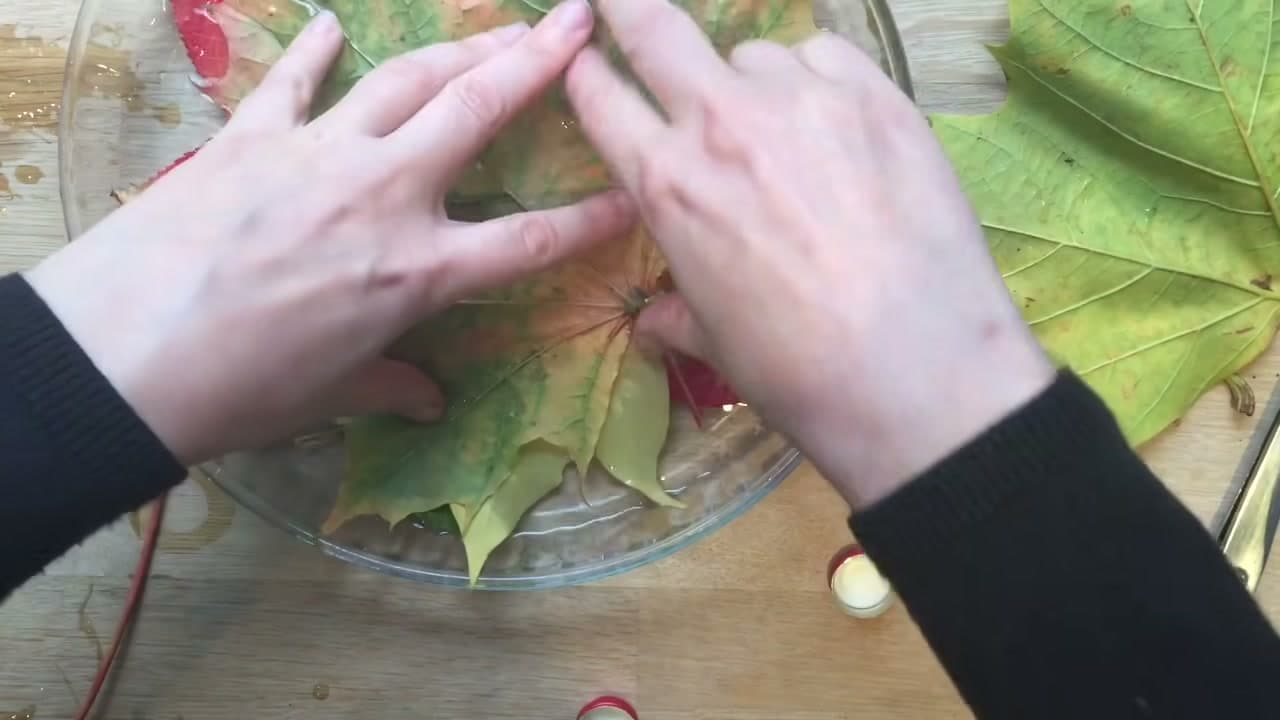
Step 5: Lay the Leaves In, Stems Down

3:02
Step 5: Lay the Leaves In, Stems Down - How to Preserve Fall Leaves

Put the leaves into the dish and press them under the surface. Make sure the cut ends of the stems are properly submerged, because the stem is what does the drinking.

6

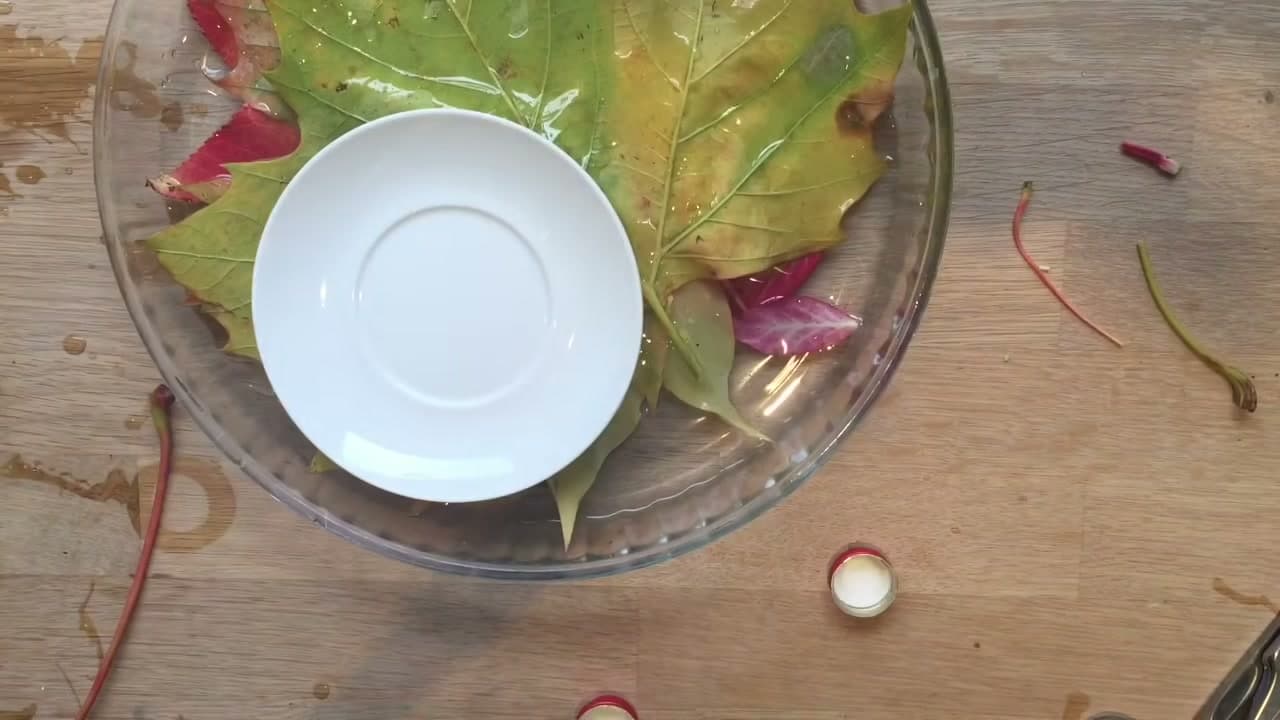
Step 6: Weigh Them Down with a Plate

3:26
Step 6: Weigh Them Down with a Plate - How to Preserve Fall Leaves

Set a plate on top so everything stays under. Leaves float, and any part of a leaf that sits above the surface simply will not take up the solution - you get a dry, brittle patch on an otherwise good leaf.

Tip

A saucer works better than a dinner plate. You want it small enough to sit inside the rim and press down, not span the whole dish.

7

Step 7: Leave It for Two to Six Days

3:50
Step 7: Leave It for Two to Six Days - How to Preserve Fall Leaves

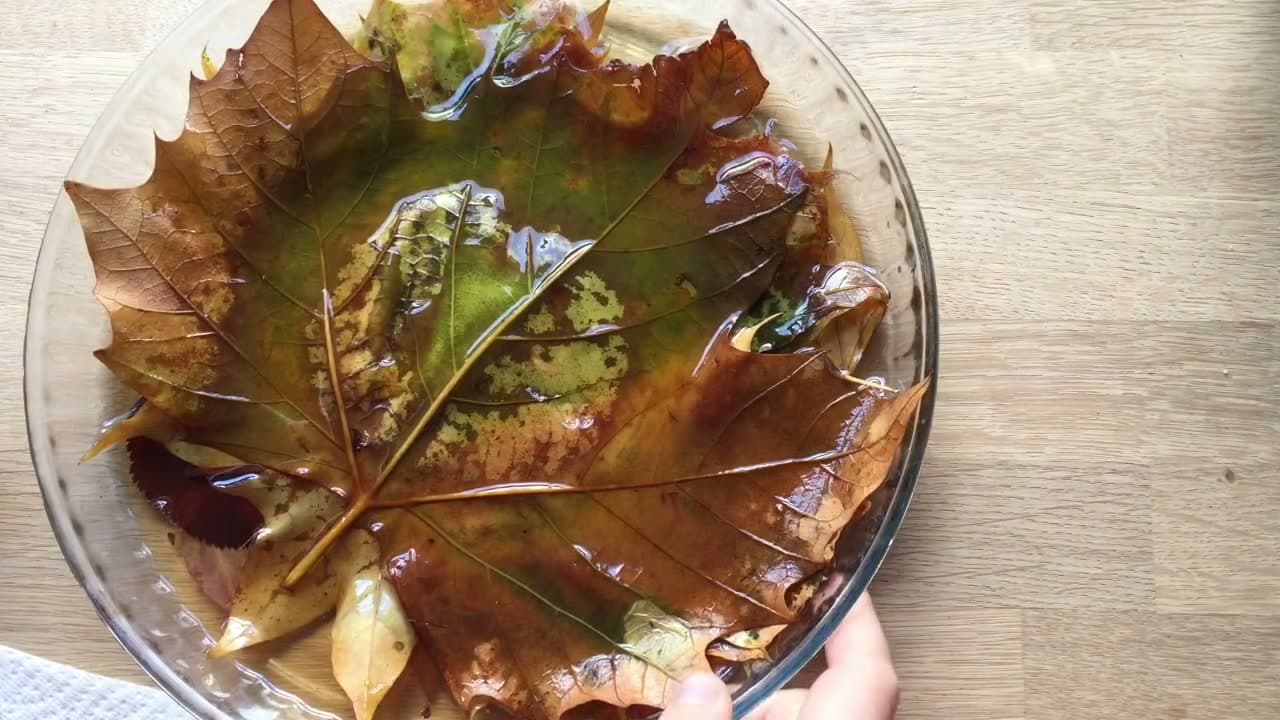
Put the dish somewhere out of the way and forget about it for a few days. Check on it as you go.

You will see the leaves darken a little and the solution turn cloudy. That is normal. They are ready when a leaf feels supple rather than papery between your fingers.

8

Step 8: Lift Them Out and Pat Them Dry

4:50
Step 8: Lift Them Out and Pat Them Dry - How to Preserve Fall Leaves

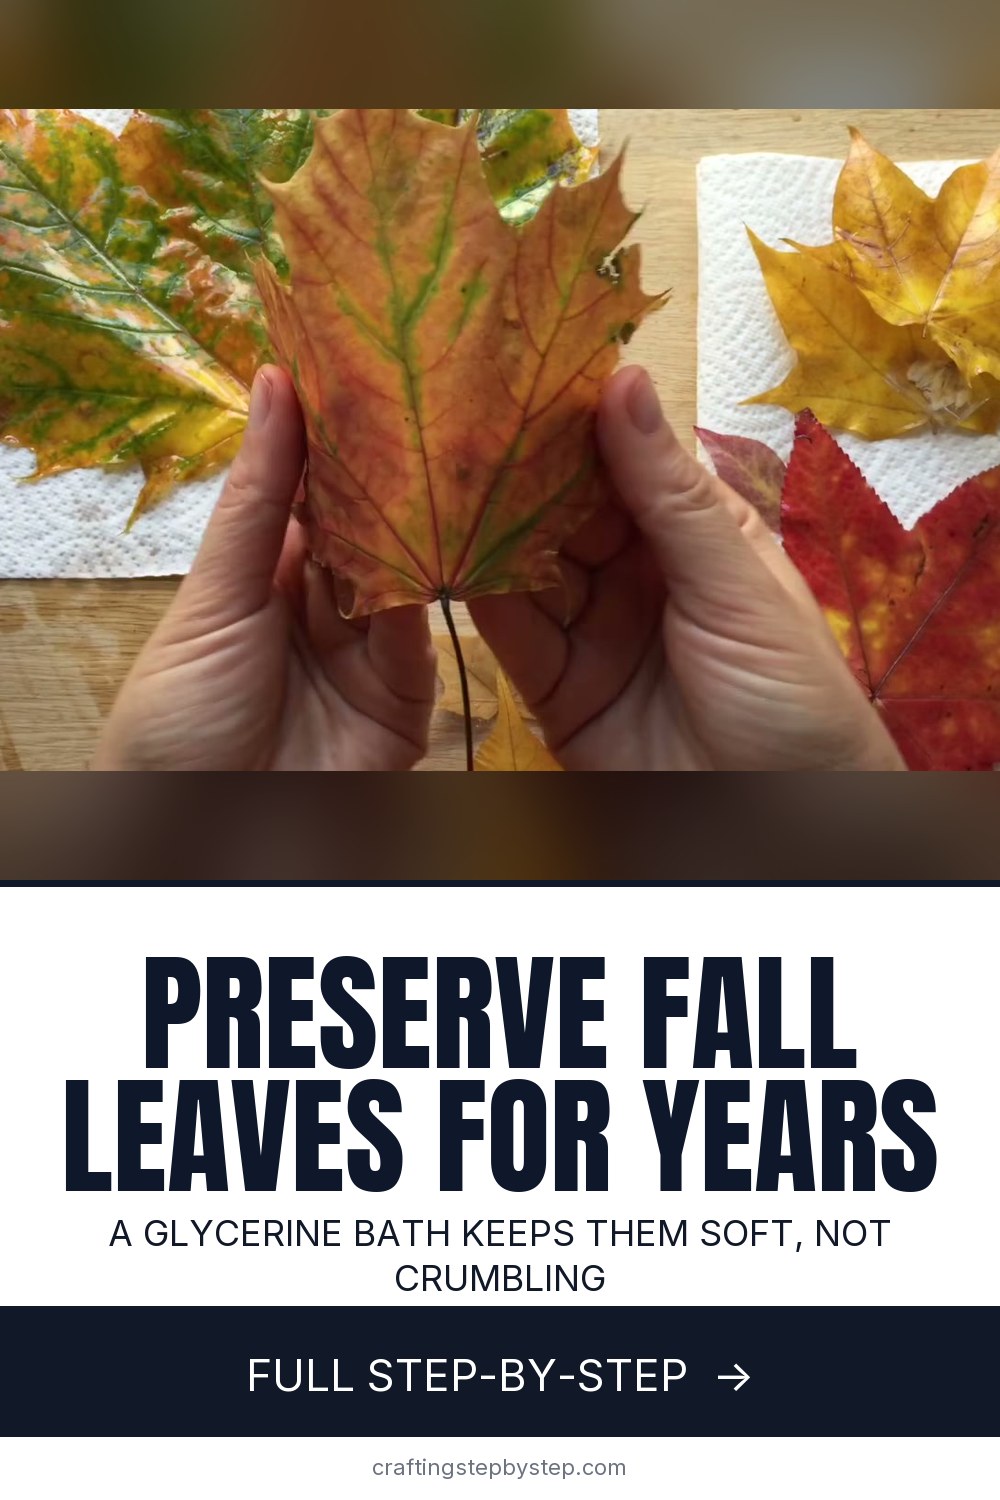
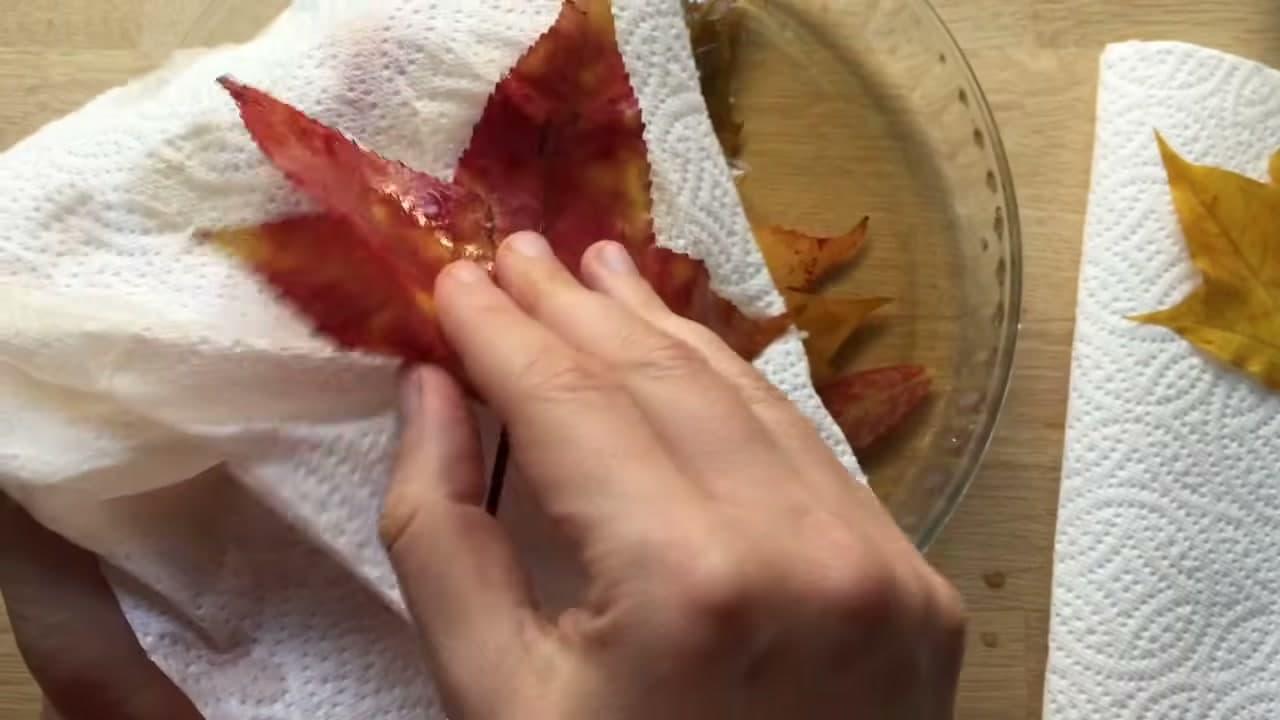
Take the leaves out and pat them on kitchen paper. They come out soft and slightly leathery with a faint sheen, which is exactly what you want - a preserved leaf you can bend without it snapping.

Yellows and greens will have held their colour well. Reds will have shifted towards brown, and there is not much you can do about that with this method.

Tip

They stay slightly tacky for a day or two. Leave them on fresh kitchen paper somewhere airy before you craft with them.

Used in this stepmod podge

Keep going

How to Make a Ghost Garland

Products Used

The Checklist

How to Preserve Fall Leaves

Tools
3
Materials
4
Steps
8
Video
8 min

Tools we recommend

Your Guide

Red Ted Art (Maggy Woodley)

As an Amazon Associate we earn from qualifying purchases. Links on this page may be affiliate links - clicking them and buying doesn't change your price, but helps support CraftingStepByStep.

Tags

Sunday How-To

New crafts tutorials, every Sunday

One short email with the week's best step-by-step guides. Free, no spam, unsubscribe anytime.

Did this work for you?

What's next

Related collections

Curated theme pages that include this tutorial.

Weekly Digest

Liked this crafts tutorial?

Pick the categories you want to hear about. Weekly digest of new step-by-step tutorials. No spam, easy unsubscribe.

Send me tutorials about

We only email about new tutorials. Easy unsubscribe anytime.