How to Use Tile Nippers to Cut Mosaic Glass

CraftsEasy5:278 stepsBrowse more →

By CraftingStepByStepPublished

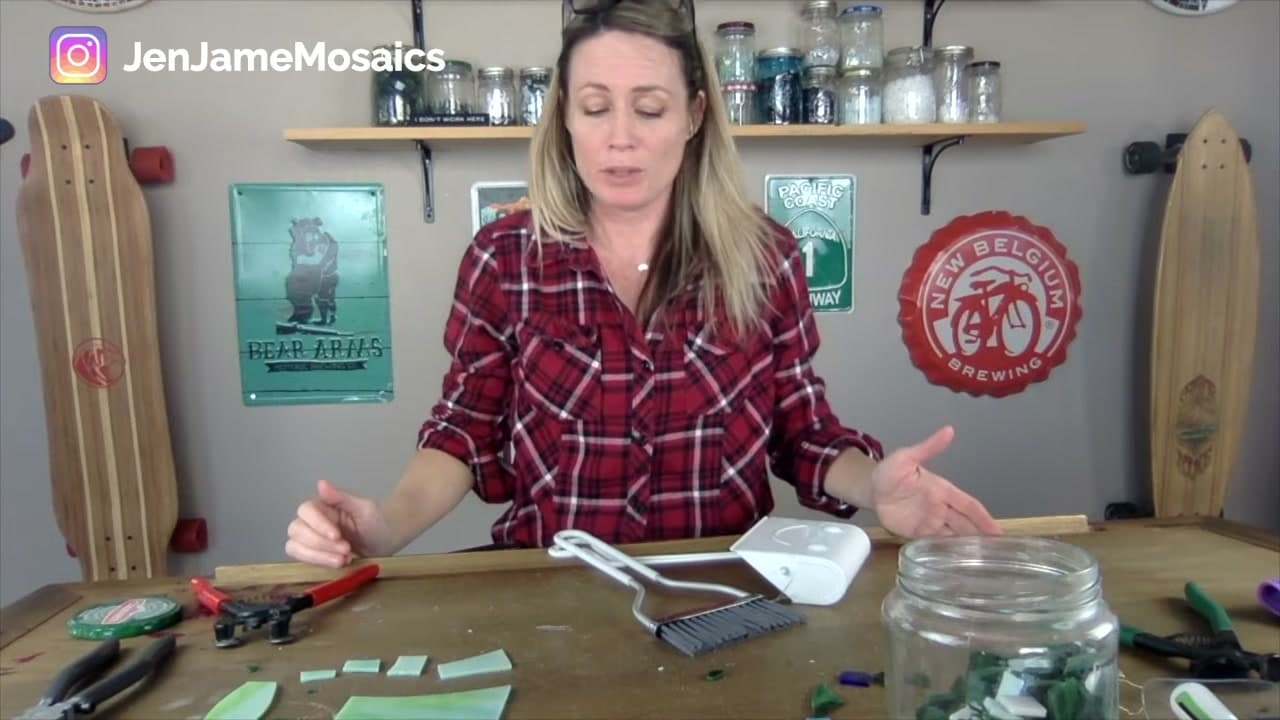
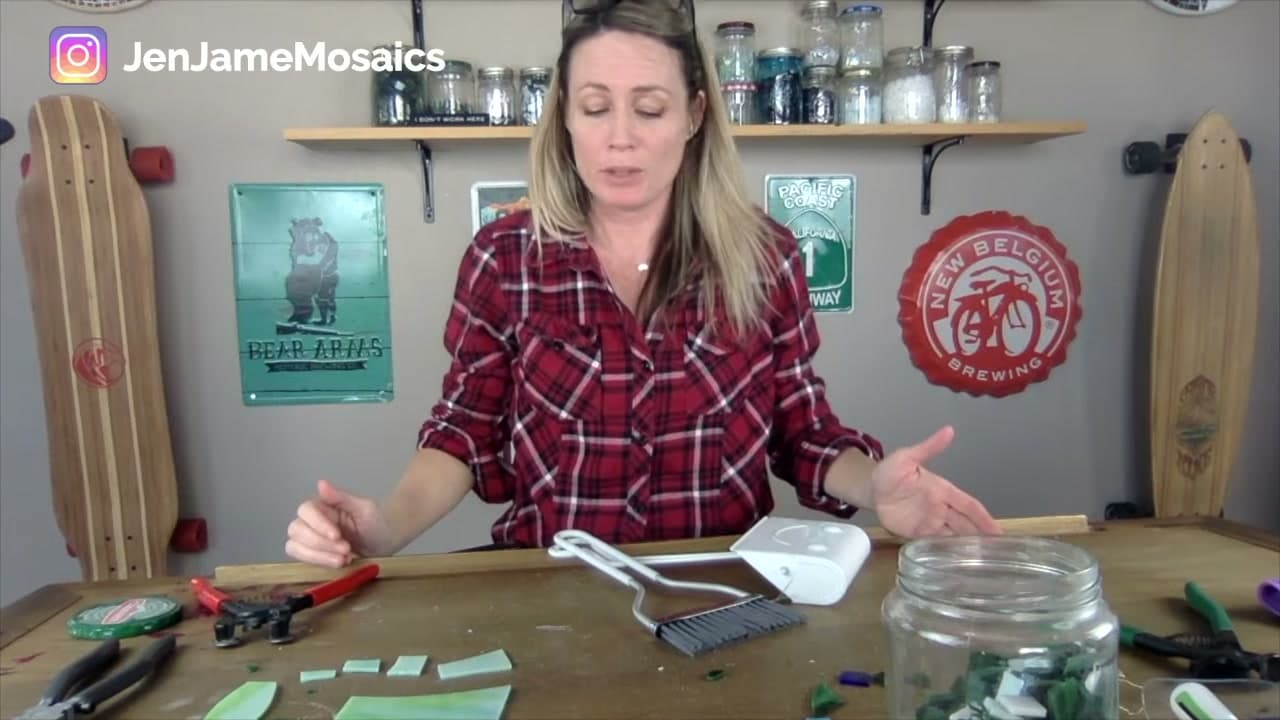
Based on a video by Jen Jamē Mosaics.

Jen of Jen Jamē Mosaics makes a point that saves beginners a lot of wasted glass: the nippers most people buy first are the wrong ones. Blunt-jaw tile nippers are built for porcelain, stone and ceramic. Put glass between those jaws and it crushes.

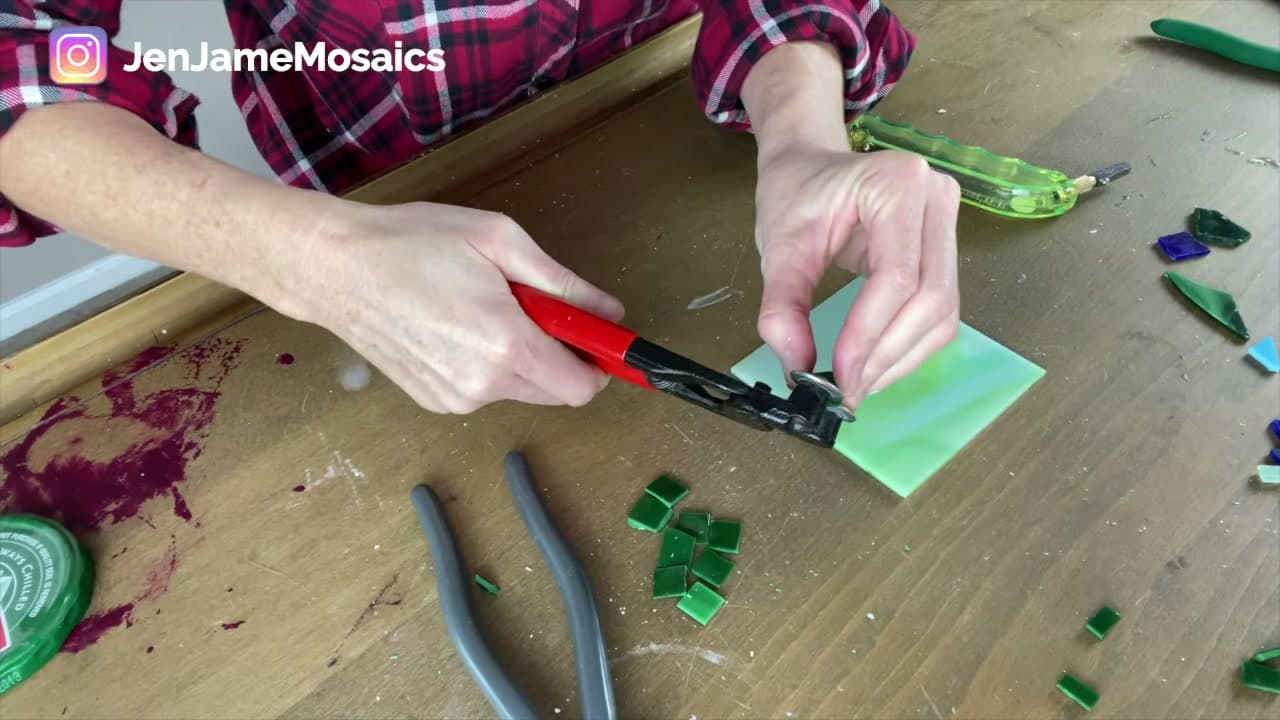
Wheeled nippers work differently. Two small carbide wheels press into the glass and start a break that runs where you put them. That is the whole skill. Place the wheels, squeeze, get the shape.

This walks through the grip that keeps shards out of your lap, the three cuts that cover most mosaic work, and the point where a piece of glass is simply too big for nippers and you switch to running pliers. None of it needs a saw or a grinder, though a grinder is handy later for smoothing what you have cut.

Fair warning on expectations: these are random cuts, not precision ones. For a mosaic that is exactly what you want.

Once the pieces are set, grouting a mosaic walks through mixing, packing and cleaning back.

Step-by-Step Guide

8 steps · about 5 minutes.Check off each step as you go and your progress saves automatically.

1

Step 1: Pick Wheeled Nippers, Not Blunt Ones

0:33
Step 1: Step 1: Pick Wheeled Nippers, Not Blunt Ones

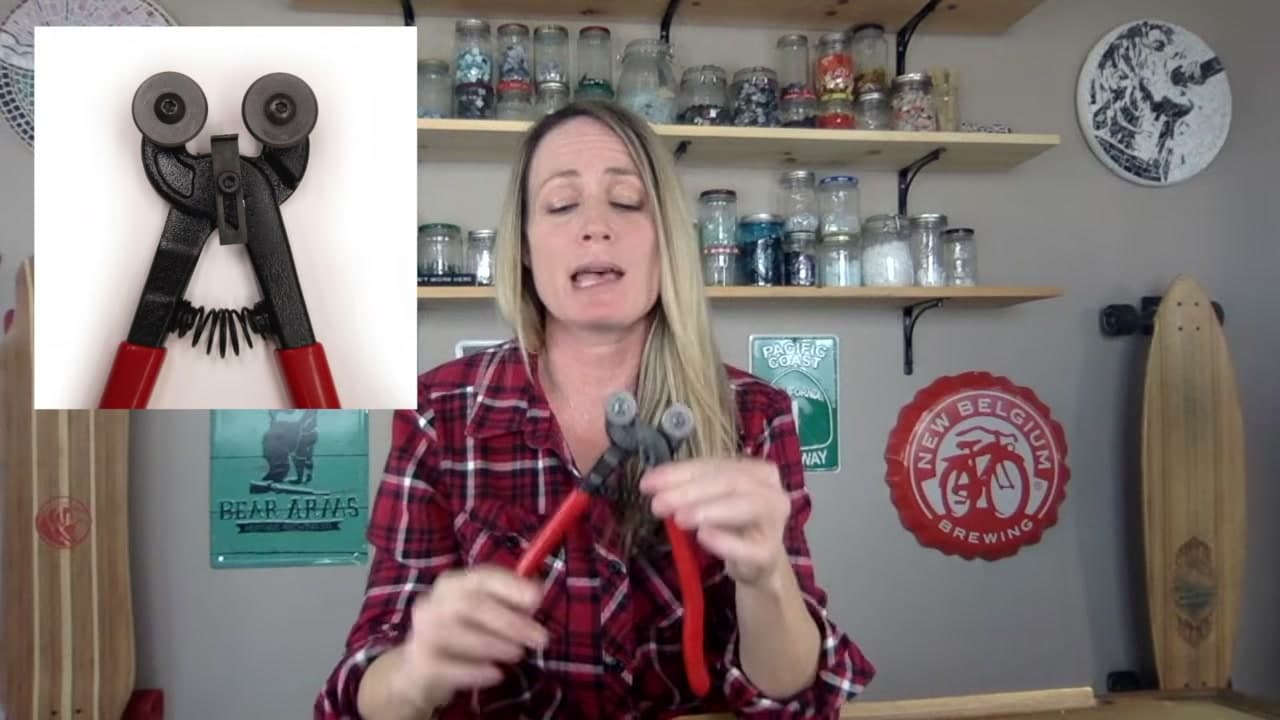
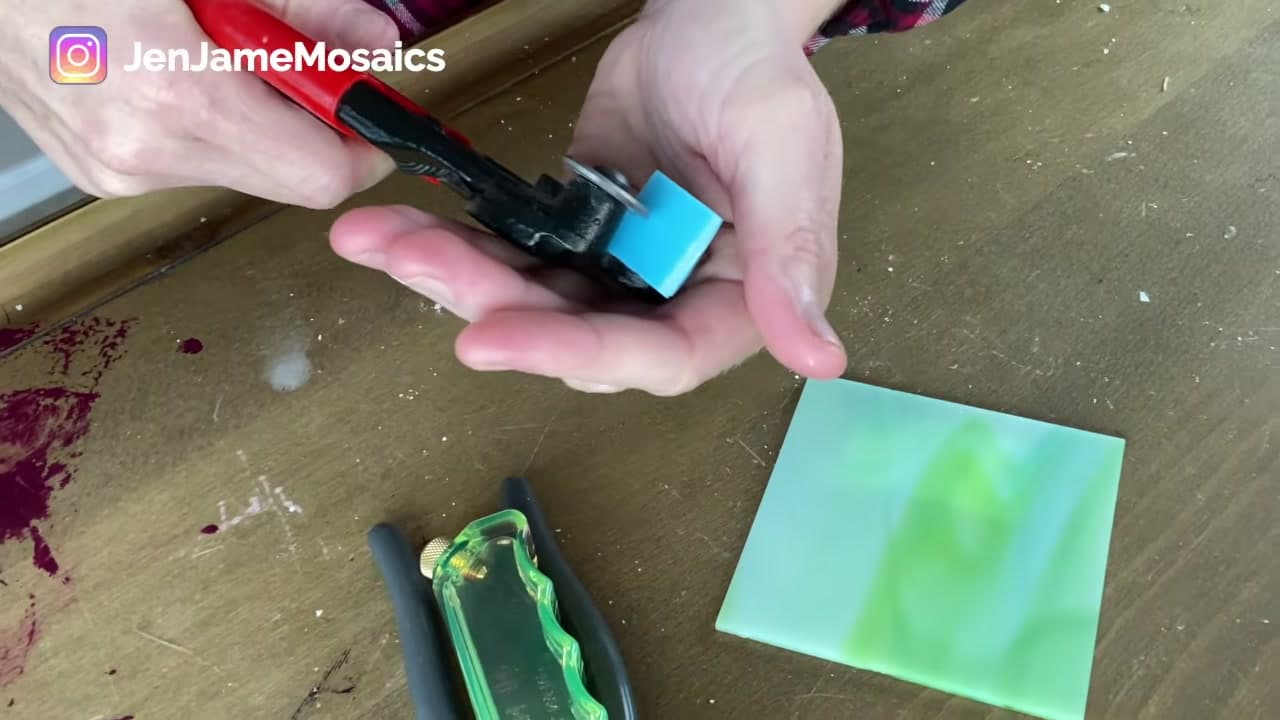
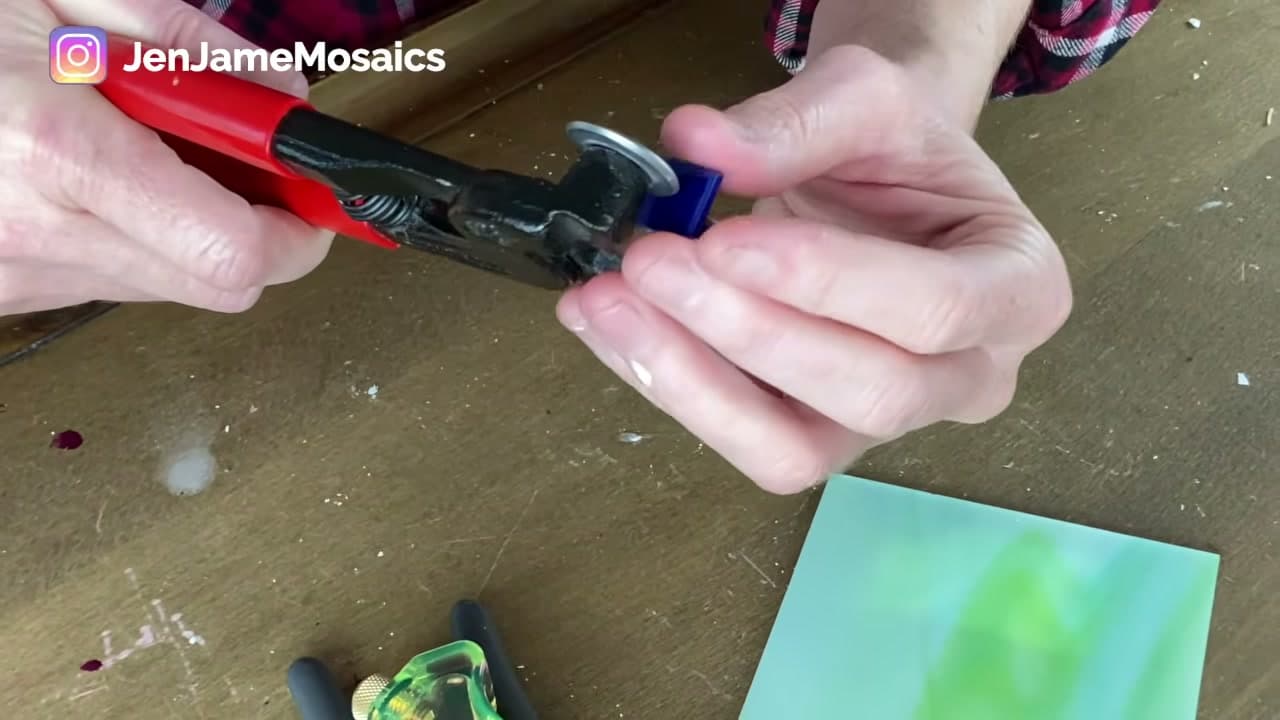
Reach for wheeled nippers. The blunt-jaw kind are built for porcelain, stone and ceramic, and they will crush glass rather than cut it.

Two small carbide wheels do the work here. They press in and start a break instead of shattering the piece, which gives you a cleaner edge and far more say over the shape. The wheels also rotate, so when one spot dulls you turn them slightly and carry on.

Tip

If you already own blunt nippers, keep them. They are still the right tool for ceramic and unglazed porcelain tesserae.
2

Step 2: Cup Your Hand Around the Tile

1:06
Step 2: Step 2: Cup Your Hand Around the Tile

Hold the tile against the wheels and cup your free hand loosely underneath and around it.

Glass throws shards when it snaps. Cupping catches them in your palm instead of sending them across the floor, and it stops the cut piece skittering off the bench. It also keeps the tile steady through the squeeze, which matters more than it sounds: a piece that shifts mid-cut breaks somewhere you did not intend.

Tip

Wear safety glasses for this. Cupping catches most of what flies, but not all of it, and glass dust goes where it likes.

3

Step 3: Take Your First Cut From the Edge

1:23
Step 3: Step 3: Take Your First Cut From the Edge

Start at the edge. Bring the wheels in a short way from the corner, cup your hand, and squeeze once and firmly.

Edge cuts break the most predictably and make the least mess, which is why they are the place to build confidence. What comes off is a rough rectangle. Rough is fine. Mosaic pieces get set into adhesive and grouted, so a slightly uneven edge disappears into the finished piece.

Tip

One decisive squeeze beats several tentative ones. Half-pressure tends to crack the glass somewhere you did not choose.

4

Step 4: Move to the Middle for a Diagonal

1:58
Step 4: Step 4: Move to the Middle for a Diagonal

For a diagonal, take the wheels off the edge and set them into the middle of the tile, lined up along the angle you want.

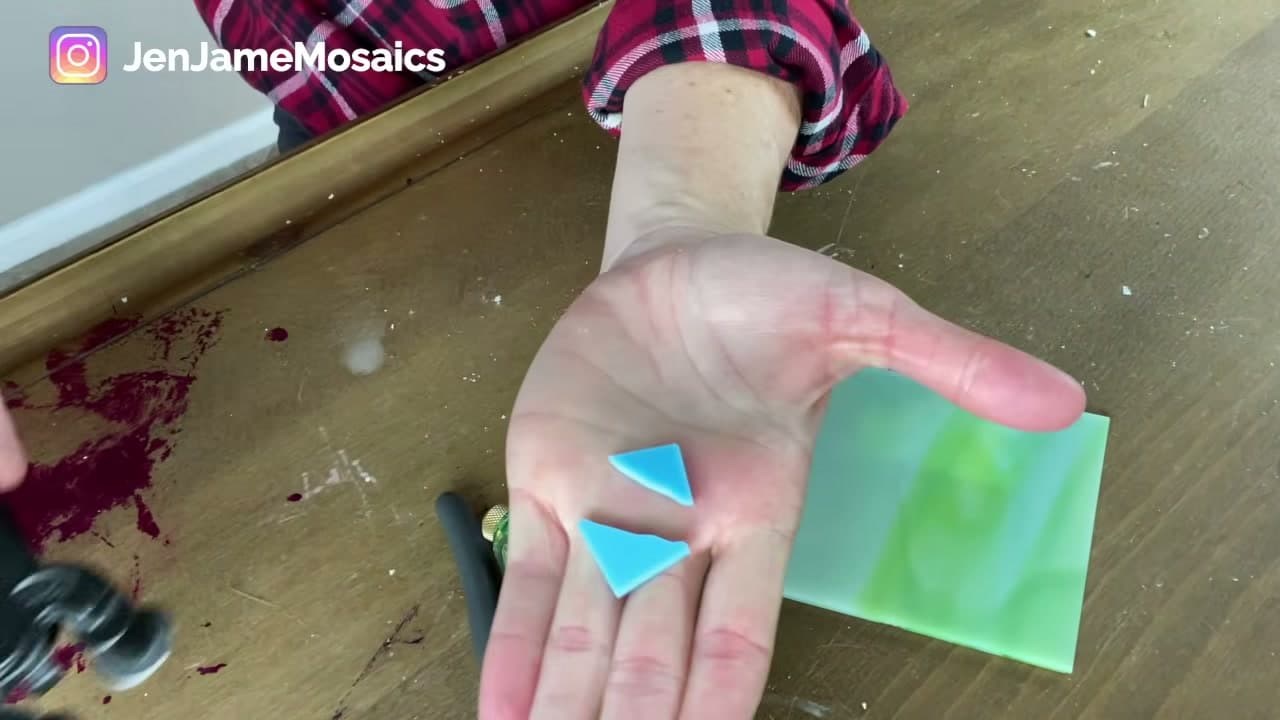
Cup your hand and squeeze the same way. The break follows the wheels, so placement is the entire trick. Two clean triangles from one square is the most useful cut in mosaic work, and it is the one worth practising on offcuts until it stops feeling like luck.

Tip

Glass with heavy texture or streaks can wander off your line. Cut those pieces slightly oversized and trim back.

5

Step 5: Nibble Around for Curves

2:23
Step 5: Step 5: Nibble Around for Curves

A curve is not one cut. It is a lot of small ones.

Take little bites around the shape, moving a few millimetres at a time and working your way round the edge. Keep going until the arch looks the way you want it. Nibbling is slower than a single squeeze and it produces a lot of small waste, but by hand it is the only way to get a rounded edge. If the result is jagged, that is what a glass grinder is for.

Tip

Take smaller bites than feel necessary. Greedy bites crack across the piece and you lose the whole shape.

6

Step 6: Score and Switch to Running Pliers for Sheets

3:22
Step 6: Step 6: Score and Switch to Running Pliers for Sheets

A full sheet of glass is too big for nippers. Trying anyway wastes glass and risks a break across your hand.

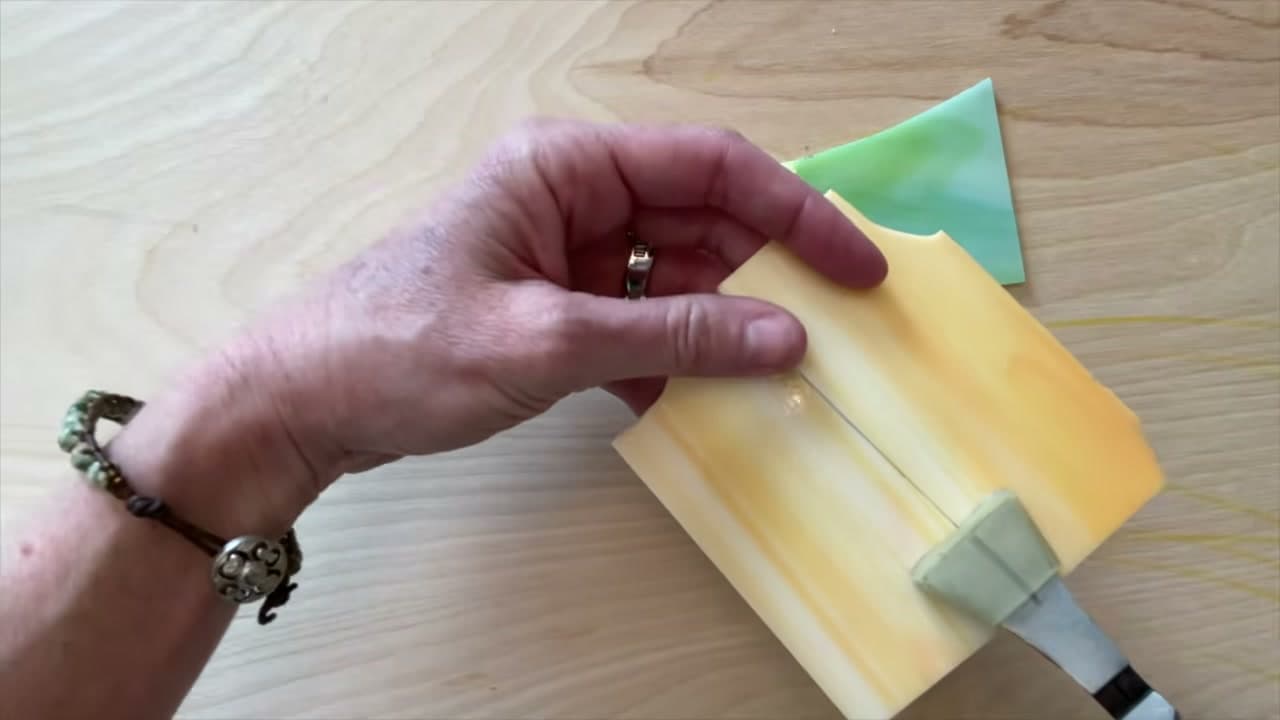
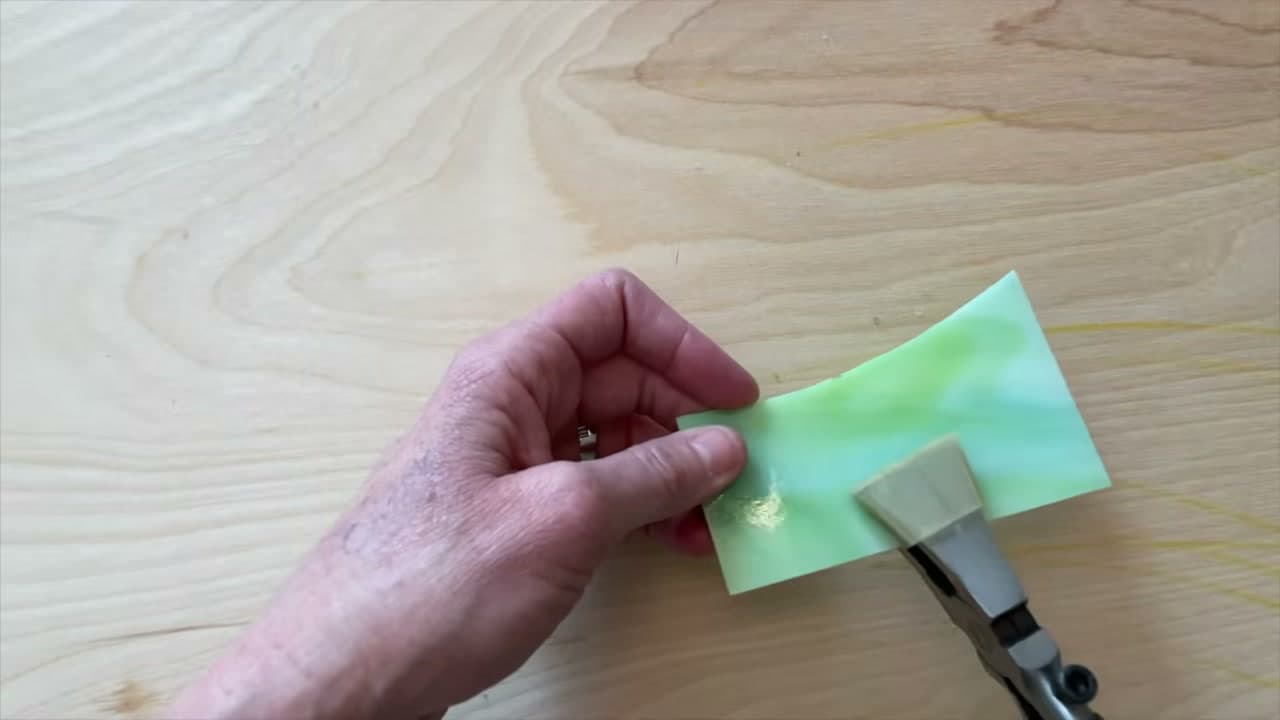
Score the line first with an oil-filled cutter, either a pistol grip or a pencil-style one, then bring in running pliers. Their curved jaw presses down either side of the score and opens it into a clean break across the whole sheet. One pass with the scorer is enough. Going over the same line twice dulls the wheel and gives a worse break.

Tip

Pistol grip suits stiff hands and long scores. Pencil style gives finer control on tight lines. Either works.

7

Step 7: Line Up the Guide Mark and Snap

3:25
Step 7: Step 7: Line Up the Guide Mark and Snap

Most running pliers have a guide mark stamped into the top of the jaw. Line that mark directly over your score, then squeeze steadily rather than snapping at it.

The sheet separates along the line and leaves you strips you can nip down into smaller pieces. Not every pair has the mark, so if yours does not, centre the jaw on the score by eye and keep the pliers square to the line.

Tip

Break the sheet into manageable strips first, then nip the strips. Working down in stages wastes far less glass.

8

Step 8: Clear the Bench Before You Walk Away

4:04
Step 8: Step 8: Clear the Bench Before You Walk Away

Glass dust and slivers build up fast, and they are genuinely dangerous. This is the step people skip and regret.

Sweep the bench with a brush and dustpan into a jar or tin. Sort the usable offcuts by colour while you are there, because a jar of pre-cut tesserae is what makes the next project quick to start. Put the nippers and pliers away rather than leaving them jaw-up where someone reaches in blind.

Tip

Do not brush glass dust with a bare hand, and do not use the household vacuum. Slivers cut through the bag and stay in the hose.

Products Used

☐ The Checklist

How to Use Tile Nippers to Cut Mosaic Glass

Tools
7
Materials
2
Steps
8
Video
5 min

Tools we recommend

Your Guide

Jen Jamē Mosaics

As an Amazon Associate we earn from qualifying purchases. Links on this page may be affiliate links - clicking them and buying doesn't change your price, but helps support ShowMeStepByStep.

Tags

Sunday How-To

New crafts tutorials, every Sunday

One short email with the week's best step-by-step guides. Free, no spam, unsubscribe anytime.

Did this work for you?

What's next

Related collections

Curated theme pages that include this tutorial.

Weekly Digest

Liked this crafts tutorial?

Pick the categories you want to hear about. Weekly digest of new step-by-step tutorials. No spam, easy unsubscribe.

Send me tutorials about

We only email about new tutorials. Easy unsubscribe anytime.