How to Cut a Glass Bottle Into Rings
Source: Glass House • Full tutorial: www.craftingstepbystep.com/crafts/how-to-cut-a-glass-bottle
- Difficulty
- Medium
- Hands-on time
- About 45 minutes
- Cost
- About $3 to $8
- Makes
- a set of glass rings cut from a bottle

Tools
- bottle cutter
- heat gun
- ice bucket or deep container
- permanent marker
- safety glasses
- cut-resistant gloves
Materials
- empty wine bottles
- ice
- cold water
- scrap paper strip
- wet-dry sandpaper
Steps
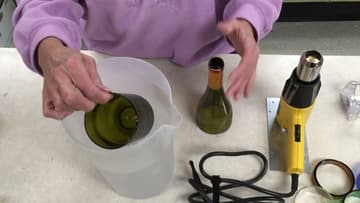
1. Set Out the Cutter, the Heat Gun and a Bucket of Ice
Three things do this job. A bottle cutter with an adjustable carriage, a heat source, and a container of ice water deep enough to swallow the scored part of the bottle.
Tip: Boiling water instead of a heat gun works too, but it is slower and clumsier on a bottle with several scores on it. Watch this step
2. Mark a Registration Line Down the Bottle
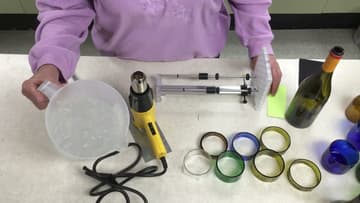
Draw a straight line down the side of the bottle with a marker. This is your start and finish mark.
Tip: A silver or white paint marker shows up far better on dark green and brown bottles than a black sharpie does. Watch this step
3. Slip a Scrap of Paper Under the Cutting Wheel
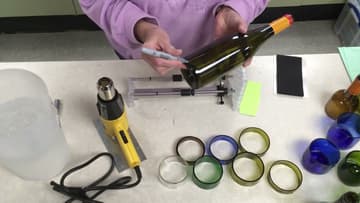
Before the bottle touches the wheel, wedge a small piece of paper between the two. The paper holds the glass off the carbide just far enough that you cannot start scratching until you are ready.
Tip: A folded sticky note is the right thickness. Thicker card lifts the bottle enough to change the angle of the wheel. Watch this step
4. Set the Pressure Pad and Line Up the Mark
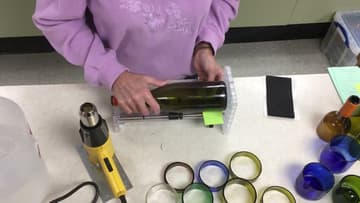
Bring the pressure pad down onto the bottle so it sits square, then rotate the bottle until your registration line meets the cutting wheel. Now pull the paper out.
Tip: Bottles from the same brand are usually identical. Set the cutter once and you can run a whole case without touching the adjustment. Watch this step
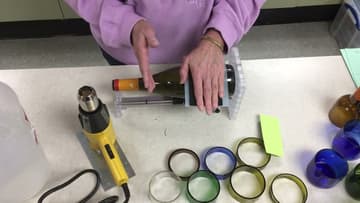
5. Loosen the Head and Roll the Bottle Toward You
Back the cutting head off until it can float. Glass bottles are not perfect cylinders, and a head that is locked down rigid skips over every dip in the surface.
Tip: Too much pressure crushes the glass instead of scoring it and leaves a chalky white line. If you can see the score clearly, you leaned on it too hard. Watch this step
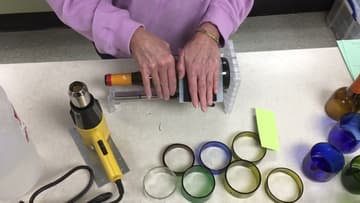
6. Stop the Second the Line Comes Back Around
Watch for your marker line. The instant it arrives back at the wheel, stop rolling and lift the pressure.
Tip: Run a fingernail over it. A proper score catches very slightly. If your nail glides straight over, roll it again with a touch more pressure. Watch this step
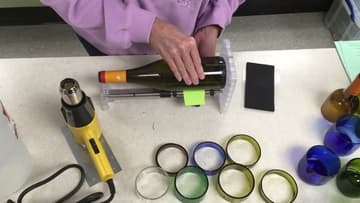
7. Move the Head an Inch and Score Every Ring
Loosen the carriage, slide the cutting head about an inch along the rail, and repeat: paper in, line up, paper out, one clean revolution. Keep going until every ring you want out of this bottle has its own score.
Tip: An inch is about the narrowest ring that survives handling. Go thinner than that and they crack while you are sanding them. Watch this step
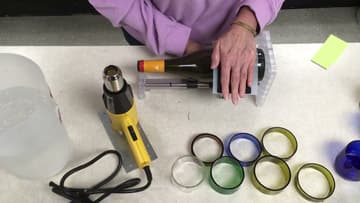
8. Heat the Bottle, Turning It the Whole Time
Heat gun on high, bottle held over it, turning constantly so no single spot gets ahead of the rest. You are aiming to warm the glass along every score at the same rate.
Tip: Keep the gun moving along the length of the scored section too, not just around it. A hot band and a cold band on the same bottle is what causes an ugly break. Watch this step
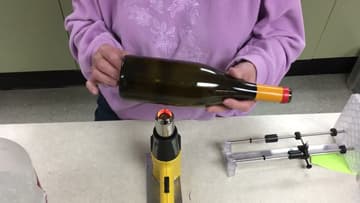
9. Plunge It Straight Into the Ice Water
Straight down into the bucket, all the way past the top score. No hesitating on the way in, because a slow entry cools the bottom of the bottle before the top and the break wanders off the line.
Tip: Deep and cold beats wide and cool. A tall narrow container lets you drop the bottle in fast without slopping ice water everywhere. Watch this step
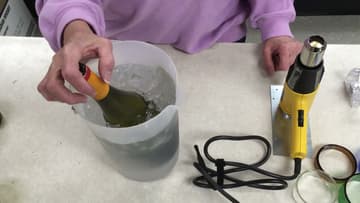
10. The Rings Come Apart in Your Hands
Lift the bottle out and the sections separate, sometimes on their own and sometimes with the gentlest twist. If a score has not fully run, warm that section again and dunk it a second time rather than forcing it.
Tip: Sand wet, always. Dry sanding glass throws a fine dust you do not want anywhere near your lungs. Watch this step