How to Make a Gift Card Holder From 6x6 Paper

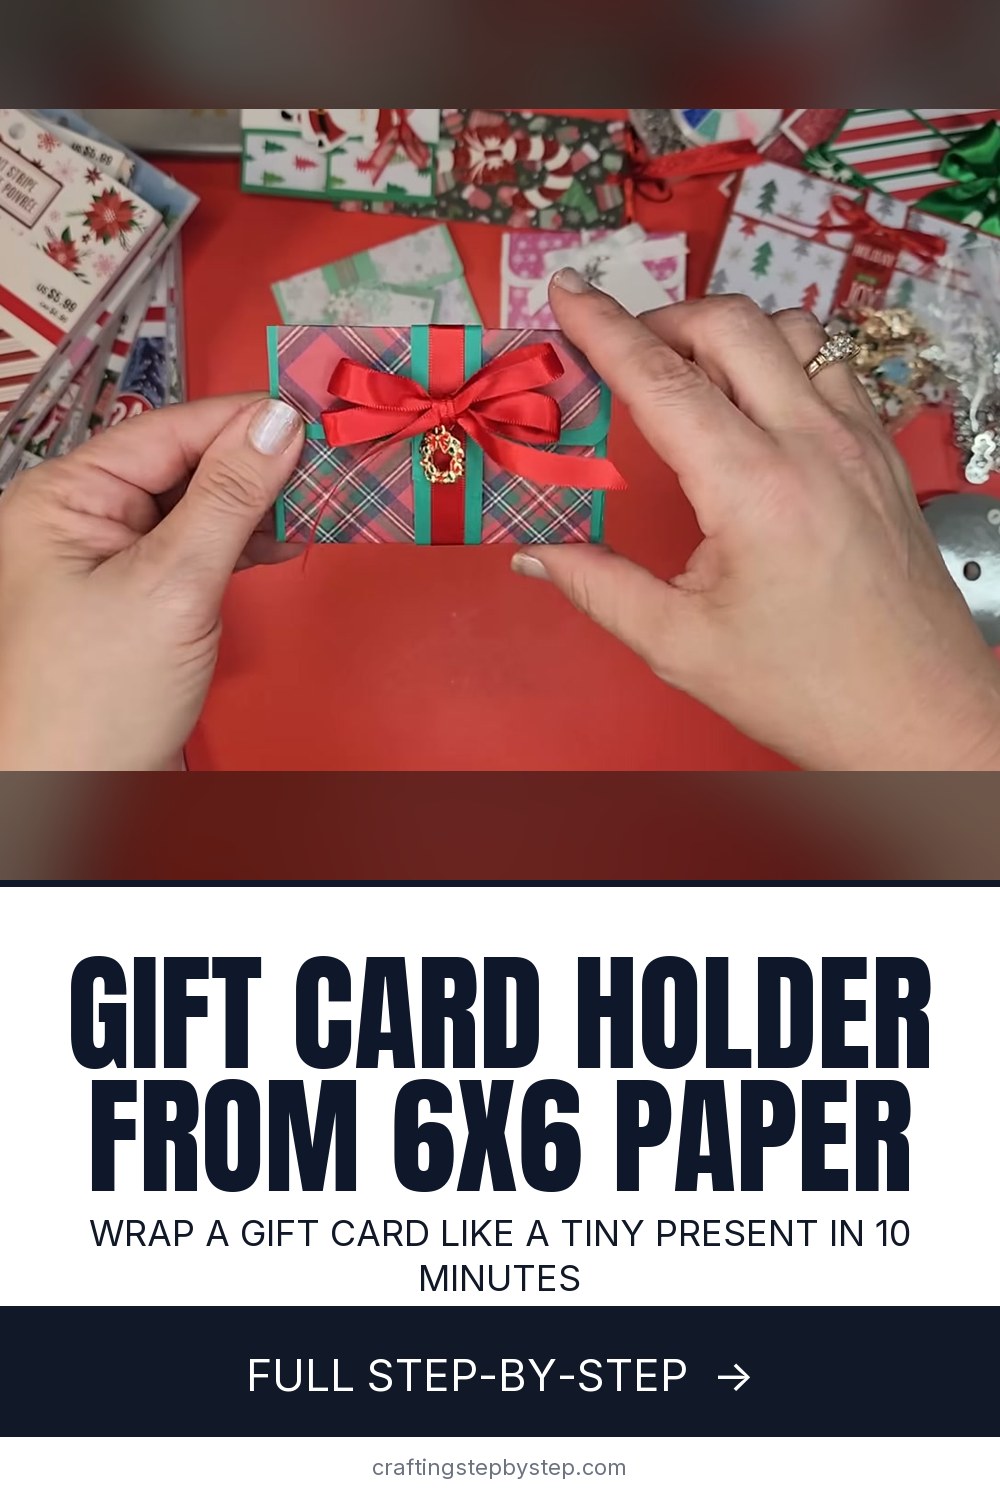
The finished result: How to Make a Gift Card Holder From 6x6 Paper
  • Difficulty: Easy
  • 10 steps

You tapped Save

Save this project for later

We'll email you a link, no password.

How to Make a Gift Card Holder From 6x6 Paper

  • Your saved projects in one list
  • Your ticked steps on any device

Check your inbox for an email from us. Not there? Look in your spam folder.

Print

Steps written out by Crafting Step by Step from 4Holidays Designs' video (opens YouTube) (16:29). Published .

Also in:Paper Crafts

A gift card feels a lot more like a present when it comes in a little wrapped package. Jennifer from 4Holidays Designs folds this holder from two squares of 6x6 paper: a solid base and a patterned outer layer. It closes with a belly band, a ribbon and a bow, so it looks like a tiny gift box. Once you know the measurements, each one takes about ten minutes.

How to make a gift card holder: the short version

  • Trim the base to 5 1/4 by 6 inches.
  • Score the 5 1/4 inch side at 3/4 inch from each edge, and the 6 inch side at 1 1/4 and 3 3/4.
  • Snip out the four corner squares and round the corners.
  • Glue on a patterned layer about 3 1/2 by 5 3/4 inches, then crease the fold through both.
  • Punch a thumb notch, glue the side flaps and add a belly band with a bow.

Picking your paper

A 6x6 pad is ideal here. Every sheet is already the right size, and a single pad gives you dozens of matching holders. Jennifer's plaid is thin 65 lb paper. It works, but she prefers 80 to 85 lb cardstock for the base because it holds a crisp fold and stands up to a card sliding in and out. Double-sided paper lets you skip the second layer entirely.

Scoring tips

Score lightly, two passes rather than one hard press. A heavy score can crack the surface of printed paper. Do not fold the base yet. Cut the corners while it is flat, then fold. Mark the corner squares with a small X before you cut so you do not snip the wrong one.

Will a gift card fit?

A standard gift card is about 3 3/8 by 2 1/8 inches. These measurements leave a little room on every side, so a card slides in without bending. Keep a real gift card or an old hotel key card next to you and test the fit before the side flaps are glued, while you can still adjust a fold.

Liquid glue or tape

Jennifer likes liquid glue because it gives a few seconds to slide the layer into place. Tape runner is faster if you are making a stack of these. For the bow and charm, hot glue holds best, since ribbon and metal do not grab well with paper glue.

Dress it up

  • Swap the bow for a small gift tag with the recipient's name.
  • Add a tiny charm on a twist of wire: a wreath, candy cane, bell or snowflake.
  • Stamp a greeting on the belly band before you glue it closed.
  • Use birthday or wedding paper and it works all year, not only at Christmas.

Common problems

  • The card will not slide in. The belly band is too tight. Wrap it loosely so the holder can flex.
  • Corners look ragged. Cut in the middle of the score lines, and trim the inside flap corners at a slight angle so they tuck under.
  • The patterned layer bubbles. Use less glue and smooth it from the center out with a bone folder.

For more paper projects, try a basic handmade card, a gatefold card or a folded paper envelope. A ribbon bow and matching Christmas gift tags finish the set.

Free printable

Print the steps and supply list for this project

One page you can take to the table. Free with a free account, no password.

Get the free printable

What you'll need

Free, for this project

Get this checklist by email

  • All 13 tools and materials, with tick boxes
  • A link to print all 10 steps on paper, to keep by you while you craft

No password. The whole tutorial stays free on this page.

Quick answer

Make a gift card holder from 6x6 paper with exact measurements. An easy project. You need 13 things, including 6x6 cardstock for the base, 6x6 patterned paper and liquid craft glue. The 10 steps start with trim the Gift Card Holder Base to 5 1/4 by 6 Inches, score the Gift Card Holder Base on a Scoring Board, snip the Corner Squares Out of the Scored Base and round the Corners of the Gift Card Holder Base.

Step-by-step guide

10 steps, about 16 minutes. Tap a picture to jump to that step. Your progress saves automatically.

Tick each step off as you go.

  1. Step 1: Trim the Gift Card Holder Base to 5 1/4 by 6 Inches

    Watch this step · 1:35

    Pick a solid sheet from your 6x6 pad for the base. Jennifer uses green so the score lines are easy to see on camera. Slide it into a paper trimmer and cut one side down to 5 1/4 inches, leaving the other side at 6 inches. Set your patterned sheet aside for now. You will cut it down later.

    Tip:

    Sturdier cardstock, around 80 to 85 lb, gives a crisper holder than thin pattern paper.

    Back to all steps

  2. Step 2: Score the Gift Card Holder Base on a Scoring Board

    Watch this step · 2:50

    Lay the 5 1/4 inch side along the top of a scoring board. Score at 3/4 inch, turn the paper around and score at 3/4 inch again. Then turn it so the 6 inch side runs along the top and score at 1 1/4 and 3 3/4 inches. Two light passes with the bone folder are better than one hard one.

    Tip:

    Do not fold anything yet. Flat paper is much easier to cut.

    Back to all steps

  3. Step 3: Snip the Corner Squares Out of the Scored Base

    Watch this step · 4:08

    Where the score lines cross, you have four small squares, one in each corner. Mark each one with a small X so you know what to remove. Cut along the score lines with sharp scissors to take the four squares out, the same way you would for a small box. Then trim the corners of the inside flap at a slight angle so it folds in smoothly.

    Tip:

    Cut in the middle of the score line, not beside it, so the edges line up.

    Back to all steps

  4. Step 4: Round the Corners of the Gift Card Holder Base

    Watch this step · 5:29

    This is optional, but rounded corners make the finished holder look softer and more finished. Slide each outer corner into a corner rounder punch and press down. Jennifer uses a 3 in 1 punch and picks one of the gentler curves. Do the same on the patterned sheet once you cut it, so both layers match.

    Tip:

    Push the paper all the way into the punch so the curve lands evenly.

    Back to all steps

  5. Step 5: Glue the Plaid Paper Layer Onto the Gift Card Holder

    Watch this step · 8:24

    Cut your patterned paper to about 3 1/2 by 5 3/4 inches and round its corners. Fold and burnish the base along the long score line. Spread liquid glue on the outside panel of the base, then lay the plaid on top. Eyeball it so a thin border of the base shows around the edge. Let it set for a minute before you move on.

    Tip:

    Liquid glue gives you time to nudge the layer into place before it grabs.

    Back to all steps

  6. Step 6: Crease the Fold Through the Plaid and Base With a Ruler

    Watch this step · 9:13

    The patterned layer covers the fold, so it has no score line of its own. Lay a ruler along the fold, bend the paper over it and press. This stretches both layers together, the same trick used in mini albums. Once it is folded, run a bone folder along the crease to make it sharp.

    Tip:

    Any straight edge works here. A metal ruler gives the cleanest line.

    Back to all steps

  7. Step 7: Punch a Thumb Notch in the Gift Card Holder Front

    Watch this step · 10:02

    Slide the top edge of the front panel into a circle punch so only a sliver of the circle overlaps the paper. Press down to cut a small half-moon notch. That notch lets the person who opens it pull the gift card out with a thumb. Any size circle punch is fine.

    Tip:

    Flip the punch upside down so you can see where the circle lands.

    Back to all steps

  8. Step 8: Glue the Side Flaps of the Gift Card Holder Pocket

    Watch this step · 10:44

    Fold in the two narrow side flaps. Run a line of liquid glue along each one, stopping where the flap edge stops being straight. Fold the bottom panel up over the flaps and press it down. You now have a small pocket. Slide a gift card in to check the fit while the glue is still a little soft.

    Tip:

    Keep glue away from the center so the card slides in freely.

    Back to all steps

  9. Step 9: Wrap a Ribbon Belly Band Around the Gift Card Holder

    Watch this step · 12:50

    Cut a narrow strip of the solid paper for a belly band. Glue a length of ribbon down the center of it. Wrap the band around the holder, fold it to fit and crease each corner. Glue the ends together on the front, where the bow will hide the seam. Keep it loose enough that the card can still slide out.

    Tip:

    Tacky glue holds ribbon to paper, but give it a minute to set.

    Back to all steps

  10. Step 10: Tie a Red Satin Bow on the Gift Card Holder Belly Band

    Watch this step · 15:31

    Tie a small double bow from the same ribbon. Jennifer threads a little Christmas charm onto a short piece of wire, then twists the wire around the center of the bow to hold it. Put a dab of hot glue on the belly band seam and press the bow on top. Slide the band onto the holder and tuck the gift card inside.

    Tip:

    A wreath, bell or snowflake charm makes each holder a little different.

    Back to all steps

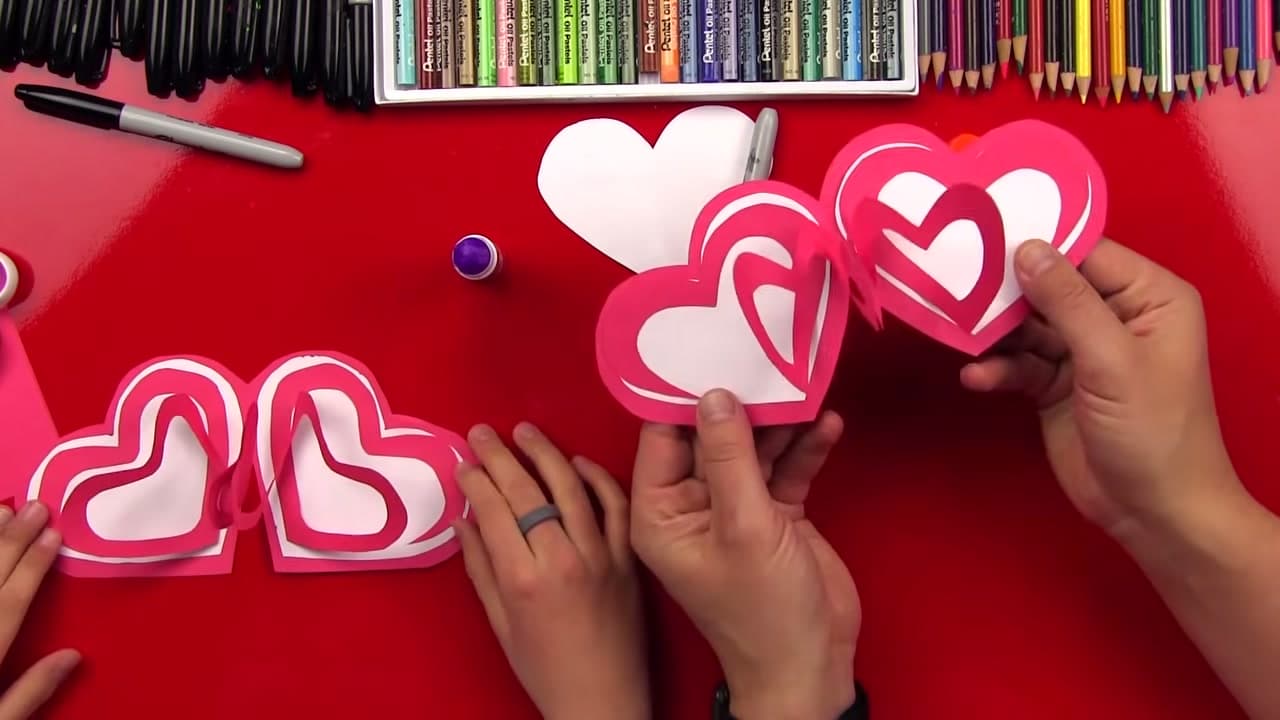
How to Make a Pop-Up Heart Card

Keep going

How to Make a Pop-Up Heart Card

Keep going with card making

More on this topic, picked for this gift card holder from 6x6 paper.

You reached the last step

Save this project to come back to it

Your ticked steps, the free printable and your other saved makes, together in My Projects. Free, no password.

You tapped Save

Save this project for later

We'll email you a link, no password.

How to Make a Gift Card Holder From 6x6 Paper

  • Your saved projects in one list
  • Your ticked steps on any device

Check your inbox for an email from us. Not there? Look in your spam folder.

Free printable

Printable sheet and shopping list for this project

The bonus is hidden until you sign up.

Free with a free account, no password. Every step above stays open to everyone.

Products Used

The Checklist

How to Make a Gift Card Holder From 6x6 Paper

Tools
7
Materials
6
Steps
10
Video
16 min

Tools we recommend

As an Amazon Associate we earn from qualifying purchases. Links on this page may be affiliate links - clicking them and buying doesn't change your price, but helps support Crafting Step by Step.

Tags

The Crafter's Weekly

New card making tutorials, every Sunday

One short email with the week's best step-by-step guides. Free, no spam, unsubscribe anytime.

Did this work for you?

What's next

Related collections

Curated theme pages that include this tutorial.

Similar tutorials

Hand-picked next reads based on the one you just finished.

Liked this card making tutorial?

Pick the crafts you want to hear about. One email every Sunday with new step-by-step tutorials. No spam, easy to unsubscribe.

Get more like this in your inbox

Weekly digest. Pick the categories you want. Unsubscribe anytime.

Send me tutorials about

We only email about new tutorials. Easy unsubscribe anytime.