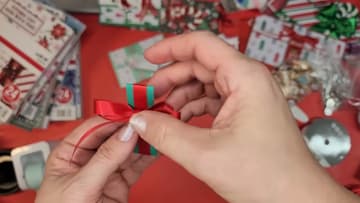
How to Make a Gift Card Holder From 6x6 Paper
Source: 4Holidays Designs • Full tutorial: www.craftingstepbystep.com/card-making/how-to-make-a-gift-card-holder
- Difficulty
- Easy

Tools
- paper trimmer
- scoring board
- bone folder
- scissors
- corner rounder punch
- circle punch
- hot glue gun
Materials
- 6x6 cardstock for the base
- 6x6 patterned paper
- liquid craft glue
- 3/8 inch satin ribbon
- small Christmas charm
- thin craft wire
Steps
1. Trim the Gift Card Holder Base to 5 1/4 by 6 Inches
Pick a solid sheet from your 6x6 pad for the base. Jennifer uses green so the score lines are easy to see on camera.
Tip: Sturdier cardstock, around 80 to 85 lb, gives a crisper holder than thin pattern paper.
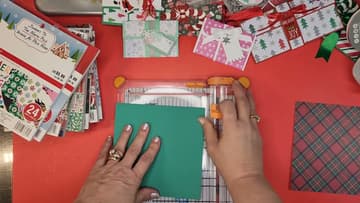
2. Score the Gift Card Holder Base on a Scoring Board
Lay the 5 1/4 inch side along the top of a scoring board. Score at 3/4 inch, turn the paper around and score at 3/4 inch again.
Tip: Do not fold anything yet. Flat paper is much easier to cut.
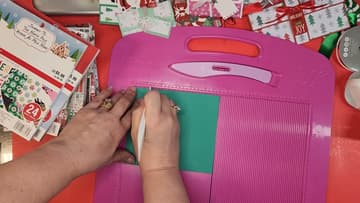
3. Snip the Corner Squares Out of the Scored Base
Where the score lines cross, you have four small squares, one in each corner. Mark each one with a small X so you know what to remove.
Tip: Cut in the middle of the score line, not beside it, so the edges line up.
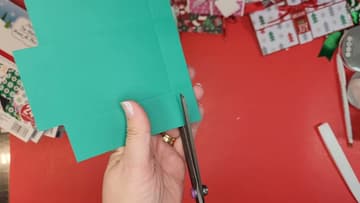
4. Round the Corners of the Gift Card Holder Base
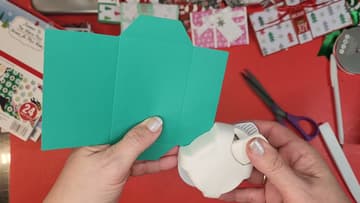
This is optional, but rounded corners make the finished holder look softer and more finished. Slide each outer corner into a corner rounder punch and press down.
Tip: Push the paper all the way into the punch so the curve lands evenly.
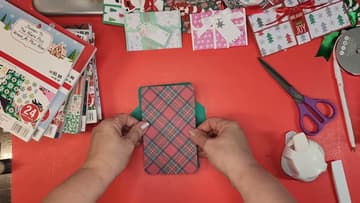
5. Glue the Plaid Paper Layer Onto the Gift Card Holder
Cut your patterned paper to about 3 1/2 by 5 3/4 inches and round its corners. Fold and burnish the base along the long score line.
Tip: Liquid glue gives you time to nudge the layer into place before it grabs.
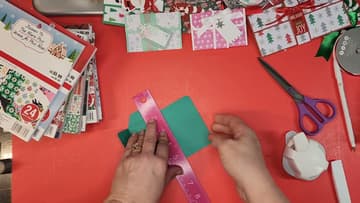
6. Crease the Fold Through the Plaid and Base With a Ruler
The patterned layer covers the fold, so it has no score line of its own. Lay a ruler along the fold, bend the paper over it and press.
Tip: Any straight edge works here. A metal ruler gives the cleanest line.
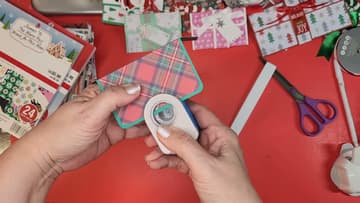
7. Punch a Thumb Notch in the Gift Card Holder Front
Slide the top edge of the front panel into a circle punch so only a sliver of the circle overlaps the paper. Press down to cut a small half-moon notch.
Tip: Flip the punch upside down so you can see where the circle lands.
8. Glue the Side Flaps of the Gift Card Holder Pocket
Fold in the two narrow side flaps. Run a line of liquid glue along each one, stopping where the flap edge stops being straight.
Tip: Keep glue away from the center so the card slides in freely.
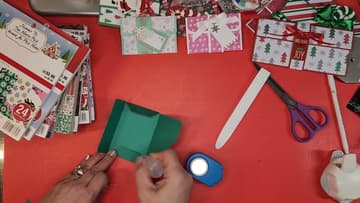
9. Wrap a Ribbon Belly Band Around the Gift Card Holder
Cut a narrow strip of the solid paper for a belly band. Glue a length of ribbon down the center of it.
Tip: Tacky glue holds ribbon to paper, but give it a minute to set.
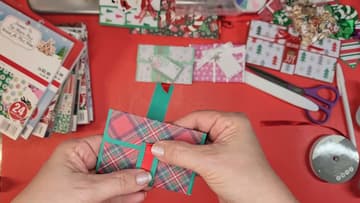
10. Tie a Red Satin Bow on the Gift Card Holder Belly Band
Tie a small double bow from the same ribbon. Jennifer threads a little Christmas charm onto a short piece of wire, then twists the wire around the center of the bow to hold it.
Tip: A wreath, bell or snowflake charm makes each holder a little different.