A calligraphy pen does not work like a ballpoint. The thick and thin lines come from the angle of a flat nib, not from how hard you press. Once that clicks, the rest is practice. This guide follows the Pilot Parallel Pen walkthrough from Cult Pens, where the presenter unboxes the pen, loads it, cleans it, and runs through the six warm-up strokes that build almost every letter.
You need the pen, a cartridge, smooth paper and about twenty quiet minutes.
Which nib size to start with
The Pilot Parallel comes in four nib widths: 1.5, 2.4, 3.8 and 6.0 mm. Start with the 3.8 mm. It is wide enough that you can see the thick-to-thin change clearly, and forgiving enough that small wobbles do not show. The 1.5 and 2.4 suit smaller italic hands and everyday notes. The 6.0 is for big headline letters and gothic display work. If you think you will stick with it, the four-nib set costs less than buying them one at a time.
Angle, not pressure
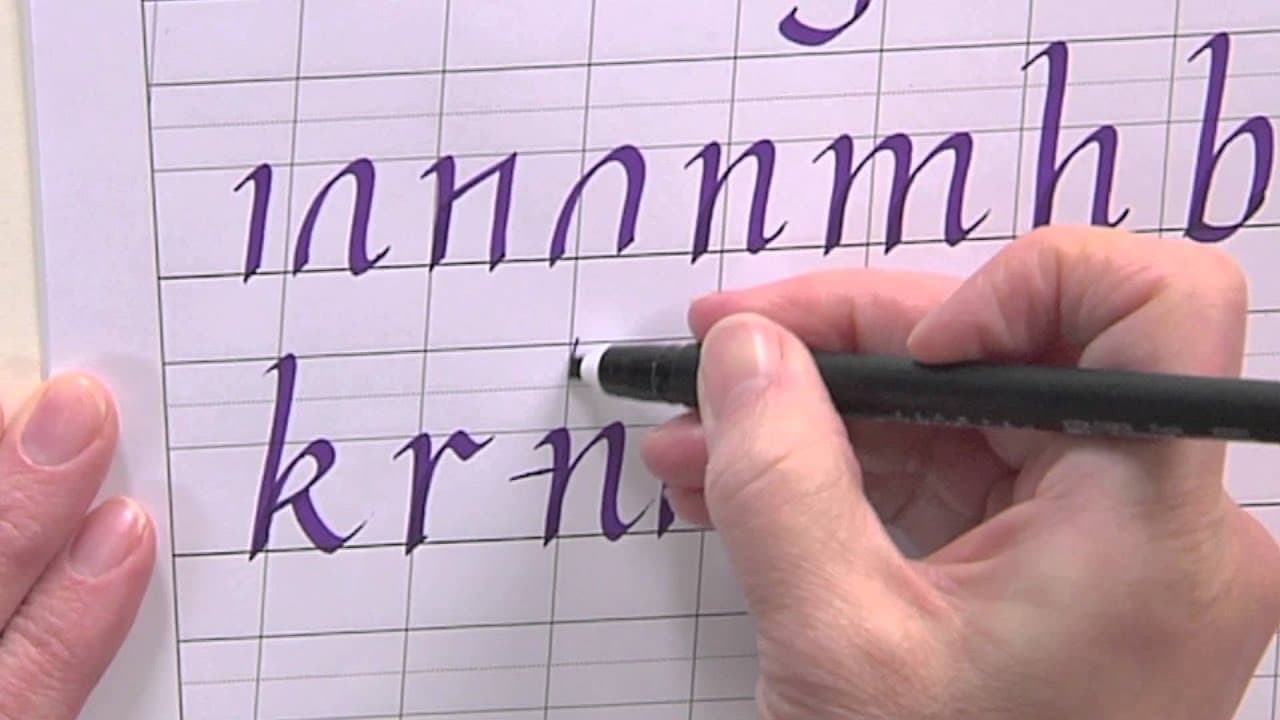
This is the big difference from a brush pen. With a brush pen, you press down for a thick line and ease off for a thin one. A chisel nib ignores pressure. Hold the nib at about 30 to 45 degrees to your writing line and keep it there. Pull the pen sideways along the nib's edge and you get a hairline. Pull it across the nib's width and you get the full stroke. The pen does the work. Your job is to keep the angle steady.
Rest your elbow on the desk so your arm is supported and your hand only steers the pen.
Paper that won't bleed
A Parallel pen puts down a lot of ink. Cheap copy paper soaks it up, and the edges feather into fuzz. Use a smooth marker paper or a calligraphy practice pad, around 90 gsm or heavier. If you start blending ink colours on the nib, step up to a heavy watercolour paper, around 300 gsm, which holds wet ink without curling.
Flushing and cleaning
Clean the pen whenever you swap ink colours, and before you put it away for a few weeks. Fill the bulb with lukewarm water, fit it where the cartridge goes, and squeeze until the water runs clear. Slide the thin cleaning plate between the two nib plates to lift out dried ink and paper fibres. Let the nib section dry before loading a fresh cartridge.
Common mistakes
- Rotating the pen mid-stroke. The angle drifts and the line goes wobbly. Lock your wrist and move from the arm.
- Pressing hard. It spreads the plates and floods the stroke. A light touch is enough.
- Holding the pen too steep. Upright, the nib skips. Lower it so the whole edge rests on the paper.
- Going fast. Slow strokes give the ink time to flow and you time to watch the angle.
Where to go next
Once the six strokes feel steady, start on letters. Italic is the classic broad-nib alphabet and uses every stroke here: see how to write in italic, then add the italic capital letters. For the wider picture of tools and styles, read how to do calligraphy, and for a daily practice plan, how to learn calligraphy. The guide card in the box also has italic, Roman and gothic alphabets to copy.