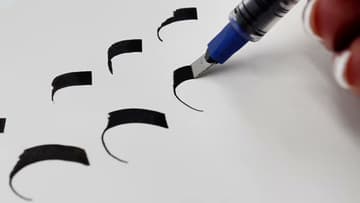
How to Use a Calligraphy Pen
Source: Cult Pens • Full tutorial: www.craftingstepbystep.com/calligraphy/how-to-use-a-calligraphy-pen
- Difficulty
- Easy
- Hands-on time
- About 30 minutes
- Cost
- About $5 to $10

Tools
- Pilot Parallel pen (3.8 mm nib)
- cleaning plate
- bulb cleaner
- pencil and ruler for guidelines
Materials
- Pilot Parallel ink cartridges
- smooth marker paper or practice pad
- paper towel
Steps
1. Unbox the Pilot Parallel Calligraphy Pen and Check the Parts
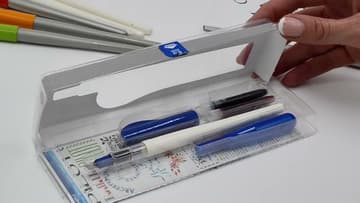
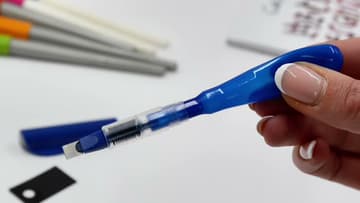
Open the case and lay everything out. You get the white pen barrel, the nib section with its two flat steel plates, a cap, two ink cartridges (usually black and red), a thin cleaning plate, a squeeze bulb for flushing, and a guide card with alphabets to practise.
Tip: The nib width is printed on the cap colour and the box. 3.8 mm is the easiest size to learn on.
2. Push an Ink Cartridge Into the Calligraphy Pen Nib Section
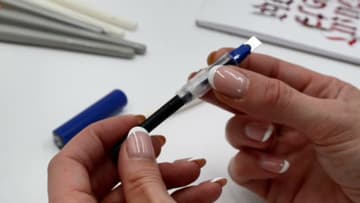
Unscrew the barrel from the nib section. Take a cartridge and push its wider end firmly into the back of the nib section until you feel it seat.
Tip: Don't panic if nothing comes out at once. Fountain-style pens often need a moment to fill.
3. Prime the Parallel Pen and Test the Ink Flow With a Few Strokes
Make a few short strokes on scrap paper. The first ones may come out streaky with pale gaps, like the second stroke here.
Tip: Squeeze gently. Too hard and you get a blob on the nib that lands on your page.
4. Flush the Calligraphy Pen Nib With the Bulb Cleaner
When you change colours or the ink dries in the nib, flush it. Fill the blue bulb with water, fit it into the nib section where the cartridge would go, and squeeze.
Tip: Do this over a sink or a folded paper towel. The first squeeze always comes out dark.
5. Make a Diamond Mark to Set Your Calligraphy Pen Angle
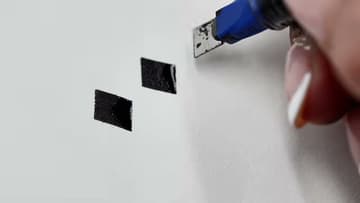
This is the simplest mark the pen makes, and it is a good angle check. Set the full width of the nib on the paper at about 30 to 45 degrees, then drag it down a short way.
Tip: Turn the paper, not the pen, if your hand feels cramped.
6. Pull Thick Horizontal and Vertical Strokes With a Steady Pen Angle
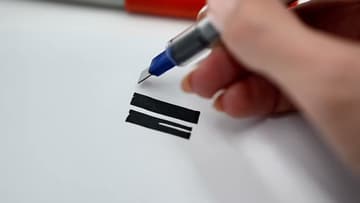
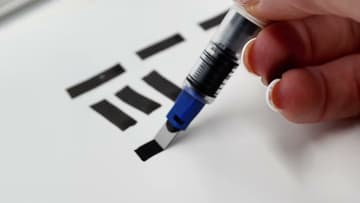
Keep the same angle and pull the pen to the right for a horizontal stroke, then pull it straight down for a vertical. Notice the two strokes come out different widths even though you didn't change anything.
Tip: Rest your elbow on the desk. Your arm moves the pen and your fingers only hold it.
7. Turn the Calligraphy Nib on Its Edge for a Fine Hairline
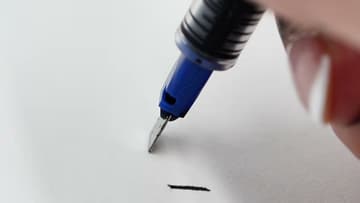
Tip the pen so only the corner edge of the nib touches the paper. Now pull it along.
Tip: Hairlines need a light touch. Press and the plates spread into a thicker line.
8. Practise the Snake Stroke With Your Calligraphy Pen
The snake is a stretched-out S. Start on the nib edge for a fine entry, roll onto the full width for the thick middle, and finish back on the edge for a fine tail.
Tip: Stay on the edge a little longer at each end for sharper, finer tails.
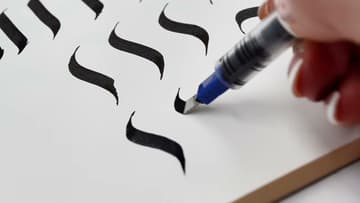
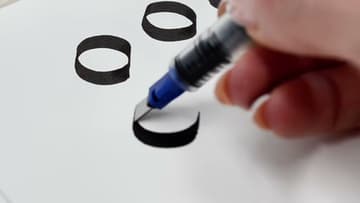
9. Build O Ovals From Two Crescent Strokes With the Calligraphy Pen
An oval is two crescent moons joined together. Pull one curve down the left side, lift the pen, then pull a second curve down the right to meet it.
Tip: Leave a hair of space where the two halves meet, then close it. It hides small mismatches.
10. Draw Spike Strokes From Fine Edge to Full Calligraphy Nib
Start on the nib edge with a fine line, then bring the full width down to finish with a broad stroke. The result looks like a hook or a spike with a thin tail.
Tip: Practise for progress, not perfection. A short daily session beats one long one.