How to Learn Calligraphy: 7 Step Beginner Tutorial With Just a Pencil

CalligraphyEasy8:367 steps
Also in:Crafts

Based on a video by The Happy Ever Crafter.

Modern calligraphy looks like it requires special pens, expensive ink, and years of practice. It doesn't. The whole technique boils down to two rules - press lightly going up, press hard going down - and eight basic strokes that combine to form every letter. You can learn it with a regular pencil and a sheet of graph paper.

This walkthrough from Becca at The Happy Ever Crafter teaches the entire foundation in seven steps. By the end you'll know the eight strokes, understand how letters get built from them, and have written your first word of calligraphy. From there it's just practice.

Step-by-Step Guide

1

Step 1: Grab a Soft Pencil and Lined Paper

0:25
Step 1: Step 1: Grab a Soft Pencil and Lined Paper

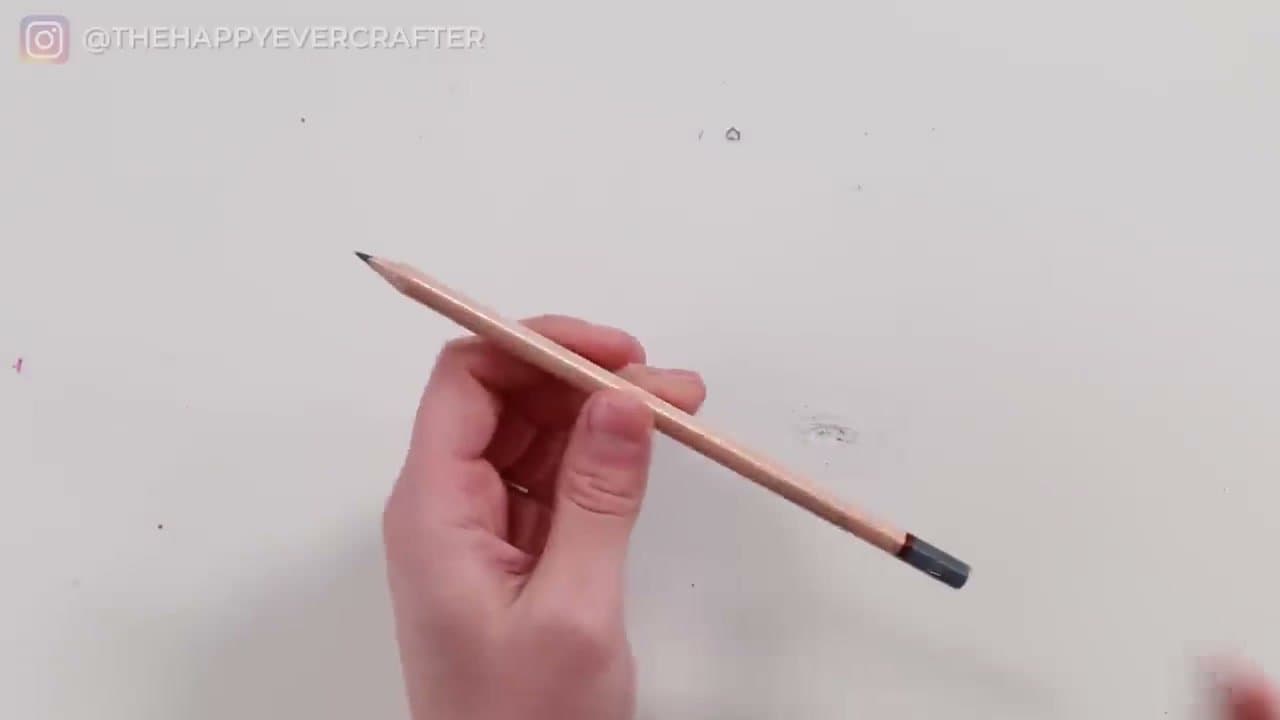
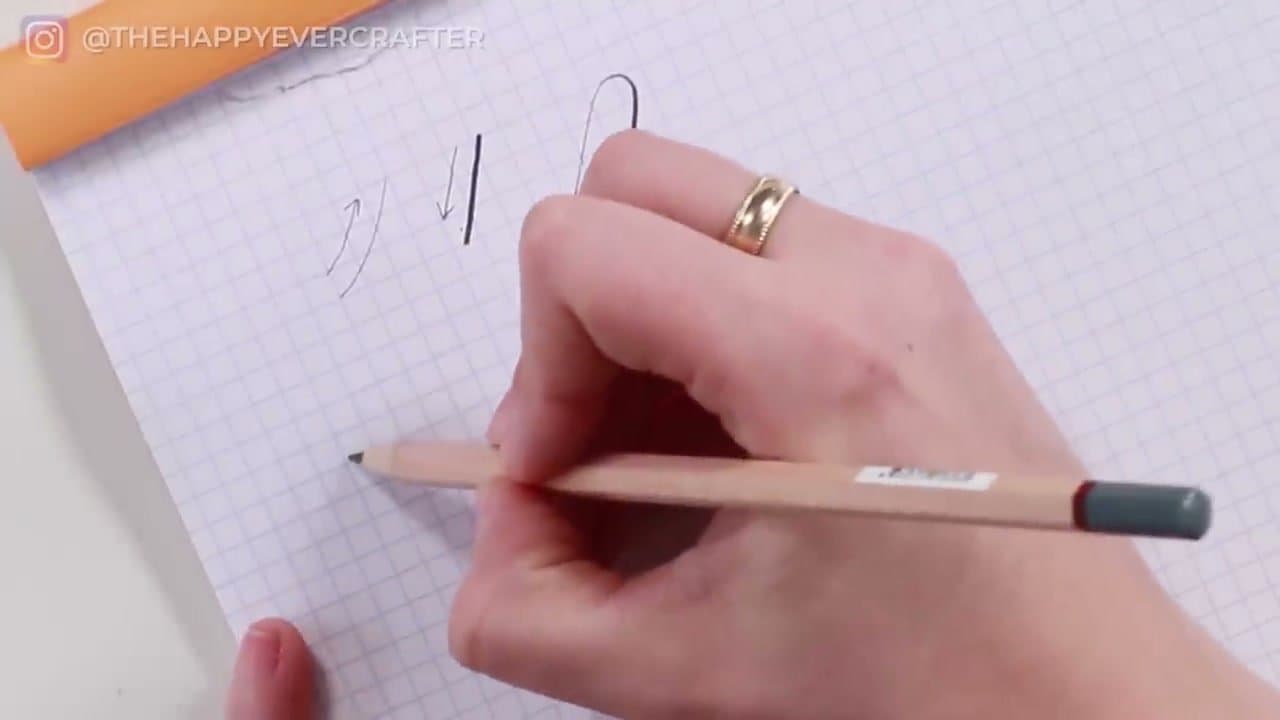
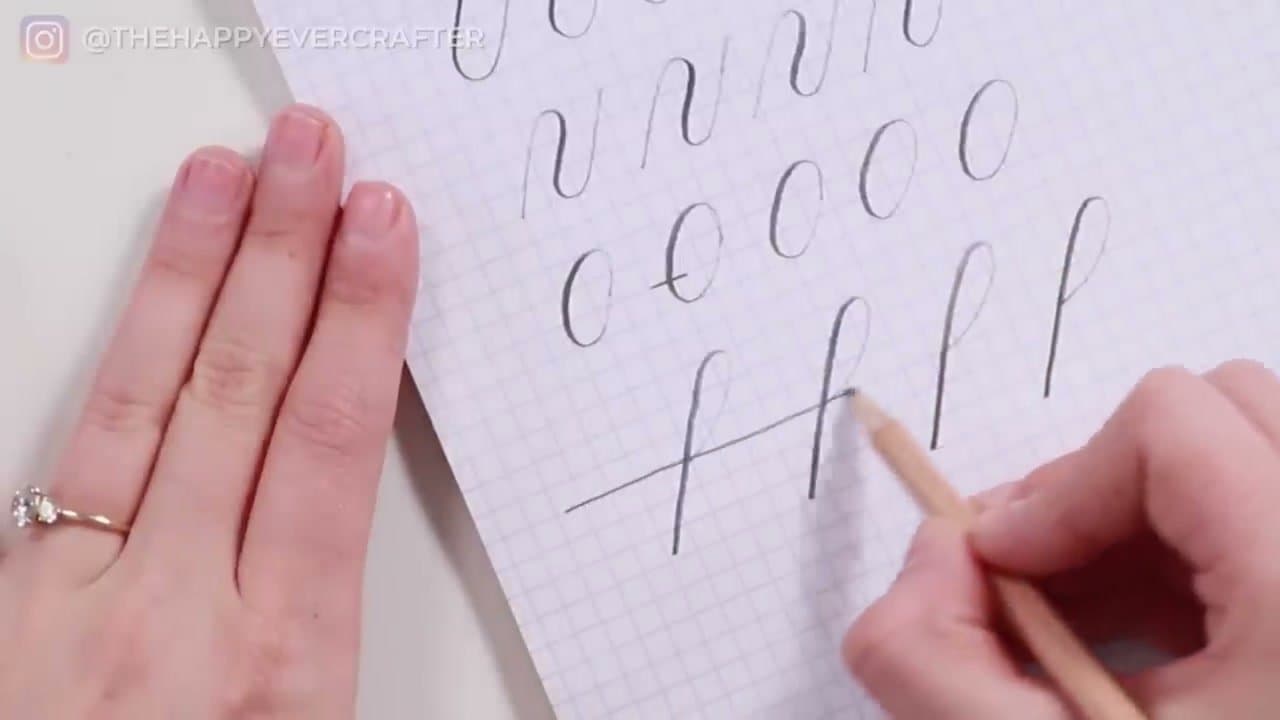
You don't need a brush pen to start. A regular pencil works great as long as the lead is HB or softer - 2B, 3B, and 4B all work even better because the lead presses softer and shows pressure variation more clearly.

Avoid pencils marked H or harder (2H, 3H, etc.) - the lead is too hard to give you the thick-thin contrast that makes calligraphy work. Pair the pencil with graph paper or lined paper. The horizontal lines and grid give you guides for stroke height. Blank paper makes it harder to keep your stroke heights consistent.

2

Step 2: Learn the Light-Up, Hard-Down Rule

1:48
Step 2: Step 2: Learn the Light-Up, Hard-Down Rule

This is the entire technique in one sentence. When the pencil moves upward, press lightly. When the pencil moves downward, press hard. Light up, hard down. That's it.

The pressure difference creates the thick-and-thin line variation that makes calligraphy look like calligraphy. With a regular pen you'd get a single uniform line; with a pencil (or brush pen) you can vary line weight by changing pressure as your hand moves.

3

Step 3: Practice the Upstroke

2:28
Step 3: Step 3: Practice the Upstroke

Start at the bottom guideline of your paper. Press lightly and pull the pencil upward at a slight forward angle to the top guideline. Same speed throughout - don't rush the start or slow down at the end.

Every upstroke should be the same height and the same angle. Aim for a thin, slightly curved line. Repeat the upstroke ten or fifteen times in a row to get the feel for keeping pressure light and consistent.

4

Step 4: Practice the Downstroke

3:03
Step 4: Step 4: Practice the Downstroke

Now reverse it. Start at the top guideline and pull the pencil downward at the same forward angle, this time pressing hard. The line should be visibly thicker than your upstroke.

Light up, hard down - that's the foundation. Practice alternating: a row of upstrokes, then a row of downstrokes. The two should look like clearly different line weights even though you're using the same pencil.

5

Step 5: Combine Into Overturns and Underturns

3:35
Step 5: Step 5: Combine Into Overturns and Underturns

The overturn combines an upstroke and a downstroke. Light up, curve over the top, hard down. The result looks like an upside-down U or a lowercase n shape.

The underturn is the mirror: hard down, curve under the bottom, light up. Looks like a regular u shape. Keep both vertical lines parallel - they should slope at the same forward angle as your single upstrokes and downstrokes.

6

Step 6: Add Compound Curves, Ovals, and Loops

5:12
Step 6: Step 6: Add Compound Curves, Ovals, and Loops

Four more basic strokes complete the set: the compound curve (light-hard-light, like a flattened W), the oval (start light up the side, hard down, light up the other side), the ascending loop (twice as tall, going up and over), and the descending loop (twice as tall going down below the line).

Together with the upstroke, downstroke, overturn, and underturn, these eight strokes are everything you need. Every cursive lowercase letter is built from some combination of them.

7

Step 7: Build Letters and Write Your First Word

7:55
Step 7: Step 7: Build Letters and Write Your First Word

The letter U is upstroke + underturn + underturn. The letter G is upstroke + oval + descending loop + upstroke. The letter H is upstroke + ascending loop + compound curve. Once you know the strokes, every letter is just a recipe.

String the three together - H, U, G - and you've written 'hug' in modern calligraphy. From here it's just learning more letter recipes and practicing the strokes until they're muscle memory. Your handwriting has nothing to do with it; everyone learns the exact same strokes.

Tip

If your downstrokes look spotty or skip across the paper, the pencil isn't soft enough or you're not pressing hard enough. Try going down to 2B or 3B and exaggerate the pressure difference until you can see clear thick-thin variation.

Products Used

☐ The Checklist

How to Learn Calligraphy: 7 Step Beginner Tutorial With Just a Pencil

Tools
2
Materials
1
Steps
7
Video
9 min

Your Guide

The Happy Ever Crafter

As an Amazon Associate we earn from qualifying purchases. Links on this page may be affiliate links - clicking them and buying doesn't change your price, but helps support ShowMeStepByStep.

Tags

Related Tutorials