How to Make Calligraphy Gift Tags (With Gold Flakes)

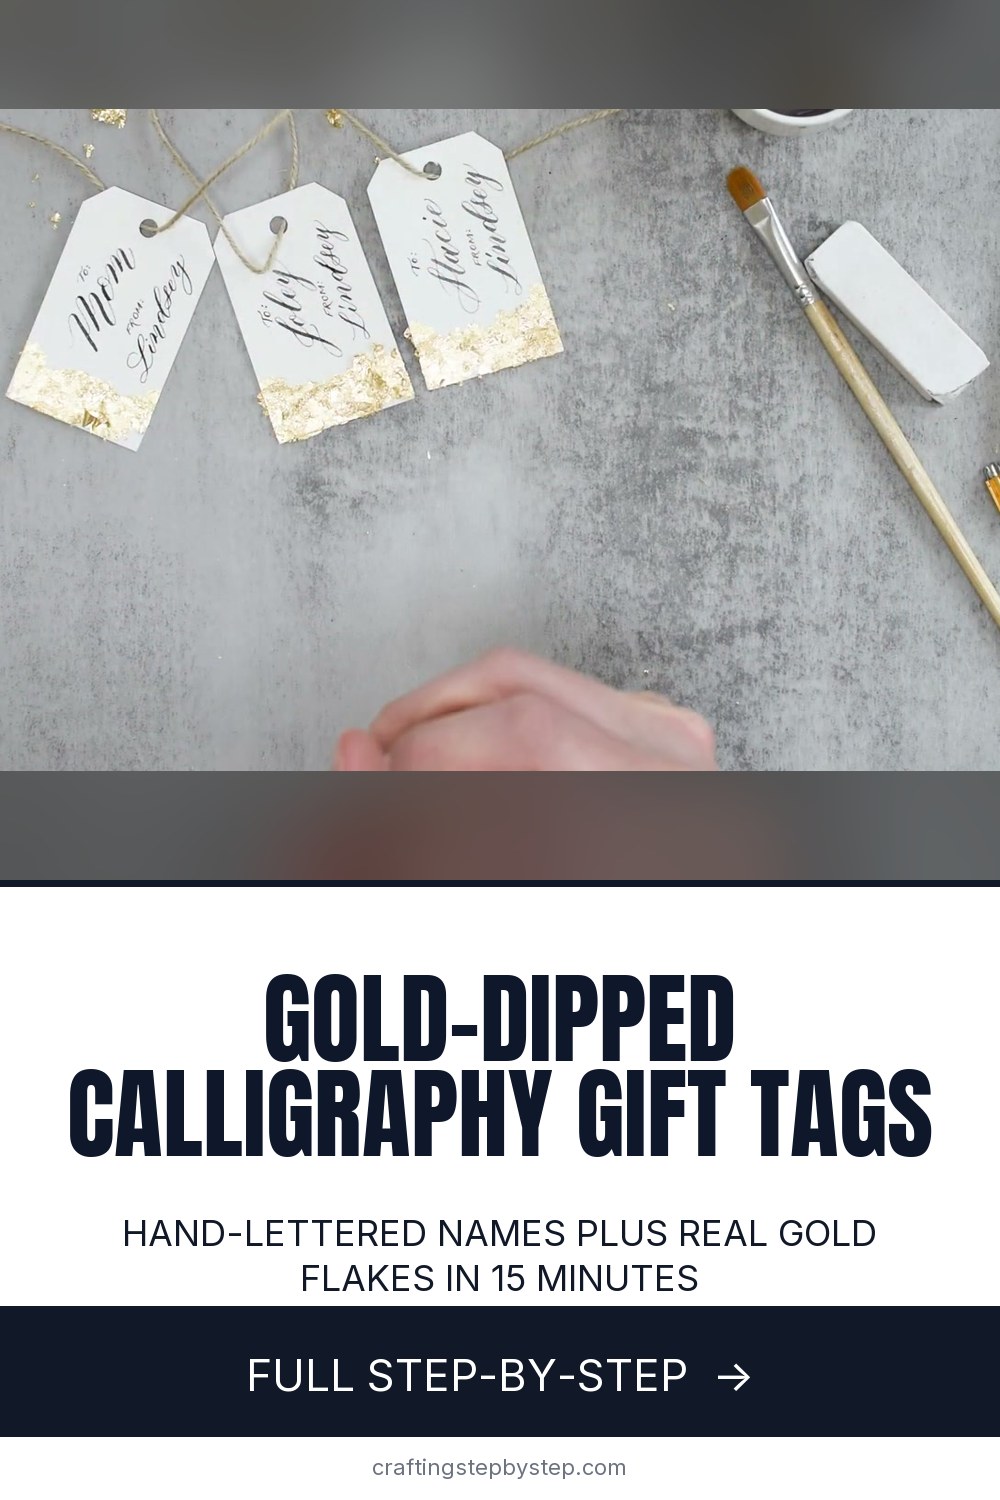
The finished result: How to Make Calligraphy Gift Tags (With Gold Flakes)
  • Difficulty: Medium
  • About 45 minutes, plus 15 minutes to dry or set
  • 8 steps

You tapped Save

Save this project for later

We'll email you a link, no password.

How to Make Calligraphy Gift Tags (With Gold Flakes)

  • Your saved projects in one list
  • Your ticked steps on any device

Check your inbox for an email from us. Not there? Look in your spam folder.

Print

Steps written out by Crafting Step by Step from The Postman’s Knock's video (opens YouTube) (10:25). Published .

Also in:Paper Crafts

Hand-lettered gift tags turn a plain parcel into something people keep. Lindsey Bugbee of The Postman's Knock writes each name in pointed pen calligraphy on a small watercolor paper tag, then gives the bottom edge a ragged band of real gold flakes. The result looks dipped in gold. It takes about 15 minutes a tag, and the gilding hides small wobbles in your lettering.

How to make calligraphy gift tags: the short version

  • Cut tags from watercolor paper and punch a hole at the top.
  • Write To and the name, then From and yours, in calligraphy.
  • Once the ink is dry, rub a wavy band of glue along the bottom.
  • Press on gold flakes, let it dry, then brush away the extra.
  • Thread the tags with jute twine or ribbon.

Tags, ink and nib

Lindsey cuts her tags 3 inches tall and 1.75 inches wide from a sheet of watercolor paper, with the corners clipped and a hole punched at the top center. Watercolor paper is thick and feels expensive, but it is toothy, so the nib can catch on upstrokes. Go slowly and ease off the pressure on thin lines. She uses iron gall ink for crisp hairlines and a fine, flexible nib. Any smooth black ink works. Plain cardstock tags are easier to write on if you are new.

No pointed pen? Use what you have

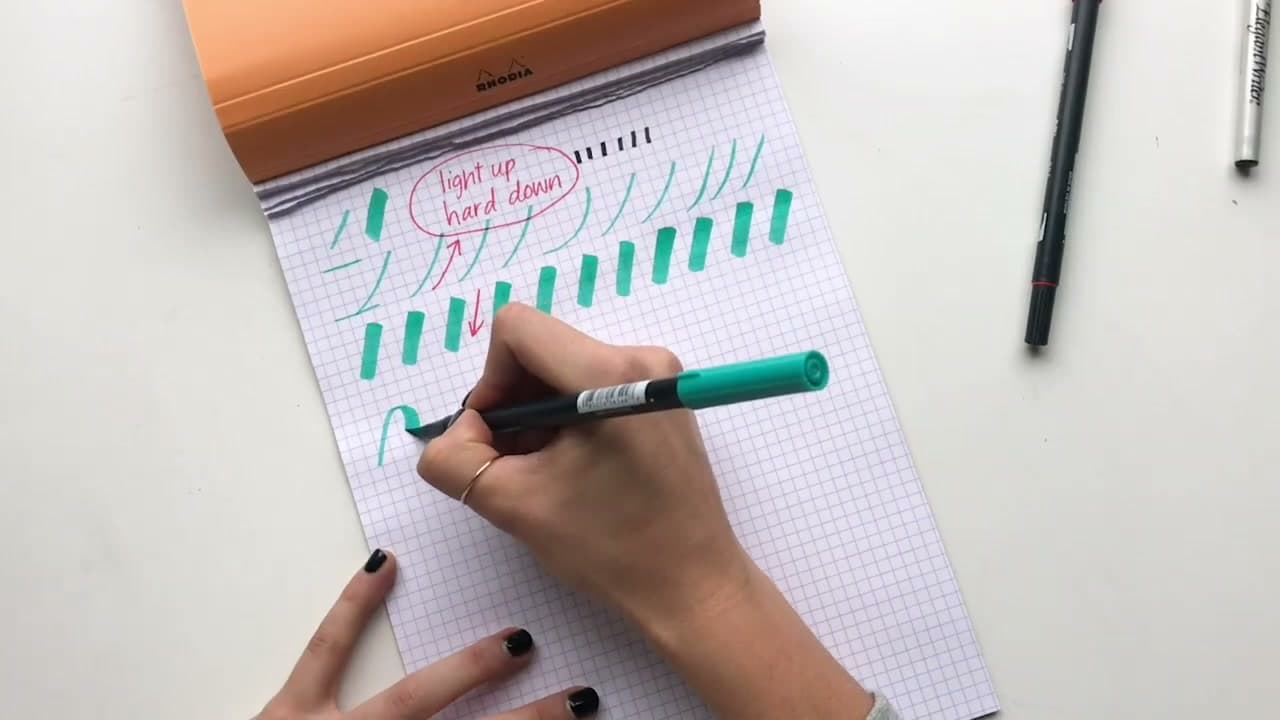
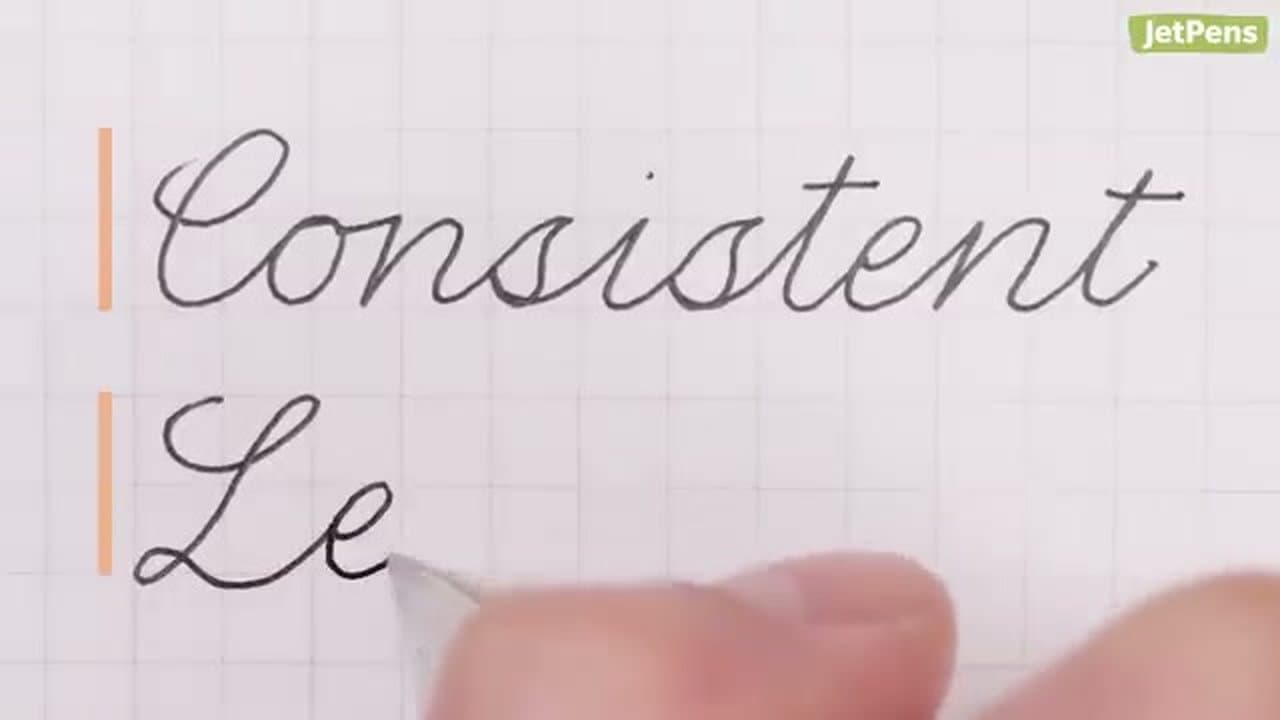
A fine brush pen or even a fineliner works on these tags. With a fineliner, write the name in cursive, then go back and thicken every downstroke. That trick is called faux calligraphy. Keep an alphabet sheet beside you as you write. Copying letter shapes from a guide is a real help when you are not yet confident.

Working with gold flakes

Gold flakes, sometimes sold as gilding flakes or imitation gold leaf, are cheap and very messy. They float on the slightest breath and end up everywhere. Work over scrap paper and tip the leftovers back into the jar when you finish. Water-based glue sticks hold them well. Let the glue dry fully before you brush, or you will lift gold off the edge too. A patchy edge is part of the charm, so do not chase a straight line.

Ideas and variations

  • Gild the back of the tag too, so it looks fully dipped.
  • Swap gold for silver or copper flakes to match your wrapping paper.
  • Write only the name on the front and From on the back.
  • Use the same method for place cards or wedding favors.

Common problems

  • Ink spatters on upstrokes. The nib caught the paper's tooth. Lighten the pressure and slow down, or switch to smooth cardstock.
  • Ink feathers or bleeds. Hot-press watercolor paper is smoother and sized, so lines stay sharper.
  • Gold will not stick. The glue dried before the flakes went on. Glue one tag at a time.
  • Gold smudged the name. Leave a clear gap between the lettering and the glue band.

Want to build your lettering first? Start with how to use a calligraphy pen or faux calligraphy. For matching table settings, see calligraphy place cards, and for the envelope, envelope calligraphy.

Free printable

Print the steps and supply list for this project

One page you can take to the table. Free with a free account, no password.

Get the free printable

What you'll need

Free, for this project

Get this checklist by email

  • All 11 tools and materials, with tick boxes
  • A link to print all 8 steps on paper, to keep by you while you craft

No password. The whole tutorial stays free on this page.

Quick answer

Hand-letter gift tags in pointed pen calligraphy on watercolor paper, then gild the edge with gold flakes. A medium project: about 45 minutes, plus 15 minutes to dry or set. Materials cost about $10 to $20. You need 11 things, including watercolor paper, black calligraphy ink and glue stick. The 8 steps start with gather Watercolor Tags, Ink, Pen and Gold Flakes and dip the Pointed Pen Nib in Ink for Calligraphy Gift Tags.

Step-by-step guide

8 steps, about 10 minutes. Tap a picture to jump to that step. Your progress saves automatically.

Tick each step off as you go.

  1. Step 1: Gather Watercolor Tags, Ink, Pen and Gold Flakes

    Watch this step · 0:27

    Cut a few tags from watercolor paper, about 3 inches tall and 1.75 inches wide. Clip the top corners and punch a hole near the top center. Set out your ink, a cup of water for cleaning the nib, a pointed pen and holder, a jar of gold flakes and a glue stick. A sheet of scrap paper and an old paintbrush finish the kit.

    Tip:

    Make an extra tag or two for practice. Watercolor paper takes some getting used to.

    Back to all steps

  2. Step 2: Dip the Pointed Pen Nib in Ink for Calligraphy Gift Tags

    Watch this step · 1:57

    Dip the nib into the ink so the vent hole is covered, then lift it out and let the extra drip back into the jar. Hold the tag steady with your other hand. Decide your layout now: write To and From on the front, or put the name on the front and From on the back. Front only is quicker, because you do not wait for one side to dry.

    Tip:

    Rinse and dry the nib every few dips so ink does not clog it.

    Back to all steps

  3. Step 3: Write the Recipient's Name in Calligraphy on the Tag

    Watch this step · 2:45

    Write a small To near the top, then the recipient's name below it in larger letters. Press down on the downstrokes for thick lines and ease off on the upstrokes for hairlines. Watercolor paper has a rough surface, so go slowly and use light pressure going up, or the nib will catch and spatter. Keep an alphabet guide beside you to copy letter shapes.

    Tip:

    Turn the tag at a slight angle so the name runs along its length.

    Back to all steps

  4. Step 4: Add From and Your Name to the Calligraphy Gift Tag

    Watch this step · 3:57

    Write a small From under the recipient's name, then your own name below it. If your name is longer than theirs, you can switch to a stiffer nib that makes thinner, more even lines so it fits. Calligraphy is slow work, so take your time. Leave the bottom third of the tag clear for the gold, and let the ink dry completely before you move on.

    Tip:

    Iron gall ink darkens as it dries, so it may look faint at first.

    Back to all steps

  5. Step 5: Rub Glue Stick Along the Bottom of the Gift Tag

    Watch this step · 5:03

    Lay the dry tag on a piece of scrap paper to catch the mess. Run the glue stick across the bottom edge in a loose, wavy band. You are not aiming for a straight line. A casual, uneven edge looks more like the tag was dipped in gold. Go right off the edge of the tag so the gold wraps to the very bottom.

    Tip:

    Water-based glue sticks hold gold flakes best.

    Back to all steps

  6. Step 6: Press Gold Flakes Onto the Glued Gift Tag Edge

    Watch this step · 5:47

    Take a pinch of gold flakes and lay them over the glue. Dab with your fingers to press them down. Use tweezers if you prefer cleaner hands. Cover all the glue, then set the tag aside to dry while you letter and gild the next one. Expect gold everywhere. It ends up on the table, your hands and sometimes in your hair.

    Tip:

    Bigger flakes cover faster than crumbs. Pick out the larger pieces first.

    Back to all steps

  7. Step 7: Brush Away Loose Gold Flakes From the Gift Tag

    Watch this step · 7:45

    Once the glue is dry, burnish the gold with an old soft paintbrush. Sweep across the tag to brush off every flake that is not stuck down. What is left is a shiny band that follows your glue line. If a patch lifts at the edge, add a dab of glue and a few more flakes, or leave it for a more casual look. Tip the spare gold back into the jar.

    Tip:

    Brush away from the lettering so flakes do not scratch the ink.

    Back to all steps

  8. Step 8: Thread Jute Twine Through the Gilded Calligraphy Gift Tags

    Watch this step · 9:09

    Cut a length of jute twine for each tag and thread it through the hole. Jute is rough and rustic, which sets off the shiny gold and the fine lettering. Ribbon works too if it suits your wrapping. Loop the twine through itself or tie it straight onto the gift. For extra polish, gild the back of the tag as well.

    Tip:

    Tie the tag on last so the gold does not rub off while you wrap.

    Back to all steps

How to Do Bounce Lettering With Brush Pens

Keep going

How to Do Bounce Lettering With Brush Pens

Keep going with calligraphy

More on this topic, picked for this project.

You reached the last step

Save this project to come back to it

Your ticked steps, the free printable and your other saved makes, together in My Projects. Free, no password.

You tapped Save

Save this project for later

We'll email you a link, no password.

How to Make Calligraphy Gift Tags (With Gold Flakes)

  • Your saved projects in one list
  • Your ticked steps on any device

Check your inbox for an email from us. Not there? Look in your spam folder.

Free printable

Printable sheet and shopping list for this project

The bonus is hidden until you sign up.

Free with a free account, no password. Every step above stays open to everyone.

Products Used

The Checklist

How to Make Calligraphy Gift Tags (With Gold Flakes)

Tools
6
Materials
5
Steps
8
Video
10 min

Tools we recommend

As an Amazon Associate we earn from qualifying purchases. Links on this page may be affiliate links - clicking them and buying doesn't change your price, but helps support Crafting Step by Step.

Tags

The Crafter's Weekly

New calligraphy tutorials, every Sunday

One short email with the week's best step-by-step guides. Free, no spam, unsubscribe anytime.

Did this work for you?

What's next

Related collections

Curated theme pages that include this tutorial.

Similar tutorials

Hand-picked next reads based on the one you just finished.

Liked this calligraphy tutorial?

Pick the crafts you want to hear about. One email every Sunday with new step-by-step tutorials. No spam, easy to unsubscribe.

Get more like this in your inbox

Weekly digest. Pick the categories you want. Unsubscribe anytime.

Send me tutorials about

We only email about new tutorials. Easy unsubscribe anytime.