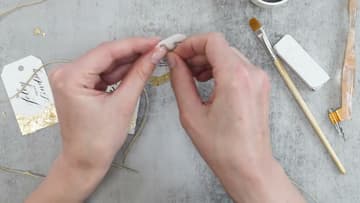
How to Make Calligraphy Gift Tags (With Gold Flakes)
Source: The Postman’s Knock • Full tutorial: www.craftingstepbystep.com/calligraphy/how-to-make-calligraphy-gift-tags
- Difficulty
- Medium
- Hands-on time
- About 45 minutes
- Wait time
- 15 minutes
- Cost
- About $10 to $20
- Makes
- a set of 3 gift tags

Tools
- oblique pen holder
- pointed pen nib
- scissors
- hole punch
- old soft paintbrush
- tweezers (optional)
Materials
- watercolor paper
- black calligraphy ink
- glue stick
- gold leaf flakes
- jute twine
Steps
1. Gather Watercolor Tags, Ink, Pen and Gold Flakes
Cut a few tags from watercolor paper, about 3 inches tall and 1.75 inches wide. Clip the top corners and punch a hole near the top center.
Tip: Make an extra tag or two for practice. Watercolor paper takes some getting used to.
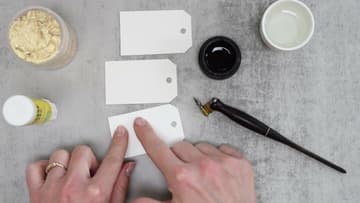
2. Dip the Pointed Pen Nib in Ink for Calligraphy Gift Tags
Dip the nib into the ink so the vent hole is covered, then lift it out and let the extra drip back into the jar. Hold the tag steady with your other hand.
Tip: Rinse and dry the nib every few dips so ink does not clog it.
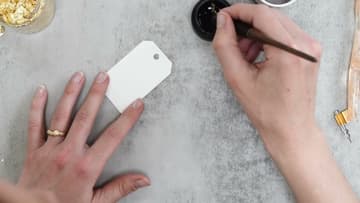
3. Write the Recipient's Name in Calligraphy on the Tag
Write a small To near the top, then the recipient's name below it in larger letters. Press down on the downstrokes for thick lines and ease off on the upstrokes for hairlines.
Tip: Turn the tag at a slight angle so the name runs along its length.
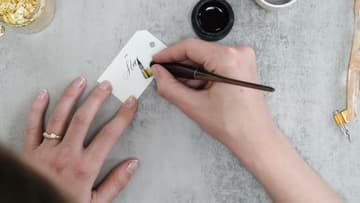
4. Add From and Your Name to the Calligraphy Gift Tag
Write a small From under the recipient's name, then your own name below it. If your name is longer than theirs, you can switch to a stiffer nib that makes thinner, more even lines so it fits.
Tip: Iron gall ink darkens as it dries, so it may look faint at first.
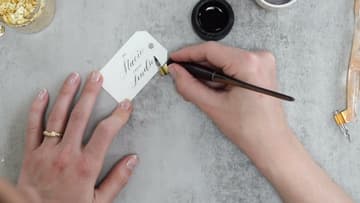
5. Rub Glue Stick Along the Bottom of the Gift Tag
Lay the dry tag on a piece of scrap paper to catch the mess. Run the glue stick across the bottom edge in a loose, wavy band.
Tip: Water-based glue sticks hold gold flakes best.
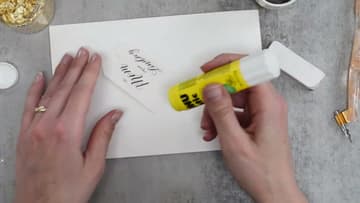
6. Press Gold Flakes Onto the Glued Gift Tag Edge
Take a pinch of gold flakes and lay them over the glue. Dab with your fingers to press them down.
Tip: Bigger flakes cover faster than crumbs. Pick out the larger pieces first.
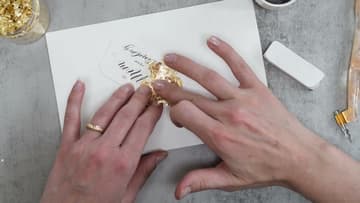
7. Brush Away Loose Gold Flakes From the Gift Tag
Once the glue is dry, burnish the gold with an old soft paintbrush. Sweep across the tag to brush off every flake that is not stuck down.
Tip: Brush away from the lettering so flakes do not scratch the ink.
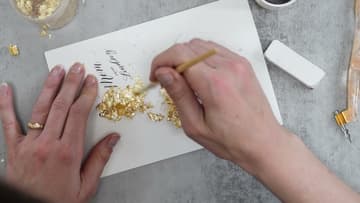
8. Thread Jute Twine Through the Gilded Calligraphy Gift Tags
Cut a length of jute twine for each tag and thread it through the hole. Jute is rough and rustic, which sets off the shiny gold and the fine lettering.
Tip: Tie the tag on last so the gold does not rub off while you wrap.