How to Do Copperplate Calligraphy With a Dip Pen

The finished result: How to Do Copperplate Calligraphy With a Dip Pen
  • Difficulty: Medium
  • About 30 minutes
  • 10 steps

You tapped Save

Save this project for later

We'll email you a link, no password.

How to Do Copperplate Calligraphy With a Dip Pen

  • Your saved projects in one list
  • Your ticked steps on any device

Check your inbox for an email from us. Not there? Look in your spam folder.

Print

Steps written out by Crafting Step by Step from Loveleigh Loops | Calligraphy & iPad Lettering's video (opens YouTube) (12:20). Published .

Also in:Crafts

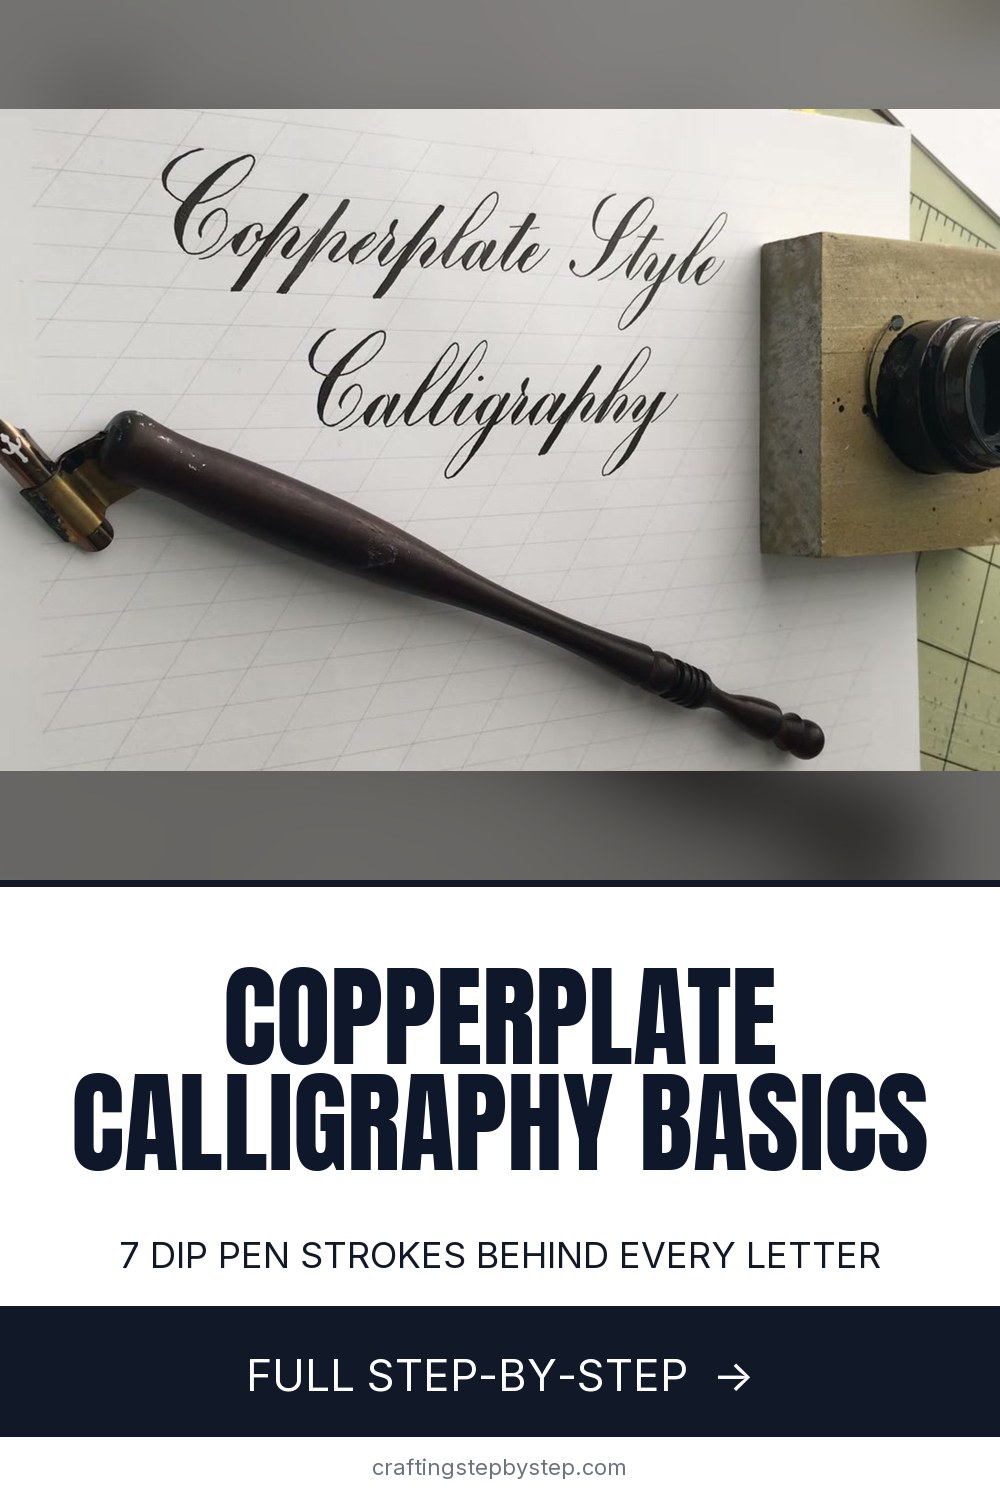
Copperplate is the formal, flowing script you see on old letters and wedding invitations. Every letter has fine hairlines going up and thick shaded strokes coming down. You make that with a pointed dip pen, ink and nothing else. This tutorial follows the Copperplate introduction from Loveleigh Loops, which covers the pen, the guide lines and the seven strokes every letter is built from.

How to do copperplate calligraphy: the short version

  • Fit a pointed nib in an oblique holder.
  • Write on a guide sheet with a 55 degree slant.
  • Dip the nib so ink covers the vent hole, then tap off the extra.
  • Go up light for a hairline. Press on the way down for a shade.
  • Drill the seven fundamental strokes before you write letters.

What you need to start

An oblique holder has a metal flange that holds the nib out to the side. That puts the nib on the 55 degree slant without twisting your wrist. Right-handers usually find it easier than a straight holder. A Nikko G nib is a common first nib because it is firm and forgiving. Sumi ink, like the bottle in the video, flows well and dries a deep black. Pour a little into a small jar so you do not dip into the whole bottle.

Paper matters more than people expect. Cheap copy paper is fuzzy and the nib catches and bleeds. A smooth, heavy laser paper or a calligraphy pad keeps hairlines crisp.

Getting a new nib to hold ink

New nibs come with a thin coat of oil to stop rust. Ink beads up and slides off. Wipe the nib with a little rubbing alcohol or dish soap and water, then dry it before the first dip.

Pressure is the whole trick

A pointed nib has two tines that meet at a point. Press down and they spread, laying more ink. Lift and they close to a hairline. So thin up, thick down. Never press on an upstroke. The nib can dig into the paper and spray ink. Build pressure slowly into a shade and release it slowly at the end, so the swell looks smooth and not like a blob.

Where the strokes show up in letters

  • A u is two underturns with an entrance stroke.
  • An n or m starts with overturns.
  • a, d and o are built on the oval. An e is half an oval.
  • l, k, b and h use the ascending stem loop. g, j and y use the descending one.

The exit of one letter is the entrance of the next. That shared hairline is what joins the word together.

Common problems

  • Railroading. Two thin lines with a gap on a shade. The nib ran dry. Dip more often.
  • Blobs at the start. Too much ink. Tap the nib on the jar rim.
  • Nib snags on upstrokes. You are pressing, or the paper is rough.
  • Letters lean every which way. Line each shade up with the slant lines on your guide sheet.

More calligraphy to try

Want to warm up with a pencil first? Try how to learn calligraphy or faux calligraphy. Compare the broad edge calligraphy pen, and once your strokes are steady, address a card with envelope calligraphy.

Free printable

Print the steps and supply list for this project

One page you can take to the table. Free with a free account, no password.

Get the free printable

What you'll need

Free, for this project

Get this checklist by email

  • All 7 tools and materials, with tick boxes
  • A link to print all 10 steps on paper, to keep by you while you craft

No password. The whole tutorial stays free on this page.

Quick answer

Learn copperplate calligraphy with a dip pen: the oblique holder, guide lines, light upstrokes, heavy downstrokes and the 7 basic strokes. A medium project: about 30 minutes. You need 7 things, including sumi ink, printed guide sheet and oblique pen holder. The 10 steps start with hold the Oblique Pen Holder With the Pointed Nib, press the Pointed Nib to See the Tines Spread and read the Copperplate Guide Sheet Lines and 55 Degree Slant.

Step-by-step guide

10 steps, about 12 minutes. Tap a picture to jump to that step. Your progress saves automatically.

Tick each step off as you go.

  1. Step 1: Hold the Oblique Pen Holder With the Pointed Nib

    Watch this step · 0:24

    Copperplate uses a pointed pen. The holder in the video is an oblique holder. The brass flange on the side holds the nib off at an angle, which helps you write on a steep slant without bending your wrist. Slide the nib into the flange so it sits snugly and points along the line of the holder. Hold it loosely, the way you would hold a pencil.

    Tip:

    If the nib wobbles, gently squeeze the flange so it grips a little tighter.

    Back to all steps

  2. Step 2: Press the Pointed Nib to See the Tines Spread

    Watch this step · 0:57

    Look closely at the nib. It is made of two tines that meet at a point. When you press down, they separate and lay a wider line of ink. When you ease off, they close again and the line goes thin. That change in width is what makes calligraphy look like calligraphy. Thin lines are hairlines. Thick ones are called shades.

    Tip:

    Practise the press and release on scrap paper with no ink to feel how little force it takes.

    Back to all steps

  3. Step 3: Read the Copperplate Guide Sheet Lines and 55 Degree Slant

    Watch this step · 3:00

    Write on a guide sheet. The baseline is where letters sit. One space up is the header line, and the gap between them is the x-height. Above are the first and second ascender lines, and below are the first and second descender lines. The slanted lines run at 55 degrees to the baseline. Most people write Copperplate at that angle.

    Tip:

    Print a free guide sheet and slide it under thin paper, or rule the lines lightly in pencil.

    Back to all steps

  4. Step 4: Dip the Pointed Nib Past the Vent Hole in the Ink

    Watch this step · 3:50

    Pour some ink into a small jar beside your paper. You will redip often. The nib has a small hole called the vent. Dip deep enough that the ink covers it. Then give the pen a small shake or tap it on the rim. That gets rid of the extra so the first stroke does not start with a blob of ink.

    Tip:

    Wipe a new nib with rubbing alcohol first. Factory oil makes ink slide off.

    Back to all steps

  5. Step 5: Write the Copperplate Entrance Stroke as a Hairline

    Watch this step · 4:37

    The fundamental strokes come before any letters, because every letter is made from them. Start with the entrance stroke. It is a hairline that starts at the baseline and rises to the header line. Keep the pressure off the whole way. As it reaches the header, it curves to run parallel with the 55 degree slant.

    Tip:

    Upstrokes are always light. Pressing on the way up makes the nib dig in.

    Back to all steps

  6. Step 6: Write the Copperplate Underturn and Overturn

    Watch this step · 5:18

    The underturn is shaped like a U. Press as you come down the slant, ease off at the bottom, and swing back up thin. The overturn is the opposite. Go up thin, curve over at the top, then press into a thick stroke on the way down. Write each one between the baseline and the header line.

    Tip:

    Make the round part of each turn the same width. That is what keeps letters even later.

    Back to all steps

  7. Step 7: Write the Copperplate Oval and Compound Curve

    Watch this step · 5:57

    Start the oval at the top. Build pressure slowly as you come down, so the shade swells, then release to a hairline and curve up and around to close it. The compound curve joins an overturn and an underturn. Go up thin, press down thick, and finish by going back up thin. So far every stroke fits inside one x-height.

    Tip:

    Release pressure gradually. A sudden lift leaves a square end on the shade.

    Back to all steps

  8. Step 8: Write the Copperplate Ascending Stem Loop

    Watch this step · 6:28

    The ascending stem loop is taller. Start at the header line and go up thin toward the ascender lines. Loop around at the top, then come down with pressure for a long thick shade that lands on the baseline. Keep the downstroke straight and lined up with your slant lines. This is the stroke behind letters like l, k and b.

    Tip:

    Keep the loop narrow. A wide loop makes tall letters look like they are tipping.

    Back to all steps

  9. Step 9: Write the Copperplate Descending Stem Loop

    Watch this step · 6:58

    The descending stem loop mirrors the ascending one. Start at the header line, but go down. Because you are going down, press for a thick shade. Carry it all the way to the second descender line, then curl around and come back up as a hairline. You will use this stroke for letters like g and j.

    Tip:

    Redip before long strokes like this one, so the ink does not run out halfway down.

    Back to all steps

  10. Step 10: Check Copperplate Strokes for Slant and Even Spacing

    Watch this step · 11:56

    Look at your row of strokes. The gaps between strokes should all match. Every shade, the thick part made going down, should run parallel to the 55 degree slant. Draw slant lines and spacing marks over a practice row with a fine pen to check. When one is off, that is what the printed guide lines are there to fix.

    Tip:

    Fill a page with one stroke before moving to the next. Consistency comes from repetition.

    Back to all steps

How to Do Bounce Lettering With Brush Pens

Keep going

How to Do Bounce Lettering With Brush Pens

Keep going with calligraphy

More on this topic, picked for this project.

You reached the last step

Save this project to come back to it

Your ticked steps, the free printable and your other saved makes, together in My Projects. Free, no password.

You tapped Save

Save this project for later

We'll email you a link, no password.

How to Do Copperplate Calligraphy With a Dip Pen

  • Your saved projects in one list
  • Your ticked steps on any device

Check your inbox for an email from us. Not there? Look in your spam folder.

Free printable

Printable sheet and shopping list for this project

The bonus is hidden until you sign up.

Free with a free account, no password. Every step above stays open to everyone.

Products Used

The Checklist

How to Do Copperplate Calligraphy With a Dip Pen

Tools
4
Materials
3
Steps
10
Video
12 min

Tools we recommend

As an Amazon Associate we earn from qualifying purchases. Links on this page may be affiliate links - clicking them and buying doesn't change your price, but helps support Crafting Step by Step.

Tags

The Crafter's Weekly

New calligraphy tutorials, every Sunday

One short email with the week's best step-by-step guides. Free, no spam, unsubscribe anytime.

Did this work for you?

What's next

Related collections

Curated theme pages that include this tutorial.

Similar tutorials

Hand-picked next reads based on the one you just finished.

Liked this calligraphy tutorial?

Pick the crafts you want to hear about. One email every Sunday with new step-by-step tutorials. No spam, easy to unsubscribe.

Get more like this in your inbox

Weekly digest. Pick the categories you want. Unsubscribe anytime.

Send me tutorials about

We only email about new tutorials. Easy unsubscribe anytime.