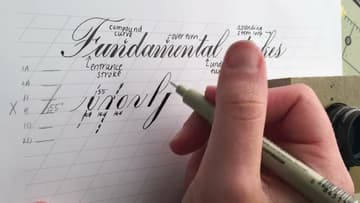
How to Do Copperplate Calligraphy With a Dip Pen
Source: Loveleigh Loops | Calligraphy & iPad Lettering • Full tutorial: www.craftingstepbystep.com/calligraphy/how-to-do-copperplate-calligraphy
- Difficulty
- Medium
- Hands-on time
- About 30 minutes

Tools
- oblique pen holder
- pointed calligraphy nib
- small ink jar
- fine liner pen
Materials
- sumi ink
- smooth heavy paper or calligraphy pad
- printed guide sheet
Steps
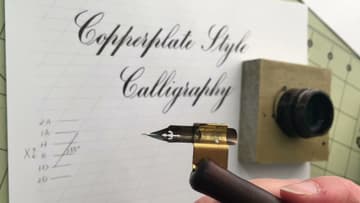
1. Hold the Oblique Pen Holder With the Pointed Nib
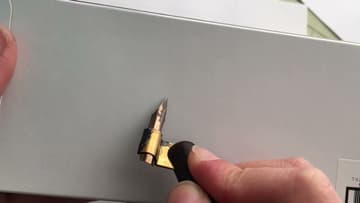
Copperplate uses a pointed pen. The holder in the video is an oblique holder.
Tip: If the nib wobbles, gently squeeze the flange so it grips a little tighter.
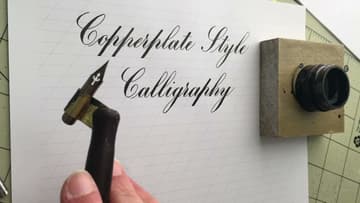
2. Press the Pointed Nib to See the Tines Spread
Look closely at the nib. It is made of two tines that meet at a point.
Tip: Practise the press and release on scrap paper with no ink to feel how little force it takes.
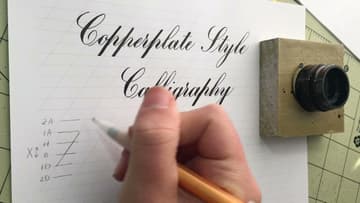
3. Read the Copperplate Guide Sheet Lines and 55 Degree Slant
Write on a guide sheet. The baseline is where letters sit.
Tip: Print a free guide sheet and slide it under thin paper, or rule the lines lightly in pencil.
4. Dip the Pointed Nib Past the Vent Hole in the Ink
Pour some ink into a small jar beside your paper. You will redip often.
Tip: Wipe a new nib with rubbing alcohol first. Factory oil makes ink slide off.
5. Write the Copperplate Entrance Stroke as a Hairline
The fundamental strokes come before any letters, because every letter is made from them. Start with the entrance stroke.
Tip: Upstrokes are always light. Pressing on the way up makes the nib dig in.
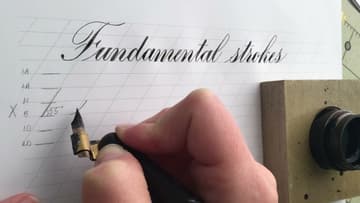
6. Write the Copperplate Underturn and Overturn
The underturn is shaped like a U. Press as you come down the slant, ease off at the bottom, and swing back up thin.
Tip: Make the round part of each turn the same width. That is what keeps letters even later.
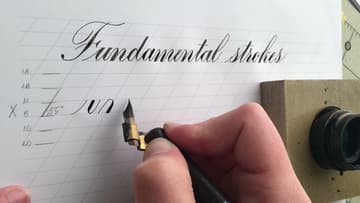
7. Write the Copperplate Oval and Compound Curve
Start the oval at the top. Build pressure slowly as you come down, so the shade swells, then release to a hairline and curve up and around to close it.
Tip: Release pressure gradually. A sudden lift leaves a square end on the shade.
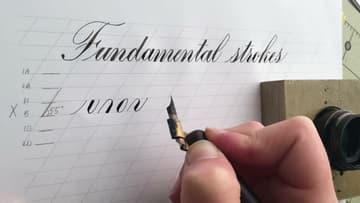
8. Write the Copperplate Ascending Stem Loop
The ascending stem loop is taller. Start at the header line and go up thin toward the ascender lines.
Tip: Keep the loop narrow. A wide loop makes tall letters look like they are tipping.
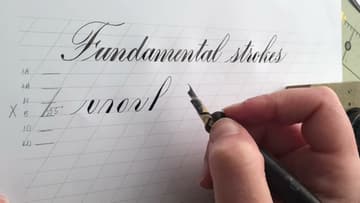
9. Write the Copperplate Descending Stem Loop
The descending stem loop mirrors the ascending one. Start at the header line, but go down.
Tip: Redip before long strokes like this one, so the ink does not run out halfway down.
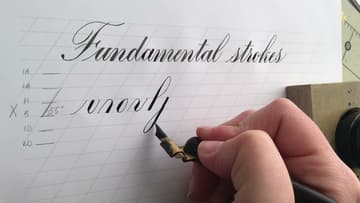
10. Check Copperplate Strokes for Slant and Even Spacing
Look at your row of strokes. The gaps between strokes should all match.
Tip: Fill a page with one stroke before moving to the next. Consistency comes from repetition.