How to Use a Die Cutting Machine

ScrapbookingEasy4:3010 stepsBrowse more →
The finished result: How to Use a Die Cutting Machine

By CraftingStepByStepPublished

Based on a video by Blick Art Materials.

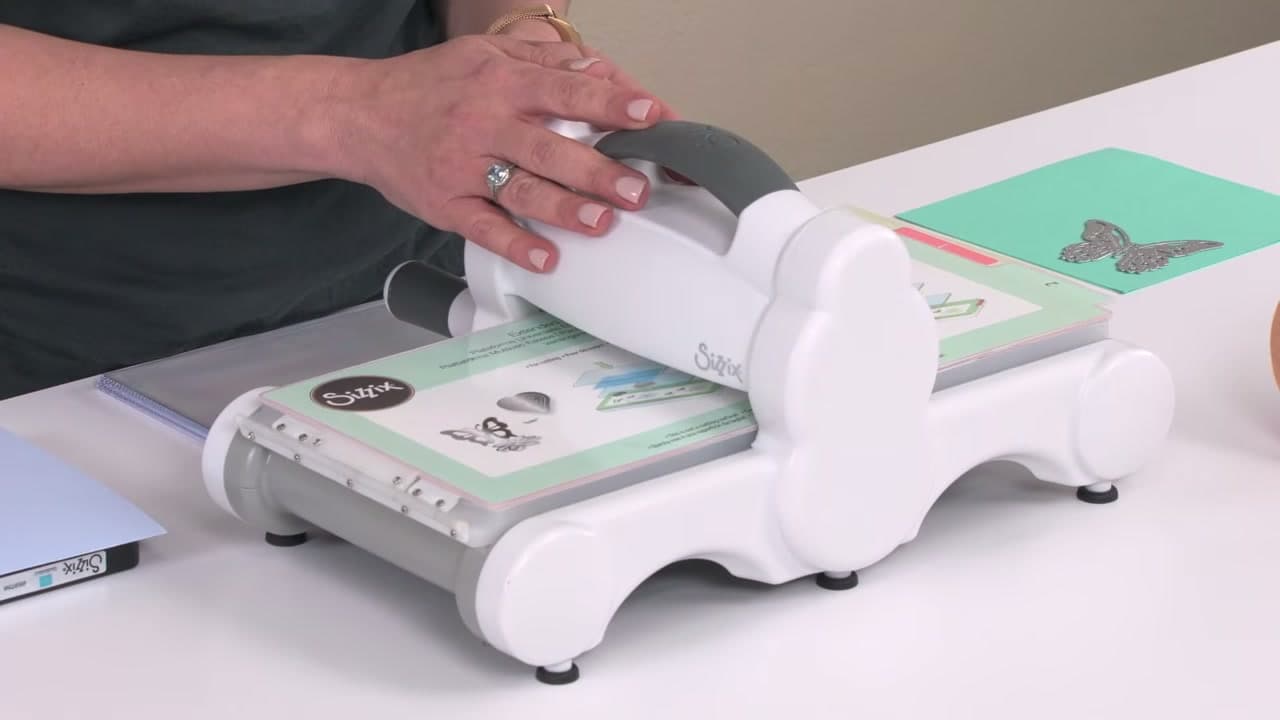
A manual die cutting machine has no electronics in it at all. Two steel rollers, a crank handle, and a set of clear plastic plates. You build a stack, you turn the handle, the rollers squeeze the stack, and whatever die is in there cuts or embosses your paper. That is the entire mechanism, which is why these machines last decades and cost a fraction of the computerised ones.

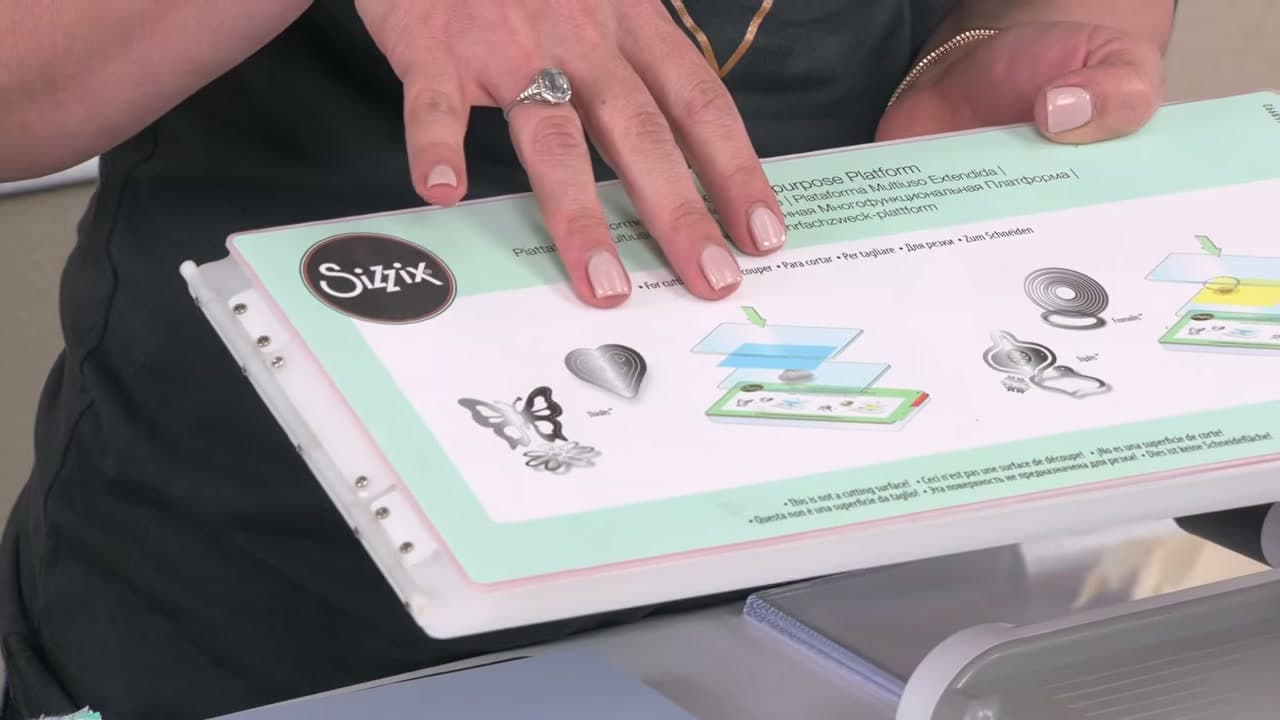
The one thing that confuses everybody at the start is the sandwich. Different dies need different stacks of plates, and getting it wrong means either nothing happens or you crack a plate. John Long from Sizzix runs through the three you actually need here, on a Big Shot: thin dies, embossing folders, and thick steel rule dies. The multipurpose platform has the diagram printed right on it, so you never have to remember any of it.

This is the manual side of the craft, deliberately. If you want a machine that cuts shapes from a file on your computer, the Cricut guide and cutting SVG files cover that route instead. What comes off a manual machine goes straight into pop-up cards, scrapbook layouts and paper rosettes.

Step-by-Step Guide

10 steps · about 5 minutes.Check off each step as you go and your progress saves automatically.

1

Step 1: Meet the Machine

0:09
Step 1: Step 1: Meet the Machine

Two rollers, a crank handle, a set of plates and a six inch opening. No cord, no software, no subscription. Whatever fits through six inches can be cut on it, and that turns out to be most of what a paper crafter needs.

Set it on a solid surface and make sure the feet are gripping. Turning the crank pushes the machine away from you, and one that slides across the table is hard work.

Tip

Some machines clamp or suction to the table edge. Worth using if you have it, especially with thick steel rule dies which take real effort. Watch this step
2

Step 2: Read the Sandwich Chart on the Platform

0:33
Step 2: Step 2: Read the Sandwich Chart on the Platform

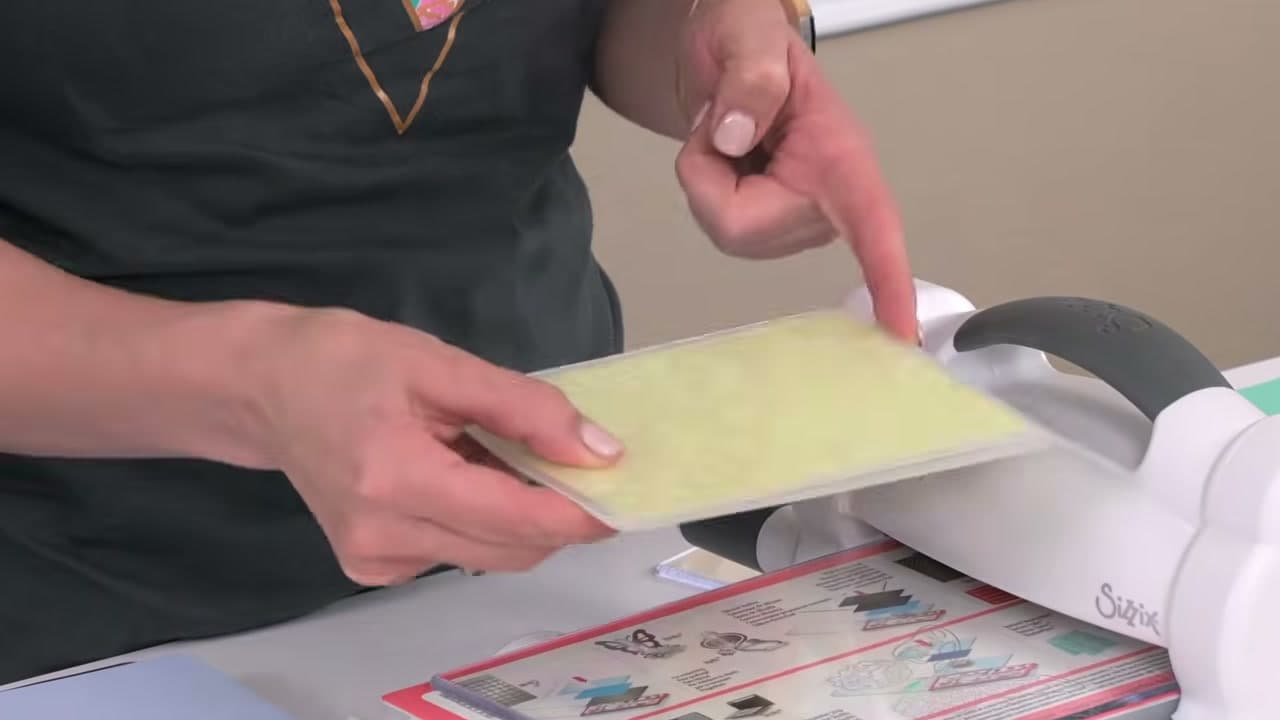
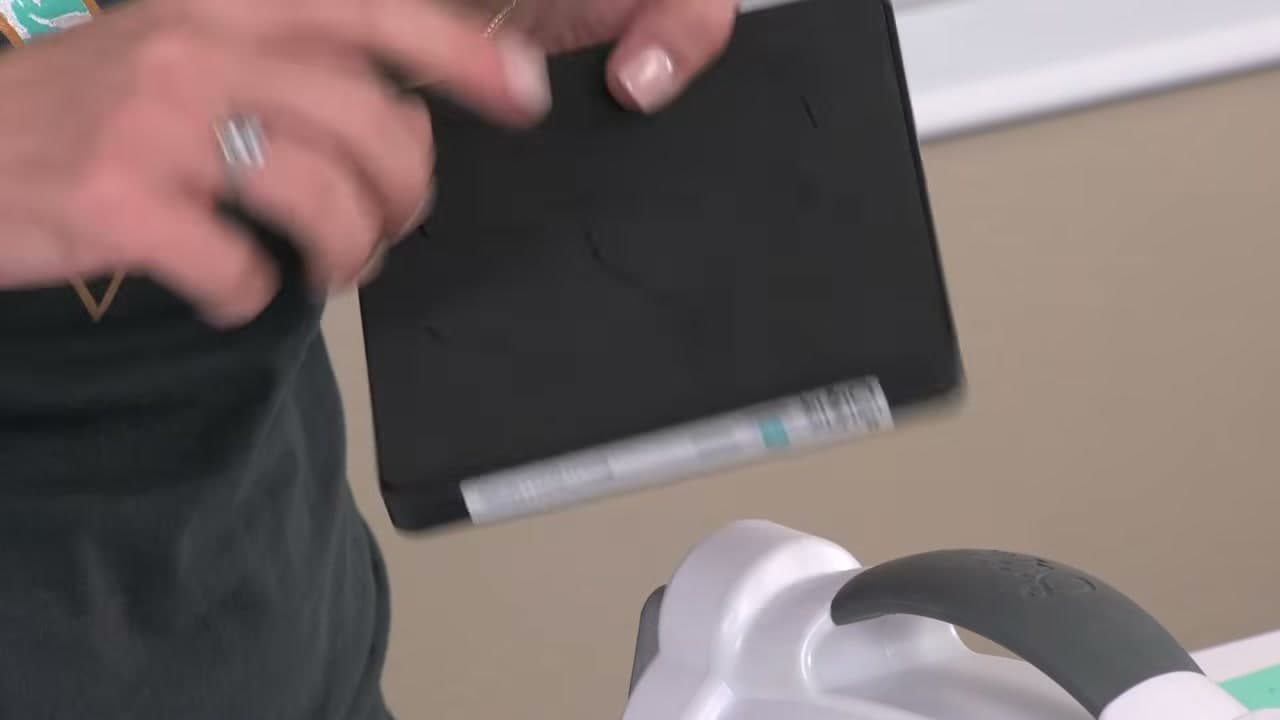
The extended multipurpose platform folds open and has the whole reference printed on its face. Each numbered tab tells you which plates to stack for which kind of die. Tab two for thin dies, tab one for embossing folders, and so on.

Learn to check this rather than memorising it. Plate thicknesses vary slightly between brands and even between generations of the same machine, and the chart on your own platform is the one that is right for your machine.

Tip

If a stack will not go through, do not force the handle. Take a plate out rather than cracking one. Watch this step

3

Step 3: Build the Thin Die Sandwich

0:50
Step 3: Step 3: Build the Thin Die Sandwich

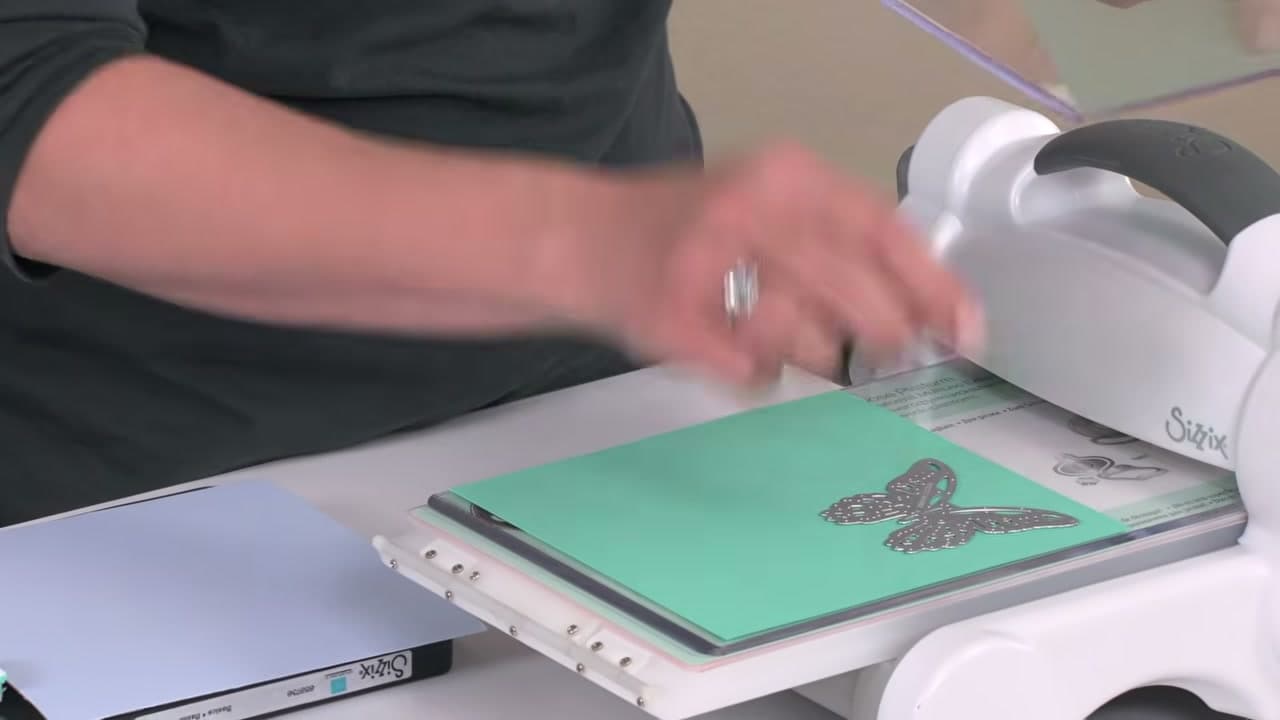
Start with a cutting pad. Lay your cardstock on it. Put the thin metal die on top, sharp edge down against the paper. Finish with a second cutting pad.

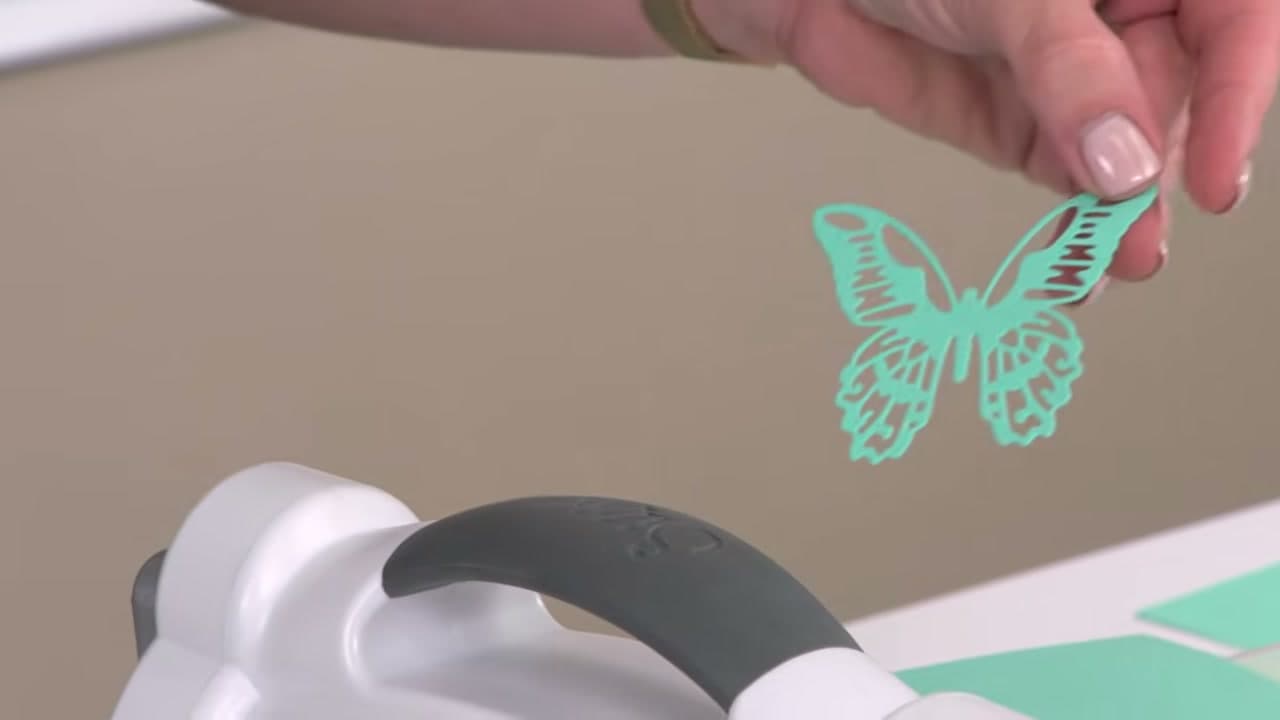
Thin dies are the everyday ones, the ones that cut delicate shapes like butterflies, letters and lacy borders. The blade is a thin raised line etched into the metal, which is why they need the platform to make up the height.

Tip

A little washi tape holds the die to the cardstock so it cannot shift as the stack goes into the rollers. Shifted dies cut half a shape. Watch this step

4

Step 4: Crank It Through and Lift the Die Off

1:07
Step 4: Step 4: Crank It Through and Lift the Die Off

Push the stack up to the rollers and turn the handle steadily until the whole sandwich has passed through. One pass is enough. There is no advantage to running it back and forth.

Open the stack and lift the die away. The shape is cut clean, and the paper around it, the negative, is often just as useful as the piece you meant to cut.

Tip

Poke stubborn bits out with a fine embossing stylus rather than your fingernail. Delicate cuts tear at the corners very easily. Watch this step

5

Step 5: Switch the Platform for Embossing

1:36
Step 5: Step 5: Switch the Platform for Embossing

To emboss instead of cut, turn the platform to tab one and get an embossing folder. Slide a sheet of cardstock inside the folder and close it.

An embossing folder is two halves of a mould, one raised and one recessed. Under pressure it presses your paper into the pattern rather than cutting through it. Same machine, same rollers, completely different result.

Tip

Run the folder through hinge side first. Feeding the open edge in first can catch and pull the paper out of alignment. Watch this step

6

Step 6: The Pattern Presses Straight Into the Card

1:52
Step 6: Step 6: The Pattern Presses Straight Into the Card

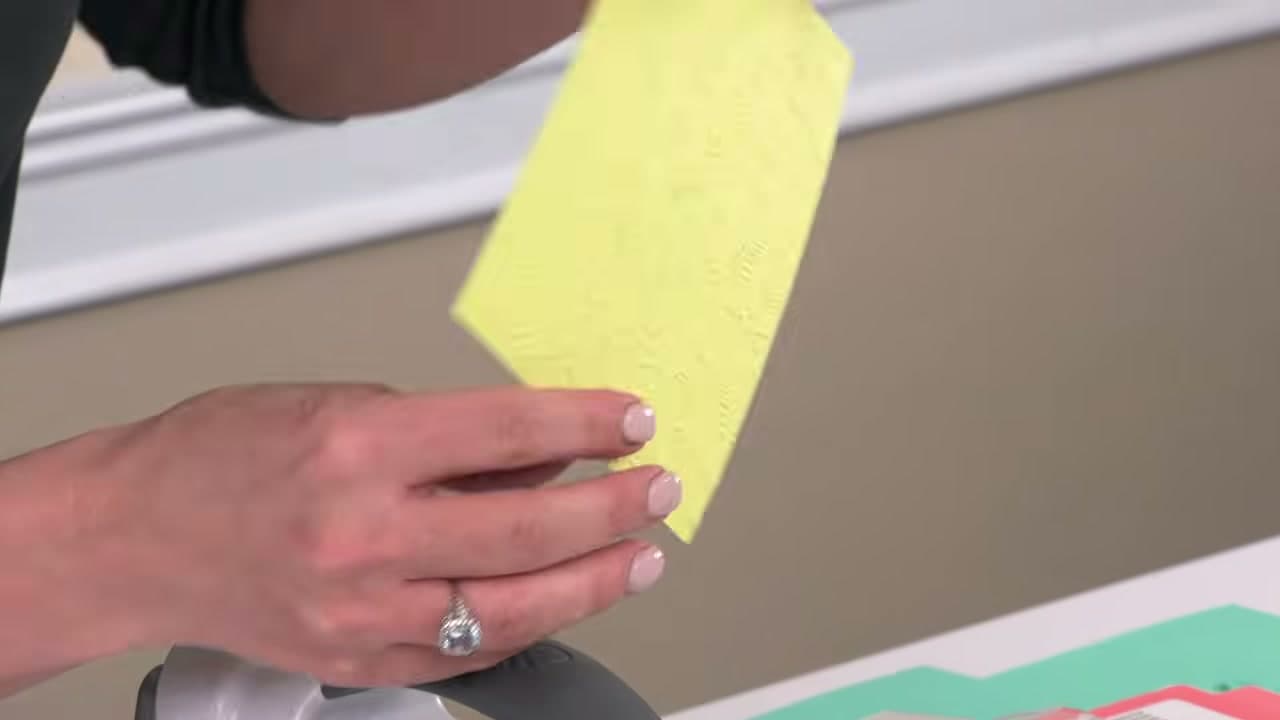
Out the other side, open the folder and the whole pattern is raised on the cardstock. It gives a card front real texture for nothing more than one pass through the machine.

Heavier cardstock takes a deeper impression than thin paper. If the result looks weak, a light mist of water on the cardstock before embossing softens the fibres and gives a much sharper emboss.

Tip

Emboss first, then die cut. Trying to emboss a shape that is already cut out usually distorts the edges. Watch this step

7

Step 7: Steel Rule Dies Need No Platform

2:26
Step 7: Step 7: Steel Rule Dies Need No Platform

Thick steel rule dies work differently. The blade is a strip of actual steel standing up out of a foam block, and the foam compresses as the die goes through the rollers so the blade can reach the material. It brings its own height, so the multipurpose platform gets set aside completely.

The sandwich is just a cutting pad, the die with your material on it, and a second cutting pad. Simpler than the thin die stack, and considerably more effort on the handle.

Tip

Steel rule dies live face down in storage so the blade is protected. Check which side is up before you build the sandwich. Watch this step

8

Step 8: Cut Anything Scissors Can Cut

3:16
Step 8: Step 8: Cut Anything Scissors Can Cut

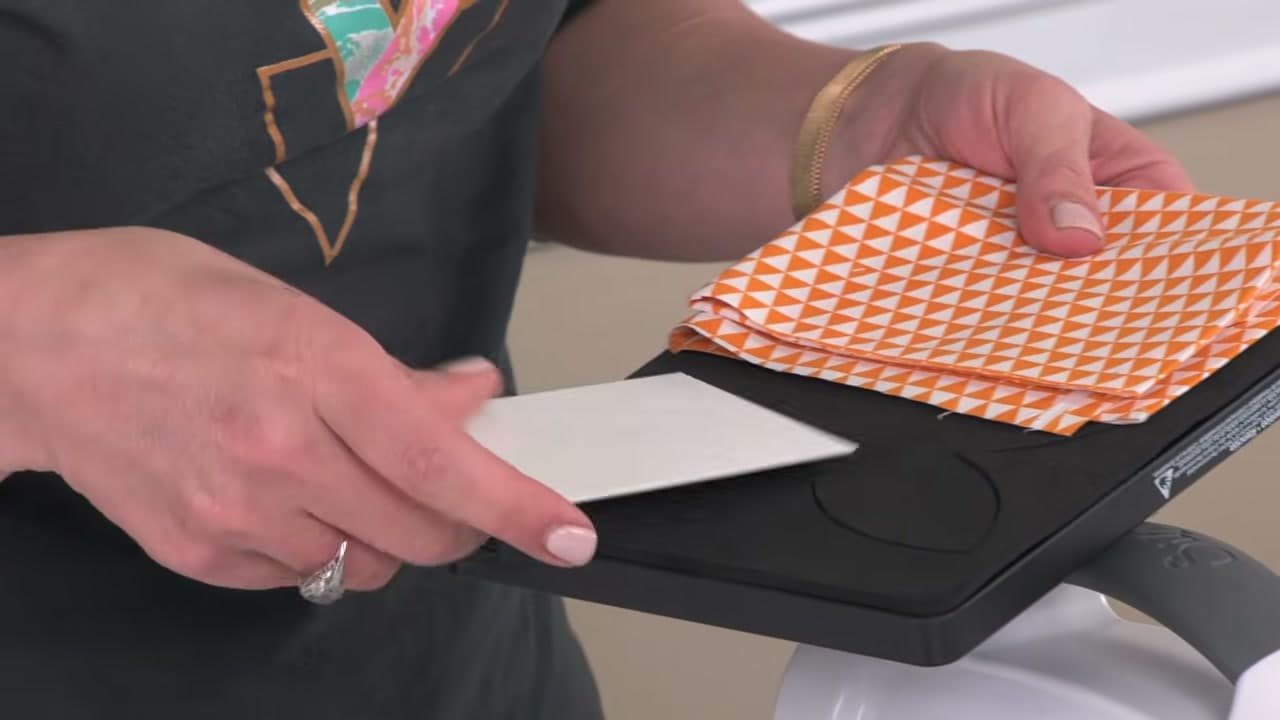
This is where a steel rule die pays for itself. It cuts felt, chipboard, fabric, thin aluminium, cork and leather, not just paper. The rule of thumb is that if scissors can get through it, the die can too.

It also cuts more than one layer at a time. Two sheets of cardstock in one pass is easy, and eight layers of fabric alongside a piece of thick chipboard goes through in a single crank.

Tip

Stack identical materials rather than mixed. A sheet of felt and a sheet of chipboard together compress at different rates and neither cuts cleanly. Watch this step

9

Step 9: One Pass and Everything Is Cut

3:44
Step 9: Step 9: One Pass and Everything Is Cut

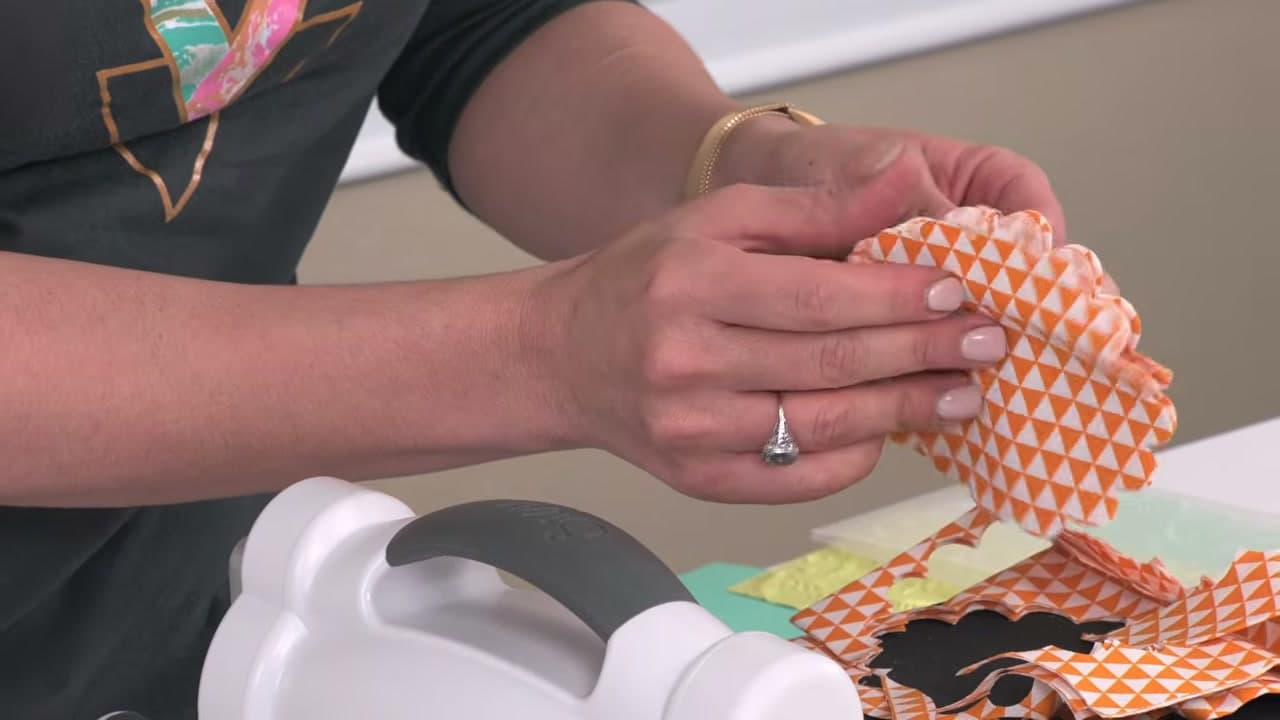
Open the sandwich and lift the material off. Every shape on the die has cut through at once, which is the real time saving with steel rule dies. A die with twenty small shapes on it gives you twenty pieces per crank.

Check the corners of the cuts before you pull the waste away. If one shape has not cut fully, adding a single sheet of copy paper to the sandwich to raise the pressure fixes it.

Tip

Keep a shim sheet of card with your plates. As cutting pads wear they lose thickness and a shim brings the pressure back. Watch this step

10

Step 10: A Six Inch Machine Still Builds Big

4:13
Step 10: Step 10: A Six Inch Machine Still Builds Big

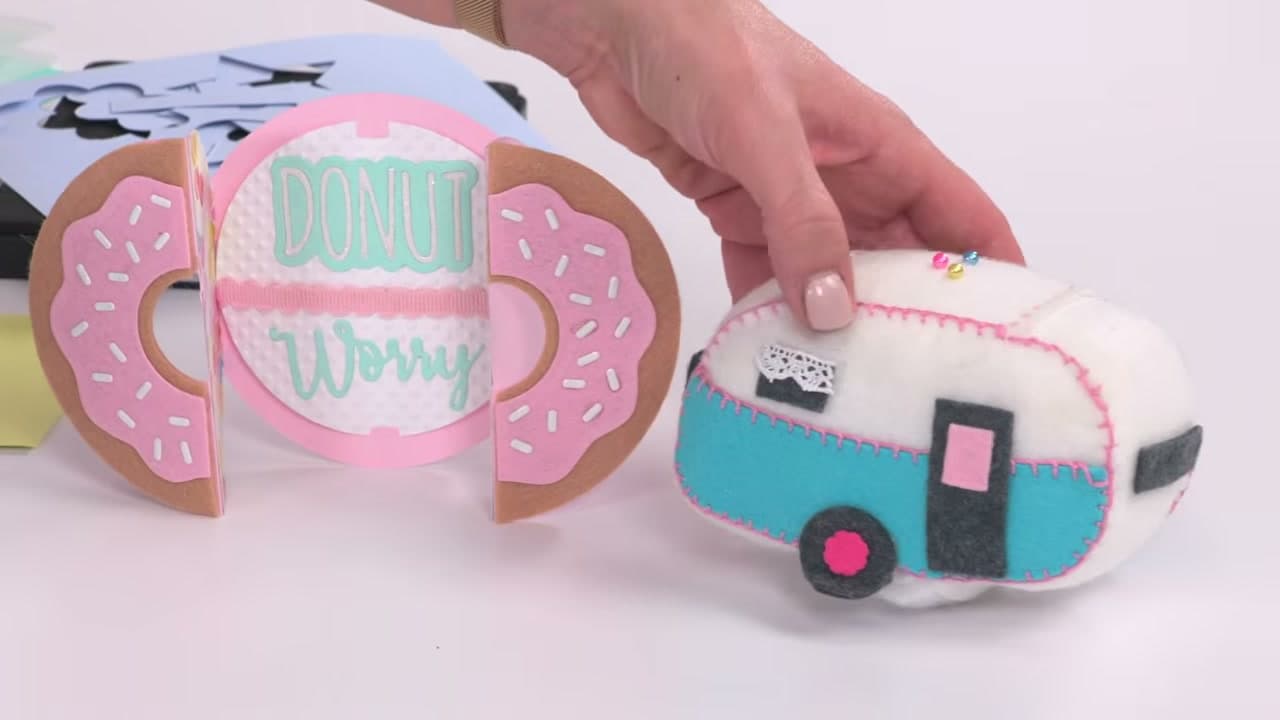
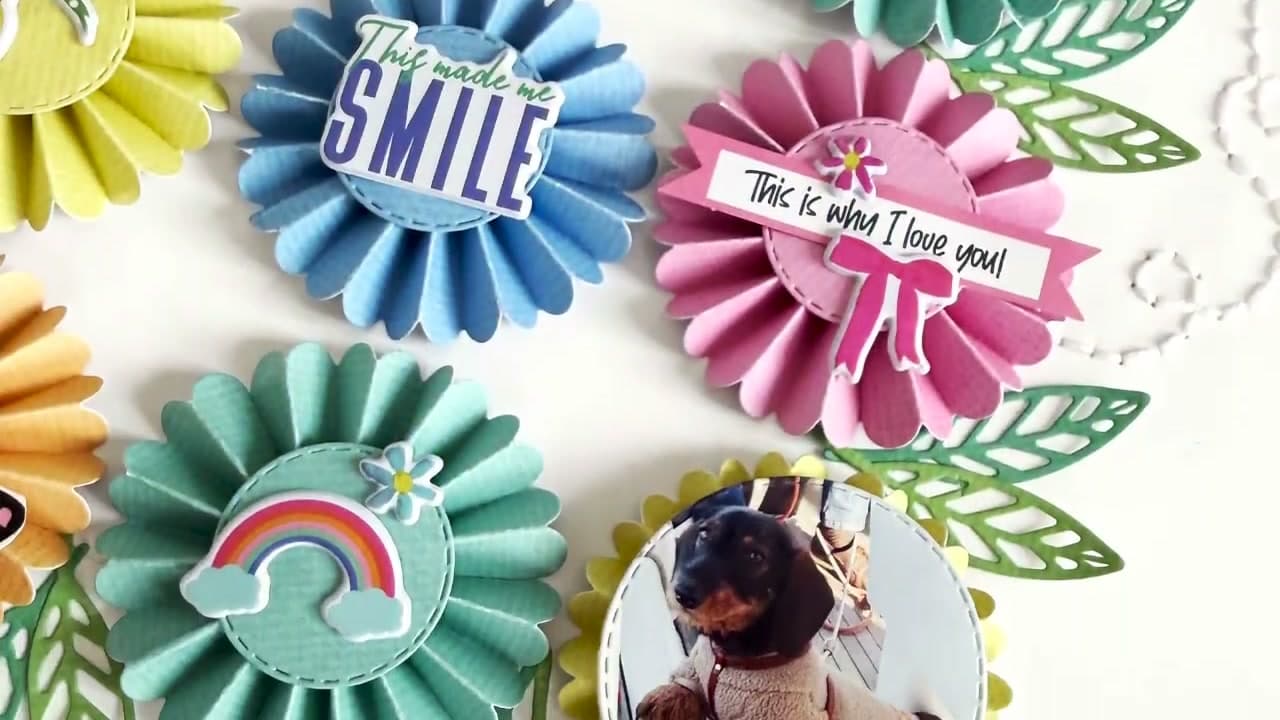
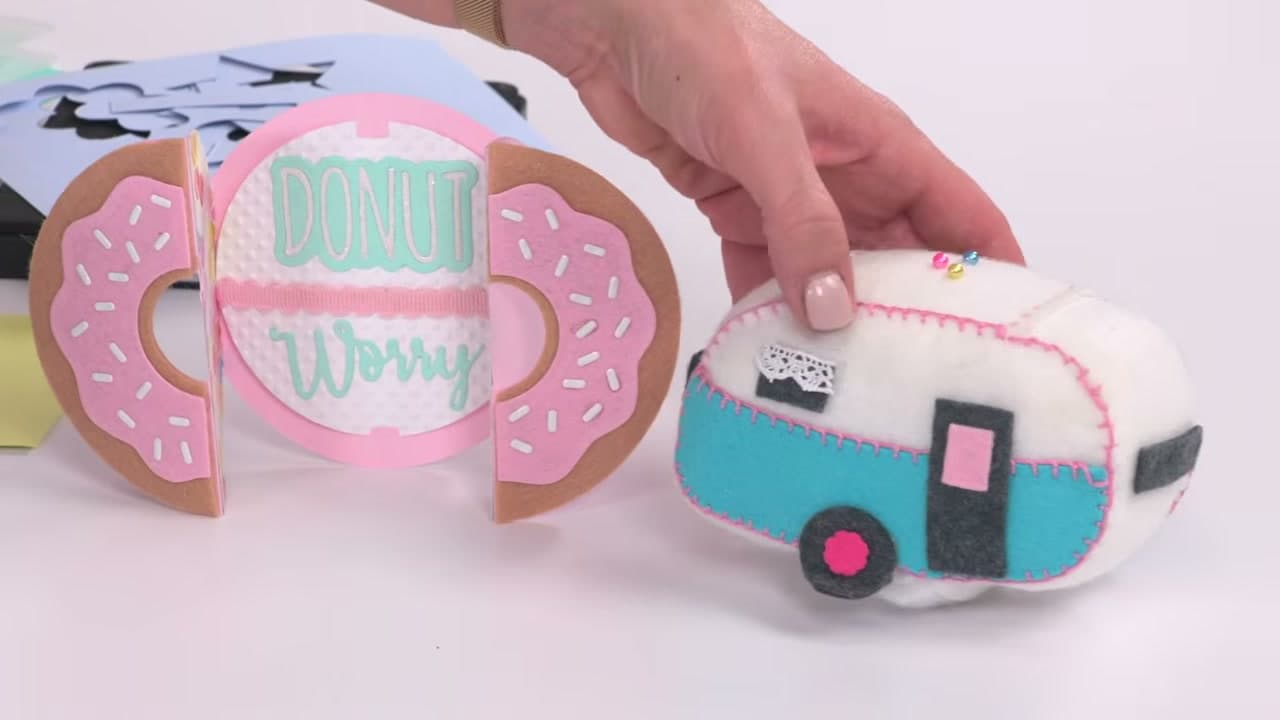
The opening is six inches wide, which sounds limiting until you see what comes off it. Giant paper flowers, layered rosettes over a foot across, felt softies and pop-up greeting cards, all assembled from small pieces cut one at a time.

Petals, leaves and rosette segments get cut in batches and glued into something far larger than the machine. That is how backdrops and party décor get made on a machine that fits in a cupboard.

Tip

Cut all your petals in one session and store them flat in an envelope. Assembling is the fun part and you want to get to it in one go. Watch this step

Keep going

How to Make a Flower Meadow Scrapbook Layout

10 steps · about 15 minutes

Products Used

☐ The Checklist

How to Use a Die Cutting Machine

Tools
6
Materials
5
Steps
10
Video
5 min

Tools we recommend

Your Guide

Blick Art Materials

As an Amazon Associate we earn from qualifying purchases. Links on this page may be affiliate links - clicking them and buying doesn't change your price, but helps support ShowMeStepByStep.

Tags

Sunday How-To

New scrapbooking tutorials, every Sunday

One short email with the week's best step-by-step guides. Free, no spam, unsubscribe anytime.

Did this work for you?

What's next

Related collections

Curated theme pages that include this tutorial.

Weekly Digest

Liked this scrapbooking tutorial?

Pick the categories you want to hear about. Weekly digest of new step-by-step tutorials. No spam, easy unsubscribe.

Send me tutorials about

We only email about new tutorials. Easy unsubscribe anytime.