How to Use a Cricut for Beginners (Download, Upload, Cut)

Based on a video by Christy Cain - Appalachian Home Co.

Opens their YouTube channel

Steps written out by CraftingStepByStep · Published · Updated

Watch the original video (opens YouTube)
The finished result: How to Use a Cricut for Beginners (Download, Upload, Cut)

Step-by-step guide

7 steps, about 9 minutes. Tap a picture to jump to that step. Your progress saves automatically.

Tick each step off as you go.

  1. Step 1: Connect the Machine to Your Computer

    Watch this step · 1:05
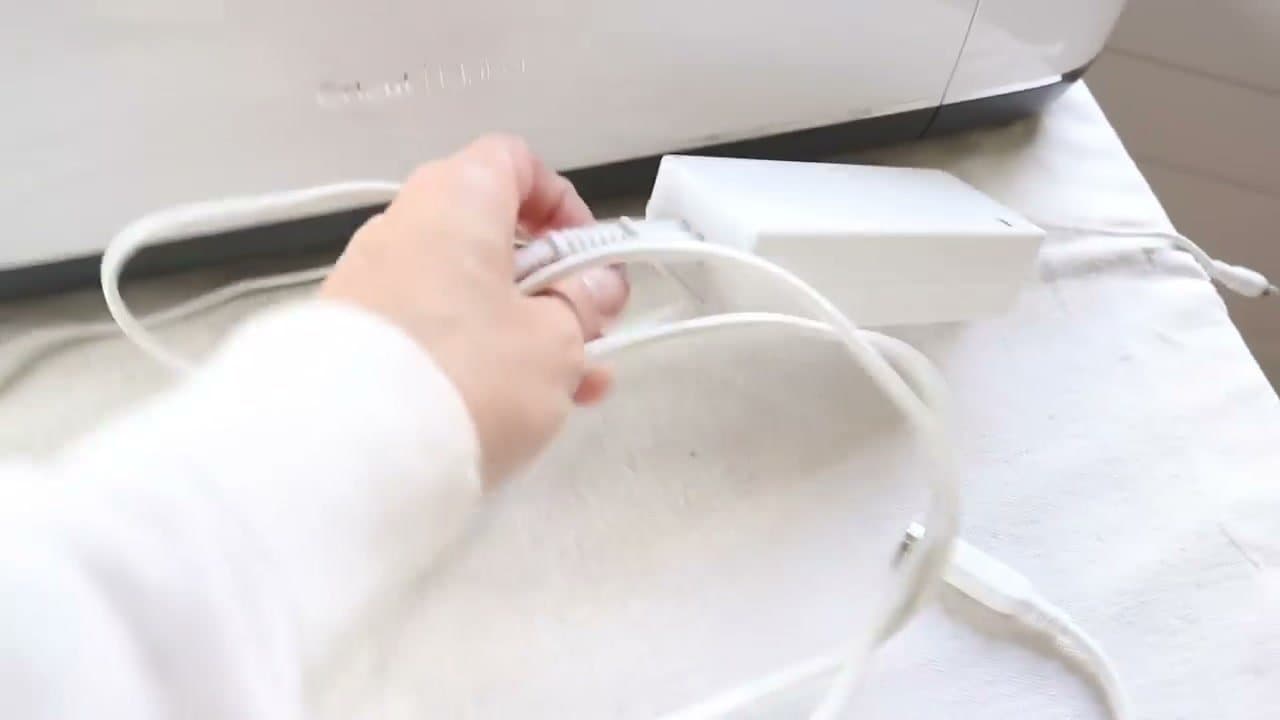
    Both the Cricut Maker and the Cricut Explore Air 2 come with a power cord and a USB cord in the box. Plug the power cord into the wall and the USB cord into your computer.

    Mac users may need a USB-C adapter depending on the laptop. The Cricut Maker also has Bluetooth, so you can connect it wirelessly to an iPad if you'd rather work from a tablet. Turn the machine on once everything is plugged in.
    Back to all steps

  2. Step 2: Install Design Space and Set Up Your Machine

    Watch this step · 1:55

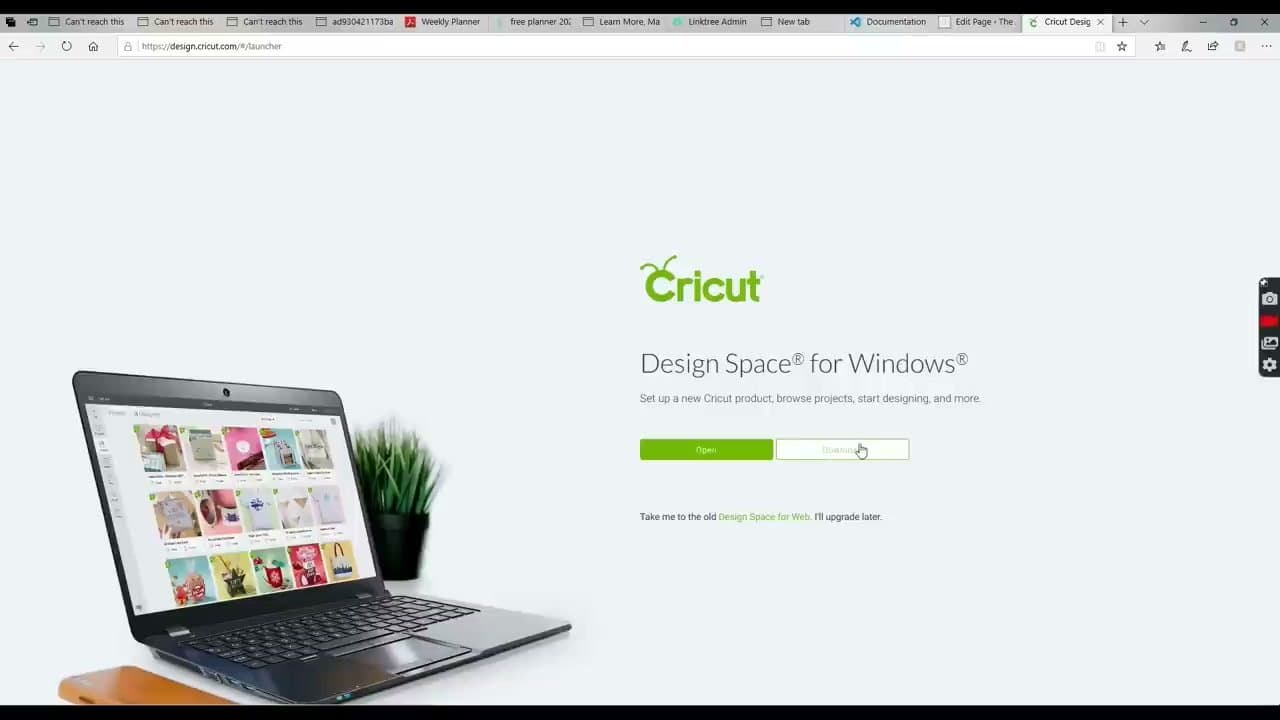
    Go to design.cricut.com, choose your operating system (Mac or PC), and download Design Space. Install and open it.

    From the menu inside Design Space, choose New Machine Setup and select the model you have - Maker or Explore Air. Make sure the machine is plugged in and turned on while you do this. Create a free account at this point. The 30-day Cricut Access trial gets unlocked automatically; after that it's a paid subscription, but you don't need it - you can use the machine and Design Space without ever subscribing.

    Back to all steps

  3. Step 3: Gather the Tools and Pick the Right Mat

    Watch this step · 3:00

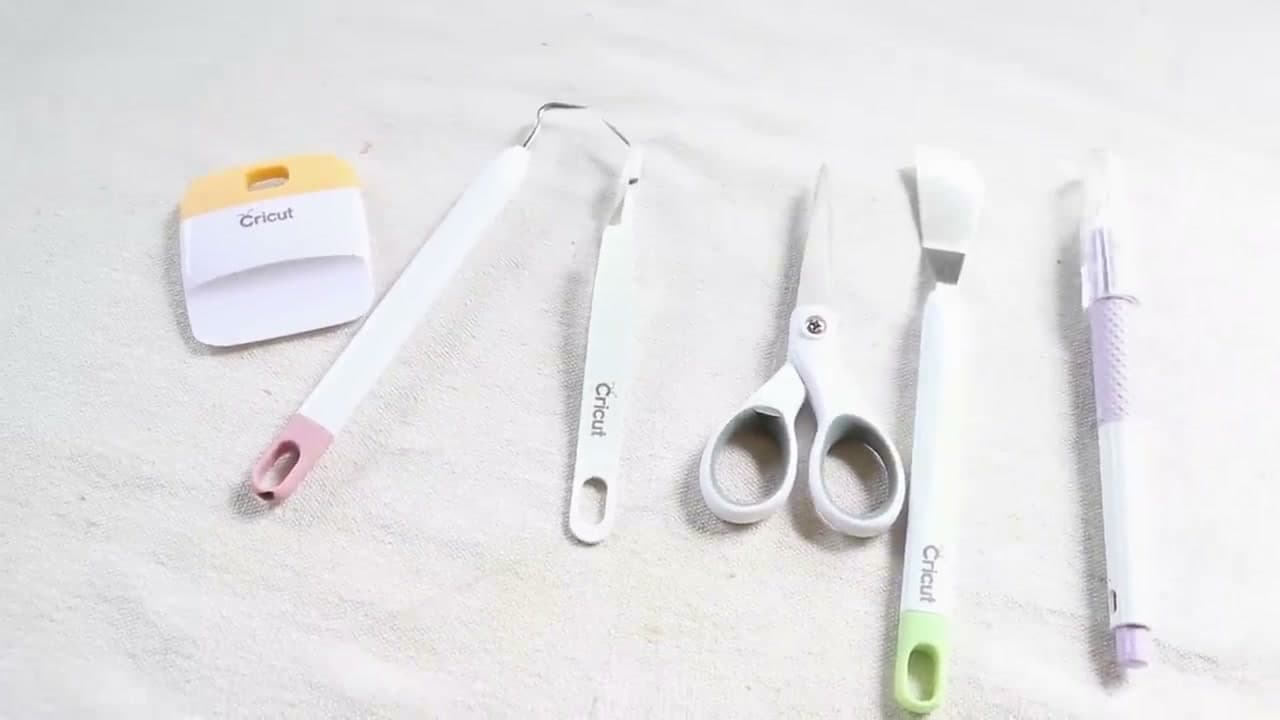
    Five tools handle 90% of jobs. The squeegee is for applying the finished decal to surfaces (and for getting cut vinyl off the mat). The weeding tool has a pick on the end and is what you'll use every project to lift away the negative-space pieces. Reverse tweezers grab tiny pieces like polka dots without crushing them. Small scissors and an exacto knife round out the kit.

    Mats come in 12x12 and 12x24, plus a few grip strengths. Light grip is for paper and cardstock. Standard grip is for everyday vinyl and what most people use. Fabric grip is for fabric. Strong grip is for glitter vinyl that doesn't stick well to standard mats.

    Back to all steps

  4. Step 4: Upload Your Design - PNG, JPG, or SVG

    Watch this step · 4:40

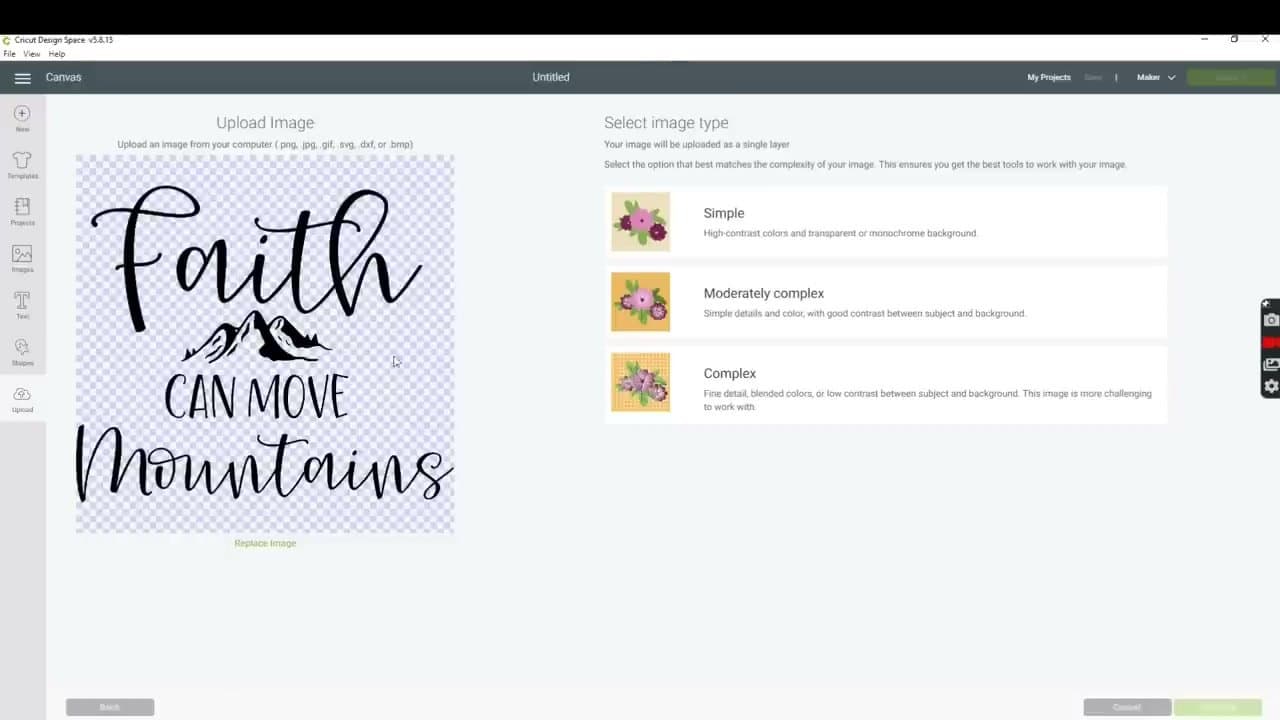
    Click the Upload icon on the left side of Design Space and pick your file from your computer. Cricut accepts PNG, JPG, GIF, SVG, DXF, and BMP.

    For PNG or JPG: select the complexity (use Complex if the image has multiple colors or fine detail), then use the eraser to clean up any background you don't want. Save it as either 'Print Then Cut' (if you want to print the design at home and have the machine cut around it) or 'Cut Image' (if you're cutting vinyl).

    For SVG: just name the file and save. SVG is already vector data, no cleanup needed - the layers and colors come through automatically.

    Tip:

    Free SVGs are everywhere - Design Bundles, Creative Fabrica, Etsy, and Cricut's own library all give them away. Read the license before commercial use.

    Back to all steps

  5. Step 5: Resize, Recolor, and Click Attach

    Watch this step · 5:30

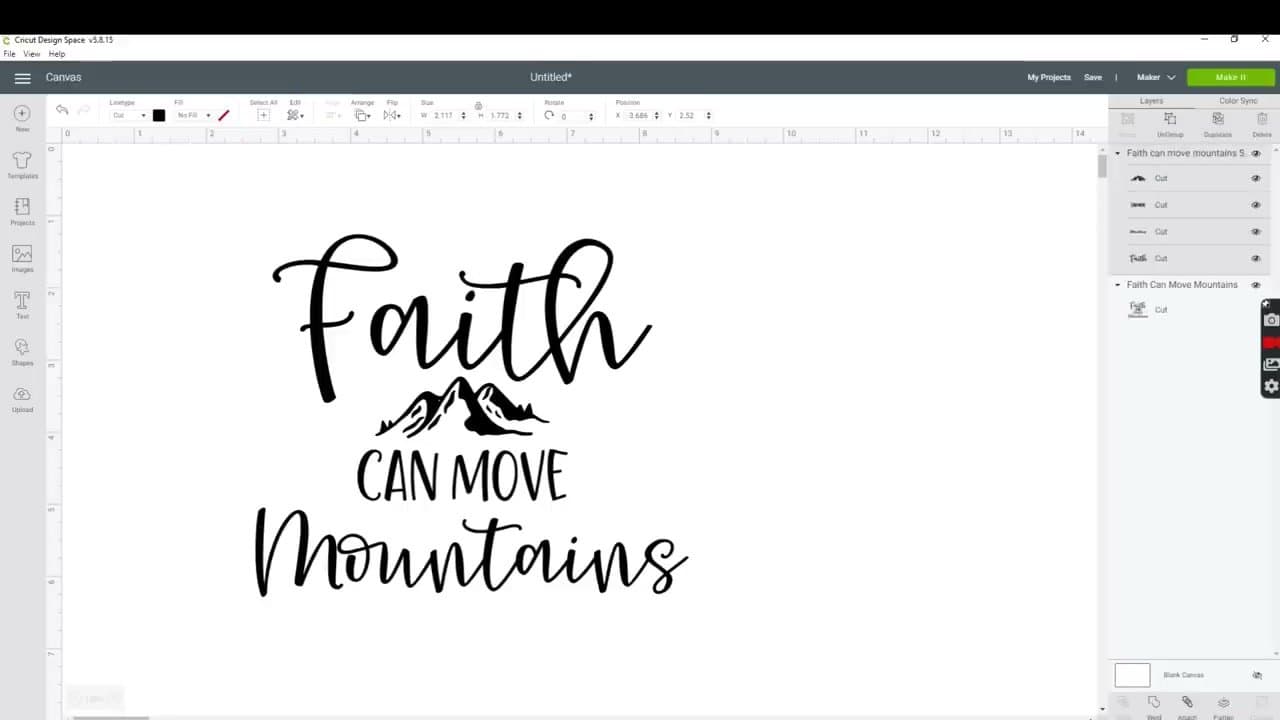
    Drag the design onto the Canvas. Resize using the corner handles - keep the lock icon checked so the proportions stay intact. Change the color from the color box at the top left if you want a different vinyl color in the preview. The toolbar above also has flip and rotate.

    When the layout is exactly how you want it, select all the pieces and click Attach in the bottom right. Without Attach, Cricut will rearrange your pieces on the mat by color. Attach tells the machine to cut everything in the exact arrangement you set.

    Back to all steps

  6. Step 6: Mirror if Needed, Pick the Material, and Load the Mat

    Watch this step · 6:55

    Click Make It in the top right. The mat preview pops up - confirm the size matches the mat you're using. If you're cutting heat transfer vinyl (HTV) for a t-shirt, check the Mirror box - this flips the design so it reads correctly when you peel and apply. For regular adhesive vinyl, leave it unchecked.

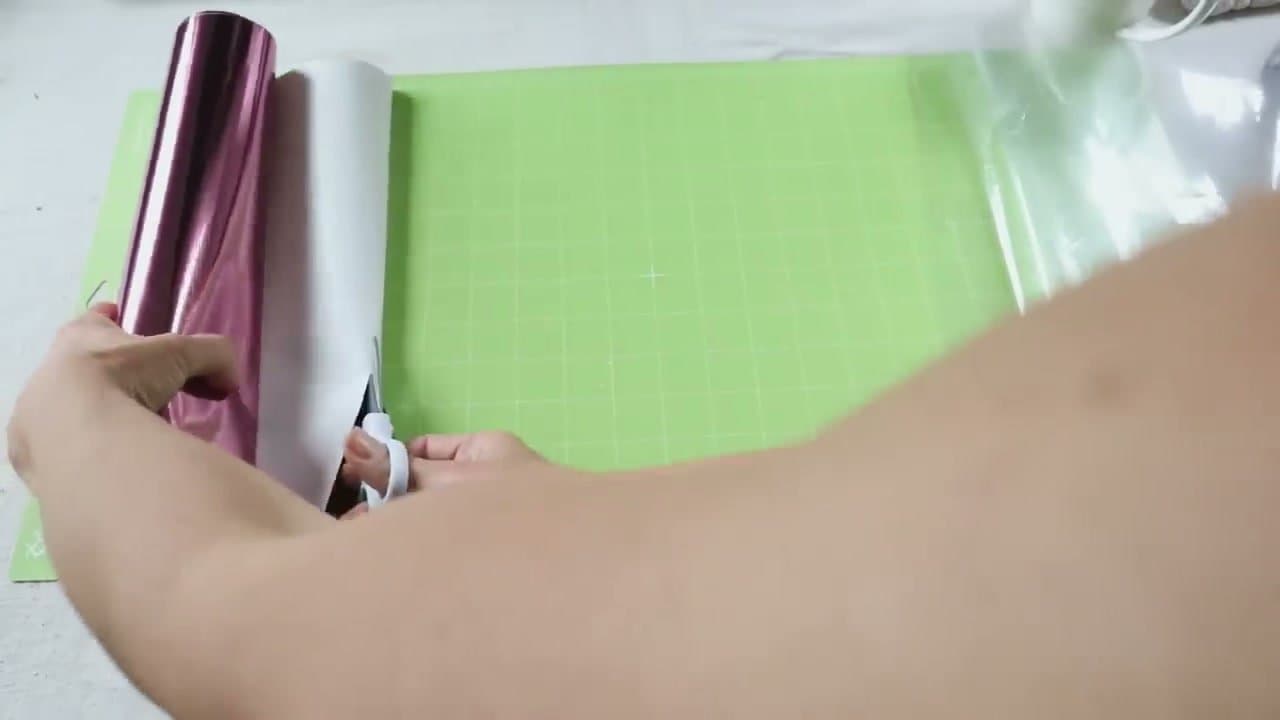
    Click Continue. Pick the material from the dropdown - on the Maker, type the material name (like 'holographic vinyl') in the search and pick it. On the Explore Air 2, turn the dial on the front to Custom and pick from the list on screen. Place your vinyl on the mat exactly where the on-screen preview shows, slide the mat under the rollers on the machine, and press the flashing Load button.

    Back to all steps

  7. Step 7: Cut, Weed, and Apply the Decal

    Watch this step · 8:30

    Press the flashing Cricut button to start. The machine cuts the design - you can watch it happen in real time. When it's done, press Load again to eject the mat.

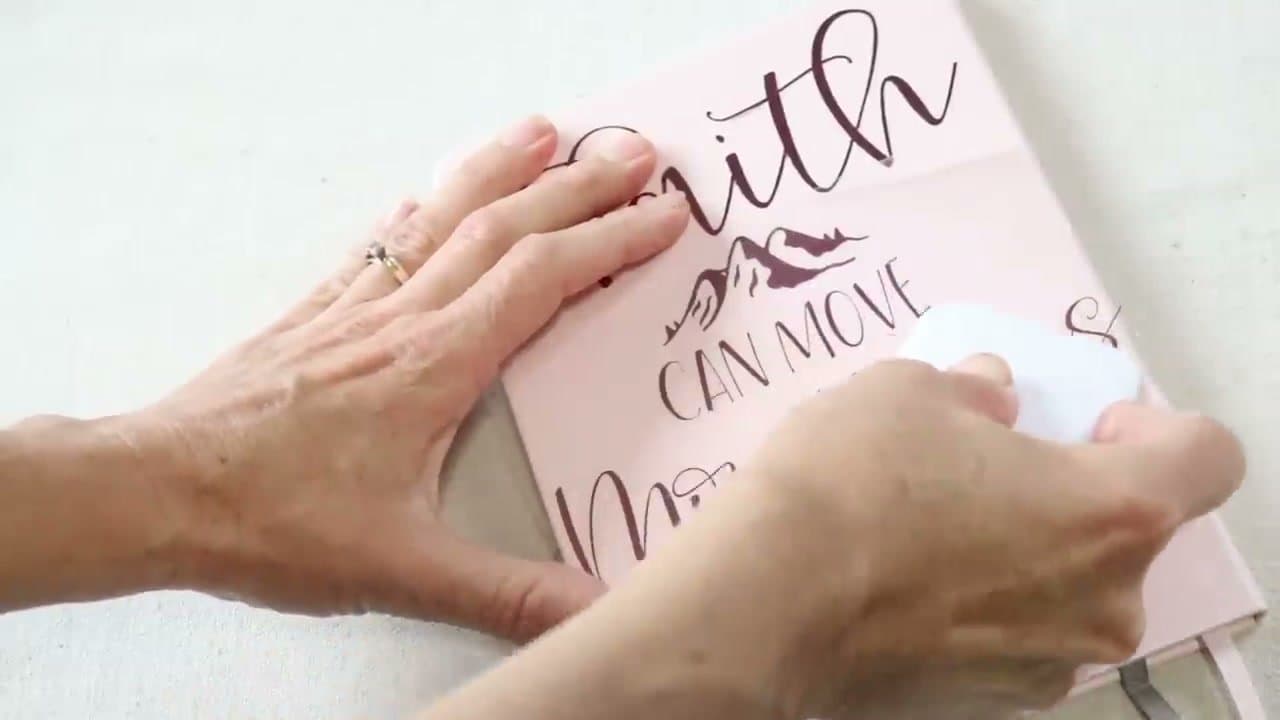
    Pull the MAT away from the vinyl, not the vinyl away from the mat - that's how you keep the decal flat. Use the weeding tool to pick out the negative-space pieces (the parts of the design you don't want), apply transfer tape over the design, and squeegee the decal onto your final surface.

    Tip:

    Always pull the mat away from the cut, never the other way around. Pulling the cut up off the mat is what causes curling and bubbles when you apply it later.

    Back to all steps

Keep going

How to Make Stickers at Home

Products Used

Tools we recommend

As an Amazon Associate we earn from qualifying purchases. Links on this page may be affiliate links - clicking them and buying doesn't change your price, but helps support CraftingStepByStep.

Tags

The Crafter's Weekly

New crafts tutorials, every Sunday

One short email with the week's best step-by-step guides. Free, no spam, unsubscribe anytime.

Test your knowledge

Did the lesson stick? Start with this one.

5 questions covering what you just read. No signup, no score saved, and you can stop after this one.

Question 1 of 5

What software runs a Cricut machine?

Quick reference

Key takeaways from How to Use a Cricut for Beginners (Download, Upload, Cut)

5 questions, answers, and one-line explanations. Tap to expand.

  1. 1.What software runs a Cricut machine?

    Answer: Cricut Design Space

    Design Space, free from design.cricut.com, is where you set up and send cuts.

  2. 2.Which file types can you upload to Design Space?

    Answer: PNG, JPG, and SVG among others

    It accepts PNG, JPG, GIF, SVG, DXF, and BMP files.

  3. 3.When resizing a design, why keep the lock icon checked?

    Answer: It keeps the proportions intact

    The lock keeps width and height in proportion so the design is not stretched.

  4. 4.What does clicking Attach do?

    Answer: Keeps pieces arranged as laid out

    Attach holds your pieces in their on-screen positions when the machine cuts.

  5. 5.When do you need to mirror your design?

    Answer: When cutting heat transfer vinyl

    HTV is cut shiny side down, so the design must be mirrored to read correctly.

Did this work for you?

What's next

Related collections

Curated theme pages that include this tutorial.

Similar tutorials

Hand-picked next reads based on the one you just finished.

Liked this crafts tutorial?

Pick the crafts you want to hear about. One email every Sunday with new step-by-step tutorials. No spam, easy to unsubscribe.

Get more like this in your inbox

Weekly digest. Pick the categories you want. Unsubscribe anytime.

Send me tutorials about

We only email about new tutorials. Easy unsubscribe anytime.