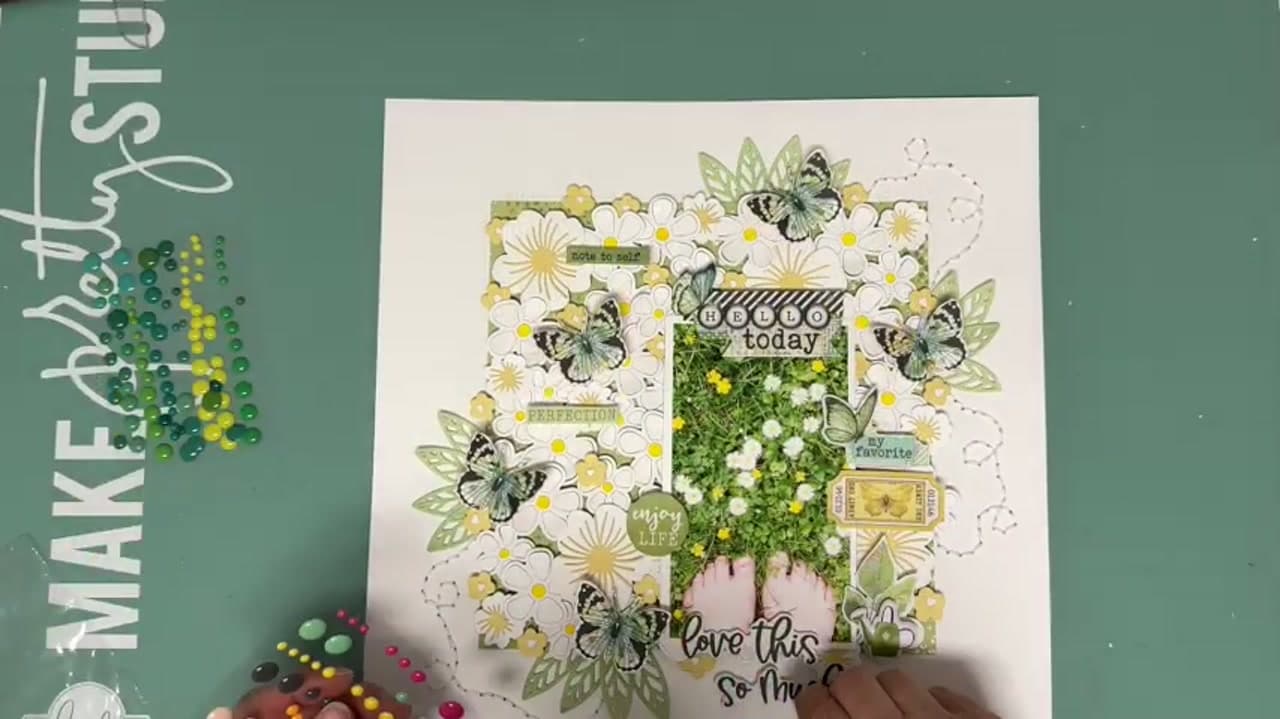
How to Make a Flower Meadow Scrapbook Layout

ScrapbookingMedium14:4210 stepsBrowse more →

By CraftingStepByStepPublished

Based on a video by Hip Kit Club.

This layout is one repeated technique stacked up until it fills a page. Anke Kramer, designing for Hip Kit Club, die-cuts a pile of white flowers, gives each one a raised centre and bent petals, and packs them edge to edge behind a single photo.

Two decisions do most of the work. The first is the palette: white, yellow and green, and nothing else. A background this busy falls apart the moment a fourth colour shows up. The second is leaving a gap in the flowers for the photo, so the picture sits inside the meadow instead of on top of it.

The pieces are the slow part. Cutting and shaping the blooms takes far longer than assembling the page, so it is worth doing in one sitting in front of something to watch. Everything after that is arranging.

Anke works from the March 2023 Hip Kits with the May 2026 cardstock kit, but any small flower die and a coordinating paper pad will do the same job.

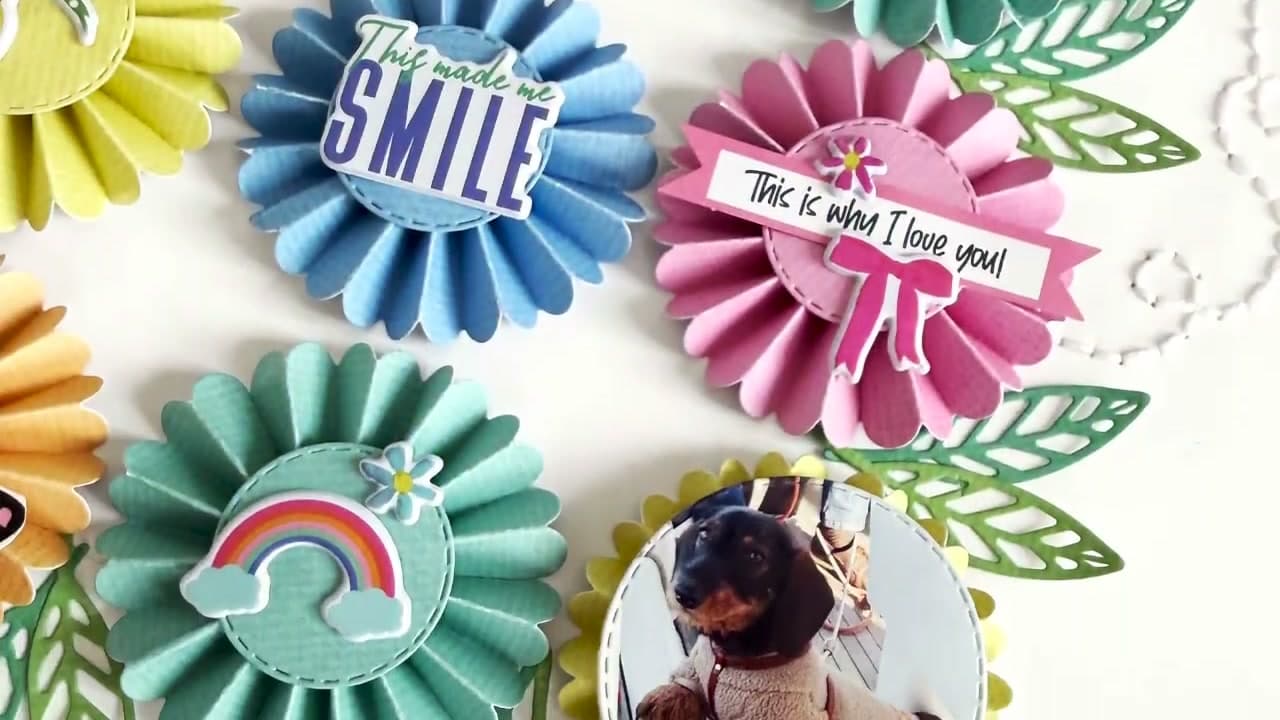
Once you can fold them, this paper rosette layout uses nine of them in a grid, with two doing double duty as photo mounts.

Step-by-Step Guide

10 steps · about 15 minutes.Check off each step as you go and your progress saves automatically.

1

Step 1: Pull the Kit and Lock Your Palette

0:52
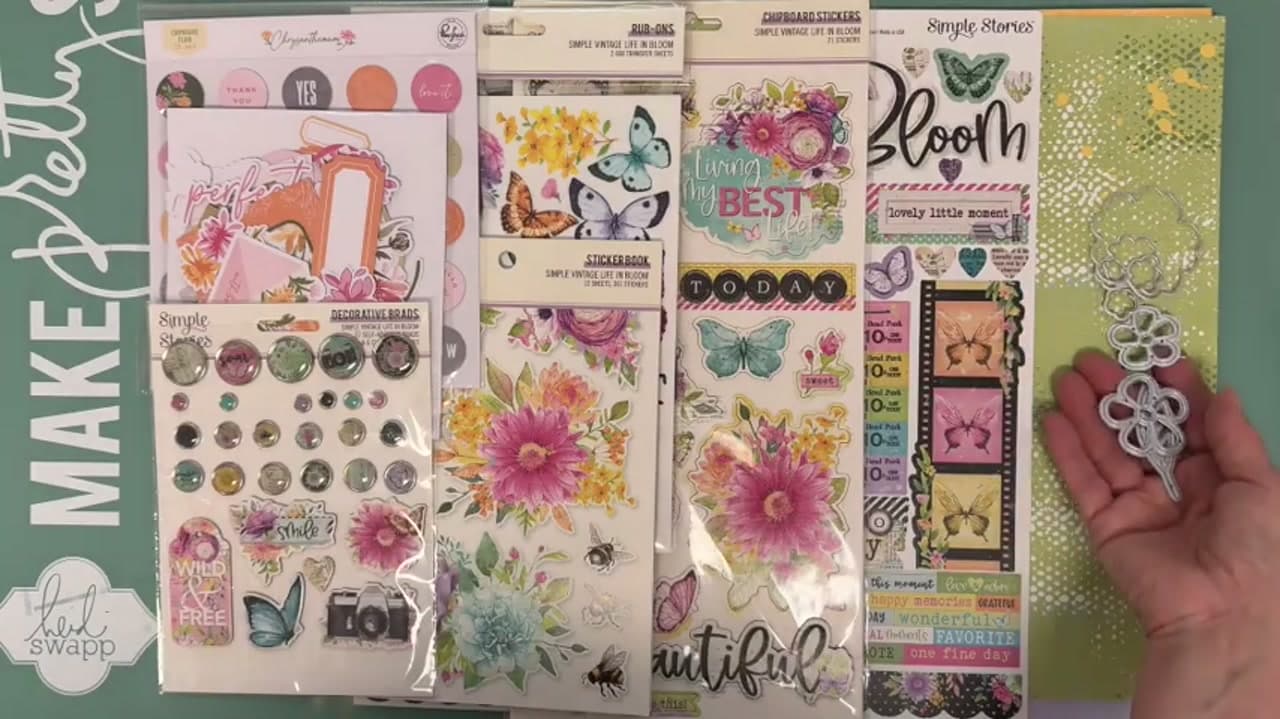
Step 1: Step 1: Pull the Kit and Lock Your Palette

Anke pulls the March 2023 Hip Kits plus the May 2026 cardstock kit, then narrows the whole page down to white, yellow and green.

That restriction is doing more than it looks. A background made of a hundred separate die cuts already carries enormous visual busyness, and colour is the thing that tips it from rich into chaotic. Three colours keeps the eye moving across the page instead of snagging.

Tip

Pick your photo before you pick the palette. Here the photo is grass and white clover, which is exactly why the meadow works.
2

Step 2: Die-Cut the Flowers and Leaves

1:18
Step 2: Step 2: Die-Cut the Flowers and Leaves

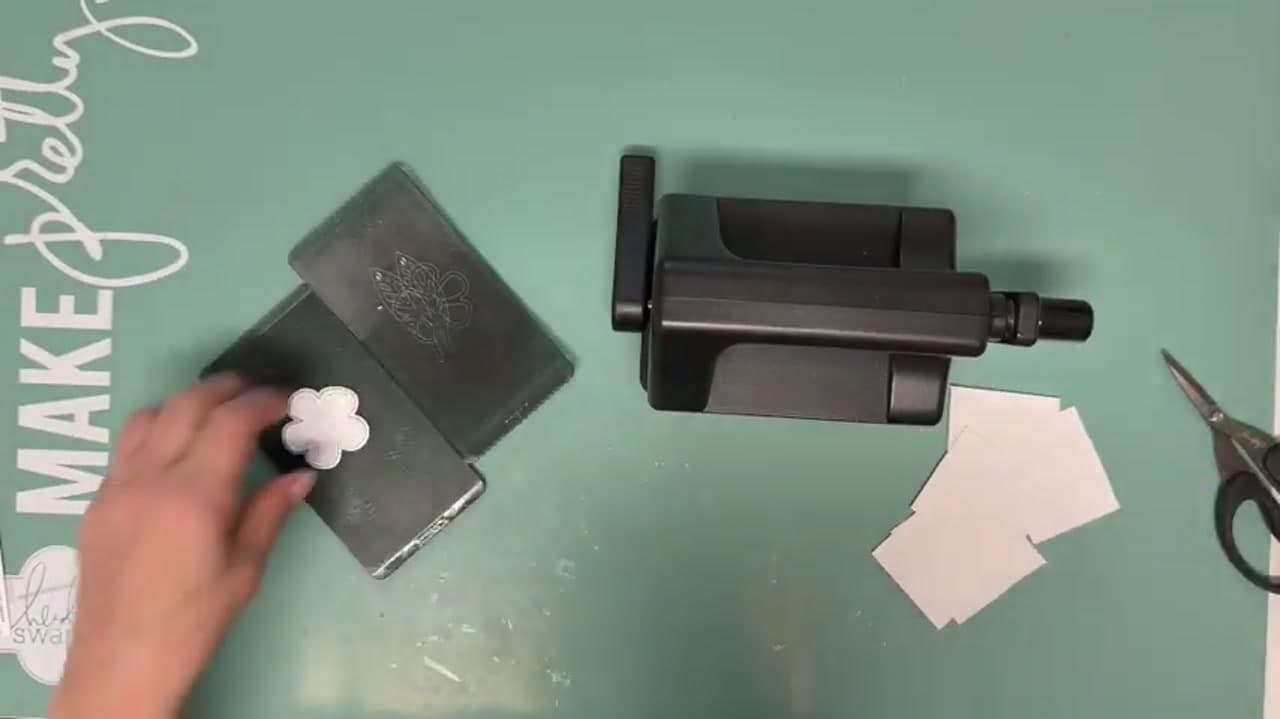
Leaves get cut from the spring green cardstock in the cardstock kit. Flowers come from plain white cardstock using the Dainty Blooms and Leaves die set.

Run more passes than feel necessary. A full meadow background swallows die cuts at a rate that surprises people the first time, and stopping halfway to cut another batch breaks the rhythm. Anke also cuts a second style later from the layered bright flower die so the blooms are not all identical.

Tip

Stack two or three sheets of cardstock on the plate at once. Most flower dies cut through several layers cleanly and it halves the passes.

3

Step 3: Build the Flowers Up Off the Page

1:36
Step 3: Step 3: Build the Flowers Up Off the Page

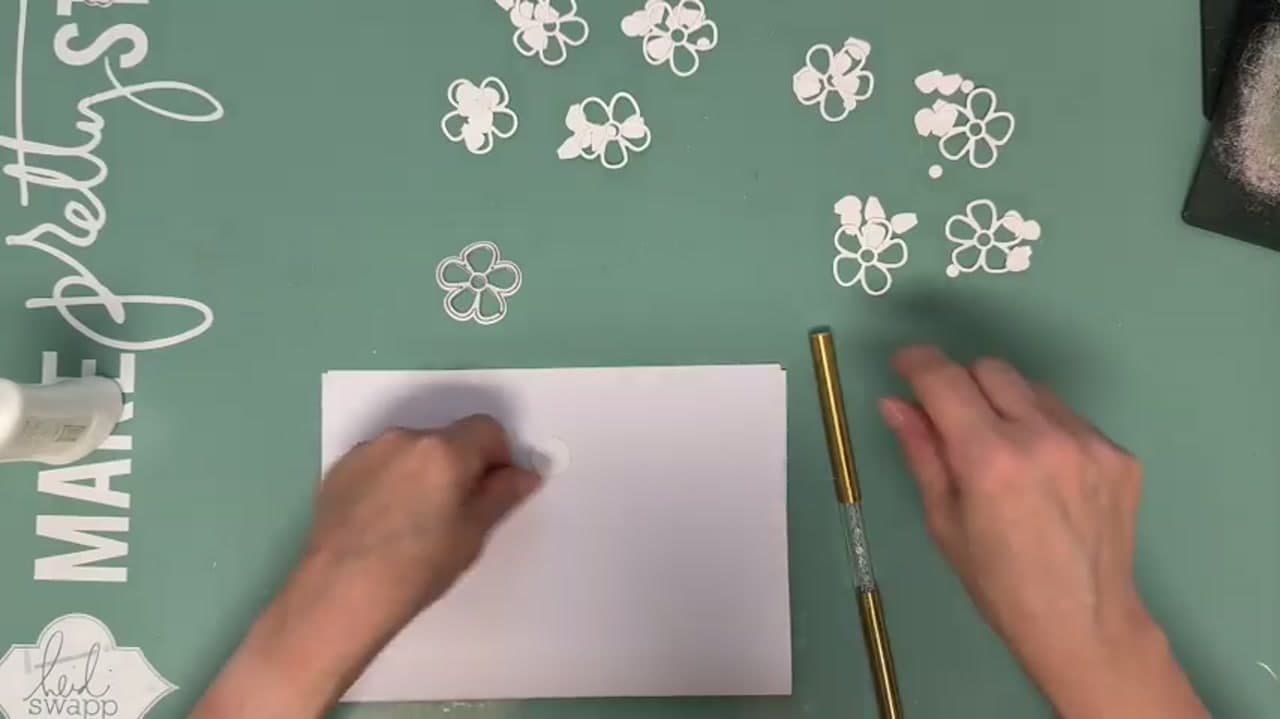
The die set cuts an outer flower and separate inner petal pieces. Glue a small circle of white cardstock behind the outer flower first, then glue the inner pieces onto that circle.

Without the circle the inner petals have nothing to land on and sink into the hole in the middle of the flower. With it they sit slightly proud, which is what gives the finished meadow depth rather than looking like printed paper.

Tip

Use a fine-tip liquid glue rather than a tape runner here. The circles are small and a tape runner will lift the edges.

4

Step 4: Colour the Centres With a Yellow Marker

2:23
Step 4: Step 4: Colour the Centres With a Yellow Marker

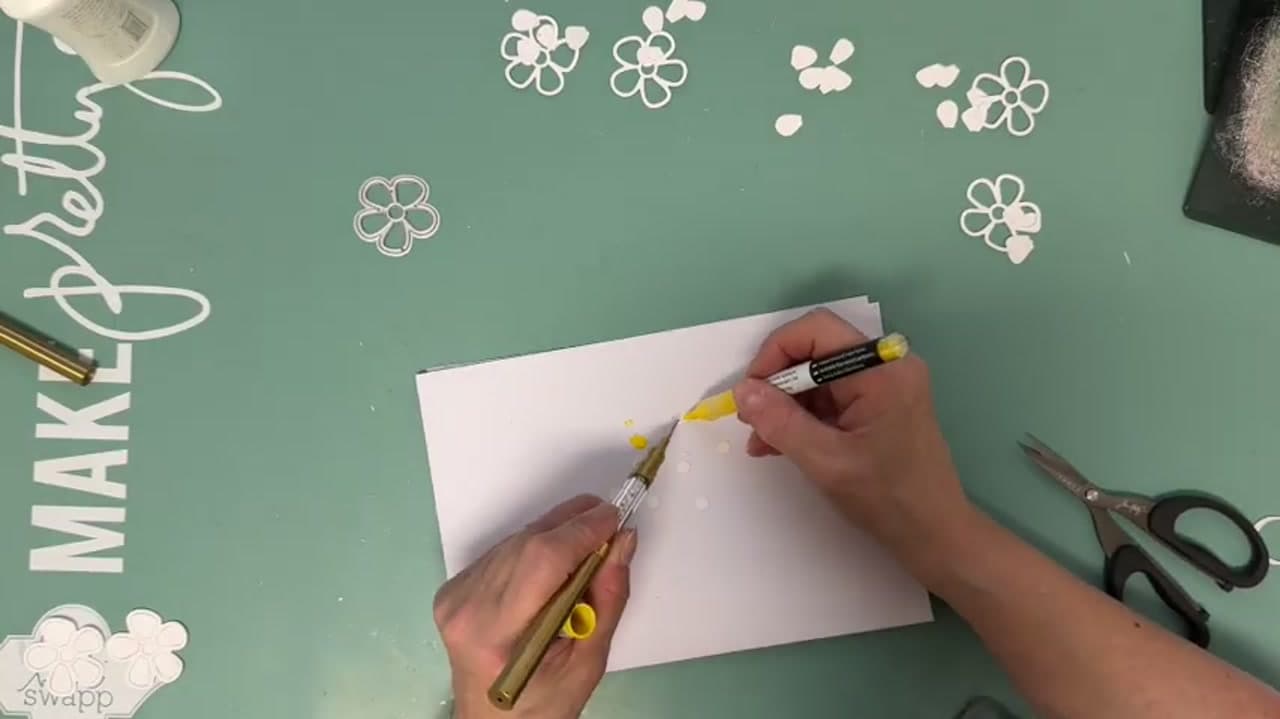
Once the flowers are assembled, colour the centres in with a yellow marker rather than cutting them from yellow card.

Doing it at this stage means you can run through the whole batch in one pass. It also keeps the yellow exactly where you want it, which matters when the flower centres are only a few millimetres across.

Tip

Test the marker on an offcut first. Some alcohol markers bleed on thin cardstock and the yellow creeps out onto the petals.

Products used in this step

5

Step 5: Bend the Petals for Dimension

2:45
Step 5: Step 5: Bend the Petals for Dimension

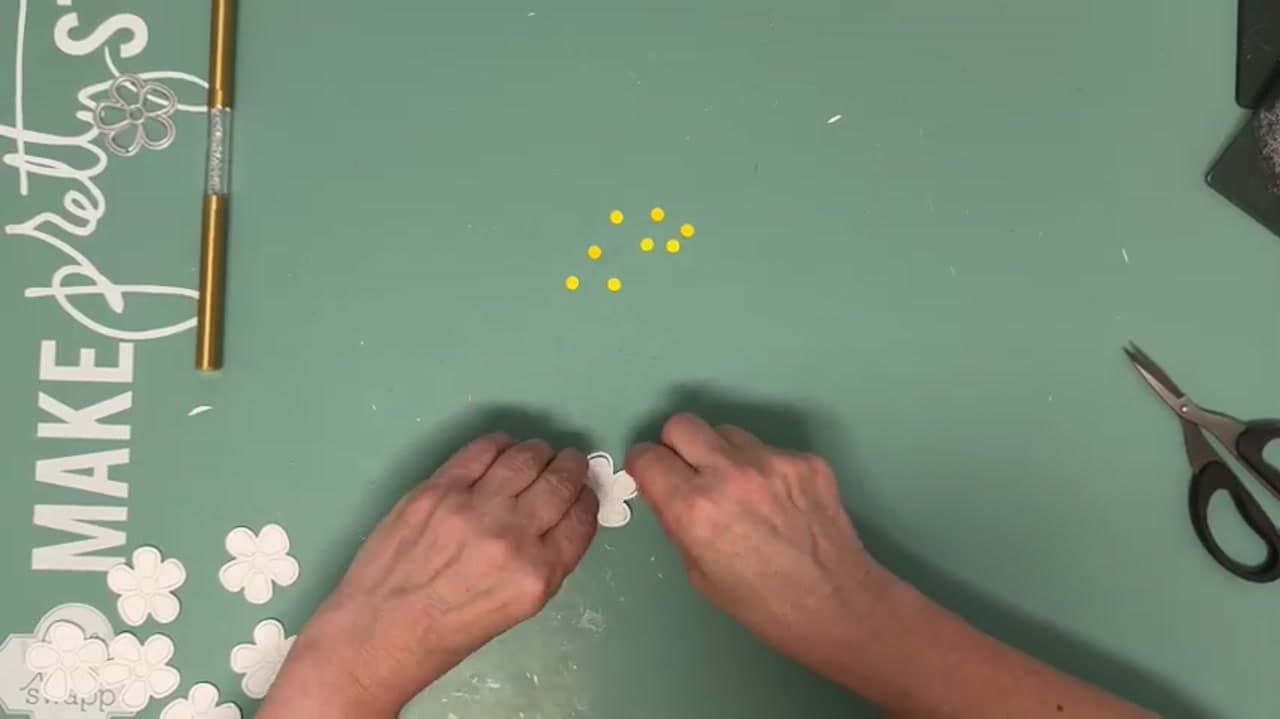
Curl each petal upward between your fingers, then drop the yellow centre into place.

This is the step that separates a flat sheet of die cuts from something that catches light and throws small shadows. Curl rather than crease, and vary how far you go from flower to flower. Uniform petals read as manufactured; uneven ones read as a meadow.

Tip

Rolling the petal over the edge of a bone folder or a pen barrel gives a softer curve than fingers alone.

Products used in this step

6

Step 6: Fussy Cut the Butterflies

4:25
Step 6: Step 6: Fussy Cut the Butterflies

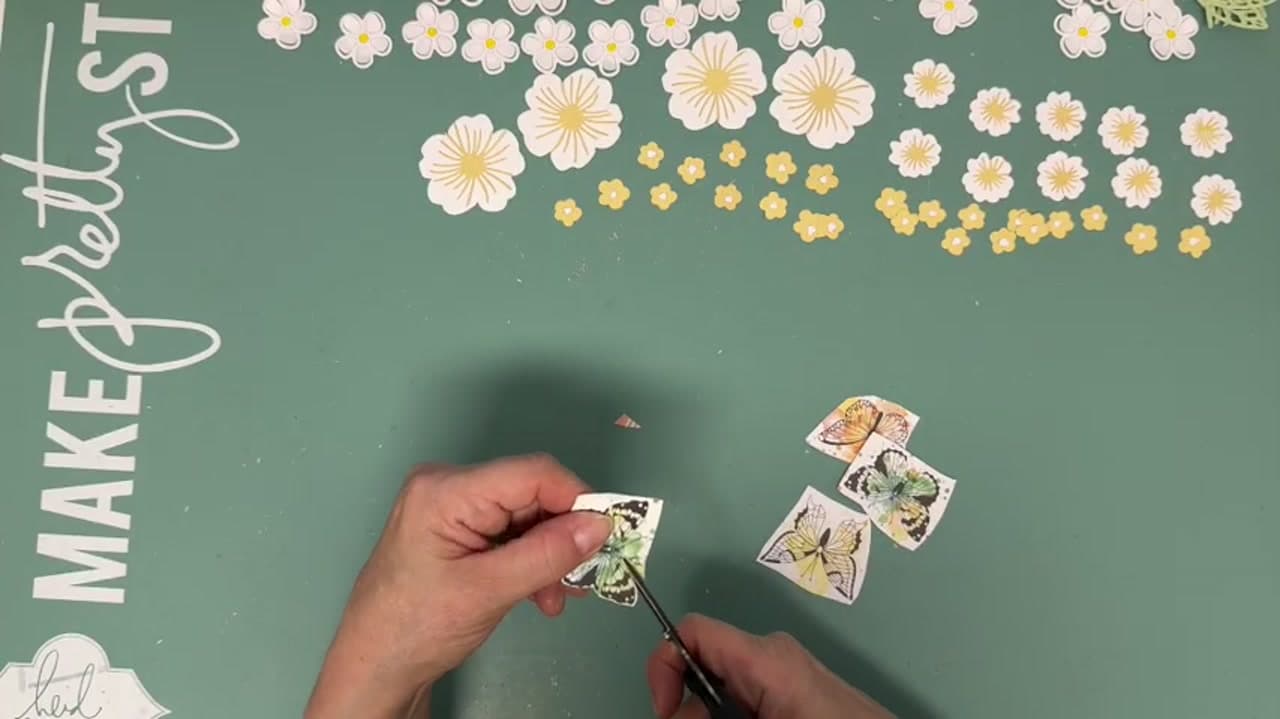
The butterflies are cut by hand out of the patterned paper rather than punched or died.

Small sharp scissors and a pair of tweezers make this far less fiddly than holding the paper in your fingers. Cut a few more than the page needs. Butterflies are the pieces you end up moving around most at the arranging stage, and having spares means you can commit to a placement instead of protecting the only one you have.

Tip

Leave the antennae attached to a sliver of background paper if cutting around them keeps snapping them off.

7

Step 7: Glue Down the 8 by 8 Base Panel

5:30
Step 7: Step 7: Glue Down the 8 by 8 Base Panel

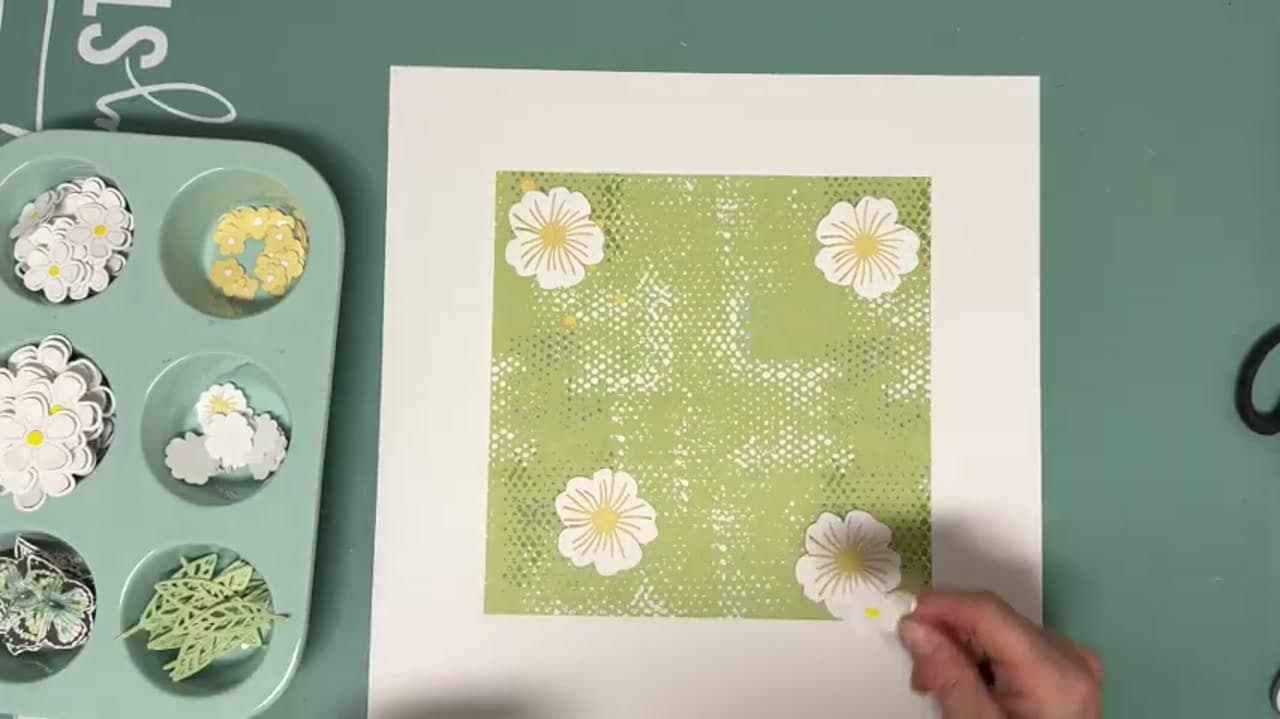
Trim the patterned base paper to 8 by 8 inches and glue it centred on the layout, leaving a white border all the way round.

That border is not wasted space. A meadow this dense needs somewhere for the eye to stop, and running the pattern to the edge of the page would make the whole thing feel like wallpaper. The border also gives the leaves something to spill over later.

Tip

Sort the finished flowers into a muffin tin or shallow dishes by size before you start placing. Anke does, and it makes the arranging step much faster.

8

Step 8: Build the Meadow

7:20
Step 8: Step 8: Build the Meadow

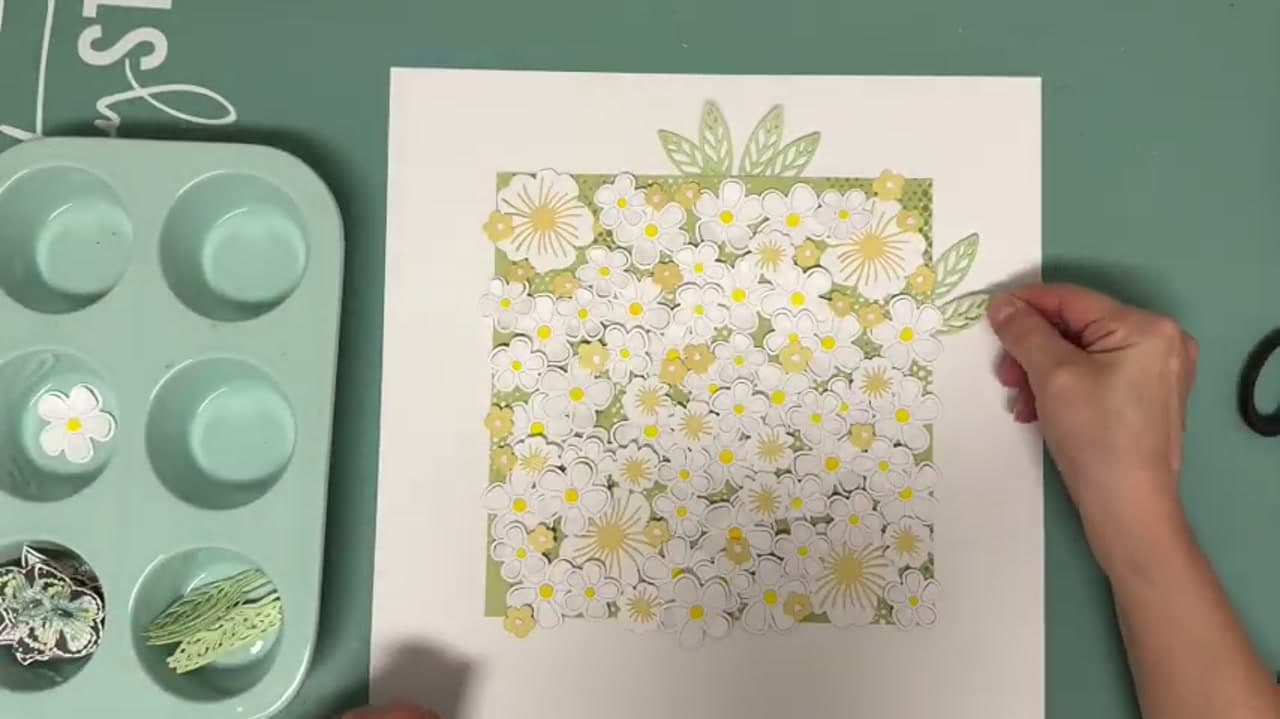
Arrange everything dry before committing any glue. Anke works the largest blooms in first, fills between them with the smaller flowers and yellow buds, then tucks leaves in at the edges so they break past the square.

Keep the density uneven. Clusters and small gaps look like a meadow; evenly spaced flowers look like a grid. Leaves crossing the border line are what stops the panel reading as a rectangle stuck on a page.

Tip

Leave the gap for your photo now, not later. Building the meadow first and cutting into it afterwards is how pages get wrecked.

Products used in this step

9

Step 9: Set the Photo In and Start Embellishing

8:05
Step 9: Step 9: Set the Photo In and Start Embellishing

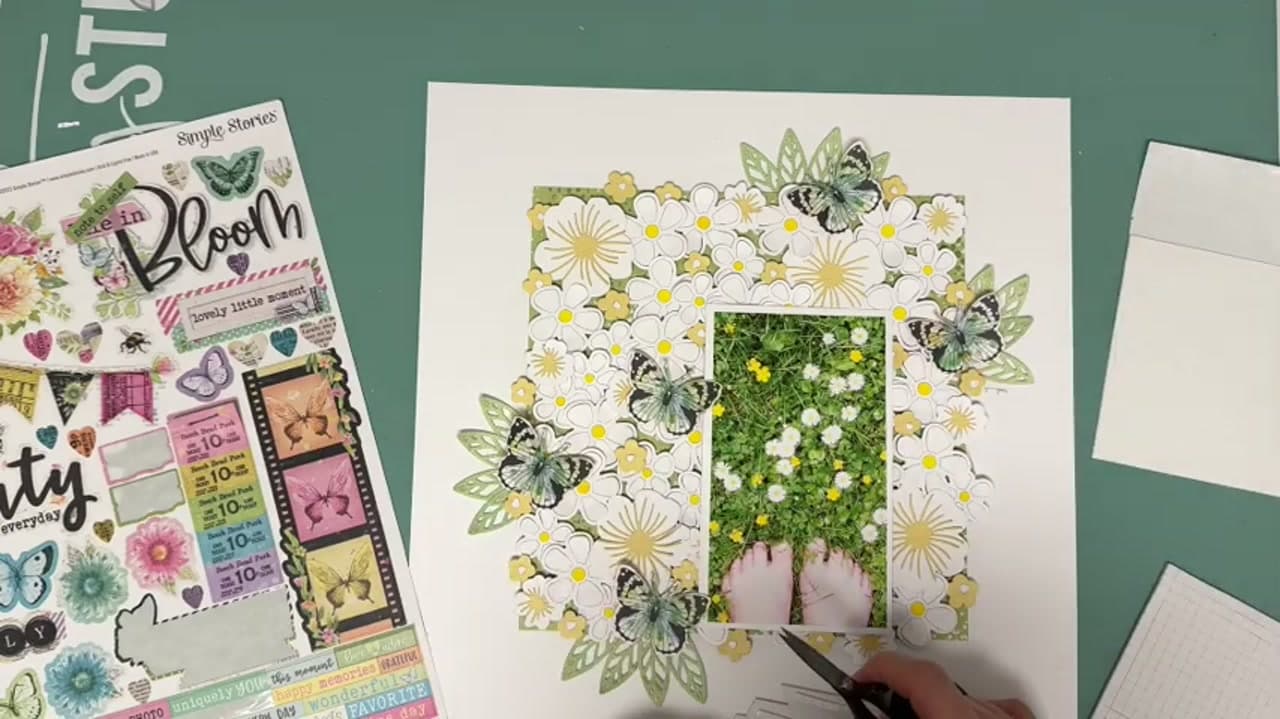
Drop the photo into the gap you left. Because the flowers were arranged around it, the picture sits inside the meadow rather than on top of it, and the page reads as one thing instead of two.

A sticker laid across the top edge of the photo ties it in further. Anke uses a title strip here, which doubles as the anchor point for the rest of the embellishing.

Tip

Worth stealing: glue flat stickers onto white cardstock and cut them out again. They behave like die cuts and sit much better on a dimensional background.

10

Step 10: Stitch the Butterfly Trails and Finish

13:10
Step 10: Step 10: Stitch the Butterfly Trails and Finish

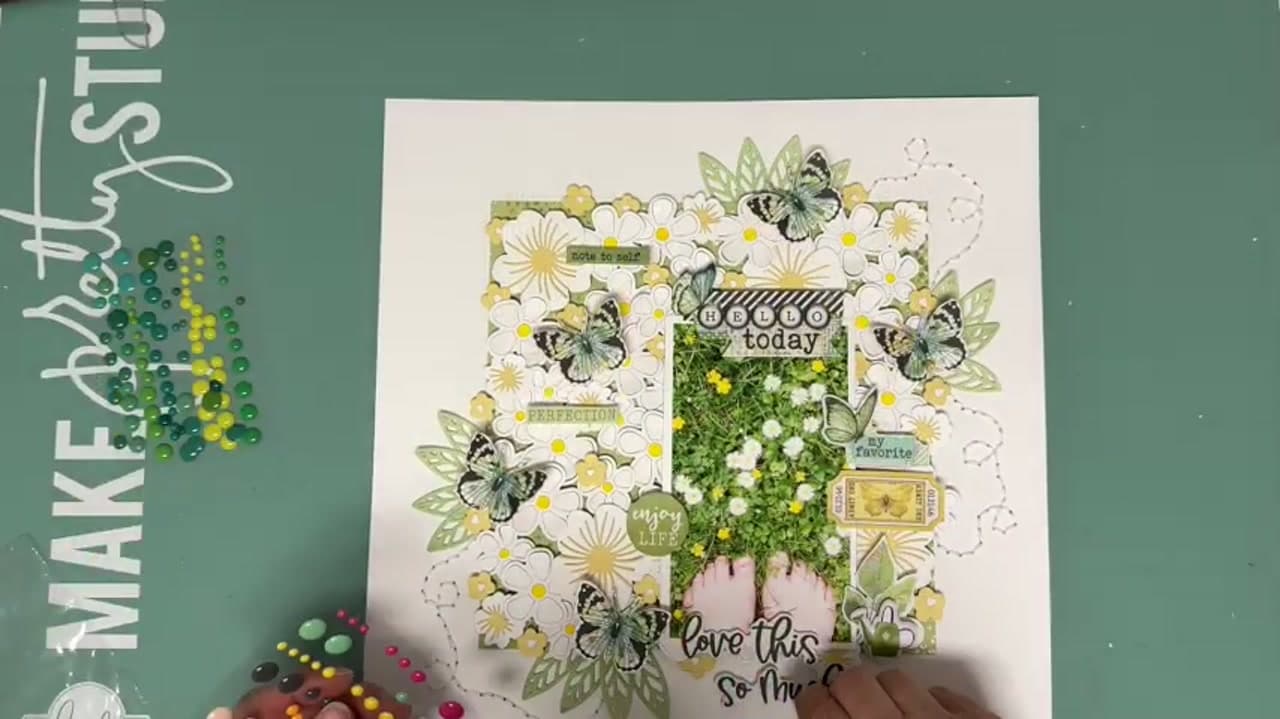
Pierce a line of holes looping between the butterflies, then hand stitch along it. The trail gives the eye a path around the page and adds a thread texture nothing else on the layout has.

Anke finishes with the small things: a puffy watering can, a couple of word stickers and enamel dots scattered from her stash. Add those last and add fewer than you think, because the background is already carrying most of the interest.

Tip

Pierce from the front with the page on a foam mat, and mark the curve in pencil first. Holes are permanent.

Products Used

☐ The Checklist

How to Make a Flower Meadow Scrapbook Layout

Tools
7
Materials
9
Steps
10
Video
15 min

Tools we recommend

Your Guide

Hip Kit Club

As an Amazon Associate we earn from qualifying purchases. Links on this page may be affiliate links - clicking them and buying doesn't change your price, but helps support ShowMeStepByStep.

Tags

Sunday How-To

New scrapbooking tutorials, every Sunday

One short email with the week's best step-by-step guides. Free, no spam, unsubscribe anytime.

Did this work for you?

What's next

Related collections

Curated theme pages that include this tutorial.

Weekly Digest

Liked this scrapbooking tutorial?

Pick the categories you want to hear about. Weekly digest of new step-by-step tutorials. No spam, easy unsubscribe.

Send me tutorials about

We only email about new tutorials. Easy unsubscribe anytime.