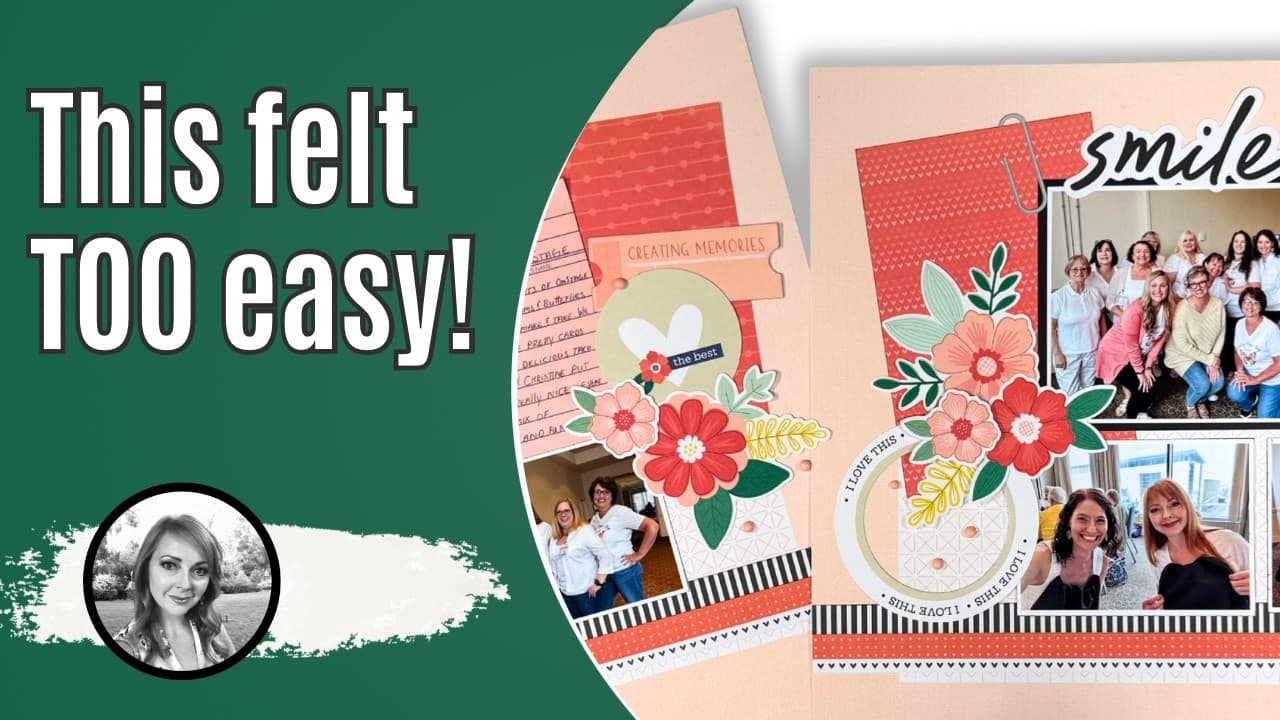
How to Make a Paper Rosette Scrapbook Layout

ScrapbookingMedium9:0610 stepsBrowse more →

By CraftingStepByStepPublished

Based on a video by Hip Kit Club.

A page of nine rosettes sounds like a long afternoon. It is really one shape made nine times, and once the folding rhythm clicks the rest goes quickly.

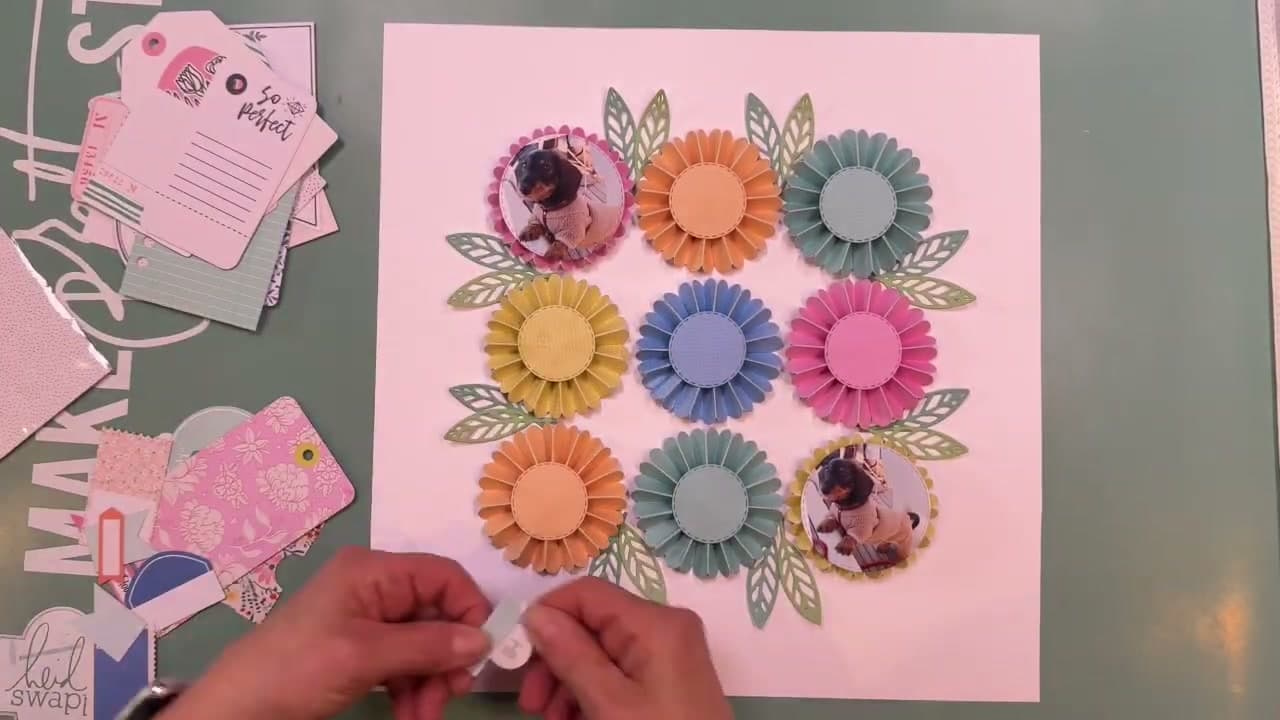
Anke Kramer, designing for Hip Kit Club, cuts the concertina rosette die three times per flower in five colours, folds each strip along its pre-scored lines, joins them into a ring and caps both faces with a circle. Two of the nine rosettes get a circle-cropped photo on the front instead of a plain cap, which is the detail that turns a decorative grid into a scrapbook page.

The die is doing the tedious part. If you do not own one, the same rosette can be cut and scored by hand - see how to make paper rosettes for the manual method, then come back here for the layout.

Worth noting before you start: this is a grid, and grids are unforgiving about colour. Lay all nine out dry and shuffle them before a drop of glue goes down.

For a softer take on the same idea, the flower meadow layout builds its background from flat die-cut blooms instead of folded rosettes.

Step-by-Step Guide

10 steps · about 9 minutes.Check off each step as you go and your progress saves automatically.

1

Step 1: Pull the Kit and the Three Dies

1:00
Step 1: Step 1: Pull the Kit and the Three Dies

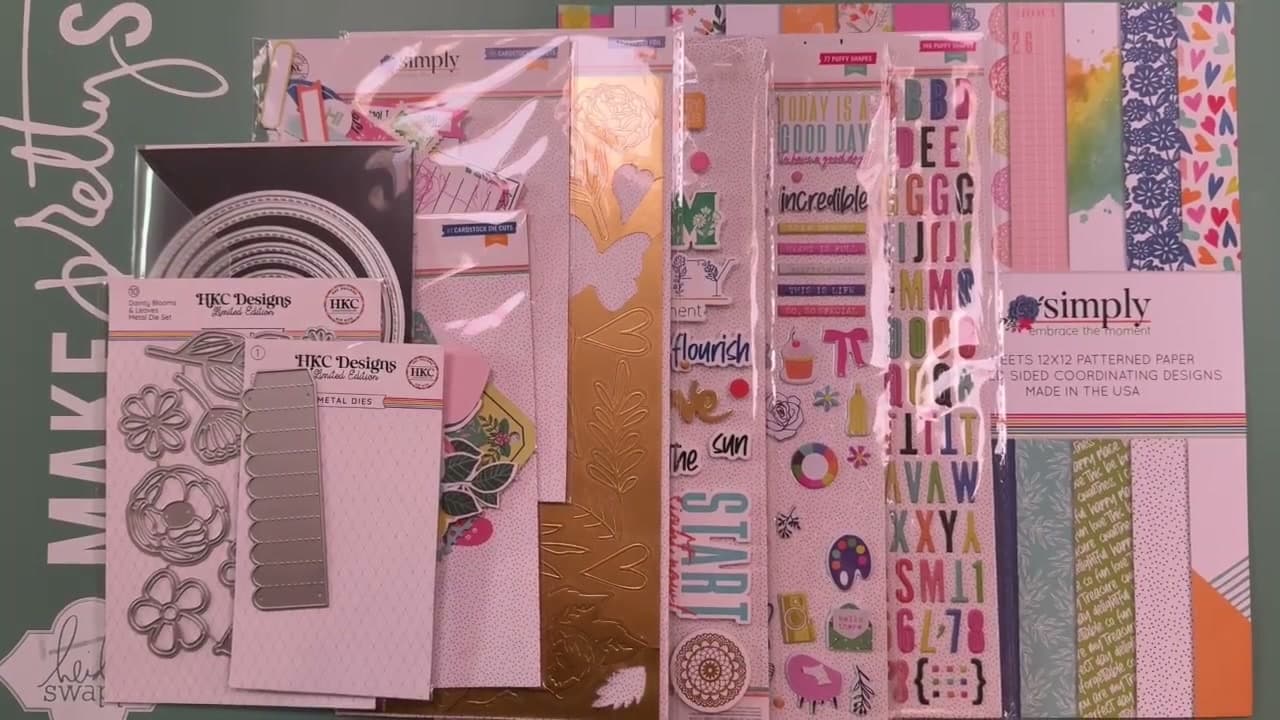
Anke works from the May 2026 Hip Kits and leans on three metal dies: the concertina rosette die that cuts the pleated strips, a nested circle die for the caps and photo mounts, and a blooms and leaves die for the greenery.

The circle die is the one people underestimate. It sizes the front caps, the back discs and the cropped photos, so everything on the page shares one measurement and lines up without fuss.

Tip

Any concertina or rosette die works. Check the strip length first, because a shorter die may need four passes per rosette instead of three.
2

Step 2: Cut Three Strips per Rosette

1:18
Step 2: Step 2: Cut Three Strips per Rosette

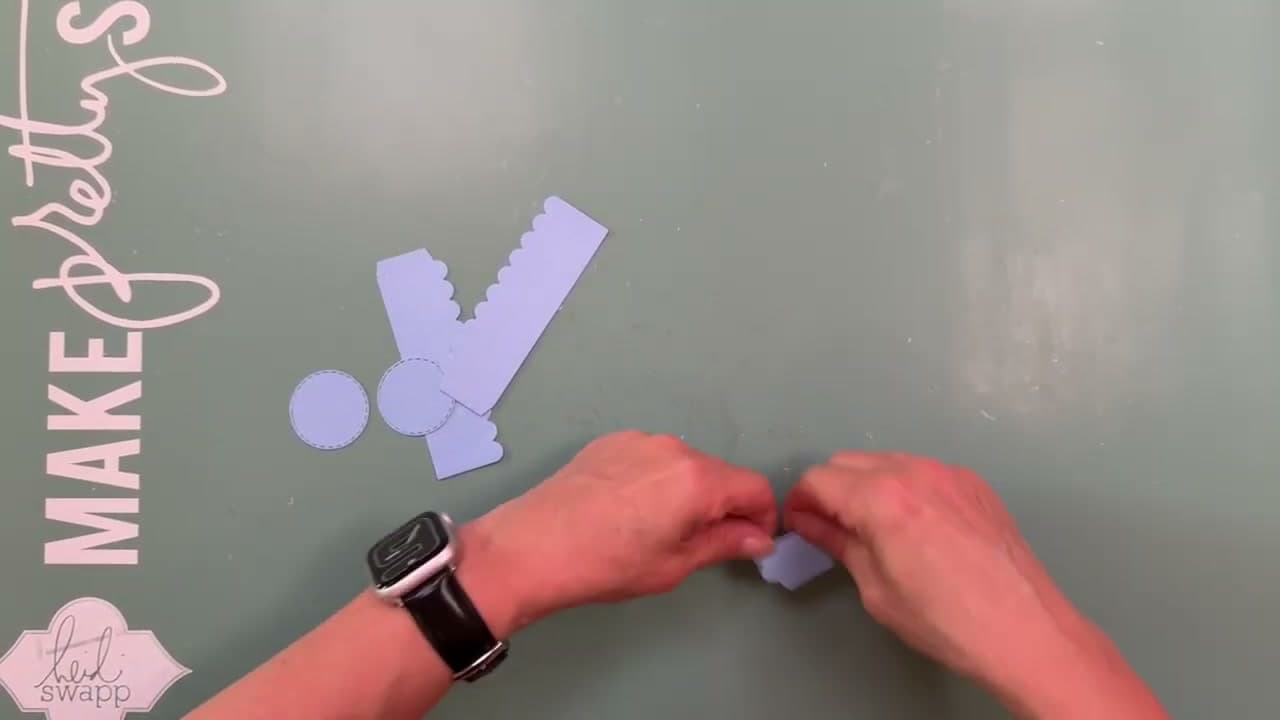
Run the rosette die three times for each flower, working through yellow, orange, pink, light blue and dark blue cardstock.

What comes off the plate is a flat strip with a scalloped edge and the fold lines already pressed in. That pre-scoring is the whole reason to use a die here rather than a ruler and a bone folder. Cut all your strips in one session so you are not stopping to re-cut mid-fold.

Tip

Cut the circle caps at the same time, two per rosette. Swapping dies eighteen times is what makes this project feel long.

3

Step 3: Fold the Accordion and Close the Ring

2:10
Step 3: Step 3: Fold the Accordion and Close the Ring

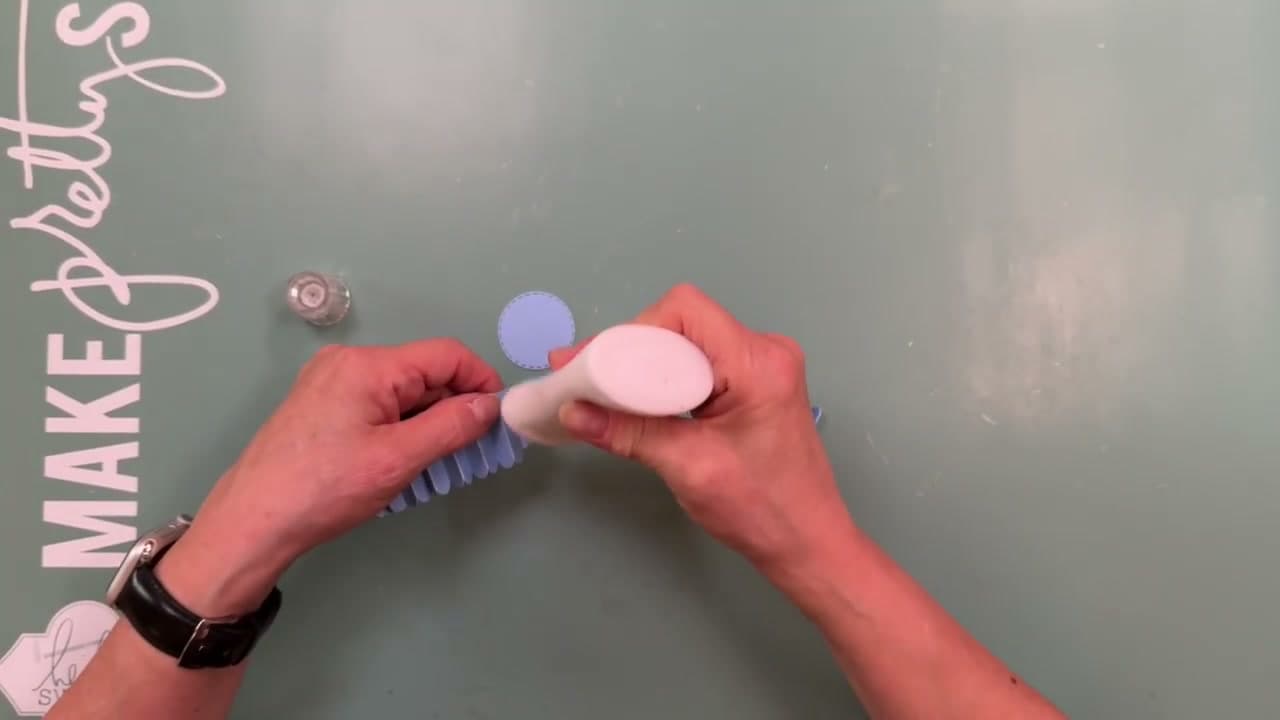
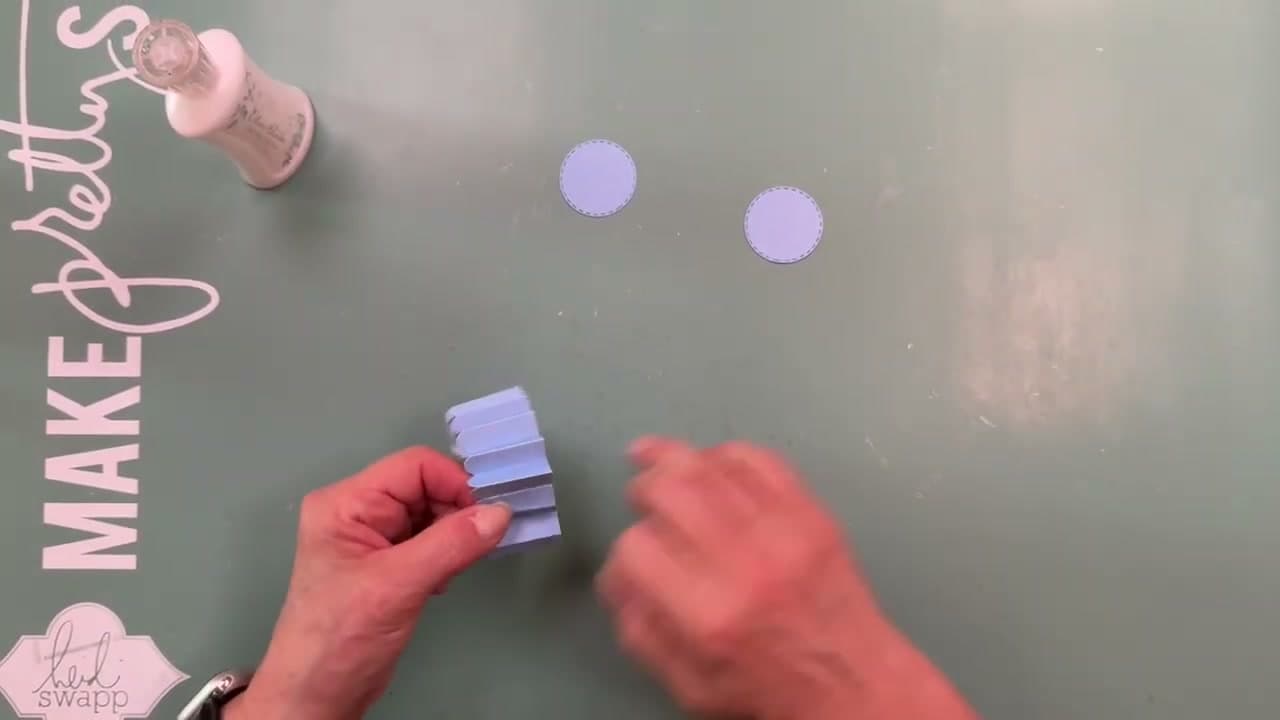
Concertina each strip along its score lines, alternating the direction of every fold, then glue the three strips end to end and bring them round into a ring.

Fold the full length of all three strips before you glue anything. Even pleats are what make a rosette sit flat and round, and a strip that has already been glued into a curve is much harder to correct. Press each fold firmly as you go.

Tip

Run a bone folder along each crease. Fingernail folds soften over a few days and the rosette loses its crispness.

4

Step 4: Cap Both Faces With a Circle

1:50
Step 4: Step 4: Cap Both Faces With a Circle

Cut circles from the same cardstock with the nested circle die and glue one to the front of the rosette and one to the back.

The back circle is structural. It pulls the pleats into a flat disc and holds the ring closed, and without it the rosette springs open. The front circle covers the join where the pleats meet in the middle and gives you a clean surface for a photo or a sticker later.

Tip

Press the rosette flat under a book while the back circle dries. It sets the disc shape and stops the pleats lifting.

Products used in this step

5

Step 5: Lay the Grid Out Dry

3:12
Step 5: Step 5: Lay the Grid Out Dry

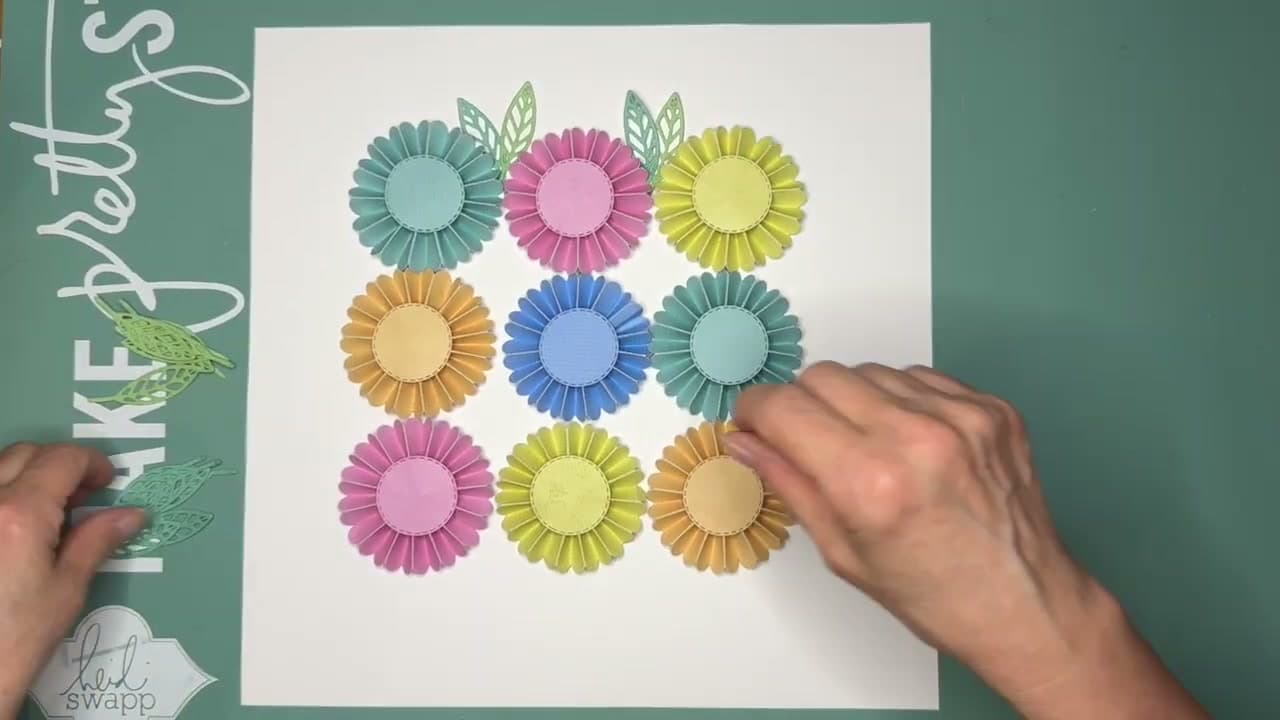
Set all nine rosettes on the base in a three by three grid before any glue comes out, then shuffle them until no two of the same colour touch, including diagonally.

Grids expose colour repeats in a way a scattered arrangement never does. Two pinks side by side will be the only thing you see once the page is finished, and by then they are stuck down.

Tip

Decide now which two rosettes carry photos. Anke puts hers on opposite corners, which keeps the eye moving diagonally across the grid.

Products used in this step

6

Step 6: Tuck Leaves Into the Gaps

3:35
Step 6: Step 6: Tuck Leaves Into the Gaps

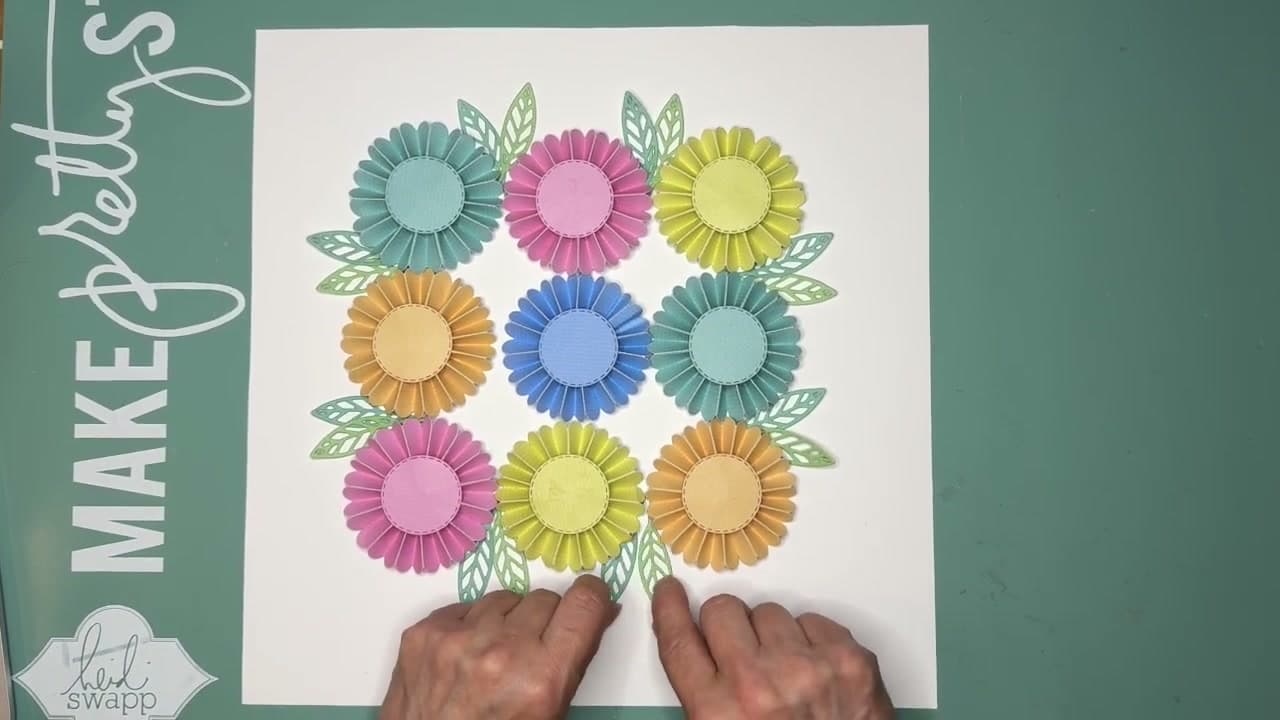
Die-cut leaves from light and dark green cardstock and slide them into the diamond-shaped gaps where four rosettes meet, letting the tips poke out past the edges.

Two greens rather than one is what stops the leaves reading as a flat filler layer. Slipping them underneath the rosettes rather than laying them on top keeps the grid crisp and adds depth at the same time.

Tip

Let a few leaves break past the outer edge of the grid. A grid that stops dead at its own boundary looks pasted on.

7

Step 7: Mount the Photos as Rosette Centres

4:05
Step 7: Step 7: Mount the Photos as Rosette Centres

Crop two photos into circles the same size as the front caps and mount them on two rosettes set diagonally opposite each other.

Matching the photo to the cap size is the trick. The picture reads as the centre of the flower rather than something dropped on top of it, and the scalloped edge of the rosette frames it. Anke backs each photo on a scalloped circle in a contrasting colour to lift it off the pleats.

Tip

Print photos slightly oversized and crop with the die itself. Cutting to a traced circle by hand almost never lands centred.

8

Step 8: Fill the Remaining Centres

4:40
Step 8: Step 8: Fill the Remaining Centres

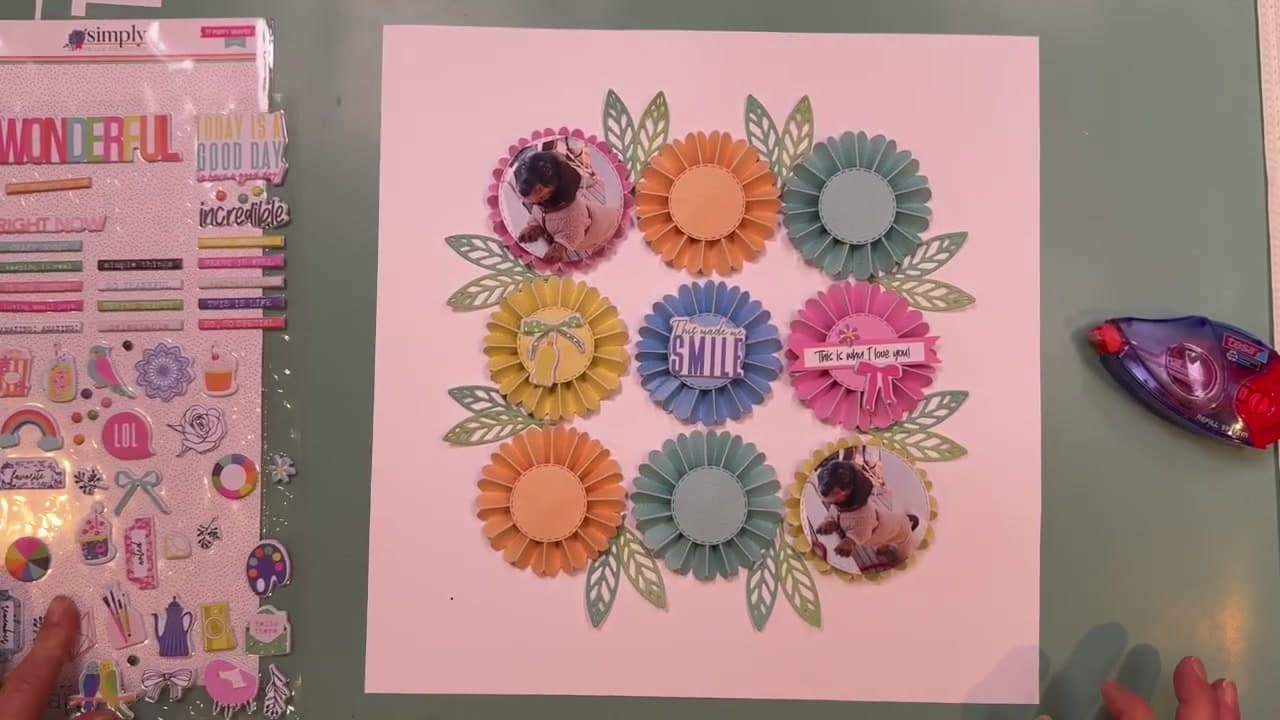
Treat each of the seven plain caps as its own small frame. Anke adds a word die card, journaling tags and puffy stickers from the May and March embellishment kits.

Vary the weight across the grid. A couple of centres carry a phrase, a couple carry a small icon, and some are left plain. Filling all seven equally flattens the page and leaves the eye nowhere to land.

Tip

Puffy stickers sit best here. Flat stickers disappear against the pleats unless you back them on cardstock first.

9

Step 9: Add the Butterflies

5:00
Step 9: Step 9: Add the Butterflies

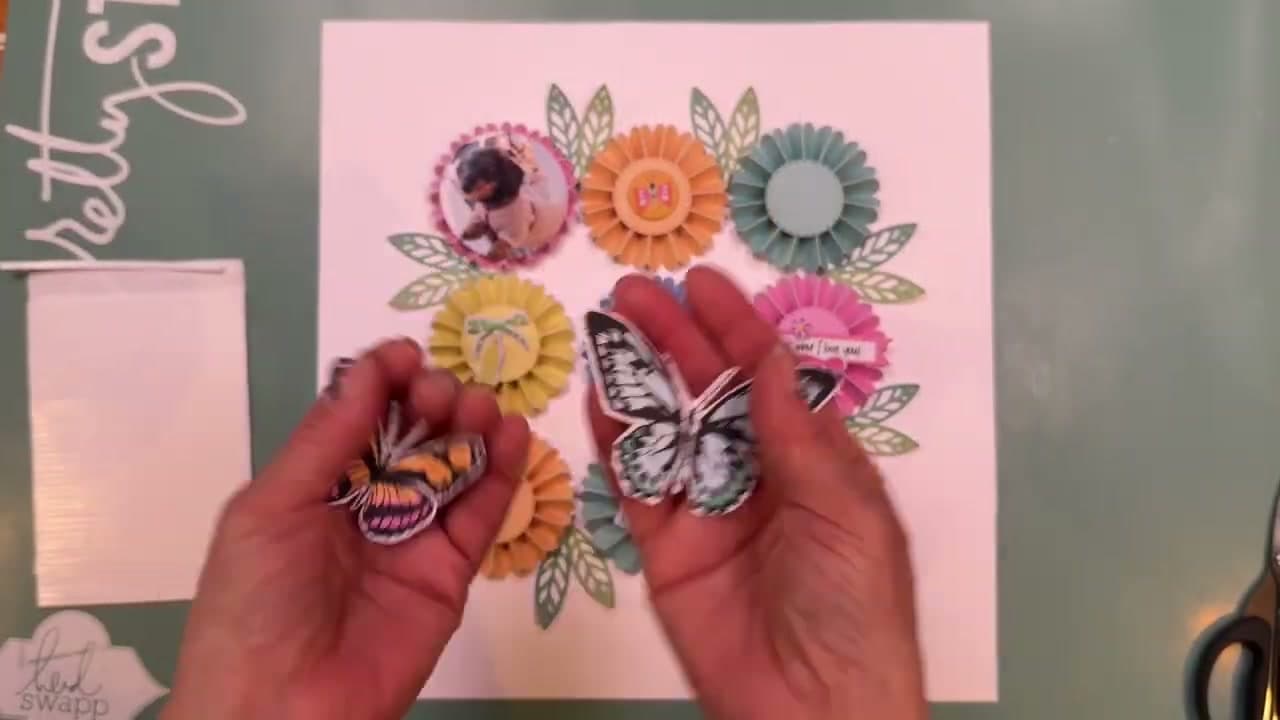
Fussy cut two butterflies from patterned paper and set them across the rosettes, one near the top and one lower down on the opposite side.

Bend the wings up slightly along the body before gluing so only the centre touches the page. A flat butterfly on a dimensional rosette looks printed on; a lifted one looks like it landed.

Tip

Glue only the body. Leaving the wings loose is what gives the butterfly its shadow.

10

Step 10: Stitch the Trails and Finish

7:20
Step 10: Step 10: Stitch the Trails and Finish

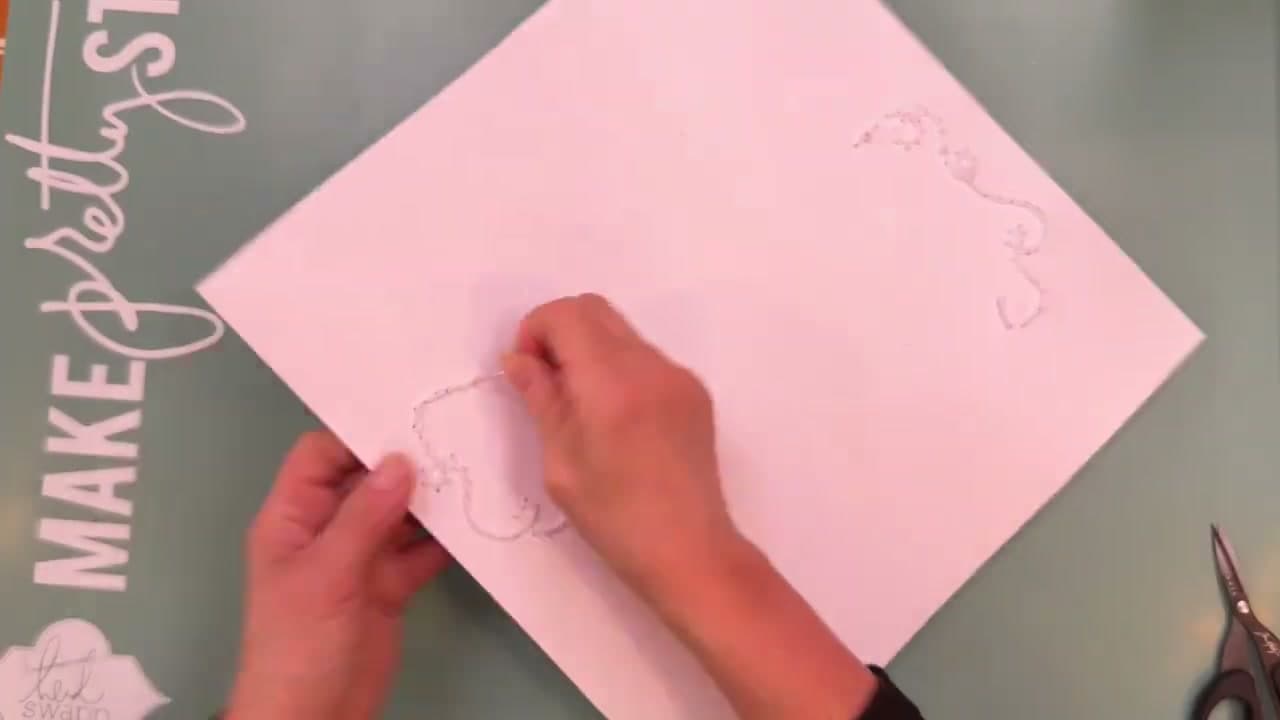
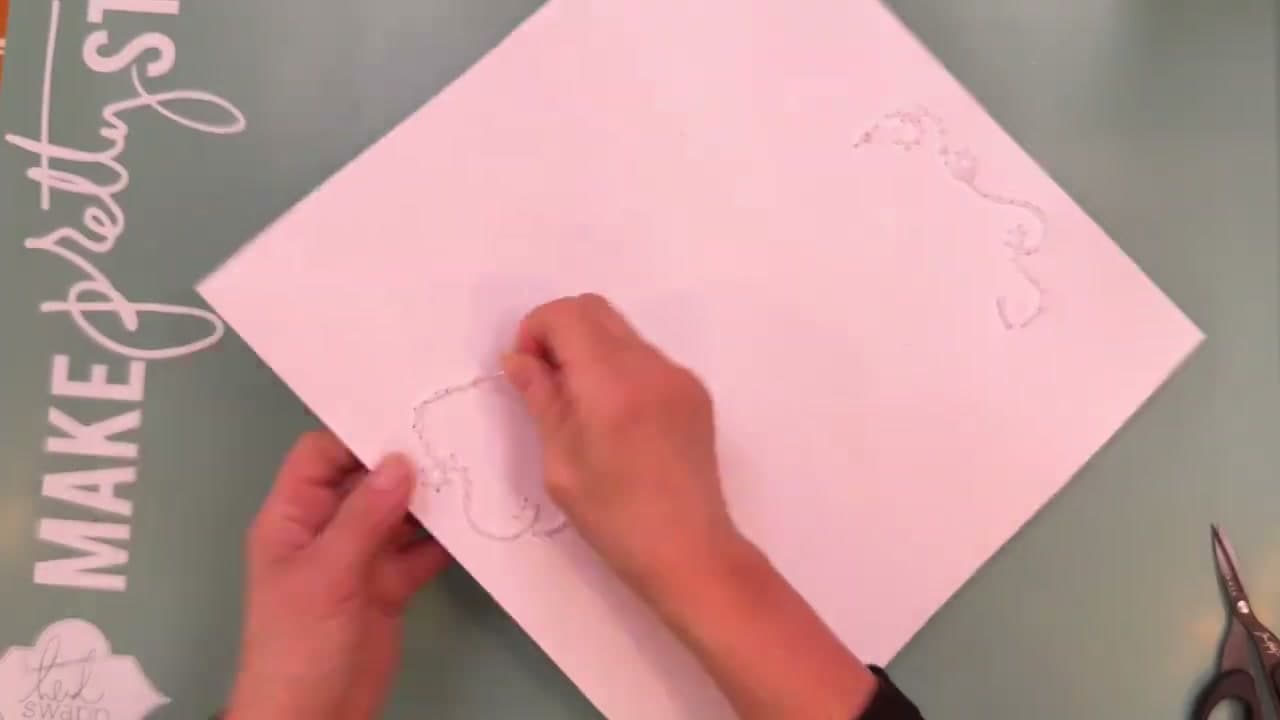
Pierce a looping line of holes across the bare cardstock and hand stitch along it to make a flight trail behind each butterfly, then scatter puffy dot stickers to close the page out.

The stitching earns its place here. A grid this tidy leaves large blank corners, and a stitched curve fills them with movement without adding another layer of paper that would compete with the rosettes.

Tip

Pencil the curve first and pierce on a foam mat. Holes in a finished layout are not something you can undo.

Products Used

☐ The Checklist

How to Make a Paper Rosette Scrapbook Layout

Tools
8
Materials
9
Steps
10
Video
9 min

Tools we recommend

Your Guide

Hip Kit Club

As an Amazon Associate we earn from qualifying purchases. Links on this page may be affiliate links - clicking them and buying doesn't change your price, but helps support ShowMeStepByStep.

Tags

Sunday How-To

New scrapbooking tutorials, every Sunday

One short email with the week's best step-by-step guides. Free, no spam, unsubscribe anytime.

Did this work for you?

What's next

Related collections

Curated theme pages that include this tutorial.

Weekly Digest

Liked this scrapbooking tutorial?

Pick the categories you want to hear about. Weekly digest of new step-by-step tutorials. No spam, easy unsubscribe.

Send me tutorials about

We only email about new tutorials. Easy unsubscribe anytime.