How to Make Paper Rosettes (Accordion-Fold Medallions)

Paper CraftsEasy12:076 stepsBrowse more →

By CraftingStepByStepPublished

Based on a video by Sarah Loves to Stamp with Sarah Naber.

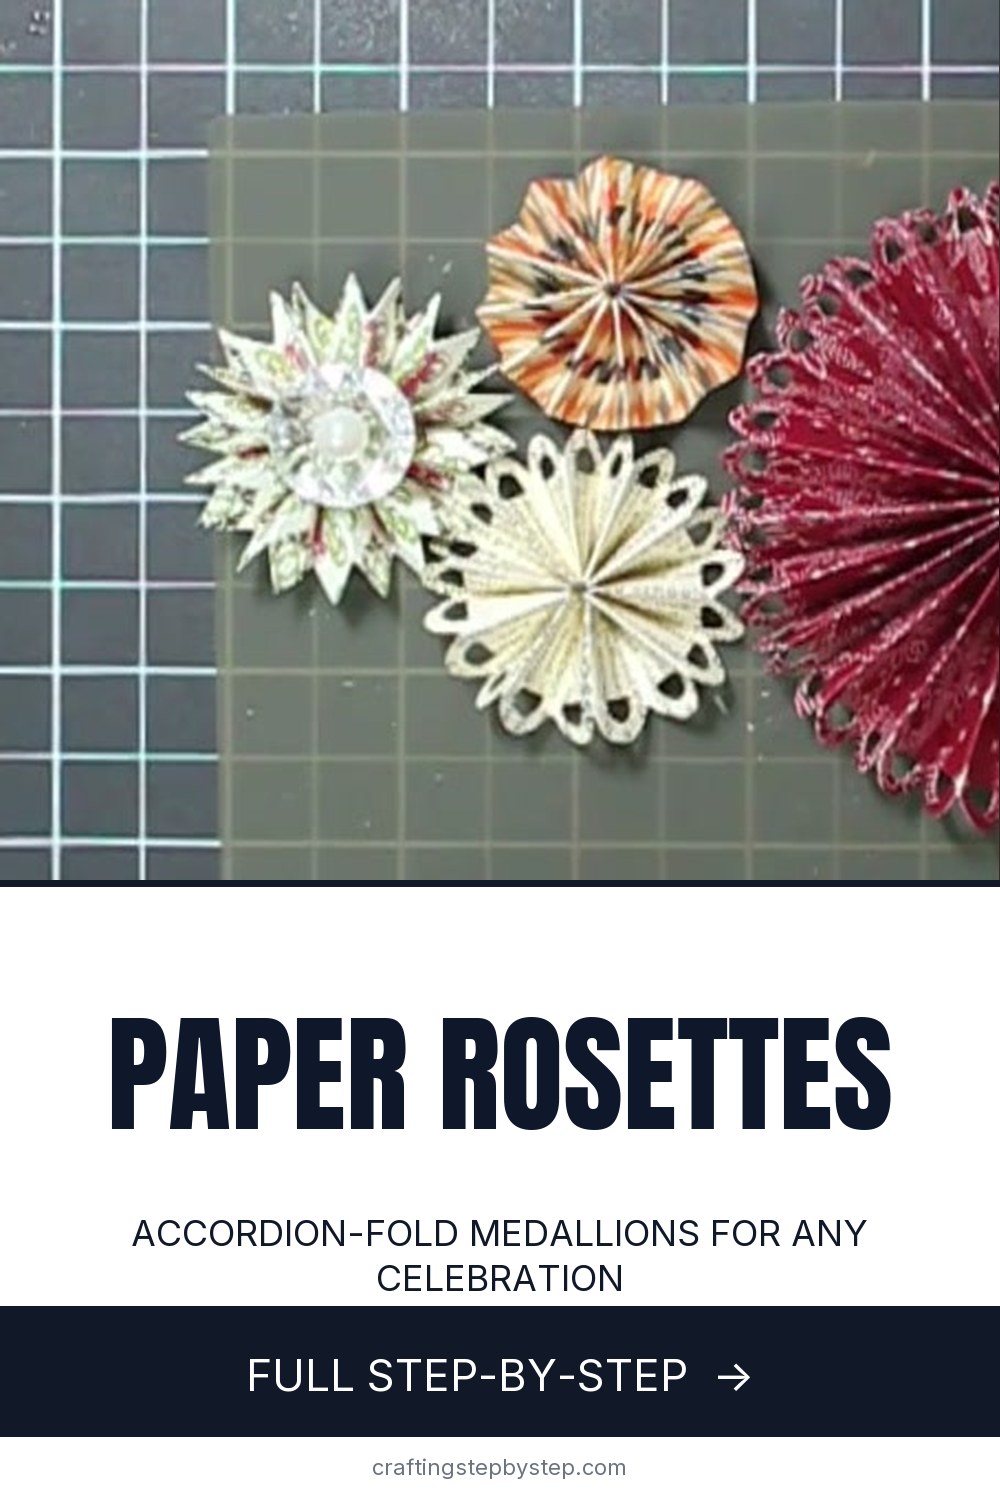
A paper rosette is one of those decorations that looks like it took real skill and actually comes together in a few minutes. Sarah Naber of Sarah Loves to Stamp walks through her go-to method in this Quick Tip Tuesday, and the whole thing is just two strips of patterned cardstock folded, gathered, and glued into a pleated circle. She uses a scoring die to get even folds, but a scoring board and a bone folder do the same job.

The trick that makes this version easy is her flattening tip. Once the two half fans are joined into a full circle, you press the center flat and run a little glue across the back seam so the rosette holds its shape instead of springing back into a loose spiral. That one move is the difference between a floppy fan and a crisp medallion. Sarah credits it as the thing that finally made her rosettes behave.

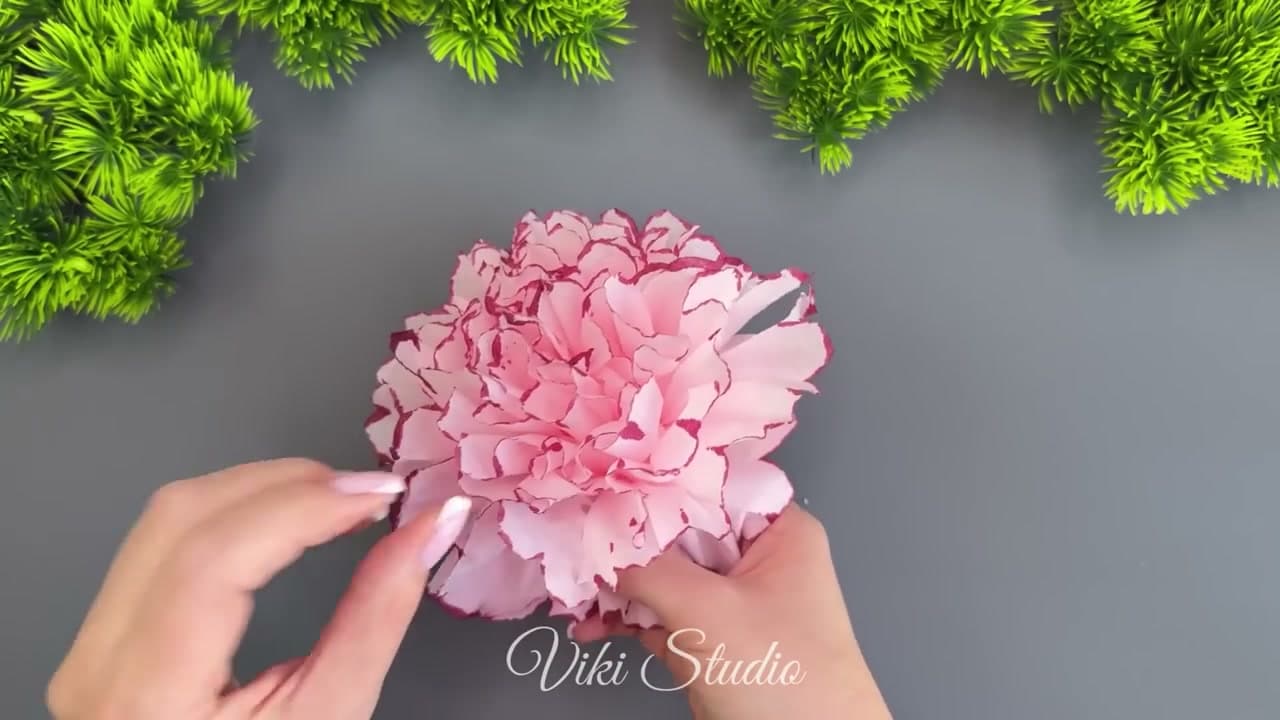
These pair well with other flat paper decorations. If you like this look, try folding a paper fan with the same accordion technique, or make softer blooms with tissue paper flowers and rolled paper flowers. For a bigger party backdrop, cluster a few rosettes with a batch of paper pom-poms in matching colors.

Step-by-Step Guide

6 steps · about 12 minutes.Check off each step as you go and your progress saves automatically.

1

Step 1: Cut and Score Your Cardstock Strips

1:00
Step 1: Step 1: Cut and Score Your Cardstock Strips

For one rosette about 4 inches across, cut two strips of patterned cardstock that measure 2 inches by 12 inches. Run each strip through a scoring board or a rosette scoring die so it picks up evenly spaced score lines all the way down.

Even scoring is what gives you clean, matching pleats later. If you are scoring by hand, keep the spacing tight and consistent - roughly a quarter inch between lines works well for a piece this size.

Tip

Watch this step Heavier paper holds a crisp pleat better than thin printer paper, so reach for cardstock or double-sided scrapbook paper.

2

Step 2: Fold Each Strip into an Accordion

2:50
Step 2: Step 2: Fold Each Strip into an Accordion

Take a scored strip and fold it back and forth along the lines, alternating mountain and valley folds. Run a bone folder or your fingernail along each crease so the pleats stay sharp and stack up into a tight little bundle.

Fold the second strip the same way. When you let each one relax, it should open into an even fan of pleats. Two matched bundles now give you the two halves of your rosette.

Tip

Watch this step Crease each fold twice with the bone folder. The sharper the pleat, the more the finished rosette looks like a pleated fan instead of a soft ruffle.

3

Step 3: Glue Each Strip into a Half Fan

4:15
Step 3: Step 3: Glue Each Strip into a Half Fan

Bring the two short ends of one accordion strip together and glue them so the pleats fan out into a half circle. Sarah runs the end pleat across the tip of a hot glue gun, then presses the two ends into each other and holds until the glue grabs.

Do the same with the second strip. Now you have two matching half fans, each a semicircle of pleats, ready to join into the full rosette.

Tip

Watch this step Glue dots work here too if you would rather skip the hot glue. Use two per seam so the join does not pop under tension.

4

Step 4: Join the Halves into a Full Circle

5:00
Step 4: Step 4: Join the Halves into a Full Circle

Set the two half fans next to each other so their open edges meet. Glue those edges together and the pleats close into a complete circle. Line the folds up as you press so the two seams blend in and the rosette reads as one continuous ring.

Hold each join for a few seconds. Paper under tension wants to spring open, so give the glue time to set before you move on.

Tip

Watch this step If the two seams land in obvious spots, plan for a center embellishment to sit over one of them and hide it.

5

Step 5: Flatten the Center into a Medallion

7:00
Step 5: Step 5: Flatten the Center into a Medallion

Here is the tip that makes the whole thing work. Push the center of the ring in so every pleat meets at one point and the rosette lies flat like a medallion. Run a thin bead of glue across the back seam where the pleats gather and hold it down.

That little bit of glue on the back is what keeps the rosette from relaxing back into a loose spiral. Once it sets, your medallion holds its shape on its own.

Tip

Watch this step Glue a small chipboard or cardstock circle to the back to lock every pleat down at once. It doubles as a mount for pinning the rosette to a backdrop.

6

Step 6: Add a Center and Style Your Rosettes

11:30
Step 6: Step 6: Add a Center and Style Your Rosettes

Cover the middle where the pleats meet with a punched paper circle, a rhinestone, or a button glued right over the hole. This hides the center point and gives the rosette a finished focal detail.

Make a handful in different papers and sizes. They lie flat on cards and scrapbook pages, and a cluster of them turns into an easy party backdrop or gift topper.

Tip

Watch this step Mix scales for a decorated backdrop: a few big rosettes anchor the arrangement while small ones fill the gaps between them.

Products Used

☐ The Checklist

How to Make Paper Rosettes (Accordion-Fold Medallions)

Tools
5
Materials
5
Steps
6
Video
12 min

Tools we recommend

Your Guide

Sarah Loves to Stamp with Sarah Naber

As an Amazon Associate we earn from qualifying purchases. Links on this page may be affiliate links - clicking them and buying doesn't change your price, but helps support ShowMeStepByStep.

Tags

Sunday How-To

New paper crafts tutorials, every Sunday

One short email with the week's best step-by-step guides. Free, no spam, unsubscribe anytime.

Did this work for you?

What's next

Related collections

Curated theme pages that include this tutorial.

Weekly Digest

Liked this paper crafts tutorial?

Pick the categories you want to hear about. Weekly digest of new step-by-step tutorials. No spam, easy unsubscribe.

Send me tutorials about

We only email about new tutorials. Easy unsubscribe anytime.